Umo Asia Metinar User manual

UMO
.ASIA
Owner’s Manual
Metinar
(EGK-LP)
040-1105

UMO
.ASIA

Congratulations on the purchase of your new
UMO ASIA electric guitar kit. Please take some
time to read the information in this manual, you
will nd valuable information that will help you in
the course of setup, tune up, taking care, and
maintenance your guitar. Begin enjoying the music
with your new UMO ASIA instrument.
IMPORTANT PLEASE READ
We would like to rst stating that all of UMO ASIA
LIMITED and/or Tom Lu are NOT affiliated with Gibson
Guitar Corporation or any other musical instrument
manufacturer IN ANY WAY. Les Paul®, Les Paul
Standard®, Les Paul Studio ®, SG ‘61 Reissue ®, SG
Standard®, 1959 ES-335 Dot Reissue ® and ES-
335® are registered trademarks of Gibson Guitar
Corporation. UMO ASIA LIMITED is a registered
company. UMO ASIA LIMITED is in the business
of producing DIY(do-it-yourself) guitars. UMO ASIA
LIMITED IS IN NO WAY IMPLIES THAT IT BUILDS OR
SELLS Gibson guitars. This is NOT a Gibson guitar
body or a Gibson nish, this is a UMO ASIA LIMITED
DIY guitar or replacement guitar part.
ANATOMY AND INTRODUCTION
Guitar anatomy 6
Introduction UMO ASIA 7
CONSTRUCTION
Body 8
Neck and headstock 9
Pickups 10
Pickup switch + volume + tone control 11
Bridge 12
CARE AND MAINTENANCE
Guitar nish 13
General care 14
WARRANTY
Limited lifetime warranty 15
Limitations and exclusions 16
INSTALLATION
Tools recommendation 17
Guitar parts - 1 18
Guitar parts - 2 19
Head stock + tailpiece + bridge 20
Nut + frets + wires 21
Pickup + pick guard + bridge level 22
Tuning + strap lock + polish and cleaning 23
UMO ASIA
Contact information 24
Table of Content
From UMO to you

6 7
UMO ASIA was found by Tom Lu from Hong Kong.
A young musician who creates DIY guitars in
the attempt to ourish a person’s DIY spirit. Tom
wants to involve young talents either musician/
artist/craftsman, not only to understand how to
play their instruments, also wish to spark some of
their interest towards the anatomy of a guitar. The
knowledge of how to build a musical instrument
is not only needed for a guitar craftsman, as a
musician and an artist, Tom also feel that each
one of us carry the responsibility to understand
the instrument to a certain level. Tom wish to
communicate and share the information amongst
other musicians, what a guitar is made of, how the
density of a wood can heavily impact its sound.
Why a guitar makes the noise that it does, how to
alter and improve their own sound.
A well crafted instrument will produce nice sound
even without a sound enhancer(effects pedals). We
wish to have a chance for the beginner musician
to study the anatomy of an electric guitar, as well
as invent and design their own guitar in the future
once they have gain enough information of its
construction and functionality. And begin their own
journey of a real guitar craftsmanship.
Introduction UMO ASIAGuitar anatomy
pickups
bridge
tailpiece
binding
guitar body
strap lock
strap lock
neck
fret inlay
fret
truss rod
nut
head
tuning keys
machine heads
pickup switch
input jack
tone knobs
volume knobs

8 9
GUITAR BODY is made of 2-3 Pieces of
Indonesian mahogany hand picked by Tom Lu in
Asia. These mahogany is resist to rot. Also produce
much warmer sound compare to maple or birch.
The carved-top is also made with 2-3 pieces of
mahogany.
NECK AND HEAD STOCK is made of 2 Pieces
of Indonesian mahogany. The joint and cut can be
seen clearly from the third fret to the 1st fret. This
way is we don’t create any wood waste, The super
glue used to connect these 2 parts has proven
to stand the strength and time from the strings
tension also the player’s nger playing.
Body Neck and headstock
construction construction
top view
side view
bottom view
head stock
wood grain direction
neck
wood grain direction
45.9cm
8cm
nut
rst fret
third fret

10 11
There are two hum cancel pick ups comes with
this kit.
Hum cancelling by using 2 coils or wire, wound in
reversed direction to create hum cancellation.
They have much hotter sound than other brands
out there in the market. Hotter means louder,
not louder overall, it is only bass louder, treble
quieter. It is wounded with approximately 40 AWG
(American Weight Gauge) or 0.07mm thickness
copper wire. Magnet are regular magnet, not
alnico.
The OHM respond is tested with a meteor.
Neck pickup OMH test 11.5k ohms
Bridge pick up OMH test 12k ohms
This guitar has two pickups, four knobs, each pick
up has its own volume and tone control. Volume
is loudest when it is 100% clockwise. Tone control
simply lowers the treble response and bass
remains the same. You can hear the tone gets
much muddier when the tone is turned all the way
counter-clock wise. When it is 100% clock wise,
the treble is at its maximum volume, thus have the
brightest sound.
Depends how you set up the Pickup selector.
Generally the pick up select the neck pick up when
it is up. When it is down, it select the Bridge pick
up. When it is in the middle, it uses
both pickups. The Neck pick up
is also sometimes refer to
as “Treble” because
it has much louder
treble response. And
the Bridge pick up is
sometimes refer to as
“Bass”.
Pickups Pickup switch + volume + tone control
construction construction
S
S
N
N
ground
hot
magnet
bridge Volume
Neck Pickup
Bridge Pickup
bridge Tone
Neck Volume
Neck Tone

12 13
A UMO ASIA guitar is meant to leave as much
room as possible for a person’s creative and
innovative to complete the guitar. In the guitar
nish stage, our DIY kit has completed several
stage of paint to provide generally protection over
the environmental changes, transportation, and
ensure the sound and quality is delivered to user.
The bridge height can be adjusted base on your
own playing style. Some people like higher action
and some people like lower action.
To adjust the bridge height, simply turn it clock-
wise for lower action, counter-clock wise for
higher action. To adjust the intonation turn the
individual saddles forward or backward. To make
sure the intonation is in tune, compare the tone of
open string and the 12th fret. They should sound
identical. It is easier to use a tuner to visually see
the pitch if they are in tune.
Bridge
construction
6
543
2
1
Usually no need to adjust the
tailpiece, it will increase or decrease
the pressure on the bridge.
action adjustment
bridge
saddle
adjust intonation
Putty & primer:
It lls up the holes and grains
due to the nature of the wood
(Mahogany). It has a lot of
uneven surface, the putty will ll
it up and smooth the surface for
base coat.
Base Clear Coat:
A thin soft sanding sealer is
applied as base coast, it cures
and hardens after few days. This
base coat is under the middle
PU coat, this sanding sealer
make sanding easier. After it is
applied we ensure the
Mid Coat:
We use PU(Poly Urethane) mid
coat, which creates anti-static
surface and smooth texture,
this provides better endurance
against temperature change
and moisture. Protect the wood
to last longer.
The function of PU is to provide
a sturdy and smooth surface so
it can ready for last color nish.
It also helps for buffing the
guitar in the last stage.
Color Finish:
The guitar is ready for apply
Poly Urethane color nish. It
is advised to use PU color.
Because there is little to no
chemical reaction with PU mid
Coat.
Guitar finish
care and maintenance
GUITAR FINISH STAGES
1
2
3
4

14 15
Guitar is made of wood, it expand and shrink
base on the humidity in air, also temperature, hot
expand and vise versa. It is easy to know if the
environment is suitable for UMO guitar, if the space
is comfortable for you, it will be comfortable for
your instrument.
BE CAUTIOUS:
When a guitar is sitting in a cold winter trunk
below 0 Celsius, then bring into a heated warm
room, this will expand the wood and cause the
guitar to bend or wrap, the extreme temperature
is deadly for wood instruments. When you are on
the road travelling and leave the guitar in the trunk.
It needs really slow gradual temperature change,
sometimes takes more than hours before you take
it out of your guitar case.
When using a guitar strap make sure it is secure
and fastened, because it is easy to loose the
strap. Some musicians tape the strap because it
sometimes fell off.
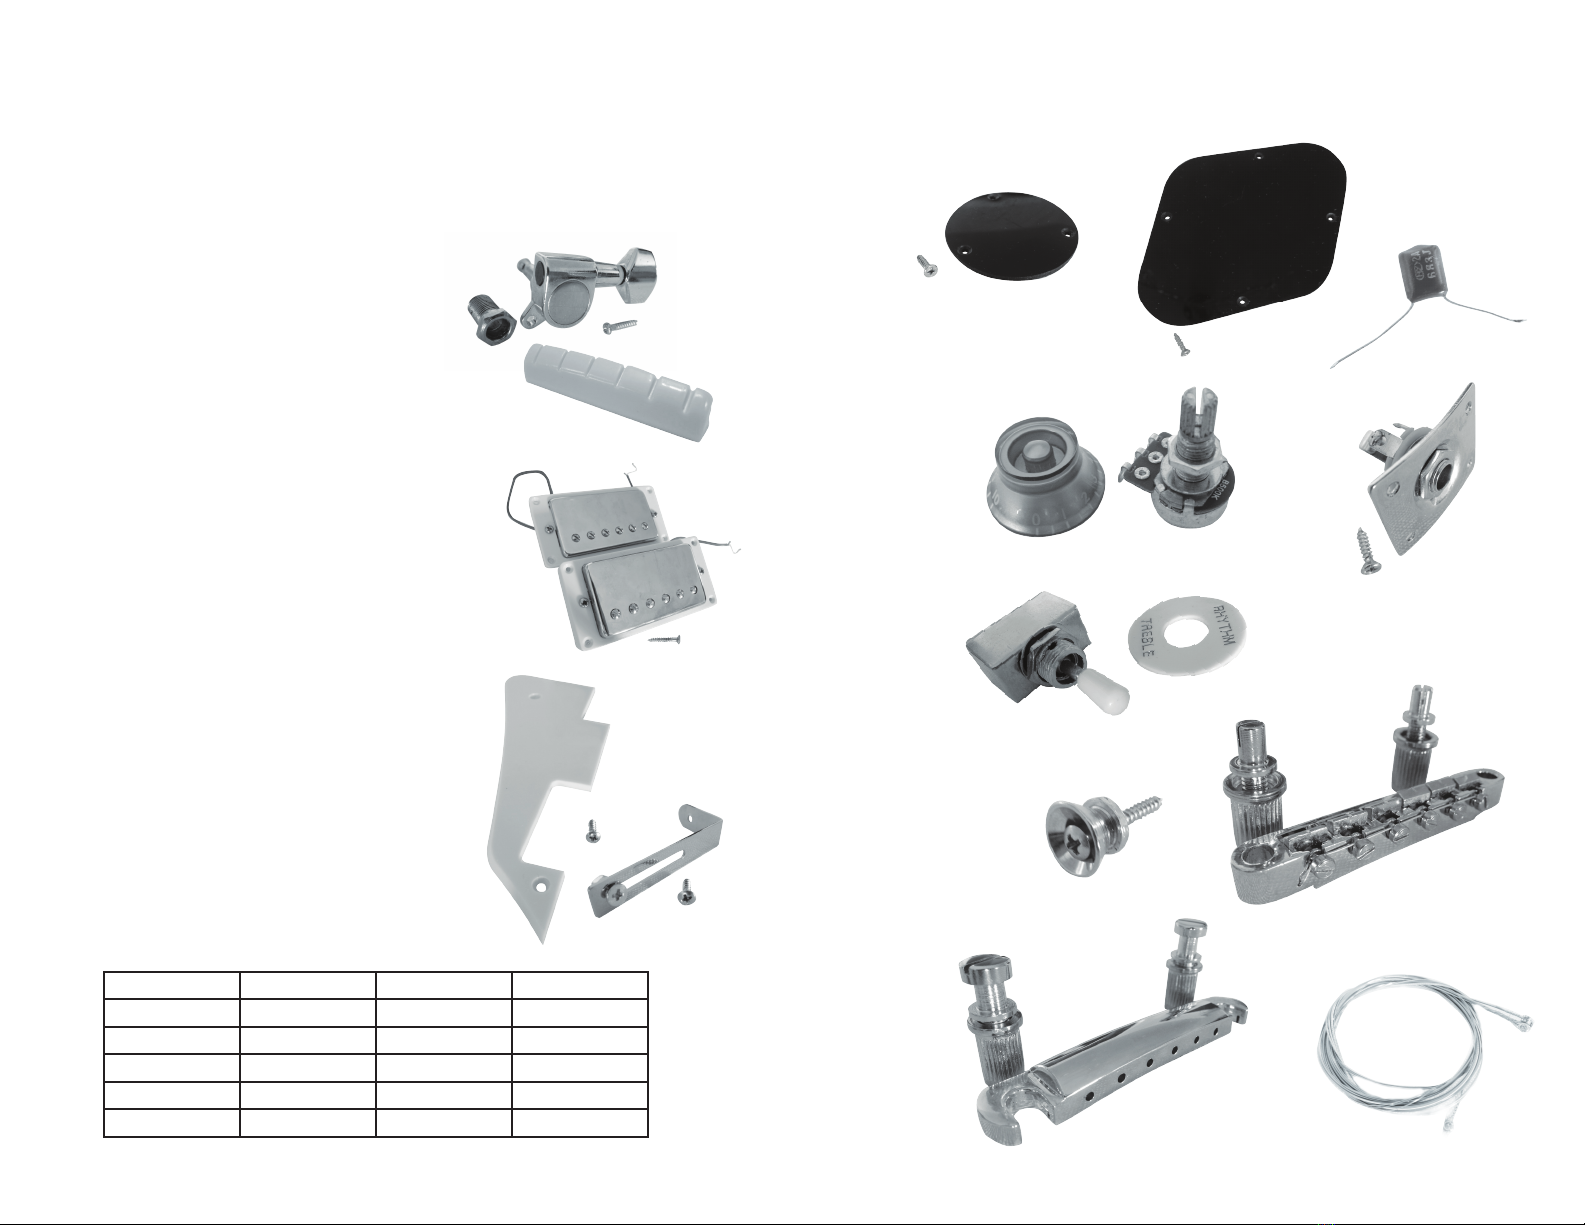
New strings are essential part of a great sounding
guitar, the strings comes with the guitar are regular
set of guitar. There are many other great string
brands out guitar out there. After changing a set
of string, base on the string gauge, sometimes
intonation adjustment is needed with saddles.
General care
care and maintenance
UMO ASIA LIMITED warrants this DIY guitar kit is free from defects
in materials and workmanship for as long as it is owned by the
original retail purchaser, except that pickups, switches, jacks,
controls, all other electronic components, tuning heads, tuners,
hardware, pickupguards, plated surfaces, guitar bags, guitar cases,
and case hardware are warranted for one year from the date of
original purchase. This warranty applies only to the original retail
purchaser when this instrument is purchased from an Authorized
UMO ASIA DEALER and is subject to the limitations set forth herein.
IMPORTANT: PLEASE KEEP YOUR ORIGINAL RECEIPT, THIS
IS YOUR PROOF OF PURCHASE VALIDATING THIS LIMITED
WARRANTY.
Please contact your local Service centres for warranty service.
The UMO ASIA DEALER from whom you purchased may also be
authorized for warranty service and should be the rst contact when
service of any kind is required for your UMO ASIA instrument. To
receive warranty service, return the complete guitar to an Authorized
UMO ASIA SERVICE CENTRE, with your original sales receipt
as proof of purchase, only applicable during your warranty period.
Defective components that qualify for coverage under this warranty
will be repaired or replaced (at UMO ASIA’s decision) without charge.
Any xes beyond normal service repair of any UMO ASIA instrument
require both an evaluation and conrmation of the defect and a direct
recommendation to UMO ASIA from an Authorized UMO ASIA for
alternative considerations.
All transportation, insurance and fright charges associated with
warranty service and repairs on UMO ASIA instruments are
the responsibility of the purchase, as is any service initiated
for the purpose of customizing setups or adjustments beyond
factory specications. Initial standard setup and adjustments of
the instrument and its components at the time of purchase are
considered normal Dealer product preparation, and are not covered
by this warranty.
Limited lifetime warranty
warranty

16 17
The following items are NOT covered under this warranty
1. Fret wear, saddle wear, nut wear, strings and batteries.
2. Setups, adjustments or routine maintenance of any kind.
3. Damage to nishes or cracks, splitting, or warpage of wood due
to changes in temperature or humidity, exposure to or contact
with sun, re, moisture, body salts and acids of perspiration,
guitar straps, guitar stands/hangers made from vinyl, plastic,
rubber or other synthetic materials, any other chemicals or non-
UMO ASIA approved polishes.
4. Damage, corrosion or rusting of ay hardware components
caused by humidity, salty air, or exposure to the moisture, body
salts and acids of perspiration.
5. Any damage to an instrument resulting from customizing or
modication.
6. Normal wear and tear on any part of the instrument, case or
guitar bad including jacks, controls, switches, plated surfaces,
tuning heads, tuners, pickguards, zippers, clasps, handles,
latches, case hardware etc.
7. All other damage and deterioration due to normal usage, wear
and tear, aging, accidents, neglect, abuse, or Acts of Nature.
8. Any instrument, whose serial number is missing, altered or
tampered with in any fashion.
9. Any instrument purchased from anyone other than an Authorized
UMO ASIA DEALER.
10. Instruments that have been serviced by un authorized persons
(any person other than a UMO ASIA Certied Technician at an
Authorized UMO ASIA Service Centre)
UMO ASIA LIMITED ASSUMES NO LIABILITY FOR PROPERTY
DAMAGE RESULTING FROM FAILURE OF THIS PRODUCT NOR
ANY LOSS OF INCOME, SATISFACTION, OR DAMAGES ARISING
FROM THE LOSS OF USE OF SAME DUE TO DEFECTS OR
AVAILABILITY OF SAME DURING SERVICE.
This warranty applies only to the UMO ASIA instruments
manufactured after 1st of January 2010 and purchased and serviced
within HONG KONG. Warranties outside the country are as dened
by the authorized UMO ASIA Distributor for your country or region,
and may vary from the above in terms and/or length.
Limitations and exclusions
Warranty
INSTALLATION
Tools recommendation
01 --- Power drill with different sizes of drill bits (size range from 1.5mm
to 4mm).
02 --- Wire stripper
03 --- 40 watt to 60 watt soldering iron and some solder (60/40 Tin/lead
(Sn/Pb))
for a quick introduction of how to solder please read go to this link
www.umo.asia/setup/solder/
04 --- Guitar tuner
05 --- Different sizes screw drivers

Guitar Parts - 2
Installation
Screw Names
long name short name length(cm) top diameter(cm)
Machine Head scw-mh01 1. 15 0.35
PickUp scw-pu01 1.58 0.5
Pick guard scw-pg01 1. 2 0.6
General
scw-
gn01
1.25 0.52
Strap Lock scw-sl01 2.5 0.6
01
02
04
05
07
06
08
09
10 13
14
15
03
18 19
EGK-LP should include the following, if any of the parts are
missing in this package please contact your UMO ASIA Dealer
for assistance.
Guitar Parts - 1
Installation
Package includes
MACHINE HEAD PACKAGE
01 --- 6 x (machine heads + washers + scw-mh01)
1 x Nut
PICKUP + PICK GUARD PACKAGE
02 --- 1 x Neck Pickup, 1Bridge Pickup
8 x pu01
03 --- 1 x pickguard, 2 x scw-pg01,
1 x pickguard lock
04 --- 1 x plastic closure (circle),
3 x scw-gn01
05 --- 1 x plastic closure (parallelogram),
4 x scw-gs01
VOLUME AND TONE CONTROL PACKAGE
06 --- 4 x (500k pots + circle washer + hex washer + plastic knobs)
07 --- 2 x green capacitor
08 --- 1 x (pickup switch + pickup washer + switch sign)
09 --- 1 x (input jack + hex washer)
1 x input jack guard, 4 x scw-gn01
10 --- 2 x (strap locks + scw-sl01)
11 --- 4 x 55cm wires (for connecting pots to pickup switch)
12 --- 1 x 40cm wire (for grounding pots and other)
BRIDGE + TAILPIECE PACKAGE
13 --- 1 x bridge, 2 x bridge sockets
14 --- 1 x tailpiece, 2 x tailpieces sockets
15 --- 6 strings

20 21
install the sockets, but also remember
we need to put a wire through the
tailpiece socket, there is a tiny hole to
leave a wire. This is to ground the pots
to the bridge. As you can see in pic03,
the wire is coming out the tailpiece hole
touching the tailpiece socket. As long as
the wire is touch the surface of it, then
it is grounding it. When putting in the
socket you might nd it is tight to go in,
you can try to use a slightly drill bit to
make the hole just slightly big enough
to t in, or use hammer slightly force it
into the holes. If you nd that it is too
tight to t in, please use a sand paper
to smooth the hole to make it a little
easier to t in. Once 4 pieces of socket
are in place. You can try to put in the
bridge and tail pieces to see if they t. I
sometimes nd the bridge a little difficult
to t in the sockets. In that case I gently
hammer it on with a piece of cloth cover
it.
NUT for the neck
The Nut 01comes with this kit is not
sanded, the user get to sand it down
to any height they desire (to a height
that does not buzz of course). There is
a recommend height (0.75cm), which
I personally like. It doesn’t buzz the
strings, also it is low enough to play.
When sanding the nut, make sure the
bottom surface is completely at or
else will not stick properly. You can get
a string go through the tail piece to
the machine head and tighten it, play
the open string and see if the string
is buzzing. If it buzz it means it is too
low that the string is touching the frets.
You might need to get a new nut if this
happen. When sanding make sure do
it little by little until you get the desire
height.
LEVEL the frets
UMO ASIA factory setting is enough to
play the instrument, however we highly
recommend you to go through the proper
level the frets, and get the desired fret
setup you wish. This guide was not
meant for professional installation. We
provide you with the basic information
to get you started. Unfortunately how
to level the fret is beyond the scope
of this guide, please nd some online
resources or check www.umo.asia/setup/
for more detail.
Wire Assembly
There are many wires are needed to
connect all the pots and switches. There
are 4 wires that are most important, and
I would like to get those out of the way
rst. Place 14 through the pickup switch
hole pass pickup Neck, pass pick up
Bridge, into the back of the guitar. You
can use a tape to stick them in place so
that it won’t fall inside the pickup switch
hole. We will connect them once the pick
up and pickguards are installed.
Nut + frets + wires
Installation
Before we dive in and start setting up
the guitar. If you would like to color your
guitar and do the nish or wax, please
get online resources on how to nish
painting. That is beyond the scope of
this guide. It is highly recommended
to assemble all the hardware rst,
then un assemble, nish the color,
then assemble it again. That way you
will understand what to avoid or take
precaution before you do the last
colouring. During the installation it is
very likely you will make scratches and
dings, and if you do make them, you
don’t have to worry about it, because
you know the paint can cover the
scratches and dings.
Install the MACHINE HEADS
Start with the head stock is a good
idea, because that is the easiest part
to complete. Firstly put in the Machine
heads in place with the washer and hex
screws, make sure not too tight, we will
make some adjustments at the back.
See
pic01 and pic02.
Once they are in
the right places, use a pen to make a
mark for screws, we need to drill holes
for 6 x
scw-mh01
. I use 1.5mm drill bit
for the Machine head screws, you can
try other size if you wish. Once drilling
is nished, we put in the screws for the
head, and tighten it. Turn to the front
and tight the Hex screws as well. Any
loose hardware can cause damage to
the wood through months of playing.
Make sure the hardware and screws are
tightened but don’t make it too tight that
it starts to dig inside the wood.
Install the BRIDGE + TAILPIECE
I always like to start with something
easy, that way we can leave all the
difficult things in the end. The bridge and
tail piece are very easy to install. First
Head stock + tailpiece + bridge
Installation
pic01
pic02
When using any drill bits, always
remember the size of hole can only be
increased, always use smaller drill bits,
then slightly increase to match the size
of screws. Take special attention to the
Mahogany, it is not like maple, it is very
soft, drilling can make the hole larger
than the actual drill bit!
!
pic03
0.75cm
wire to back of guitar
tailpiece socket
pic04

22 23
Pick up and Pickguard
Firstly you want to make sure the
pickup wires are going to the back of
the guitar. Pick up with blue wire is the
Neck pickup, and the one with red wire
is the Bridge pickup. Once they are
through to the back we can drill some
holes for
scw-pg01 + scw-pu01
, these
2 screws can use the same drill bit. I
am using 2mm drill bit, if you nd it too
small you can try a 2.5mm. Before we
drill the holes, make sure the pick up
and pickguards are aligned to the neck,
or else you will need to make more
holes. Or if you prefer them not aligned,
that is up to you to decide. As you can
see in
pic05
the pickguard and pickup
are neatly aligned. Once you place and
hold them still, then drill holes. It will
be nice if you have someone else to
hold the position for you. If not, you can
always use a pen to make the screw
position, and drill holes according where
you mark it. The Pickguard Lock 03 is
optional.
Pots and Wires
To connect the pots and wires please
follow the diagram provided with this
package, you can also watch the
installation video at www.umo.asia/setup
There is video step by step on how to set
up the pots.
Level the Bridge
Once the pots and wires are installed
and tested working! Before you put the
back covers and screws in, make sure
also test the guitar plug into an amp,
test the volume pots, tone pots if they
are making any noises, if the pots are
changing volume and tones.
Next we put all 6 strings on the guitar,
putting the guitar strings can be seen
on the video, you would want the strings
to line up like
pick06
. Once the string is
on the guitar, you will nd that it created
buzz noise when you strum the strings.
This is due to the bridge height too low.
We will need to raise the bridge height to
avoid the buzz noise. You can raise any
height you desire, I like low action so I
just make sure the strings high enough
so they are not creating any buzz and I
am happy with it. The tail piece general
doesn’t need any adjustment. It can
increase or decrease the string tension
on the bridge. I like to set it low. You can
test to see what suit you best.
Tuning the guitar
There is no secret in tuning the guitar,
you can use a electric tuner or a Y shape
metal tuner, or use your imagination
to tune, it is up to you. I like to use
an electric tuner, because it is easy.
Once the guitar is tuned in open string
position, you want to make sure the
intonation is also correct. Place your
nger on the 12th fret, it should create
the same tone 1 octave higher as open
string. To change the intonation simply
turn the saddles on the bridge forward or
backward
pic07
.
Strap Lock
This guitar kit comes with 2 strap locks,
one at the rear and one in the front. We
recommend to located them like
pic08
.
You are welcome to put them anywhere
you like, the main thing is that you want
the guitar to be rm when you put the
strap on. I use 2 mm drill bits for making
the holes
Polishing and Cleaning
Like any other things you have. You
would want the instrument to stay clean
and smooth everything time you pick it
up from your guitar stand or guitar case.
We recommend simply wipe the guitar
with a clean cloth every time you play
the instrument. The sweat, and acid
can make the hardware age. To avoid
this simply wipe it every time you nish
playing the guitar.
OTHERS
There are too many details on how to
install this guitar and can not be fully
covered in this user manual. Please
go to this link for how to setup your
instrument. It will include videos,
diagrams, step by step instructions on
how to setup your instrument.
www.umo.asia/tutorial
CONTACT US
Your UMO ASIA guitar kit is a lifetime
investment. Your investment in the
learning of a well constructed electronic
guitar. We hope you have learned much
from this guitar kit, we also wish your
journey of creating and inventing your
own guitar ourishes. We always stands
behind you. If you have any concerns
or questions please feel free to contact
reach us through
skype (umo.asia)
twitter.com/umoasia
myspace.com/umo.asia
youtube.com/umoasia
or email us at
pic05
Pickguard Lock
Neck Pickup Bridge Pickup
Tuning + strap lock + polish and cleaning
Installation
Pickup + pick guard + bridge level
Installation
pic06
pic07
pic08
pic09
change intonation

24
UMO
.ASIA WWW.UMO.ASIA
This manual suits for next models
1
Table of contents