manuals.online logo
Brands
  1. Home
  2. •
  3. Brands
  4. •
  5. Uniden
  6. •
  7. Cordless Telephone
  8. •
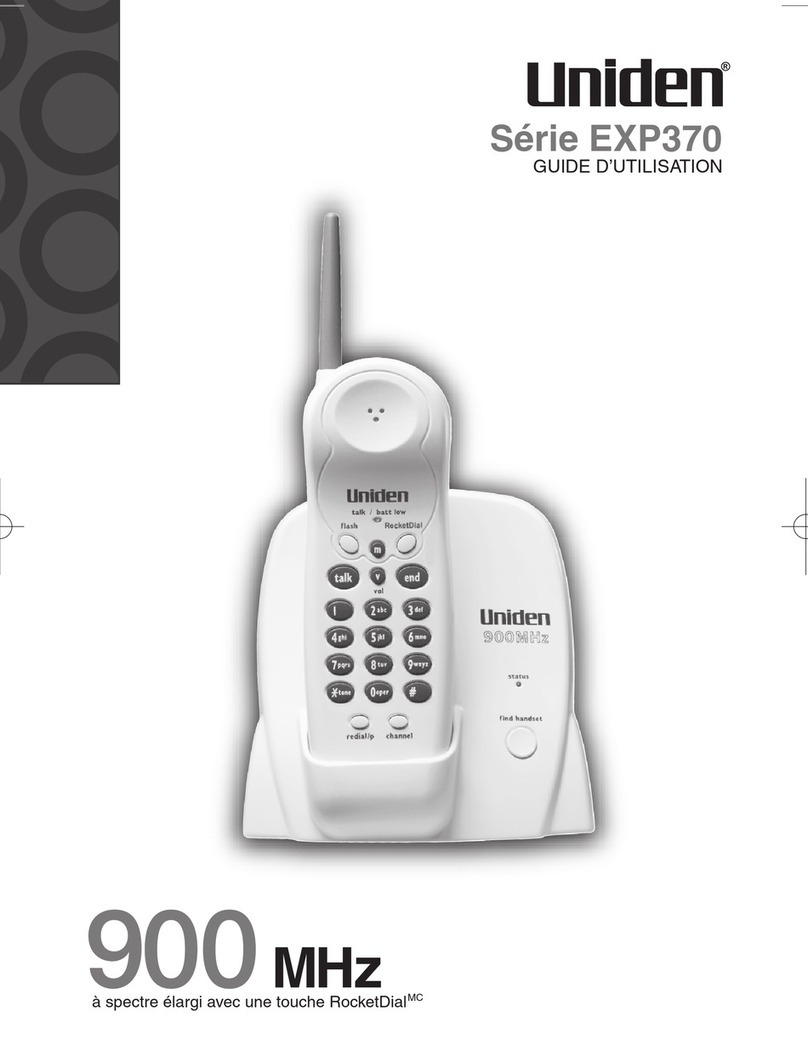
  9. Uniden 248 User manual

Uniden 248 User manual

This manual suits for next models

1

Other Uniden Cordless Telephone manuals

Uniden EXP2800 User manual

Uniden

Uniden EXP2800 User manual

Uniden DCT756 Series Service manual

Uniden

Uniden DCT756 Series Service manual

Uniden EXT 1480 User manual

Uniden

Uniden EXT 1480 User manual

Uniden DCX400 User manual

Uniden

Uniden DCX400 User manual

Uniden EXI960 User manual

Uniden

Uniden EXI960 User manual

Uniden DX 834 Series User manual

Uniden

Uniden DX 834 Series User manual

Uniden EXI2926 User manual

Uniden

Uniden EXI2926 User manual

Uniden EXP 6900 SERIES Service manual

Uniden

Uniden EXP 6900 SERIES Service manual

Uniden DECT1915+1 User manual

Uniden

Uniden DECT1915+1 User manual

Uniden DECT1480-2 User manual

Uniden

Uniden DECT1480-2 User manual

Uniden DXAI7288-2 User manual

Uniden

Uniden DXAI7288-2 User manual

Uniden XS 910 User manual

Uniden

Uniden XS 910 User manual

Uniden D1780-4BT Service manual

Uniden

Uniden D1780-4BT Service manual

Uniden TRU9466 - TRU 9466 Cordless Phone User manual

Uniden

Uniden TRU9466 - TRU 9466 Cordless Phone User manual

Uniden Elite 9135 User manual

Uniden

Uniden Elite 9135 User manual

Uniden TRU9460 User manual

Uniden

Uniden TRU9460 User manual

Uniden DECT2085-4WX User manual

Uniden

Uniden DECT2085-4WX User manual

Uniden DECT3080 SERIES User manual

Uniden

Uniden DECT3080 SERIES User manual

Uniden EXP 8000 Series User manual

Uniden

Uniden EXP 8000 Series User manual

Uniden ANA9620 User manual

Uniden

Uniden ANA9620 User manual

Uniden 6035 + 1 User manual

Uniden

Uniden 6035 + 1 User manual

Uniden DS72 User manual

Uniden

Uniden DS72 User manual

Uniden DXI8560 Series User manual

Uniden

Uniden DXI8560 Series User manual

Uniden XDECT 8315 Series User manual

Uniden

Uniden XDECT 8315 Series User manual

Popular Cordless Telephone manuals by other brands

Sony SPP-SS965 - Cordless Telephone operating instructions

Sony

Sony SPP-SS965 - Cordless Telephone operating instructions

Telstra Orb user guide

Telstra

Telstra Orb user guide

Mitel DT390 Quick reference guide

Mitel

Mitel DT390 Quick reference guide

GE 25830 user guide

GE

GE 25830 user guide

BT DIVERSE 1010 user guide

BT

BT DIVERSE 1010 user guide

BT Graphite 1500 quick start guide

BT

BT Graphite 1500 quick start guide

3Com NBX Guide

3Com

3Com NBX Guide

Panasonic KX-TGK210HK operating instructions

Panasonic

Panasonic KX-TGK210HK operating instructions

Panasonic KX-TCA181EX installation manual

Panasonic

Panasonic KX-TCA181EX installation manual

BT FREESTYLE 3200 user guide

BT

BT FREESTYLE 3200 user guide

Panasonic KX-TG7301E operating instructions

Panasonic

Panasonic KX-TG7301E operating instructions

AUDIOLINE Splash 10x operating instructions

AUDIOLINE

AUDIOLINE Splash 10x operating instructions

Sanyo CLT-J70 instruction manual

Sanyo

Sanyo CLT-J70 instruction manual

Amplicomms BigTel 201 user manual

Amplicomms

Amplicomms BigTel 201 user manual

GE 26992 user guide

GE

GE 26992 user guide

AT&T E1812B user manual

AT&T

AT&T E1812B user manual

Sanyo CLT-670 instruction manual

Sanyo

Sanyo CLT-670 instruction manual

AEG Voxtel D235 user guide

AEG

AEG Voxtel D235 user guide

manuals.online logo
manuals.online logoBrands
  • About & Mission
  • Contact us
  • Privacy Policy
  • Terms and Conditions

Copyright 2025 Manuals.Online. All Rights Reserved.

OWNER’S MANUAL
TRU248
TRU248_2.4GHz_OM 7/26/00 1:10 PM Page i
CONTENTS
Introduction / Features 2
Controls and Functions 3
Getting Started
Read this first 4
Step 1: Checking the package contents 5
Step 2: Setting up the base unit 6
Mounting the base unit on a wall 8
Step 3: Installing the handset battery pack 10
Basics
Making a call 12
Receiving a call 13
Adjusting the volume 15
Redialing a call 16
Traveling out-of-range 17
Using the speakerphone 17
Page 18
Memory Dialing
Storing phone numbers and names 19
Making calls with memory dialing 21
Chain dialing 22
Editing a stored name and/or phone number 23
Erasing a stored name and phone number 24
3-Way Conference Features
3-way conferencing 25
TRU248_2.4GHz_OM 7/26/00 1:10 PM Page ii
Caller ID Features
Caller ID 26
When the telephone rings 28
Viewing the Caller ID Message list 29
Deleting information from the Caller ID list 29
Using the Caller ID list 31
Using “Caller ID on call waiting” service 33
Call Waiting Features 34
The Integrated Ans ering Device
Features 35
Setting up your answering system 36
Using your answering system 39
Additional Information
Changing the digital security code 44
Installing the beltclip 45
Headset installation 45
Note on power sources 46
Maintenance 46
Troubleshooting 47
Index 50
TRU248_2.4GHz_OM 7/26/00 1:10 PM Page 1
[ 2 ] GETTING STARTED
INTRODUCTION
FEATURES
Congratulations on your purchase of the TRU 248 cordless telephone This phone is designed for reliability,
long life, and outstanding performance utilizing the latest in 2 4 GHz Spread Spectrum technology
Note: Some illustrations in this manual may differ from the actual unit for
explanation purposes.
• 2 4 GHz Spread Spectrum Technology
• Digital Answering Device
• Caller ID and Call Waiting Caller ID
• 50 Number Caller ID Memory
• 3-Line, 16 Character Backlit Handset Display
• 20 Enhanced Memory Dial Locations
• 32 Digit Redial
• 3 Redial Memories
• Flash and Pause
• Pulse / Tone Dialing
• 3-Way Conference Operation
• Speakerphone
• Page / Find
• 10 Day Standby Battery Life
• 6 Hour Talk Time
• Handset Earpiece and Ringer Volume Control
• Hearing Aid Compatible
Digital Spread Spectrum Technology utilizes a “wider frequency band” vs a “single narrow band”
used in standard digital transmissions The 2 4 GHz frequency range was recently released to commercial
communications The result is a more secure conversation with the clarity of digital sound, extended
range, and minimal interference from other cordless phones
Random Code™ digital security automatically selects one of over 65,000 codes for the handset and base
These features enhance your phone’s security and also prevent unauthorized calls as a result of your
phone being activated by other equipment
TRU248_2.4GHz_OM 7/26/00 1:10 PM Page 2
CONTROLS AND FUNCTIONS [ 3 ]
CONTROLS AND FUNCTIONS
1 Handset Antenna
2 Headset Jack Cover
3 Belt Clip
4 Handset Battery Compartment
5 Handset Earpiece
6 LCD Display
7 Memory Key
8 Talk Key
9 Left Cursor/Tone Key
10 Redial/Pause Key
11 Options Key
12 Handset Microphone
13 Volume/Cursor Up and Down Key
14 Flash Key
15 Call ID Key
16 Right Cursor Key
17 Delete Key
18 Select/Channel Key
19 Handset Charging Contacts
20 Handset Retainer Clip
21 PIN set Key
22 Clock set Key
23 Delete Key
24 Repeat Key
25 Voice memo Key
26 Answer on/off Key
27 Base Charging Contacts
28 Base Speaker
29 Speaker Key
30 Volume Up Key
31 Volume Down Key
32 Status LED
33 Play Key
34 LED Display
35 Skip Key
36 Greeting Key
37 Page/Find Key
38 Base Antenna
39 Wall Mount Adapter
40 Record Time Switch
41 Ring Time Switch
42 Base Microphone
43 Ringer On/Off Switch
44 Pulse-Tone Switch
45 DC Power Input
46 Phone Jack
TRU248_2.4GHz_OM 7/26/00 1:10 PM Page 3
[ 4 ] GETTING STARTED
READ THIS FIRST
This cordless telephone must be set up before use Follow these steps;
Base unit
Handset
About the digital security code
This cordless telephone uses a digital security code
to prevent unauthorized access to your base unit
This security code prevents other cordless handsets
from making calls through your base unit
A random security code will be assigned
automatically between your base unit and handset
when you charge the battery pack for the
first time
If you want to reset the security code, see page 44
Step 1 (page 5)
Unpack and check the telephone and accessories
Step 2 (page 6 to 10)
Next, choose the best location to set
up the base unit
Step 3 (page 11 to 12)
Then, insert the battery pack into the handset
You must charge the battery pack for 15 hours
before using the phone
TRU248_2.4GHz_OM 7/26/00 1:10 PM Page 4
GETTING STARTED [ 5 ]
GETTING STARTED
CHECKING THE PACKAGE CONTENTS
Make sure you have received the following items in the package
If any of these items are missing or damaged, contact the Uniden Parts Department (see below)
• This Owner’s Manual
• Precautions and Important
Safety Instructions
• Registration Card
• Base unit • Handset • AC adapter (AD-312) • Rechargeable
battery pack
(BT-905)
• Telephone line
cord (2)
• Wall mount
adapter
• Beltclip
Uniden Parts Department
(800) 554-3988
Hours: M-F 7:00 AM to 5:00 PM CST
We can also be reached on the web at www uniden com
TRU248_2.4GHz_OM 7/26/00 1:10 PM Page 5
[ 6 ] GETTING STARTED
SETTING UP THE BASE UNIT
Do the following steps
• Choose the best location
• Connect the base unit
• Choose the dialing mode
Choose the best location
Before choosing a location for your new phone, read the INSTALLATION CONSIDERATIONS included in the
PRECAUTIONS AND IMPORTANT SAFETY INSTRUCTIONS brochure Here are some important guidelines you
should consider:
Avoid heat sources, such as
radiators, air ducts, and sunlight
Avoid television sets and
other electronic equipment
Avoid noise sources such as a indo
by a street ith heavy traffic
Avoid micro ave ovens
Avoid excessive moisture, extremely
lo temperatures, dust, mechanical
vibration, or shock
Avoid personal computers
Avoid other cordless telephones
Choose a central location
• You should charge your handset for at least 15-20 hours before using the phone
• The location should be close to both a phone jack and a continuous power outlet which is
not switchable
• Keep the base and handset away from sources of electrical noise such as motors and
fluorescent lighting
• Be sure there is sufficient space to raise the base antenna to a vertical position
• The base can be placed on a desk, tabletop or mounted on a standard wall plate
TRU248_2.4GHz_OM 7/26/00 1:10 PM Page 6
GETTING STARTED [ 7 ]
GETTING STARTED
Connect the base unit
If you want to install the base unit on the
wall, see page 9
1Connect the telephone line cord to the
TEL LINE jack and to a telephone outlet
2Connect the AC adapter to the DC IN 9V
jack and to a standard 120V AC
wall outlet
3Set the base unit on a desk or tabletop and
place the handset on the base unit
Then raise the antenna to a vertical position
Choose the dialing mode
Depending on your dialing system, set the PULSE-TONE switch as follows:
If you aren’t sure of your dialing system
Make a trial call with the PULSE-TONE switch set to TONE
If the call connects, leave the switch as is; otherwise, set to PULSE
• Place the power
cord so it does not
create a trip
hazard or where it
could become
chafed and create
a fire or electrical
hazard
To AC outlet
To telephone outlet To TEL LINE
To DC IN 9V
AC adapter
(supplied)
Telephone line cord
(supplied)
1
2
Route the cord.
• Use only the
supplied AD-312 AC
adapter Do not
use any other AC
adapter
• Place the base
unit close to the
AC outlet so that
you can unplug
the AC adaptor
easily
Modular
If your telephone outlet isn’t modular, contact
your telephone company for assistance
PULSE TONE
If your dialing system is Set the s itch to
Tone TONE
Pulse PULSE
TRU248_2.4GHz_OM 7/26/00 1:11 PM Page 7
MOUNTING THE BASE UNIT ON A WALL
Standard all plate mounting
This phone can be mounted on any standard telephone wall plate
1Snap the wall mount adapter into the notches on the base
2Plug the telephone line cord to the TEL LINE jack and the AC
adapter to the DC IN 9V jack
3Plug the telephone line cord into the telephone outlet
4Wrap the AC adapter cord inside the molded wiring channel
Then wrap the cord around the strain relief notch
5Plug the AC adapter into a standard 120V AC wall outlet
6Raise the antenna to a vertical position
7Align the mounting slots on the base with the mounting posts
on the wall Push in and down until the phone is firmly seated
8On the base unit, pull the handset retainer out of the slot
Rotate it clockwise 180 degrees
9Flip the retainer from front to back Slide it back into the slot
so that the lip of the retainer is up and is down The
retainer holds the handset in place
[ 8 ] GETTING STARTED
1
2 - 7
8, 9
If you have wall
mounted the base,
you must remove
the beltclip to
charge the handset
facing forward
TRU248_2.4GHz_OM 7/26/00 1:11 PM Page 8