1
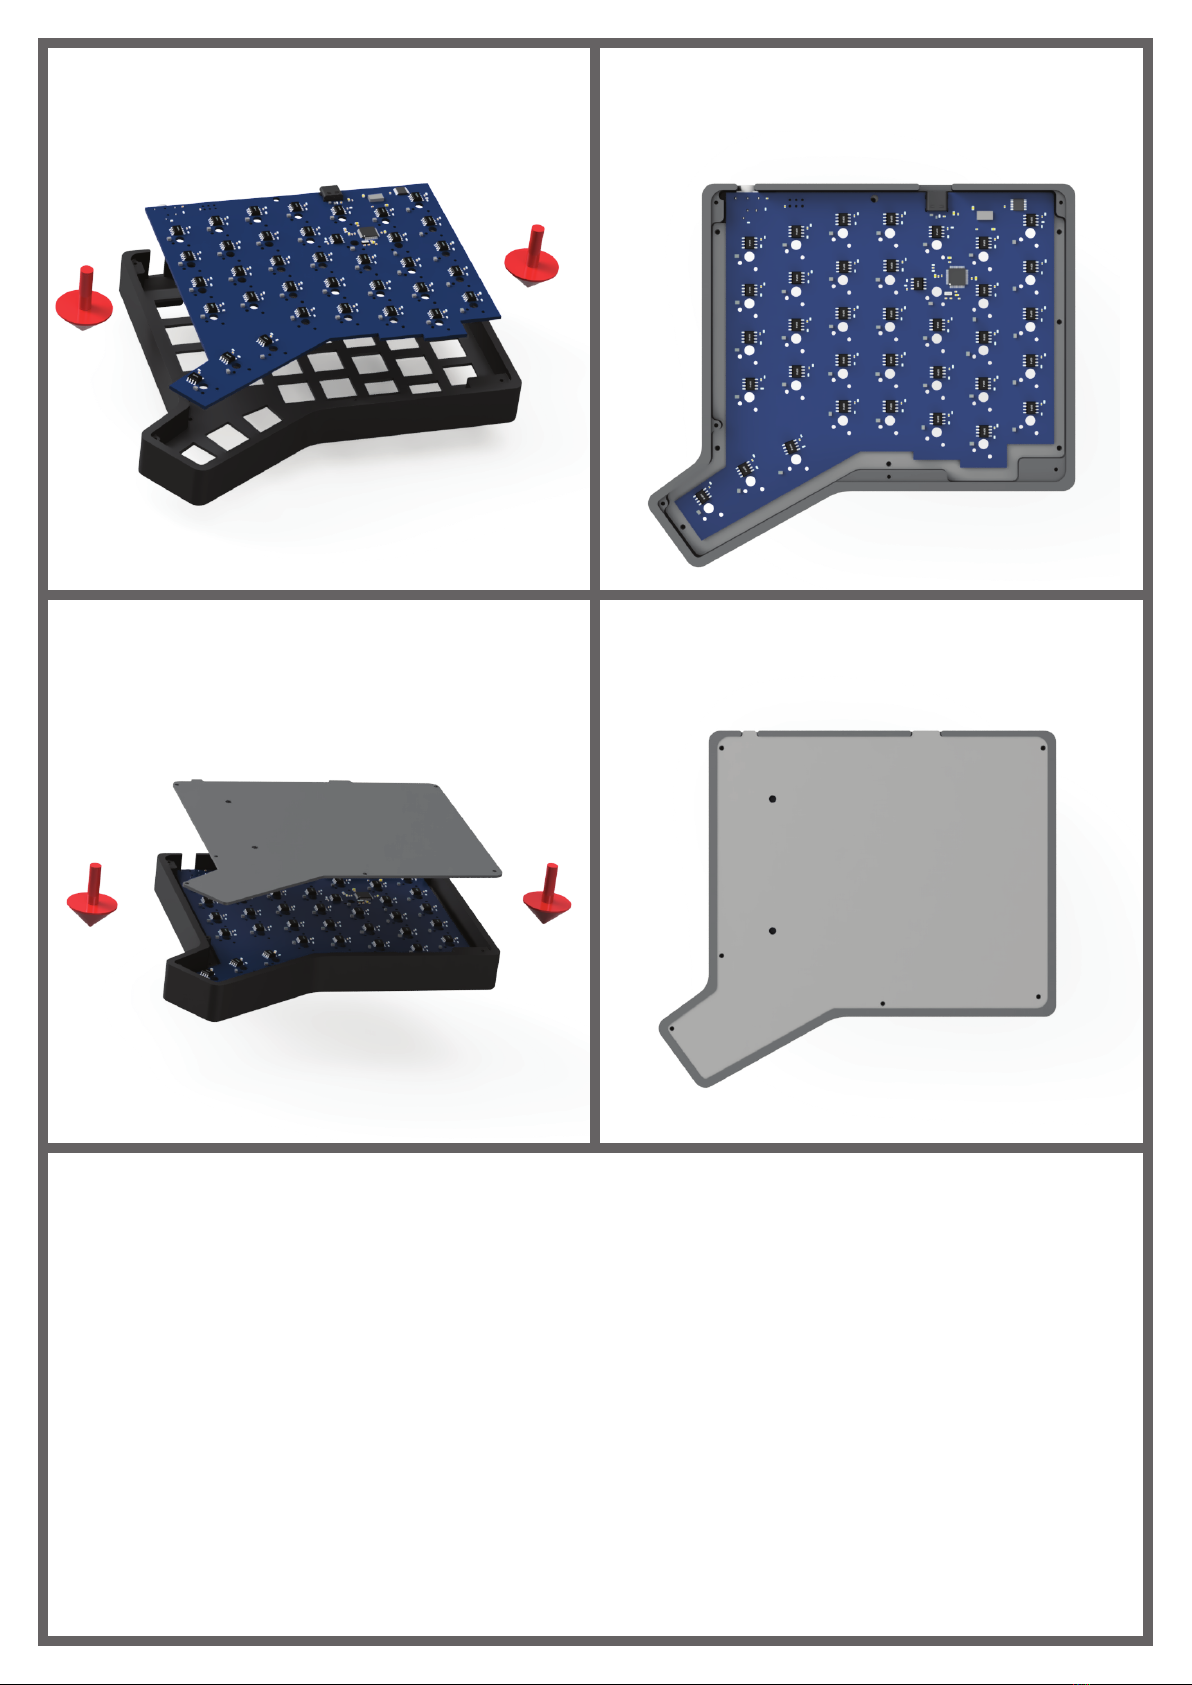
5. Place the PCB into the case and
make sure you could solder on all
switch pins to the PCB.
6. Solder on all the switches, make
sure not to accidentally desolder
any components on the PCB.
7. Place the back plate into the case. 8. Screw on the back plate.
Now that you have completed assembly of the Diverge 4, you could test and
see if everything is OK by plugging in the interconnecting TRRS cable, and
plugging in the USB C cable from the left side to the PC.
Each Diverge 4 is loaded with a default QWERTY layout, to edit the layout and
the RGB LED backlight of the Diverge 4, download Arbites from:
https://unikeyboard.io/arbites/
Please note that the right side of the Diverge 4 does not output characters to its
USB port directly by default, this is by design to prevent double pressing.
If you run into any issues with assembling or using the keyboard, please do not
consider sharing some photos of your Diverge 4 with the community.


