United Vision Solutions EV3000-PT-EXIR User manual

Ex p l o s i v e - Pro o f
PT fo r
FLIRUncooled IRCameras
EV3000- PT-EXIR
ٻ
Operation and Maintenance
Ma n u a l
United Vision Solutions, LLC.
E
V
V
3
3
0
0
0
0
-
P
P
TT
-
E
E
E
X
X
X
I
I
R
R
R
U
U
U
U
U
U
U
U
U
U
U
U
U
U
U
U
U
U
U
U
U
U
U
U
U
U
U
U
U
U
U
U
U
U
U
U
U
U
U
U
U
U
U
U
U
U
U
U
U
U
U
U
U
U
U
U
U
U
U
n
n
n
n
n
n
n
n
n
n
n
n
n
n
n
n
n
n
n
n
n
n
n
n
n
n
n
n
n
n
n
n
n
n
n
n
n
n
n
n
n
n
n
n
n
n
n
n
n
n
n
n
n
n
n
n
n
n
iii
i
iiii
i
i
i
i
i
i
i
i
i
i
i
i
i
i
i
i
i
i
i
t
t
t
tt
t
t
t
t
t
t
t
t
t
t
t
t
t
t
t
t
t
t
t
t
t
t
t
t
t
e
e
e
e
e
e
e
e
e
e
e
ee
e
e
e
e
e
e
e
e
e
e
e
e
e
e
e
e
e
e
e
e
e
e
e
e
e
e
e
e
e
e
e
e
e
e
e
e
e
e
e
e
e
e
e
d
d
dd
d
d
d
d
d
d
d
d
d
d
d
d
d
d
d
d
d
d
d
d
d
d
d
d
d
d
d
d
d
d
d
d
d
d
d
d
d
d
d
d
d
d
d
d
d
d
d
d
d
d
d
d
d
d
d
d
d
d
d
d
d
d
d
d
d
d
d
d
d
d
d
d
d
d
d
d
V
V
V
V
V
V
V
V
V
V
V
V
V
V
V
V
V
VV
V
V
V
V
V
V
V
V
V
V
V
V
V
V
V
V
V
V
V
V
V
V
V
V
V
V
V
V
V
V
V
V
V
V
V
V
V
V
V
V
V
V
V
V
V
V
V
V
V
i
i
i
i
i
i
i
i
i
i
i
i
i
i
i
i
i
i
i
i
i
i
i
i
i
i
i
i
i
i
i
i
i
i
i
i
i
i
i
s
s
s
s
s
s
s
s
s
s
s
s
s
s
s
s
s
s
s
s
s
s
s
s
s
s
s
s
i
i
i
i
i
i
i
i
i
i
i
i
i
i
i
i
i
i
i
i
i
i
i
i
i
i
i
i
i
i
i
i
o
o
o
o
o
o
o
o
o
o
o
o
o
o
o
o
o
o
o
o
o
o
o
o
o
o
o
o
o
o
o
o
o
o
o
o
o
o
o
o
o
o
o
o
o
o
o
o
o
o
o
o
n
n
n
n
n
n
n
n
n
n
n
n
n
n
n
n
n
n
n
n
n
n
n
n
n
n
n
n
n
n
n
n
n
n
n
n
n
n
n
n
n
n
n
n
n
n
n
n
n
n
n
n
n
n
n
n
n
S
S
S
S
S
S
S
S
S
S
S
S
S
S
S
S
S
S
S
S
oo
o
o
l
l
l
l
u
u
u
u
tt
t
i
i
i
o
o
o
o
o
n
n
n
n
n
s
s
s
s
s
,
,
,
,
L
L
L
L
L
L
L
L
L
L
CC
C
C
C
..
.

TABLE OF CONTENTS
Part A PTZ
1. Introduction
2. Specifications
3. Installation
4. Operation
5. Dimensional diagram
6. Communications & Protocol
Part B FLIR IR Cameras
Part C
Conduit Sealing Instructions for Equipment in Hazardous Locations
$SSHQGL[ I IR cameras maintenance
$SSHQGL[ II Glossary
Warranty

1. Introduction
The EV3000-PT-EXIR is PTZ Series Explosion proof IR Camera System, the
explosion proof camera enclosures are designed to meet the rigorous
requirements of explosion proof and dust-ignition proof electrical equipment for
installation and use in hazardous locations, and to meet the UL/cUL Hazardous
Locations Listed per NEC Division and Zone requirement:
Class I, Divisions I and II, Groups A, B, C, and D
Class II, Divisions I and II, Groups E, F, G, T5
Class I, Zone 1, AEx d IIC, Ex d IIC, T5
The electro polished Aluminumstainless steel construction makes the
EV3000-PT-EXIR ideal for either indoor or outdoor applications.
The system has an absolute operating temperature range of –25° to +50°C.
The EV3000-PT-EXIR is Pan Tilt Driver & IR Camera with built-in receiver using
Pelco-D protocol, powered by External 24 VDC Power Cable, RS-485
Communication lines, and Video Cable.
The EV3000-PT-EXIR use Ge windows for cooled and uncooled Thermal Imagers

6SHFLILFDWLRQV
G
GENERAL
Construction Aluminum / Sainless steel
Finish Electro polish
Viewing Ge Window for cooled and uncooled
Designed and manufactured to meet the
UL/cUL Hazardous Locations Listed per NEC Division and Zone
requirement
Class I, Divisions I and II, Groups A, B, C, and D
Class II, Divisions I and II, Groups E, F, G, T5
Class I, Zone 1, AEx d IIC, Ex d IIC, T5
ࣜ
ś0DWHULDOVAluminum / Stainless Steel
ś5RWDWLQJDQJOH3DQa¶7LOW a ᇹ
ś5RWDWLQJVSHHGPan :0.1ദ~12ദ/sec, Tilt :0.1ദ~6ദ/secٻ
ബ
Motor %/'&PRWRU
ബ
TemperatureȔ WRȔ
ബ
Preset 000~127(128 Presets)
ബ
InterfaceRS-485
ബ
Receiver address000~255(256 Addresses)
Default address is “1” at factory.
ബ
Baud rate2400 BPS, 4800 BPS, 9600 BPS, 19200 BPS
(Default : 2400bps)
ബ
ProtocolPELCO-D(8 Data,1 stop,No parity)
. IR Windows Quadra band IR optic
ബ
Power consumption200Watt
ബ
Input Power
Requirements
DC 24V / 10Amp

,QVWDOODWLRQ
Before operation the unit, you must read this user’s Manual thoroughly and
retain it for future reference.
Before cleaning the unit, you must remove it from the wall or bracket.
You must clean it with a wet cloth. Never use liquid cleanser.
Enough space must be ensured to installation of this P/T and never rotate
PAN/TILT housing forcibly without driving by remote controller.
Be careful not to put this unit on an unstable stand, tripod, shelf, or Table.
Do not leave the unit in a location near heat sources or humidifier.
Be careful of electric overload on the electric terminal or extension cable,
otherwise there can be risk of permanent damage.
You must stop operation this unit and never connect the connector of the
cable to the unit in case of the following situations.
zIn case of the control cable being damaged.
zWhen any liquid or unfavorable material falls into the unit.
zWhen the unit doesn’t work properly according to the instruction.
zWhen the unit fell down or the P/T was damaged.
You must make an expert examine the accessories whether they have the
same specific character when you need replacement of them.

3.1 Wiring
3.1.1 The power box must be installed near EV3000-PT within 20 ft
, and the DC24V should be supplied using AWG16 wires.
3-1-2. The built-in receiver address is set to “1” and Baud rate is set to 2400 bps,
the unit controlled using any Pelco-D keyboard.
3-1-3. Connections
/RRVHQ DOOWKHVFUHZEROWRIEDFN3ODWH

This document is based on NEC installation requirements for equipment installed in hazardous locations in the United States of
America.
Description
Conduit seals prevent explosions from spreading through conduit systems and igniting outside atmospheres. When properly installed
and filled with a UL-listed sealing compound, they prevent the passage of gases, vapors, or flames from spreading from a hazardous
location to a nonhazardous location.
The information describes the main purposes for seal fittings:
Restrict the passage of gases, vapors, or flames from one part of the conduit system to another area of the system.
Limit explosions to the sealed enclosure.
Prevent precompression, or “pressure piling,” in conduit systems.
WARNING: Failure to follow safety instructions may cause ignition of hazardous
atmosphere resulting in serious personal injury and/or property damage.
EXPLOSIONPROOF
SWITCH
IGNITABLE GASES OR VAPORS
IGNITED BY SPARK OF SWITCH
EXPLOSION CONFINED
WITHIN SEALED AREA
SF SEAL WITH DRAIN VALVE
SEALING CEMENT
POURING OPENING
FIBER DAM
Figure 1.HowGases, Vapors, and
Flames Are Contained
INSTALLATION
Conduit Sealing Instructions for
Equipment in Hazardous Locations
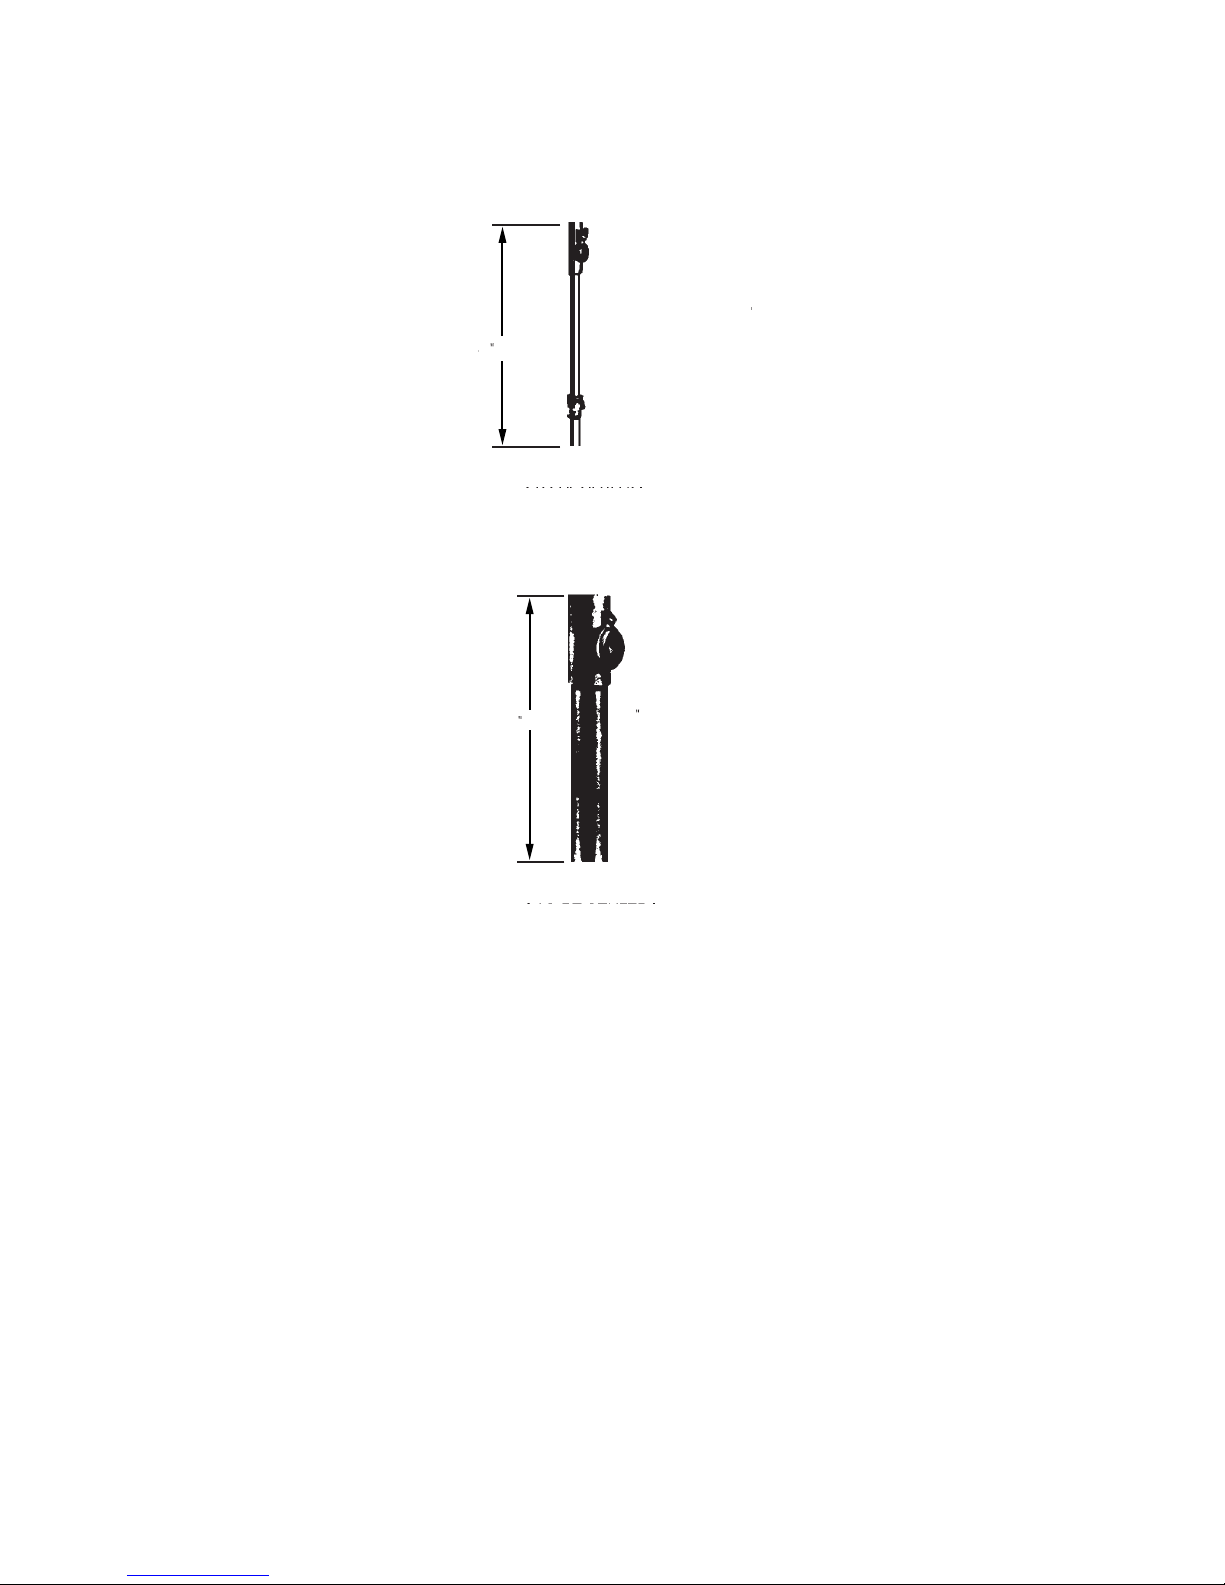
1Nipples (supplied with enclosure)
2Sealing ttings (supplied with enclosure)
3Explosionproof nipple
4Explosionproof elbow
5Explosionproof exible conduit, for Class 2 wiring
6Explosionproof exible conduit, for Class 1 wiring
7Explosionproof J-box, for connection of pan/tilt and
Class-1 camera; for ease of wire pulls, locate as close to
the pan/tilt as possible
8Sealing tting, for separation of hazardous and
nonhazardous locations

NEC SEC. 501-5 HIGHLIGHTS ON SEALING FITTING REQUIREMENTS
CLASS I, DIV. 1 AND 2
Seals must be placed in each conduit of a device that might produce arcs, sparks, or high temperatures.
Figure 2. Seals Within Conduit Smaller Than 2 Inches
If the conduit is 2 inches or larger, a seal must be placed within 18 inches of the enclosure.
Figure 3. Seals Within Conduit Larger Than 2 Inches
SEC. 501-5(A)(1)
PERMITS
EXPLOSIONPROOF
UNIONS AND
ELBOWS BETWEEN
SEAL AND
APPARATUS
ENCLOSURE.
ENCLOSURE
TO BE SEALED
18 MAX
ENCLOSURE
TO BE SEALED
2 OR LARGER
CONDUIT
18 MAX

Sealing fittings must be installed at a boundary between a hazardous and nonhazardous area. Sealing fittings must also be installed at a boundary between
a Class I, Div. 1 area and a Class I, Div. 2 area.
Figure 4. Sealing the Enclosures
Other NEC Requirements:
• Splices and taps are not to be used in sealing fittings.
• Where moisture may accumulate in system, an approved method must be provided to remove such accumulation.
• Depth of sealing compound should be to trade size of conduit, having a minimum thickness of 5/8 of an inch.
Installation
1. Run the conductors through the fitting.
2. Pack the sealing fitting with fiber filler. In a horizontal run, place the fiber filling at both ends of the fitting (refer to Figure 5); in a vertical run, fill only
the bottom end (refer to Figure 6).
Fiber filler makes a dam that keeps the sealing compound in the chamber of the sealing fitting while it cures and hardens. The fiber dam is also used
to separate the individual conductors so the sealing compound seals around each conductor. If the electrical conductors are not properly separated,
gases can migrate through the seal, making the seal ineffective.
3. Prepare the sealing compound. Use sealing compound suitable for the application and follow the instructions supplied by the sealing compound
manufacturer.
4. Pour the sealing compound into the fitting.
NONHAZARDOUS AREA
NONHAZARDOUS AREAHAZARDOUS AREA
HAZARDOUS AREA
NO UNION, COUPLING, BOX, OR FITTING IN CONDUIT
IS PERMITTED BETWEEN SEALING FITTING AND
POINT WHERE CONDUIT LEAVES HAZARDOUS AREA
ENCLOSURE
TO BE SEALED
ENCLOSURE TO BE SEALED
SEAL MAY BE POSITIONED
ON EITHER SIDE OF BOUNDARY
FIBER FILLER
SEALING
COMPOUND
Figure 6. Vertical Fitting, Damming and Sealing
SEALING COMPOUND
FIBER FILLER
Figure 5. Horizontal Fitting, Damming and Sealing

EV3000 manual
Equipment described herein may require US Government authorization for export purposes. Diversion contrary to US law
is prohibited. ©2008 United Vision solutions, Co., Specifications are subject to change. Check website:
www.unitedvisionsolutions.com
Contact us
For repair/service, or
if problem(s) still
exist after
troubleshooting
Call Customer Service
+1-413-592-8477
To order additional
items and/or
accessories
Call sales
1-413-250-0903
For application
support [email protected]
Table of contents
Other United Vision Solutions Security Camera manuals