Introduction4Apollo 16 mkII Hardware Manual
Introduction
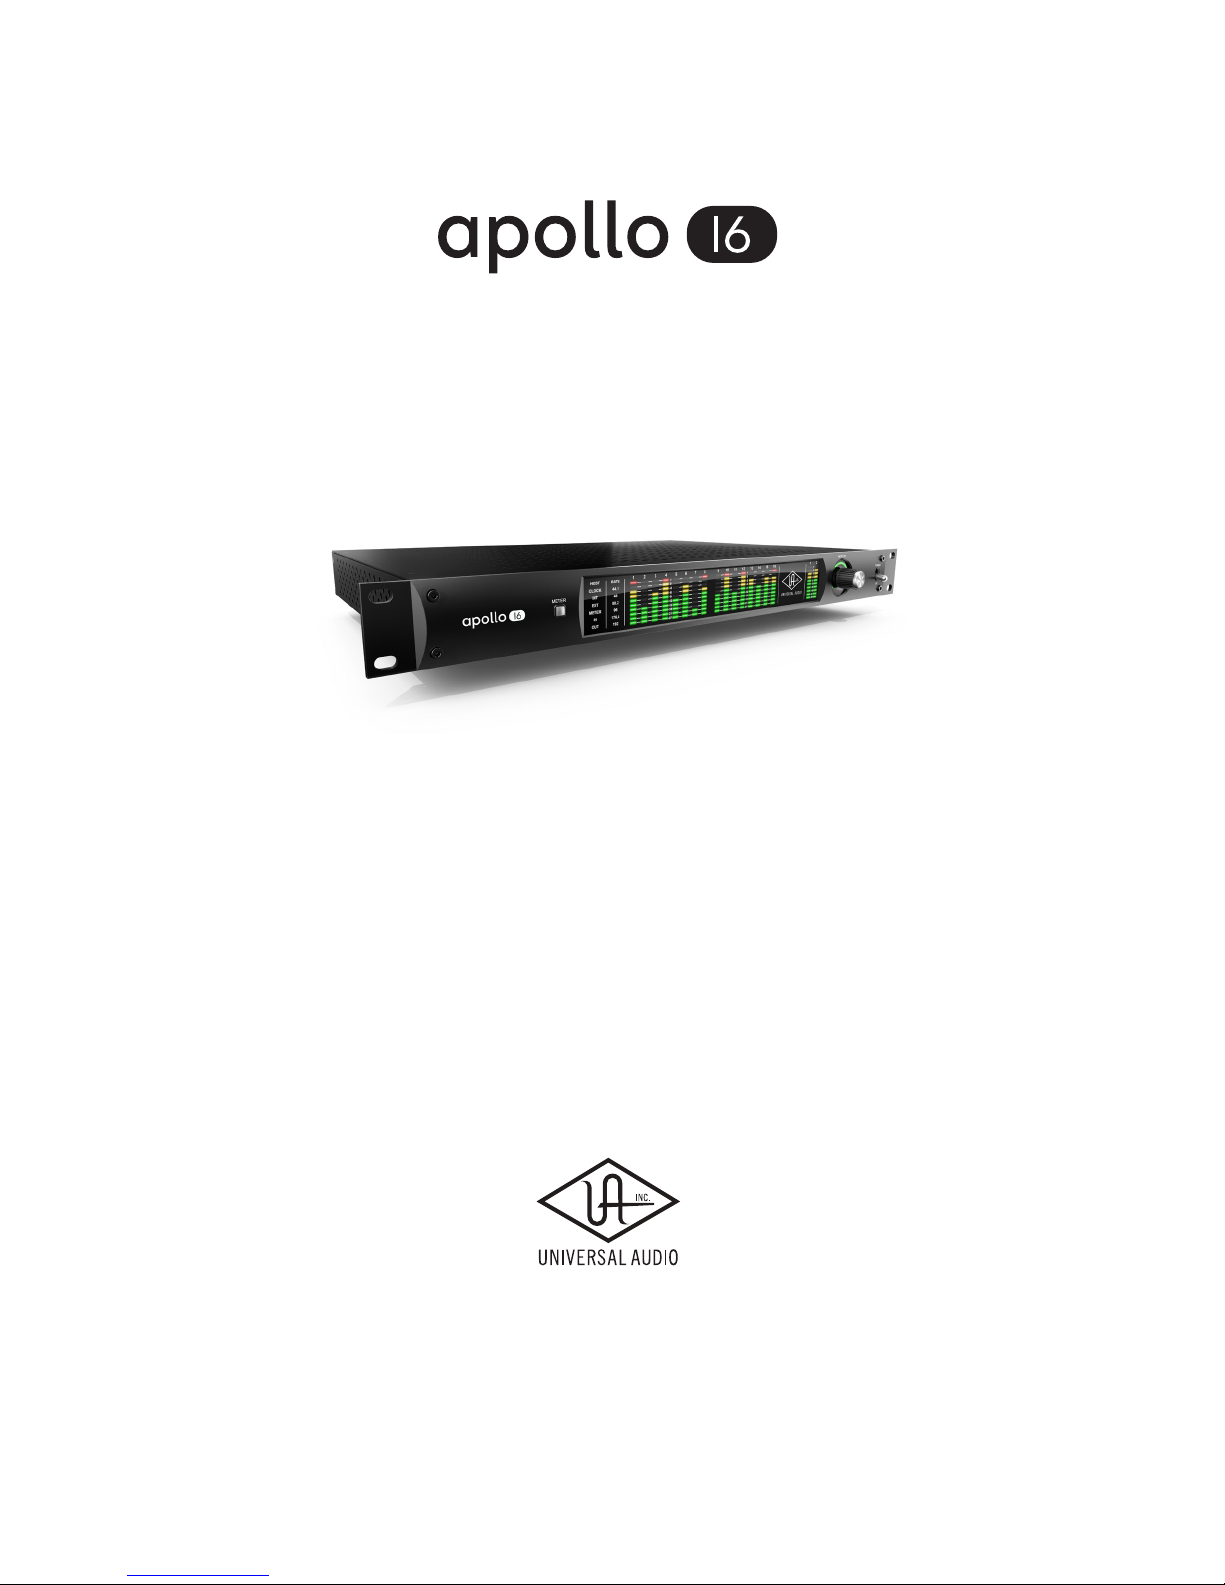
What is Apollo 16 mkII?
Thunderbolt Audio Interface with QUAD Processing
The new Apollo 16 is an elegant update to UA’s premium audio interface — delivering
enhanced sound with the tone, feel, and flow of analog recording. Perfect for professional
studios, this 18 x 20 Thunderbolt interface offers twice the analog connectivity of the
Apollo 8/8p, making it ideal for pairing with mixing consoles and outboard processors.
Apollo 16 further distinguishes itself with Realtime UAD Processing, letting you record
at near-zero latency through the full range of UAD plug-ins from Neve, Studer, Manley,
Lexicon, and more.* Apollo Expanded software now allows cascading up to four Apollos
and six total UAD-2 devices in a single system over Thunderbolt (Mac), so you can scale
up your studio as your needs grow.
With its powerful onboard UAD-2 QUAD processing, genuine UA analog design, and next-
generation A/D and D/A conversion, Apollo 16 puts class-leading audio performance in a
sleek new package.
Next-Generation Apollo A/D and D/A Conversion
Apollo 16 improves upon the original Apollo’s gold-standard audio quality with complete-
ly redesigned, class-leading digital conversion — giving you increased dynamic range and
even lower THD. This results in breathtaking clarity, depth, and accuracy in your record-
ings, from tracking and overdubbing, to mixing and mastering.
Realtime UAD Plug-In Processing for Tracking, Mixing, and Mastering
While Apollo 16’s “natural” sound is very open and transparent, it can quickly deliver a
stunning range of classic analog tones and color via its Realtime UAD Processing. Avail-
able with generous UAD-2 QUAD processing onboard, Apollo’s DSP Acceleration allows
for recording through UAD Powered Plug-Ins — with as low as sub-2ms latency — letting
you monitor and “print” audio using classic analog emulations from Ampex, Lexicon,
Manley, Neve, Roland, SSL, Studer, and more.*
The Apollo 16’s bundled “Realtime Analog Classics Plus” suite of UAD plug-ins gives
you the UA 610-B Tube Preamp & EQ, Raw Distortion, Softube Amp Rooms, legacy LA-
2A, 1176, and Fairchild compressors, Pultec EQs, and more, so you have a rack full of
bonafide audio classics, right out of the box.
Using Apollo, UAD plug-ins are also available during mixing and mastering, putting UAD
plug-ins (VST, RTAS, AU, AAX 64) at your disposal throughout the creative process.
*All trademarks are recognized as property of their respective owners. Individual UAD Powered Plug-Ins
sold separately.