Apollo Twin Hardware Manual Chapter 1: Introduction4
Chapter 1: Introduction
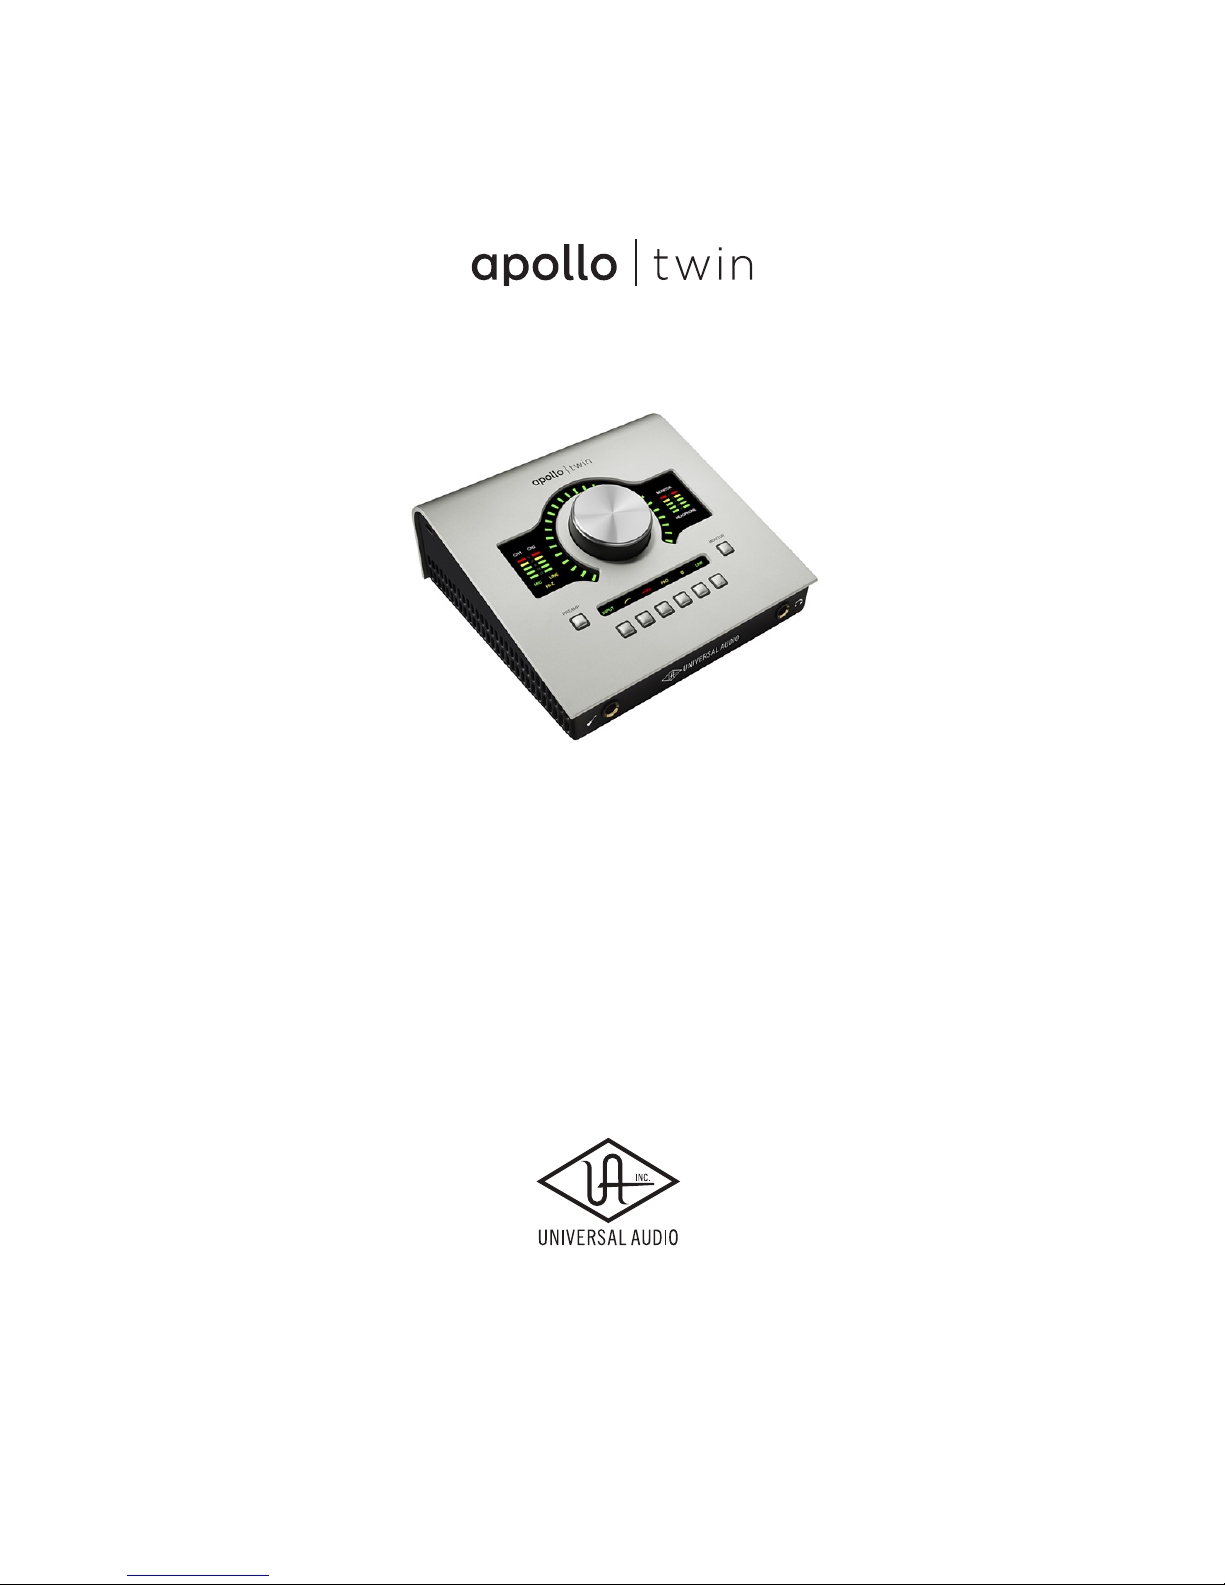
Welcome to Apollo Twin
High-Resolution Desktop Music Production with Classic Analog Sound
Apollo Twin reinvents desktop recording by deliver-
ing legendary analog studio sound, feel, and flow to
music creators everywhere. This 2x6 Thunderbolt
audio interface for Mac combines the same impec-
cable 24/192 kHz audio conversion of Universal
Audio’s acclaimed Apollo series with onboard Real-
time UAD SOLO or DUO Processing. Plus it intro-
duces new Unison™ technology, a breakthrough in
classic mic preamp emulation. Record your music
in real time (at near-zero latency) through the full
range of UAD plug-ins — from Neve, Studer, Man-
ley, Lexicon, API and more* — putting racks of
vintage EQs, compressors, mic preamps, tape ma-
chines, reverbs, and guitar amps at your fingertips.
A Universal Audio breakthrough, Apollo Twin’s
Unison technology gives you the tone of the world’s
most sought-after tube and solid state mic preamps
— including their all-important impedance, gain
stage “sweet spots,” and component-level circuit
behaviors. Based on unprecedented hardware-soft-
ware integration between Apollo’s mic preamps and
its onboard UAD plug-in processing, Unison lets
you record through stunning emulations like the
bundled UA 610-B Tube Preamp plug-in.
Note: For complete Unison details, see the
Apollo Software Manual.
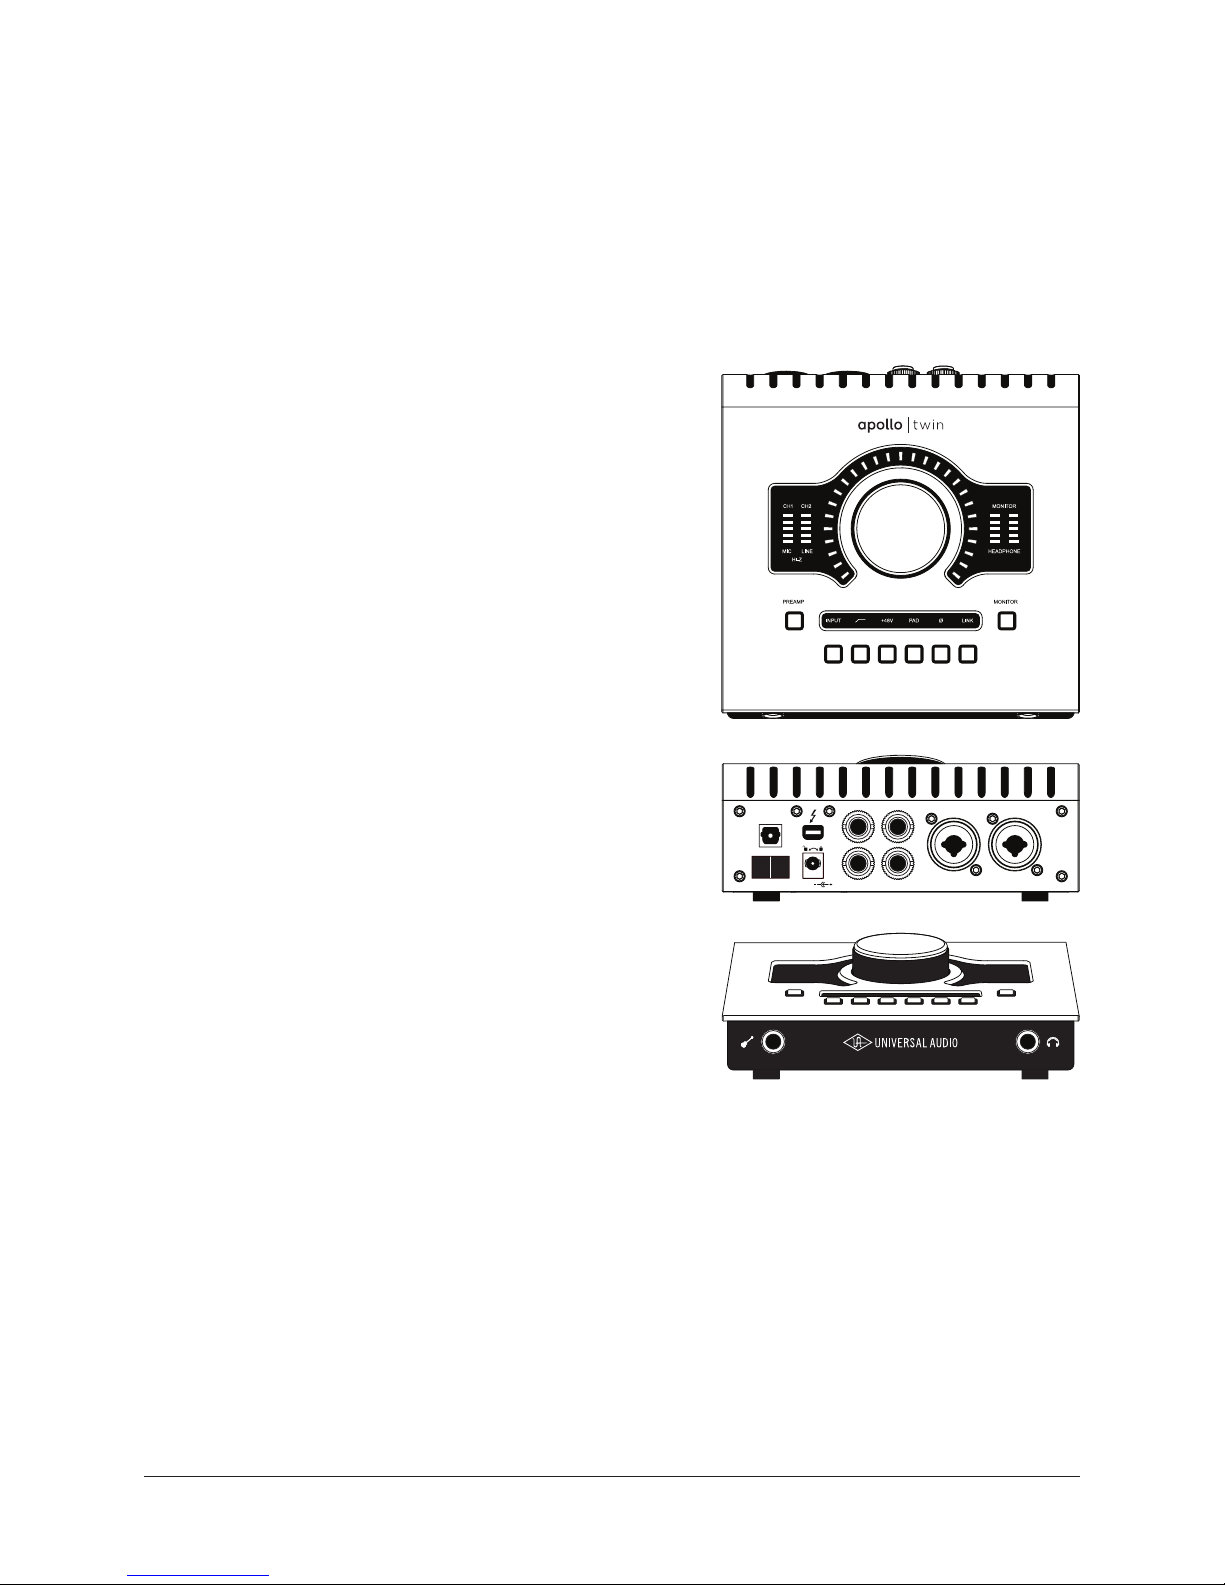
Apollo Twin’s smart feature set includes two class-leading mic/line preamps, two analog
line outputs, two digitally controlled analog monitor outputs for full resolution at all lis-
tening levels, and up to eight additional channels of digital input via Optical connection.
Onboard UAD SOLO or DUO Processing lets you use UAD plug-ins both during realtime
tracking and for mixing within Pro Tools, Cubase, Logic, Ableton Live, and more.
With its ergonomic desktop design, rugged aluminum construction, and front panel head-
phone and instrument connections, Apollo Twin has all the right tools, all in the right
place.
MIC/LINE 1
MIC/LINE 2
3 L
4 R
LINE OUT MONITOR
OPTICAL IN
OFF ON 12VDC
POWER
*Apollo Twin includes the “Realtime Analog Classics” UAD plug-in bundle. All other plug-ins are sold separately at
www.uaudio.com. All trademarks are property of their respective owners.