Universal Laser Systems ULS-25 User manual

OPERATION MANUAL
ULS-25 LASER SYSTEM
Universal Laser Systems, Inc.
16008 North 81st Street
Scottsdale, AZ 85260
Phone: 602-483-1214
Fax: 602-483-5620
Volume I, Rev. 6
April 1995

2
TABLE OF CONTENTS
NOTICE.......................................................................................................................................4
INTRODUCTION........................................................................................................................5
SECTION 1 -SAFETY
1.1 LASER SAFETY............................................................................................................6
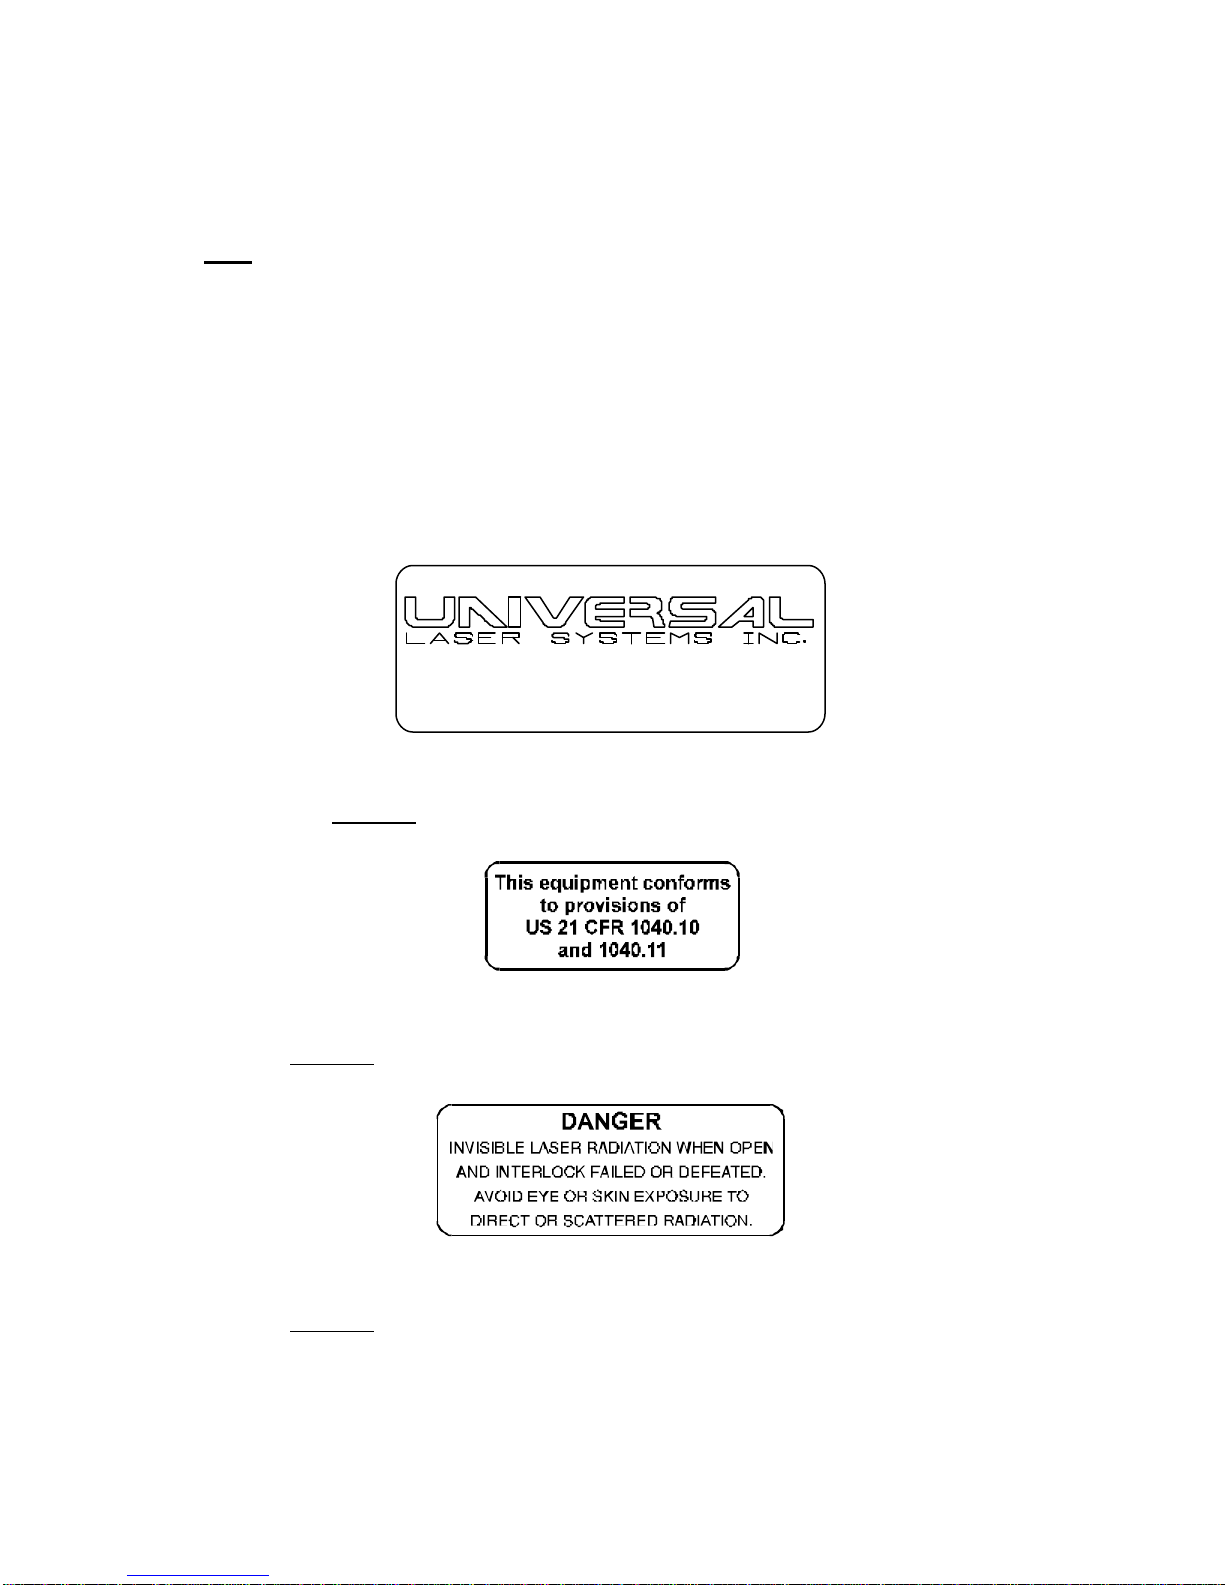
1.2 SAFETY LABELS..........................................................................................................7
1.3 THE SAFETY INTERLOCK SYSTEM .........................................................................8
SECTION 2 -INSTALLATION
2.1 UNPACKING AND ASSEMBLING THE SYSTEM ....................................................9
2.2 OPERATING ENVIRONMENT....................................................................................11
2.3 EXHAUST SYSTEM REQUIREMENTS.......................................................................12
2.4 COMPUTER RECOMMENDATIONS AND SETUP...................................................13
2.5 LASER SYSTEM INSTALLATION..............................................................................13
2.6 HOW TO INSTALL THE ULS WINDOWS PRINTER DRIVER .................................14
SECTION 3 -SOFTWARE SETUP AND OPERATION
3.1 USING WINDOWS GRAPHICS SOFTWARE ............................................................16
3.2 THE ULS WINDOWS PRINTER DRIVER...................................................................21
3.3 USING DOS BASED PROGRAMS ..............................................................................26
SECTION 4 -LASER SYSTEM OPERATION
4.1 GENERAL SYSTEM OVERVIEW................................................................................27
4.2 THE MAIN CONTROL PANEL ...................................................................................28
4.3 MOTION SYSTEM CONTROLS .................................................................................38
4.4 LOADING AND FOCUSING THE LASER SYSTEM..................................................39
4.5 RUNNING A SAMPLE.................................................................................................41
4.6 USING THE OPTIONAL ROTARY FIXTURE.............................................................42
4.7 THE RUBBER STAMP OPTION ..................................................................................48
4.8 START UP PARAMETERS FOR VARIOUS MATERIALS .........................................51
SECTION 5 -BASIC MAINTENANCE
5.1 GENERAL CLEANING OF THE SYSTEM..................................................................77
5.2 OPTICS CLEANING.....................................................................................................72
SECTION 6 -APPENDICES
APPENDIX A -WARRANTY..............................................................................................A
APPENDIX B -LASER SYSTEM SPECIFICATIONS .......................................................B
APPENDIX C -SERIAL PORT CABLE REQUIREMENTS ...............................................C
APPENDIX D -LASER.INI MODIFICATIONS.................................................................D

3
APPENDIX E -SOFTWARE ANOMALIES .......................................................................E

4
This publication and its contents are proprietary to Universal Laser Systems, Inc., and are intended
solely for the contractual use of Universal Laser Systems, Inc. customers.
This publication and its contents may not be reproduced or distributed for any other purpose without the
written permission of Universal Laser Systems, Inc.
© UNIVERSAL LASER SYSTEMS INC., 1994
ALL RIGHTS RESERVED
NOTICE
Universal Laser Systems, Inc. does not assume any liability arising out of the application or use of any
products, circuits or software described herein. Neither does it convey a license under its patent rights
nor the patent rights of others. Universal Laser Systems, Inc. further reserves the right to make any
changes in any products described herein without notice. This document is subject to change without
notice.

5
INTRODUCTION
The ULS-25 Laser System is designed to combine flexibility and full featured performance with
simplicity and ease of use. Using advanced engineering and design, the ULS-25 offers finer control,
higher precision, more versatility, better resolution, and overall greater quality than any other laser
system in its class. It combines the performance of high speed engraving and cutting capabilities with the
ease of a user friendly, specially designed, Windows printer driver interface. Actually, the ULS-25 is
such a breakthrough in technology that it is more than just a laser system, it is a precision engraving and
cutting device used as a tool for the imagination.
To begin with, we highly recommend that this entire manual be read before attempting to use the laser
system. The manual includes important information about the safety, assembly, use, and maintenance
of the laser system. We cannot overemphasize the importance of reading the owner's manual
completely.
Where to get HELP:
If it is necessary to call for technical assistance, please call our technical support services at (602)483-
1214. Please be prepared to answer our questions by following the procedures below, as this will
allow us to provide assistance in a prompt and efficient manner:
mTake a moment to write down all of the pertinent information about the computer
being used with the laser cutting and engraving system such as software, operating
system and computer type.
mTry to recreate the problem and write down the circumstances in which the problem
occurred. This will help our technical staff tremendously.
mIf possible call from a phone that is close to the laser engraving system so that the
system can be operated while talking with our technical support staff.

6
SECTION 1 -SAFETY
1.1 LASER SAFETY
This laser engraving system contains a sealed carbon dioxide laser produces intense and invisiblelaser
radiation (at a wavelength of 10.6 microns in the infrared spectrum). The ULS laser engraving system is
designed as a CLASS I device, meaning that the system is equipped with a protective housing and
safety devices to completely contain the laser under normal use. Do not at any time attempt to modify
or disassemble any part of the system and do not attempt to operate a system that has been modified or
disassembled. Improper use of controls and adjustments or performance of procedures other than
those specified in this manual may invalidate the Class I rating and result in exposure to the laser beam.
Please remember the following safety precautions when operating this laser cutting and engraving
system:
1. Exposure to laser radiation may produce physical burns and can cause severe eye damage.
Proper use and care of this system is very important to the safety of all people in the surrounding
area.
2. Exposure to the laser beam may cause ignition of combustible materials so a properly maintained
fire extinguisher should be kept on hand at all times.
3. Operation and care of this laser cutting and engraving system must be performed in accordance
with this manual.
4. Dangerous voltages are present within the electronics and laser enclosures of this system.
Although access to these areas is not necessary during normal use, if it becomes necessary to
open one of these enclosures for service reasons please remember to UNPLUG THE
MACHINE FIRST.
5. Never operate the laser system without properly exhausting the fumes generated by the cutting
and engraving process.
6. Please contact ULS with any questions concerning laser safety before operating this system.
Note: ULS systems are specifically designed to comply with CDRH performance requirements
under 21CFR 1040.10 and 1040.11. No guarantees of suitability or safety are provided for
any use other than those specified by Universal Laser Systems, Inc.

7
1.2 SAFETY LABELS
According to CDRH standards, all interlocked and non-interlocked covers that allow access to a laser
beam must have appropriate laser safety labels attached to them. These labels must be visible to
personnel prior to the removal of the covers. Additional labels must be installed inside the machine and
be visible if the covers are removed from the machine. Labels that provide the manufacturer's name,
date of manufacture, description of product, model number, serial number and compliance statement
must also be visible on the outside of the machine.
All CDRH required labels are properly affixed to the machine in the appropriate locations at the time of
manufacture. These labels are not to be removed. If they become damaged or removed for any
reason, please request additional labels from Universal Laser Systems (they will be provided free of
charge). Below is a list of all the labels and their locations on the system.
Laser Processing System Manufactured By:
Scottsdale, Arizona
Model No:
Serial No:
Date of Manufacture: Made in USA
Manufacturer's Label
Location: On the back of the machine in the lower left corner.
CDRH Compliance Label
Location: On the back of the machine below the Manufacturer's Label.
Warning Label for Interlocked Panels and Doors
Location: On the outside of the top door, on the inside of the top door
(visible when door is open), on the outside of the front door, on the
inside of the front door (visible when door is open) and next to the
defeat interlock tool receptacle.

8
Exposure Warning Label
Location: Near the beam window inside the system where the laser
beam enters the work area and next to the beam aperture inside the
second mirror housing.
Warning Label for Non-interlocked Panels
Location: On the second mirror cover (visible when the electronics cover
is open or removed) and on the floor of the second mirror housing (visible
when the second mirror cover is removed).
1.3 THE SAFETY INTERLOCK SYSTEM
The laser cutting and engraving system incorporates a safety interlock circuit that automatically shuts off
the power supplied to the laser whenever the front or top door is opened. This interlock system is
connected in series with a switch and a red indicator light on the control panel of the system. The switch
allows the power to the laser to be manually turned on and off. The red indicator light will light up when
power is being supplied to the laser. If at any time the red indicator light remains on when the front or
top door is open, immediately unplug the system and call Universal Laser Systems for service
instructions.
WARNING:
Do not attempt to modify or defeat the safety interlock system for any reason as this could
result in exposure to hazardous laser radiation.
WARNING:
When using the interlock defeat tool, wear appropriate laser safety goggles. Failure to wear
appropriate goggles can result in severe eye damage.

9
SECTION 2 -INSTALLATION
2.1 UNPACKING AND ASSEMBLING THE SYSTEM
The laser engraving machine is shipped in one crate that contains the system, a cart with casters and
various accessories. The following steps outline the unpacking and assembly of the system. Please
follow these steps carefully.
IMPORTANT
Save the shipping crate. If the system must be returned for
service, it will have to be packed in its original shipping crate.
1. Remove the top and four sides from the wooden shipping crate. Remember, after the laser
engraving system is assembled, store the flattened crate in a dry place.
2. Remove the cart panel and accessories box from the crate. The cart panel is shipped between two
pieces of foam in front of the laser engraving system and the accessories box is shipped behind the
system underneath the enclosure with the four fans mounted on it.
3. Carefully remove the foam which protects the viewing window on the top of the system and remove
the tape which holds the top door in place.
4. Remove the box containing the two cart legs. This box is shipped inside the laser engraving system.
To remove the box, open the top lid of the system and raise the engraving table by turning the
engraving table adjusting knob clockwise until the table is raised high enough to free the box
underneath it. Then open the front door of the system and slide the box out through the front
opening.
5. Open the accessories box and remove the four black casters and the bag of hardware. The
hardware bag should contain the following:
(8) 10-32 Allen head screws
(8) #10 lock washers
(4) 1/4-20 Allen head screws
(4) 1/4 " ID flat washers
(1) 5/32 inch Allen wrench
(1) 3/16 inch Allen wrench
A 3/4 inch wrench provided in the accessories box is needed to complete the stand assembly.
6. Using the smaller Allen wrench, attach the two legs to the center panel with the eight 10-32 Allen
head screws and #10 lock washers as shown in the figure below.

10
7. Attach the four black casters to the cart by threading the casters into the nuts that are welded onto
the bottom of each leg. Tighten each caster in place with the 3/4 inch wrench. There are two
locking and two non-locking casters provided. Make sure when attaching the casters that the
locking casters are installed on the front of the cart. To identify the front of the cart look at the
center panel. The finished side of the center panel should face forward (see figure below).
Assemble cart with
lockable casters in front
Use 10-32 screws and
lock washers
View is from the
back side of the cart
Cart Assembly
8. When the cart is assembled, position it so that the finished side of the center panel is facing
forward.
9. Lift the laser engraving system from the crate and place it on the cart. This will require two people
as the machine weighs approximately 170 lbs.
10. Using the larger Allen wrench, attach the system to the cart using the four 1/4-20 Allen head
screws and flat washers. The screws pass through the cart legs and into the bottom of the system
as shown in the drawing below.

11
Attaching Cart to Laser System
2.2 OPERATING ENVIRONMENT
Before the system is installed, choose a suitable location. Follow the guidelines below:
mAvoid places where the system may be exposed to high temperatures,
dust, or high humidity (humidity exceeding 70% or where the
temperature is near the dewpoint). The laser system should be installed in
an office type environment.
mAvoid places where the system may be exposed to high levels of vibration
or electrical noise. We recommend using a high quality surge protector
(15 Amp capability) to protect the laser engraving system's electronics.
mAvoid small enclosed areas where ventilation is poor.
mChoose a place where the ambient operating temperature will remain
between 60 and 75 degrees Fahrenheit.
mChoose a place which provides a short and direct path to the exhaust
duct work (not provided).
mIf planning to connect the laser engraving system to a computer through
the parallel port, choose a location where the computer can be placed
within 10 feet of the machine since this is the recommended maximum
distance for a parallel cable.

12
2.3 EXHAUST SYSTEM REQUIREMENTS
To properly exhaust fumes and smoke from the laser engraving system during operation, it is necessary
to provide an exhaust unit moving a minimum of 235 CFM at 6 inches of static pressure. Many
industrial supply companies carry blowers that should meet these requirements.
THROUGH OUR RESEARCH WE HAVE ESTABLISHED GUIDELINES ON THE PROPER CFM
RATINGS REQUIRED FOR THE EXHAUST SYSTEM. THESE RATINGS ARE BASED ON THE
MEASURED DISTANCE BETWEEN THE EXHAUST OUTLET ON THE LASER SYSTEM AND
THE INLET OF THE EXHAUST BLOWER. WE HAVE FOUND A SUITABLE SUPPLIER FOR
THIS TYPE OF EQUIPMENT IF YOU CHOOSE NOT TO USE THIS SUPPLIER, PLEASE
ENSURE THAT THE BLOWER THAT YOU PURCHASE MEETS OR EXCEEDS THE
FOLLOWING SPECIFICATIONS.
DISTANCE BETWEEN
BLOWER AND LASER CFM RATING AT
6 INCHES STATIC PRESSURE
UP TO 7 FEET 235 @ 6 INCHES STATIC PRESSURE
8 -14 FEET 410 @ 6 INCHES STATIC PRESSURE
15 -22 FEET 535 @ 6 INCHES STATIC PRESSURE
23 -30 FEET 625 @ 6 INCHES STATIC PRESSURE
The blower must be mounted on the outsideof the building either on the roof or on a cement pad next
to the building. Rigid duct work should be used between the blower unit and the laser system. The
exhaust tubing should be smooth walled and have as few bends as possible. Use duct work with a
diameter that matches the blower unit and reduce the duct work to four inches just before the point
where it attaches to the laser system. Also consider installing a gate to control air flow and to close off
the exhaust from the outside environment when the laser is not in use. This is especially useful in colder
climates where it is not good to have cold air coming into the laser from the outside. Do not connect the
rigid duct work directly to the laser system. Use a short piece of industrial grade, wire reinforced
rubber tubing to connect the end of the gate, or tubing, to the laser system. This will provide mobility
and will dampen blower vibrations. Do not use a very long piece because it’s spiral construction
reduces air flow. Install a hose clamp on both ends of the hose to prevent leaks and to prevent the hose
from slipping off.
Having the blower wired to a wall switch in the same room will make it easy to turn it off and on.
WARNING
Do not attempt to operate the laser engraving system without a properly installed and
operating exhaust system. Some materials when cut or engraved can produce fumes
that are hazardous in concentrated amounts.

13
We recommend installation of the exhaust system by a licensed contractor to meet safety and local code
requirements. Please contact a local air quality control specialist. Again, if there are any questions,
please contact our technical support.

14
Sample Exhaust System Layouts

15
2.4 COMPUTER RECOMMENDATIONS AND SETUP
The following computer configuration is the minimum requirement necessary to operate in the Windows
environment. Using a computer with more speed, memory, and storage capacity will enable the
graphic images to be produced faster. A faster computer will perform calculations quicker and will
shorten download time to the laser system. Remember, the following is the minimum requirement:
m386 or higher PC compatible computer
m4 MB of RAM
m100 MB hard drive
mOne floppy disk drive
mColor VGA monitor
mMouse
mMicrosoft Windows version 3.1
mWindows compatible graphics program
The same configuration can be used for CAD systems except Windows 3.1 and a Windows graphics
program would not be necessary.
2.5 LASER SYSTEM INSTALLATION
CAUTION: Please make the following connections in the exact order described otherwise
static electricity can damage the computer and/or the laser system’s electronics.
1. Connect one end of the AC power cord into the receptacle on the right side of the laser system
next to the on/off switch. Then connect the other end of the power cord to a 110 volt 60 Hz AC
outlet through a good quality surge suppresser. Do the same for the computer system.
2. Make sure both the computer and laser engraving system are plugged in and turned OFF, then
connect the laser engraving system to the computer using either a serial or parallel connection..
We recommend the use of a Parallel port connection because it normally provides the best
performance. Refer to the following diagram.

16
Cabling Connections
2.6 HOW TO INSTALL THE ULS WINDOWS PRINTER DRIVER
Installation of the ULS Windows Driver will allow Microsoft Windows version 3.1 to interface with the
laser engraving system. This driver is installed the same way as most other Windows printer drivers,
and a simple step-by-step installation procedure is outlined below. Complete understanding of how
Microsoft Windows works is essential to the operation of the laser system. Please consult the
Windows owner's manual on its installation, use, and operation before continuing.
Installation Procedure for the ULS Windows Driver:
1. Start Microsoft Windows, open the Main group in the Program Manager and choose the
Control Panel icon. The Control Panel window should open up.
2. Choose the Printers icon from inside the Control Panel window. The printers dialog box should
appear.
3. Press the Add button. The dialog box should expand to include a list of printer drivers as shown
in the figure below.

17
Printers Dialogue Box
4. Select "Install Unlisted or Updated Printer" and press the Install button. The Install Driver
dialogue box should appear as in the figure below asking for the location of the new driver.
Add Unlisted Printers Dialog Box
5. Insert the floppy disk containing the Universal Laser Systems Windows Driver into the
appropriate disk drive and type the letter of that drive in the Install Driver box.
6. Press the OK button. A new dialogue box called "Add Unlisted or Updated Printer" should
appear. Choose the appropriate laser system from the list and press the OK button. The driver
should now install itself and the laser system should appear in the “Installed Printer” dialog box.
7. Highlight the laser system and click on “Connect”. Select the port the laser system is attached to.
NOTE: A check box named “Fast Printing Direct to Port” located on the bottom of the dialog
box should NOT be checked, otherwise file transmission errors can occur. Select OK.
8. Now you MUST click on SETUP to initiate the installation of the driver. The driver settings
screen will now appear. Select OK in the lower right hand corner.
9. Setting the laser system as the default printer and using Print Manager are of personal preference.
At this point, exit the Printers dialogue box and the Control Panel window. Printer driver
installation is now complete. Store the driver disk in a safe place.

18
SECTION 3 -SOFTWARE SETUP AND OPERATION
3.1 USING WINDOWS GRAPHICS SOFTWARE
Page Setup
To properly generate and position artwork, most graphics software will permit the customization of the
page size and orientation. Set the page orientation, in the graphics software to Landscape, and the
page size to a horizontal length of 17 inches and vertical length of 11.5 inches. The ULS driver’s
orientation and page size MUST then be set to match these specifications, otherwise the artwork may
not print correctly. When setting page orientation and driver orientation to Landscape mode, the laser
system will operate in the horizontal direction, left to right. If page orientation and driver orientation is
set to Portrait mode, the laser system will operate in the vertical direction, forwards and backwards.
The laser system is designed to operate best in the Landscape mode and this orientation is highly
recommended. The page size may also be reduced to match the size of the engraving material, but
remember to adjust the page size in the ULS Windows printer driver to correspond to the graphics
software’s page size. Note that in production situations it is often more efficient to leave the page size at
its maximum of 17 x 11.5 inches and engrave or cut more than one object at a time. This is
accomplished by duplicating the image on screen as many times as necessary to fill up the entire page.
Ruler Setup
Usually the graphics software will provide on-screen rulers which can be configured to match the rulers
in the laser system. Using rulers in the software and matching them with the ones provided in the laser
system gives the ability to correctly align the graphic on the screen with the material in the laser system.
The laser system’s origin is fixed in the upper left corner of the engraving area and cannot be altered. It
is necessary to change the ruler position on screen to match the laser system with the origin (0,0) in the
upper left corner.
It is also possible to use a page size smaller than the maximum engraving area. For example, if an 8 x
10 inch page size is desired, set this page size in the graphics software as well as the ULS Windows
printer driver. The laser system will automatically move the engraving area to the origin so place the 8 x
10 inch object all the way up into the left hand corner against the rulers in the laser system.
Power Control Through Color Selection
The laser system allows the use of 8 different colors to access 8 different power settings when cutting
and engraving. This feature is controlled by the ULS Windows printer driver if using Microsoft
Windows. When using this power change feature with the ULS Windows printer

19
driver, the colors that are used MUST exactly match the colors listed in the driver. The colors are
black, red, green, yellow, blue, magenta, cyan, and orange. Some programs will provide these
basic colors pre-defined and other programs may require the creation of each of the colors by defining
them in CMYK percentages. If the eight driver colors are not automatically provided in the software,
use the chart below to create the eight driver colors by specifying the appropriate CMYK values:
COLOR CYAN MAGENTA YELLOW BLACK
BLACK 0 % 0 % 0 % 100 %
RED 0 % 100 % 100 % 0%
GREEN 100 % 0 % 100 % 0%
YELLOW 0 % 0 % 100 % 0%
BLUE 100 % 100 % 0 % 0%
MAGENTA 0 % 100 % 0 % 0%
CYAN 100 % 0 % 0 % 0%
ORANGE 0 % 60 % 100 % 0%
If using a color other than the exact colors listed above, the driver will attempt to match it to a color in
the driver that it most closely resembles. The driver will then use that color’s power setting and apply a
halftone pattern to represent the original color’s shade. For example, if using a color like pink to fill a
rectangle, the driver takes a reading of the percentage of different colors used to create that color and
will use the power setting assigned to one of the eight colors of the driver that it most closely resembles.
It might be expected that the driver will use the power setting assigned to the color red but instead the
driver may choose the magenta setting and halftone the rectangle as a representation of the pink color’s
lighter shade. To prevent the incorrect assignment of laser power, be sure to use the right colors. If
using graphics with colors other than the eight listed above or to simplify the assignment of power
settings, try using the B/W Raster feature in the driver. This feature will cause the system to only use
the power setting assigned to the color black and halftone all of the other colors.
Outlines and Fills
The ULS Windows driver distinguishes between raster mode (engraving) and vector mode (cutting) by
the type of graphic artwork being used. Basically all graphics other than outlines of very thin line widths
will be interpreted as engraved images and the raster mode will be used for output. If laser cutting is
desired, set the line thickness of the lines that are drawn in the graphics software to .001 inches or the
smallest possible line thickness that is available. The printer driver will interpret these objects as vectors
and will cut them out. The use of color fills or bitmaps will cause the laser system to engrave. The
combination of engraving and cutting is available in most Windows graphics software. We suggest that
when combining engraving and cutting objects, use different colors for the fills and outlines since
engraving requires different power settings than cutting objects. One thing to keep in mind when
creating cutting objects is that if the outline thickness is set too thick, the driver might interpret the
outline as a filled object and will engrave the outline instead of cutting. At times this might be desirable if

20
engraving thick outlines is desired. The outline thickness at which the driver will interpret cut lines as
filled objects is dependent on the software used. Usually, any line thickness .008 inches or greater will
engrave. The only way to determine the cross over point for line thickness is to experiment with
different line widths. Software programs that do not have outline capabilities will not have the ability to
cut.
Image Processing Order
When cutting or engraving a graphic image, the laser system will perform all engraving first, then
proceed to cutting. Engraving will proceed in the exact order of the colors listed in the driver. For
example, all black filled objects will engrave first, then all red filled objects, then all green filled objects
and so on. When all engraved objects have been completed, the laser system will proceed to cut any
outlines present in the artwork. Unlike engraving, cutting will proceed in the order from which the
outlines are drawn regardless of color. There are several different ways to control the order in which
the outlines are cut. One way is to draw them in the exact order in which they need to be cut, but this
is not always practical. Another way is to select the outline in the graphics software and “send it to the
back," behind the other objects, to cause the outline to be cut first. Bringing the outline “to the front”
will cause that outline to cut last. A final way is to cut and paste each outline in the cutting order
desired. This effectively works the same way as the two previous suggestions.
Overlapping Fills
If the artwork created has overlapping filled areas, the driver will automatically filter these fills to
prevent the overlapped area from being engraved twice. This is similar to color separation in the
printing industry. The entire filled area of the object on top will be engraved and only the visible part of
the underlying filled area will be engraved. The final result is a what-you-see-is-what-you-get output.
In this way the color white can be used as an effective drawing tool. Since the laser system will not
engrave the color white (this is the background color), it can be used to block out the undesired
engraving areas of filled regions and/or bitmaps.
Overlapping Outlines
The ULS Windows printer driver does not filter outlines that overlap each other. If placing one outline
one on top of another, both outlines will be cut by the laser system. This is a useful feature that will
allow deeper cutting by passing the laser over a single outline path twice or more. To take advantage of
this feature, duplicate the outline on top of itself.
Table of contents