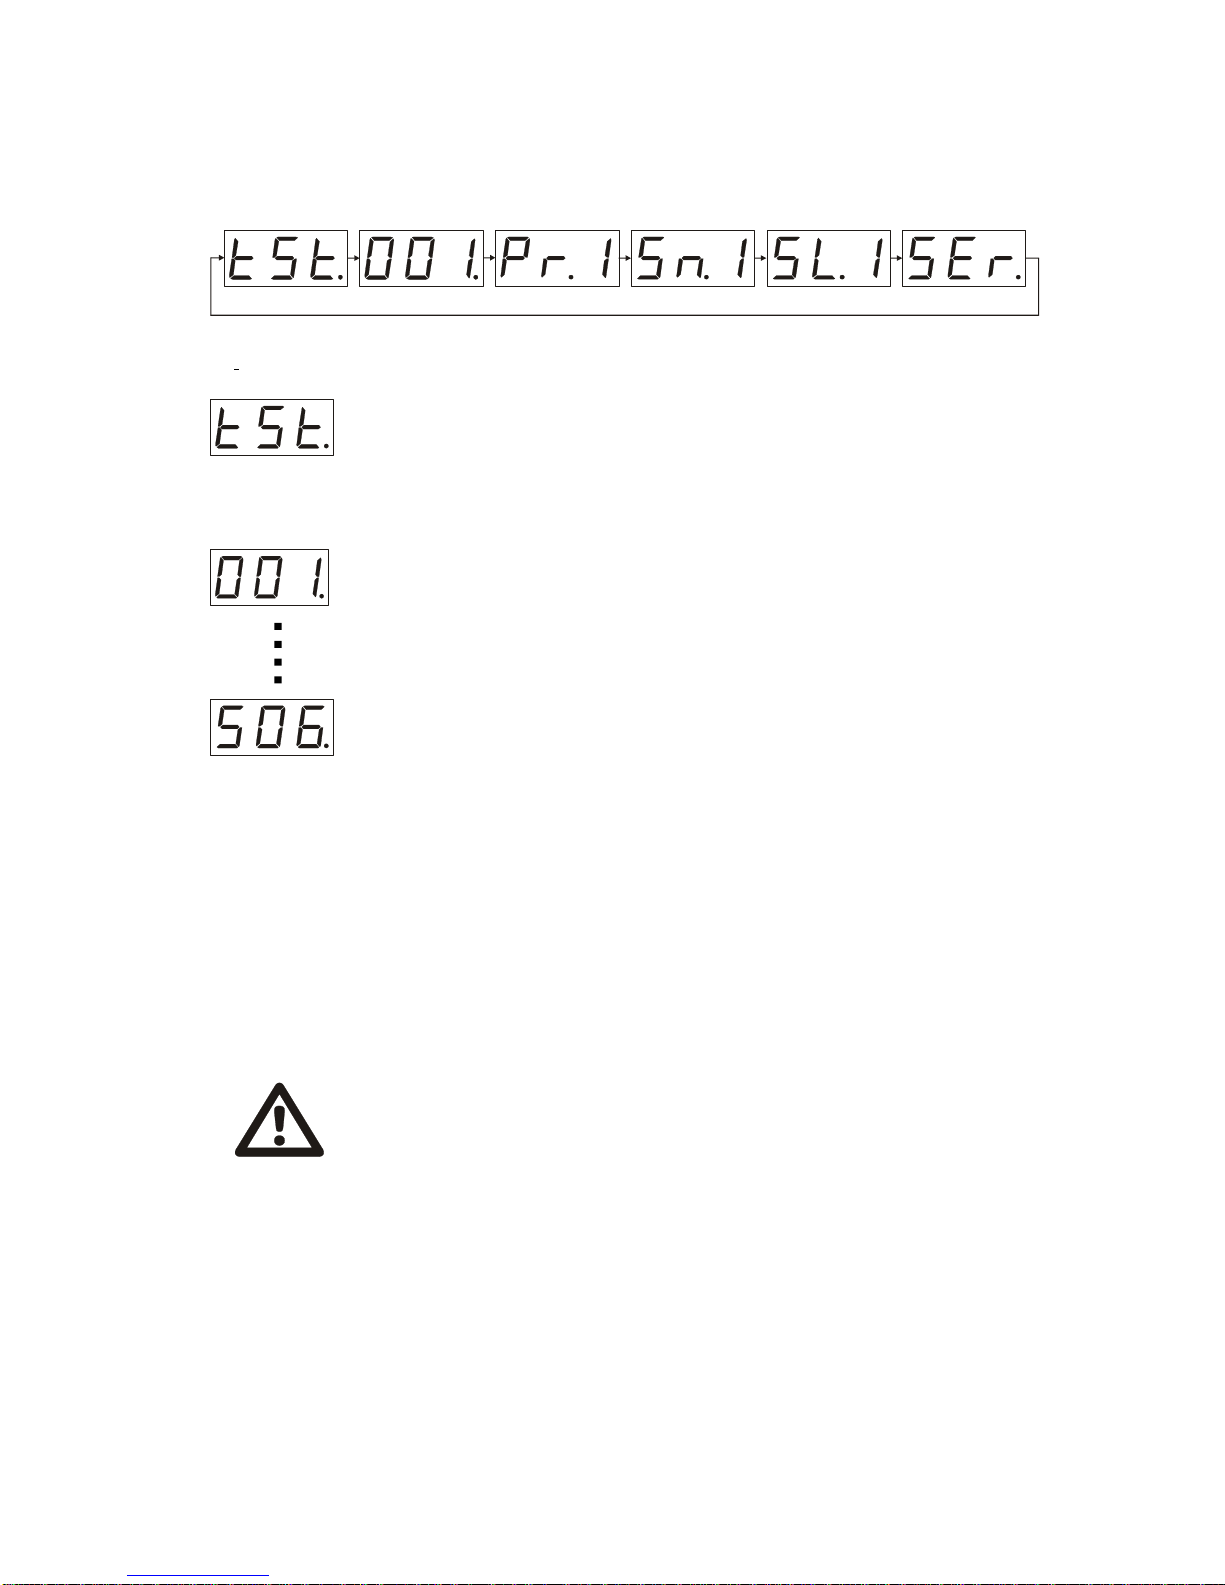
Universal MIRAGE User manual

MIRAGE
OPERATIONSMANUAL
English Language

Introduction
Congratulationson purchasing a Mirage. This state ofthe art automated professionalluminaryincludes
the latest featurebacked by1 yearwarranty.Priorto use, we suggest that you carefullyread all ofthe
instruction.
1.
Features
•360 degree pan (panoramic movement)
•340 degree tilt(verticalmovement)
•11colors,pluswhite and rainbow effect
•8 gobos
•Strob effect(5flashespersecond)
•Temperaturefilter5600K
•4 internalprogramswhichcan be run with orwithout sound animation
•DMX 512 capability
•Blackout
•Adjustablefocus
•Unitsmaybe run synchronouslywith orwithout a controller
•Invertion ofpanoramic and verticalmovement
Cautions
1. Otherthanto change the bulb,do not opentheunit. There are no userserviceable part
inside. Referto qualifiedservice personnel forservice. This unitshouldbecleanedonlywith
a damp cloth.Avoidsolventsand othercleaning detergents.
2. NEVEROPENTHISUNITWHENITISHOTAND/ORISCONNECTEDTOAPOWERSOURCE.
3. NEVERUSE THISUNITIN AWETAND/ORDUSTYENVIRONMENTORIN THEOPENAIR.
4. KEEPTHEUNIT’SOPTICSCLEANTOAVOID LIGHTPOWERDECREASE.

Spesification of details
Safetycable
installation place
Bracket
BracketBolt
6х16
2.
Bulbadjastment
screw
DMXout
DMXin
Power
switch
Power
connector
BulbPanel
Cooling Fan
Cooling Fan
BulbPanel
Screw
Objective
Lens
Focusing
Screw
“ENTER”Button
“MODE”Button
“UP”Button
“DOWN”Button LCD Dislay
Base
Head
Support Moving Head

Operation
1. Plug the unitto the powersourcebymeansofthe powercord.
Put the powerswitchon the bodyofa unit in“on”.
WARRNING !
Afterswitching the uniton you can for4secondsfill the vibration and noiseofthe steppermotorsgetting
inthe starting position, it’sa normalprocedure whichwill harm you inthe beginning onlyand is normalat
everystartofeachsession.
2. Using “up” and “down” buttonsyou can shiftthe operation mode ofthe “mainmenu”
-Test
-DMX controllermode
-Internalprogram
-Sound activated mode
-Slave mode
-Service mode
3. Press “Enter” button to confirmthe chosen mode.
3.
BulbInstallation/Replacement
1. Beforeopening the unit, makesurethat the unit
iscooland itisnot connectedto anypower
source.
2. Removethe 2screwsfromthe rearpartofthe
unit.
3. Pull back the coverwith lampholderand the
bulb.
4. Install /Replacethe bulb.
5. Closethe coverand replacethe screws.
Note: Sometimesafterchanging the bulb, you will need to adjust itin the reflectorusing the three screws
surrounding thelampholder.Tomakethis processmoreconvenientpleasekeeptothefollowing procedure:
Set the unitinthe “Service”option (see p# 7 fordetails).
After thischose“Manual operation” ( see p#11for details).
Putthe channel“Dimmer” tofull capacity,set“Color” and “Gobo”toawhitecircleproduced on the light-colored wall or
plane surface3-4mdistant.
Rotating three regulating screwsmakethe whitespot evenlybright .

Mainmenu
You can shiftthe different operation modesbeing in the “mainmenu” Eachtime you beginthe
operation you couldsee on the LCD displayone ofthe itemsofa whole “mainmenu”:
DMXcontrollermode
Chainthe DMX controllerusing an XLR cable (is not included)to a DMX connectorof
aunit.
(1st contact– ground, 2nd contact «-», 3rd contact«+»)
Aftergetting inastarting position the unitwouldbe readyto startinthe operation mode
ithasbeen put beforeyou plugged itto the powersource. Using “up” and “down”
buttonsset on LCD displaythe three digitnumberfrom001 to 506 which wouldbe the
channelnumberofthe unit. Tochange the numberpress ”mode” button the number
wouldblinkoperating with “up” and “down” buttonsshiftto the desirablenumberofa
channelandpress “enter” button.Theunitwill getinstartingposition andwouldoperate
inaccordance with the chosen numberofa channel.
Mirage obtains7 DMX channels
1. COLOR
2. GOBO
3. DIMMER(brightness ofthe bulb)
4. PAN
5. TILT
6. PAN/ TILTSPEED
7. SERVICECHANNEL
Test mode
Tocheck the unit’sfunctioning abilityis apriortask ofthe “testmode”. With the helpof
“up” and “down” buttonsget the LCD displayshow “tst” (“testmenu”), then press
“enter” button,aftergettinginastartingposition(asdescribedbefore)theunitwilloperate
inatestprogramfinishing whichitwill shiftto a“Sound activated mode “ the “tst”
indication wouldblink.
Use “up” and “down” buttonsto choosethe operation mode you need Let’shavealookat the pointsof
the “mainmenu” morethoroughly.
4.
WARRNING !
IftheDMXchainlacks aunitorsomething is wrong with thecontrollertheLCD
displaywouldblinkevery2seconds. Whenoperation is normal theLCD displayis
stable.
Thesignallevelof aDMXchanneland the functioning of aunit
CHANNEL1(COLOR)
0-9white 100-119 crimson
20-39 blue 120-139 red
40-59 yellow 140-159 darkgreen
60-79 darkblue 160-179 orange
80-89 green 180-199 magenta
200-219 rose

0
255
224
192
160
128
96
64
32
34
67
100
134
175
201
235
255
0
CHANNEL4(PAN) CHANNEL5(TILT)
5.
CHANNEL3(DIMMER)
0–the bulbis switched off* 255-the brightness is 100%
*the fan is slowing it’srotation getting to the noiseless operation
CHANNEL6(PAN/ TILTSPEED) the speed ofthe motorsrotating the head ofthe unitin
panoramic and verticaldirections.
0 – minimumspeed 255-maximumspeed
CHANNEL2(GOBO)
0-19 closed 110-129
20-29 strobe 2flashespersecond 130-149
30-39 strobe 3.5 flashespersecond 150-169
40-49 strobe 5flashespersecond 170-189
50-69 190-209
70-89 210-255
90-109
CHANNEL7 (SERVICECHANNEL)
0-19 DMX controllermode
20-39 Internalprogram# 1
40-59 Internalprogram# 2
60-79 Internalprogram# 3
80-99 Internalprogram# 4
100-119 Shiftinternalprogramsrandomly
120-139 Sound activated mode in accordance with internalprogram#1
140-159 Sound activated mode in accordance with internalprogram#2
160-179 Sound activated mode in accordance with internalprogram#3
180-199 Sound activated mode in accordance with internalprogram#4
200-219 Sound activated mode in accordance with internalprogramrandomlychosen
220-249 Blackout (the bulbis offrotation is stopped)
250-255 Reset
To activate a mode the levelofthe 7th DMX channelmust be stable for1.5 second ormore

6.
Internalprogrammode
Toshiftfromone program to anotherpress the ”mode” button (the channelnumberon
theLCDdisplaywouldblinkUsing “up” and “down” buttonsyoucanchosetheprogram
number.Press “enter” button, aftergetting ina starting position (asdescribed before)
the unitwill operate inatestprogramyou havechosen .When you shiftto “Pr.-“ ofa
“programmenu”. The unitwouldrandomlychoosethe programfromthe fouroptional.
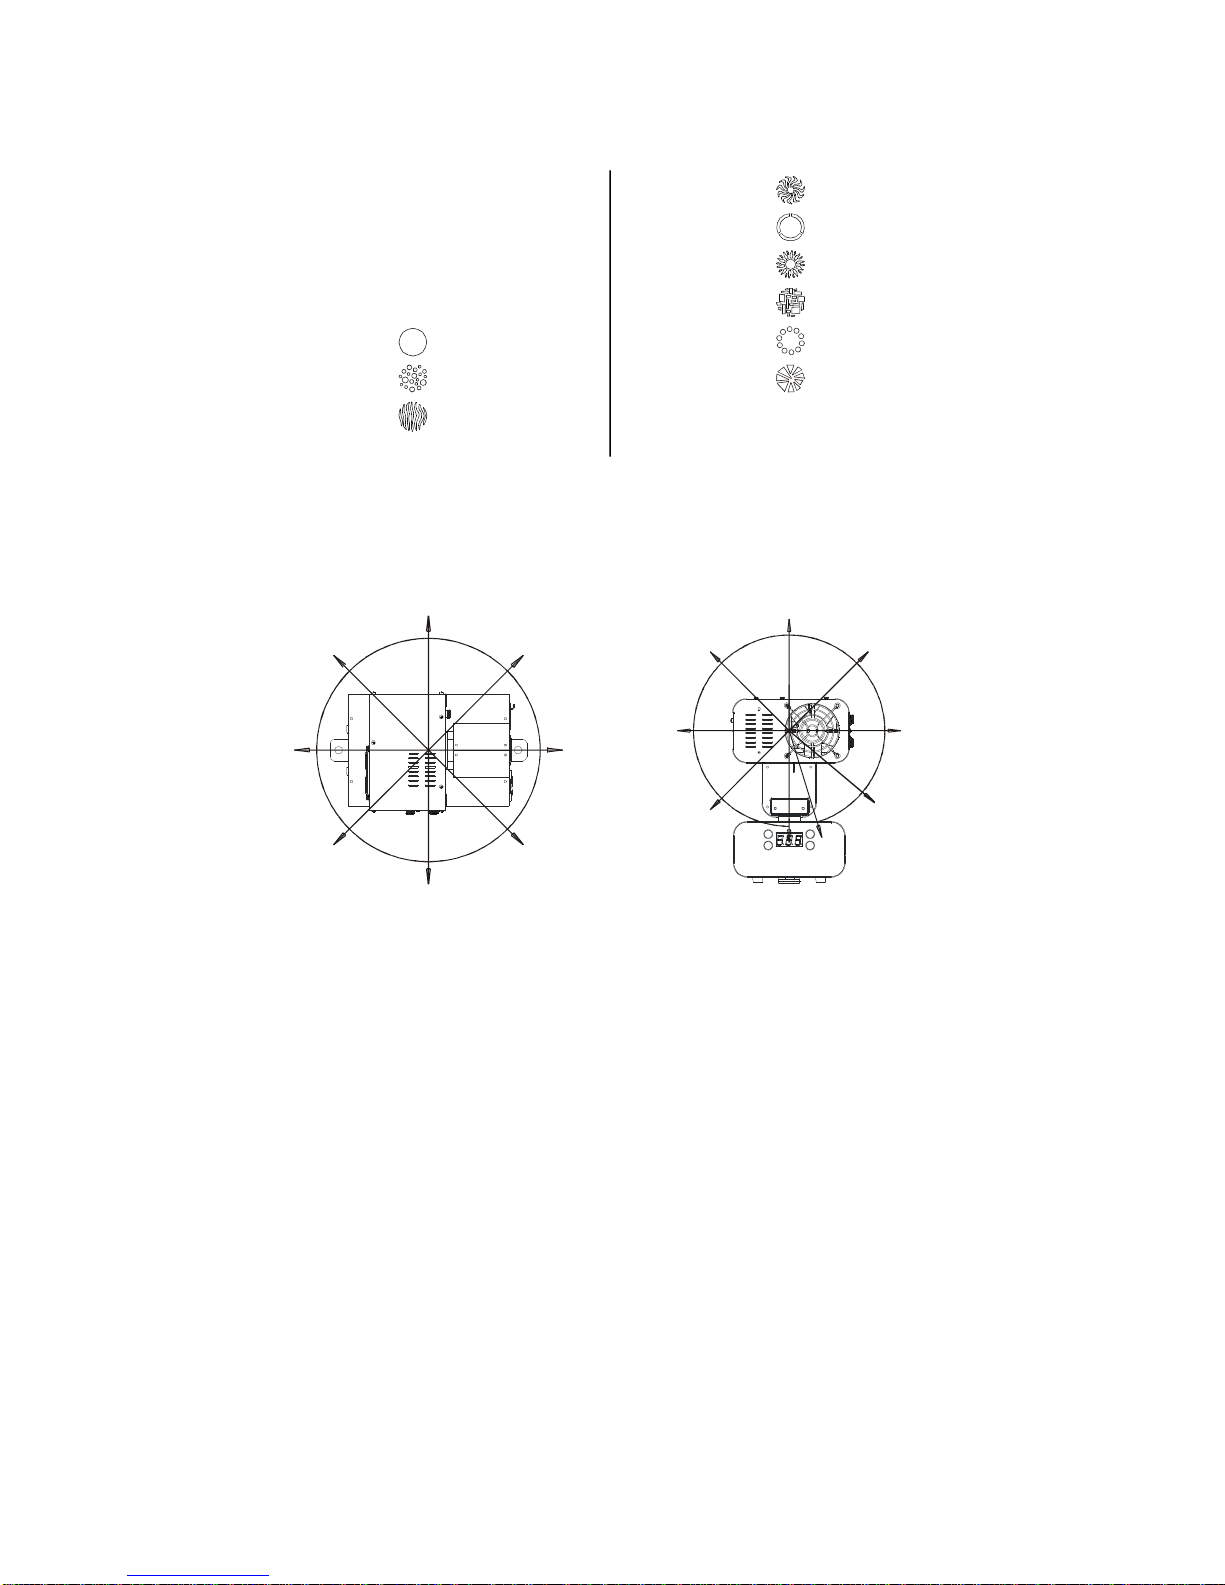
Sound activatedmode
This mode meansthat the operation is taking placeautomaticallyinaccordancewith
the music pressurenot lowerthan 40 Db reaching the builtinmicrophone ofthe unit.
After3secondsoffunctioning inthis kind ofthe mode the builtinprocessorfindsout the
rhythmand choosesa propertilt and pan rotation speed .
You obtain5 sound activated programs.
Tochoseaneeded one press the ”mode” button (the numberon the LCD displaywould
blink)Using“up” and“down” buttonsyoucanchosetheprogramnumber.Press“enter”
button,aftergettinginastartingposition itoperatesinachosen programof “Snmenu”.
When you get the “Sn.-“ on the LCD displaythe unitrandomlywouldchoosethe sound
activated programnumber
WARRNING !
Themusic pause for6secondsormoretheunitswitches offthebulband resume
its work afterthemusic starts once more.
Slave mode
Tothe unitoperating ineither Internal programmode or Sound activatedmode can
be linked 4groupsof“slave”units.Eachgroup couldcontainseveralunits,the number
ofthemdependson the qualityand the length ofthe DMX cable. Starting this operation
mode you get “SLmenu” with fouroptionson the LCD displayfromSL.0 up to SL.3 .
The “slave”with “0”will operate synchronicallywith “master” other3 indexesshow the
numberofstepsthe “slave”unitis behind the ”master”.Tostartwith this operation
pleasefollow thesesteps:
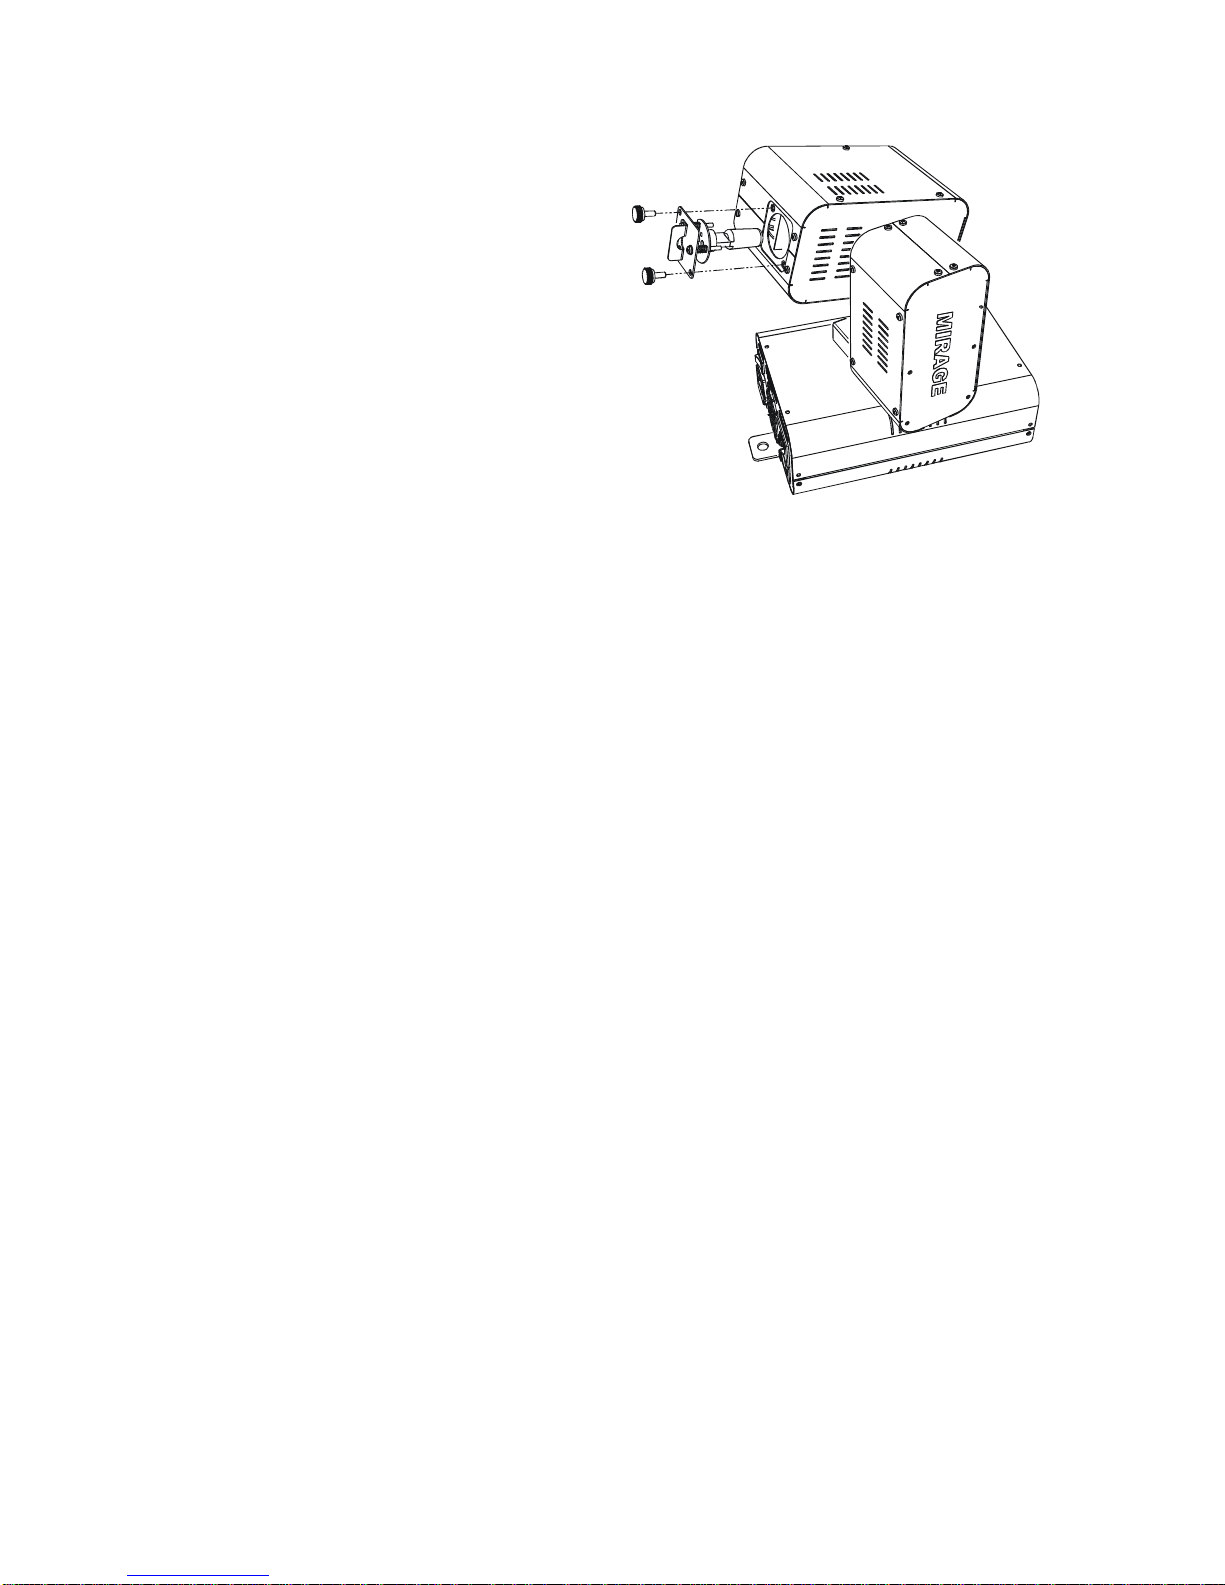
1. Chainthe unitsbymeansofDMX (specialcablewith XLR connectors)cables(not
included)asitis shown on the picturebelow.
2. Set the “master” unit eitherin Sound activatedmode orin Internal programmode
3. Use “up” and “down” buttonson the “slave”unituntil you get on the LCD display
“SL.0“.Ifyou wantthe “slave”tobe somestepsbehind the “master”during theoperation
session press the ”mode” button (the numberon the LCD displaywouldblink)Using
“up” and “down” buttonsyou can choosethe program number.Press “enter” button,
aftergetting inastarting position the unit operatesina chosen program.
“”
MASTER
“1”
SLAVE
“2”...
SLAVE
WARRNING !
Ifsomething is wrong (you haveinstalledmorethanone“master”unitorthe
chainof “master”and “slave”unitsis connectedto theDMXcontrollertheLCD
displaywouldblinkevery2seconds. Whenoperation is normal theLCD displayis
stable.

7.
Service mode
With the helpofthe “up” and “down” buttonsset “SEr”on the LCD display(“Ser
menu” is a high levelmenu represented on the picture below).
Accumulatedoperating time info
Afterdisplayshows “SEr” press the ”mode” button with the helpof “up” and “down”
set “inF” on theLCD display,afterthat press “Enter” button itwill open menu (“inf
menu”):
Тonavigate inthis portion ofmenu use “up” and “down” buttons,to choosethe item
ofmenu press the ”mode” button , doing so you will see “blb.” (“bulbmenu”) press
“Enter” to proceed or”mode” button to quit.
Navigating bypressing “up” and “down” buttonsyou can find the totaloperating
timeafteryou set “tot” on the LCD display then press “Enter” the numberwhich
appearswill show the accumulated operating timeofthe bulbintensofhours(ifyou
havegot an additionaldot aftersecond unitplus10000 hoursto the numberon
displayand 20000 ifthe dot appearsafterthe firstone).
Examples
– the total accumulated operating timeis 5000 hours
– the total accumulated operating timeis 15370 hours(10 000 +
5370)
To returnto “ inf menu” press “Enter”
Navigating in “bulbmenu”using “up” and “down” buttonsset “rES” on display,
then press “Enter” and you find out an accumulated operating time ofthe lastbulb
(intensofhours).
Examples
– the operating timeofthe lastbulbis 10 hours
When you replaceabulband want to startacounterfromzeropoint you need being
inthe “rES menu” topress andholdthe ”mode” buttonnot lessthan for3seconds.

8.
Afterthat set “tot” on the LCD display press “Enter” the numberwhichappearswill
show the accumulated operating timeofaunitintensof hours(if you havegot an
additionaldot aftersecond unitplus10000 hoursto the numberon displayand
20000 ifitappearsafterthe firstone)
Ifyouareinterestedintheaccumulatedoperatingtimeoftheunitfollowtheprocedure
the wayyou havedone dealing with the accumulated operating timeofthe bulb. For
this purposebeeing in“inf menu” with the helpof “up” and “down” buttonsset
“Unt “on display, then press ”mode” button and you get inside of“Unitmenu“.
Navigating in “Unitmenu“using “up” and “down” buttonsset “rES”,then press
“Enter” and you get an accumulated operating time afterthe lastmaintenance(in
tensofhours).
Example
– the total accumulated operating timeis 10100 hours
(10000 +100)
Afterscheduled serviceto startthe counterofoperating timefromzerobeing in
“rES”menu point press and holdthe ”mode” button not less than for3 seconds.
Example
120. – the operating timeofthe lastbulbis 1200 hours
Properindication on the LCD display
In orderto get the data from LCD display when the unitis installed upside -down you
can change the represented data on the LCD displayfromnormalto the upside-down
reflection.
Starting fromthe “Sermenu” (see the previouspage forthe explanation how to get
there).Afterdisplayshows “SEr” press the ”mode” button with the helpof “up” and
“down” buttonsset “dSP” on the LCD display , then press “Enter” doing soyou will
open “ dSP menu” (“dSP menu”)to navigate inthis portion ofmenu use “up” and
“down” buttons
Ifyou get “UP” on displayitmeansthat the represented data is normalforthe unit
whichis standing on the floor.
When displayindicates “dn” itmeansthat the reflected data is normalforthe unit
installed upside-down (inthis casethe dotsarenot reflected on the display).
Pressing “Enter” inboth caseswouldactivate the up orupside-down reflection
accordingly.

9.
Processorvertion
In “SEr menu” afterdisplayshows “SEr” press the ”mode” button, then withthe help
of “up” and “down” buttons you get set“CPU” on the LCD display,afterthat press
“Enter”.This information couldbe ofhelpwhen you address to the servicecenter.
Rotation direction
In “SEr menu” afterdisplayshows “SEr” press the ”mode” button with the helpof
“up” and “down”set “dir” on the LCD display,afterthat press “Enter” button itwill
open “ dirmenu” (see below).
Tonavigateinthis portion ofmenuuse “up” and “down” buttons.The firstindexonthe
LCD display showsthe direction ofrotation ofthe “pan”motorthe lastindex–the
direction ofrotation ofthe “tilt”motor: “n”– normal,“r”- reversed.
To choosethe combination needed press “Enter” button
Examples
– “pan”rotation – normal, “tilt”rotation – normal.
– “pan”rotation – reversed “tilt”rotation – normal
– “pan”rotation – normal,“tilt”rotation – reversed
– “pan”rotation – reversed, “tilt”rotation – reversed
Regulation of the builtinmicrophonesensitivity
Being in“SEr menu” press the ”mode” button , then with the helpof “up” and
“down” buttonsyou set “SEn” on theLCD display, then press “Enter” you will get
“S.08” asitshown on the picture:
Switchon the music reproduction sourcewith acquired pressureand using “up” and
“down”buttonsget the displayblinkinaccordancewith the music rhythm,press
“Enter” button then press ”mode” button to get to the “mainmenu”.
Choose “Sound activatedmode” press “Enter” button to confirmyourchoice.

10.
Limitation of “Pan”and “Tilt”angles
Being in“SEr menu” press the ”mode” button with the helpof “up” and “down”
buttons set “AnG” on the LCD display afterthat press “Enter” itwill open “AnG
menu” (see below).
Tonavigate this part ofmenu use “up” and “down” buttons
You woulddeal with three options:
No limitation of“Pan”and “Tilt”angles.
“Pan”-180 grad. and “Tilt”without limitation.
“Pan”-90 grad. and “Tilt”90 grad.
Defaultoptions
Being in“SEr menu” press the ”mode” button with the helpof “up” and “down”
buttons set “dEF” on the LCD display afterthat press “Enter” and holditfor6
secondstill the moment the “dEF” on the displaywill stop to blink,press ”mode”
button to return to the “mainmenu”.
Doing this you will returnto the following options:
1. The rotation of“pan”“tilt”motorswill get back to normalin the “dirmenu”.
2. No limitation of“Pan”and “Tilt”anglesinthe “AnGmenu”.
3. The builtinmicrophone sensitivitywill be S.08 inthe “SEnmenu”.
Manualoperation
Being in “SEr menu” press the ”mode” button with the help of “up” and “down”
buttons set “Con” on the LCD display afterthat press “Enter” itwill open “ Con
menu” (“Con menu”)
You will need ”mode” button. to navigate this particularmenu .
Tocontrolthe unitinthis manualoperation mode you need to dealwith “up” and “down”
buttons.Toquitpress “Enter”

•111141 Moscow, 1-stproezdPerova polya 8, tel. +7(495)368-8740, FAX+7(495)306-3291
www.uplighting.ru E-mail: info@uplighting.ru
Moscow 2012г.11.
Specifications
Voltage ………………………………………………… 230 Vor(110 voptional)
Working …………………………………………………………. Mode long term
Colors…….......................... 11dichroic colors,pluswhite and rainbow effect
Gobos……………………………………………….. 1wheelwith 8fixed gobos
Bulb………………………………………………24V250 WtHLX64657 (EVC)
Weight …………………………...……………………………...… 3.9 kg(8.6 lbs)
Dimensions………… ………….. 236 x170 x265 mm (9,2 x6,7 x10,4 inch.)
Table of contents
Popular Dj Equipment manuals by other brands

German Light Products
German Light Products Impression XL user manual

Beamz professional
Beamz professional BWA412 instruction manual

Lightmaxx
Lightmaxx Vega spot 60 user manual

EuroLite
EuroLite LED PST-15W MK2 WW user manual

ETC
ETC Source Four LED Series user guide

Iluminarc
Iluminarc LOGIC CVS Quick reference guide

Equinox Systems
Equinox Systems EQLED162 User manuals

Beamz professional
Beamz professional Pandora 1200 instruction manual

auna
auna Areal 525 manual

American Audio
American Audio PSX - REV 1-2 User guide and reference manual

ETC
ETC Desire series General information

Serato
Serato RELOOP TERMINAL MIX 2 quick start guide