Univerter 15-100 User manual

CE
EG-FÖRSÄKRAN OM ÖVERENSSTÄMMELSE
UNIVERTER AB
Ölandsgatan 51 B
116 63 Stockholm
Sverige
Intygar att konstruktion och tillverkning av denna produkt överensstämmer med följande direktiv och standarder.
1. 2006/42/EC
2. SS-EN 60745 -1: 2009
Produktnamn:
Borstverktyget
Artikelnummer: 15-100
CE-märkningen blev gjord:
2015
Stockholm 2015-01-20
________________________________
Bengt Liljedahl
Product Manager

Bruksanvisning Borstverktyget
Innehåll:
1. INTRODUKTION
2. TEKNISKA DATA
3. ANVÄNDNINGSOMRÅDE
4. ALLMÄNNA SÄKERHETSFÖRESKRIFTER
5. ÖVERSIKTSBILDER
6. MONTERING
7. SÄRSKILDA SÄKERHETSFÖRESKRIFTER
8. HANDHAVANDE
9. FÖRVARING
10. SEVRVICE OCH UNDERHÅLL
11. MILJÖ
1. INTRODUKTION
Denna manual innehåller viktig information om hur produkten används samt eventuella säkerhetsrisker. Användaren uppmanas att läsa
manualen före användning. ( och vara särskilt uppmärksam på dessa symboler)
Vi reserverar oss för möjligheten att illustrationer och beskrivningar av enstaka detaljerinte alltid stämmer helt överens med verktyget.
Exempel på sådana detaljer kan vara färger eller utformning och placering av knappar och reglage.
Förvara manualen på en säker plats i anslutning till verktyget. Vid en eventuell försäljning ska manualen följa med verktyget.
2. TEKNISKA DATA
Varvtal…..… ej överstigande 4000 rpm
Ljudtryck (Lwa):……………….……104dB (A)
Vibrationsnivå……….…………≤ 12,5 m/s²
Säkerhetsklass……………………. I
Mått…………………………………….18 x 29 x 26 cm
Vikt………………………………………1,4 kg
3. ANVÄNDNINGSOMRÅDE
Borstverktyget 15-100
¤ är konstruerad för slipning av trä eller färg på träfasad.
¤ har tillbehör/ borste med inbyggda slipkorn.
¤ Borsten formar sig mot ojämna underlag som träfasad eller liknande.
4ALLMÄNNA SÄKERHETSFÖRESKRIFTER
Vid arbete med verktyget bör följande alltid beaktas. Använd verktygetmed försiktighet och beakta noga säkerheten för personer och
egendom som befinner sig i verktygets arbetsområde.
4.1 ARBETSOMRÅDE
¤ Städa regelbundet. Damm, avfall och bråte på en arbetsplats ökar risken för olycka, brand och explosion.
¤ Arbeta inte i mörker eller dålig belysning.
¤ Förvara explosiva eller brandfarliga vätskor och gaser utanför arbetsområdet.
¤ Håll barn och obehöriga utanför arbetsområdet.
¤ Ha förbandslåda och telefon tillgängligt.
4.2 Personlig säkerhet
¤ Läs alltid manualen före användning.
¤ Var särskilt uppmärksam på verktygets varningssymboler.
¤ Använd inte verktyget om du är trött eller påverkad av droger, alkohol eller medicin.
¤ Vid behov, använd skyddsutrustning såsom andningsskydd, skyddshandskar, hörselskydd och skyddsglasögon.
¤ Bär ordentliga arbetskläder och halksäkra skor.
¤ Använd hårnät om du har långt hår, bär inte smycken eller löst sittande kläder som kan fastna i verktyget.
¤ Upprätta alltid en god arbetsställning med bra balans.
¤ Låt aldrig din vana vid verktyget leda till oförsiktighet.
i

4.3 Användning och skötsel av verktyget
¤ Kontrollera att alla skydd sitter på plats och är i god kondition.
¤ Kontrollera att alla delar, särskilt de rörliga, är hela och sitter korrekt monterade.
¤ Kontrollera att alla knappar och reglage fungerar. Var särskilt noga med att strömbrytaren fungerar så att du alltid kan stänga av
verktyget.
¤ Använd inte ett defekt verktyg. Lämna in den till en auktoriserad serviceverkstad för reparation.
¤ Använd endast rekommenderade verktyg, tillbehör och reservdelar.
¤ Använd endast verktyget för avsett användningsområde. Arbetet går alltid säkrare och fortare om verktyget används till det den är
konstruerad för.
¤ Överskrid inte verktygets kapacitet.
¤ Förhindra oavsiktlig start genom att avlägsna kontakten från eluttaget.
¤ Lämna aldrig verktyget obevakad då motorn är igång eller då den är ansluten till ett eluttag.
¤ Plocka alltid bort nycklar, verktyg och andra lösa delar från verktyget före start.
4.4 ELSÄKERHET
¤ Exponera inte elektriska verktyg för regn, fukt om de ej är kapslade för det.
¤ Behandla kablar varsamt och skydda dem från värme, olja och vassa kanter.
¤ Eventuell förlängningskabel får inte vara virad på en vinda. Dra ut hela kabeln från kabelvindan.
¤ Använd endast förlängningskablar som är godkända för utomhusbruk.
¤ Undvik kontakt med jordade ytor, till exempel rör, stuprännor när du arbetar med verktyget. Risken för elstöt ökar när du är jordad.
¤ Eventuella reparationer ska utföras av behörig servicetekniker.
5
ÖVERSIKTSBILDER
1 Skyddskåpa 2 Gavel 3 Stjärnvred 4 Rörformad del
5 Spakvred 6 Drivtapp 7 Hals 8 Kullager
9 Drivhylsa 10 Borste 12 Drivaxel
6 Montering
Montera först borsten(10) i verktyget. Sätt Drivtappen(6) i chucken, stick in chucken i den rörformade delen(4) av verktyget tills hela
halsen(7) kommer in, se till att Drivtappen(6) kommer in i Drivhylsan(9) längst in i den rörformade delen(4) och spänn fast borrmaskinen
med spakvredet(5). Kontrollera att omkopplaren är frånslagen innan du sätter i kontakten. Anslut strömkälla och starta rotationen och lägg
försiktigt an borsten mot underlaget.

7. SÄRSKILDA SÄKERHETSFÖRESKRIFTER OCH SKYDDSANORDNINGAR
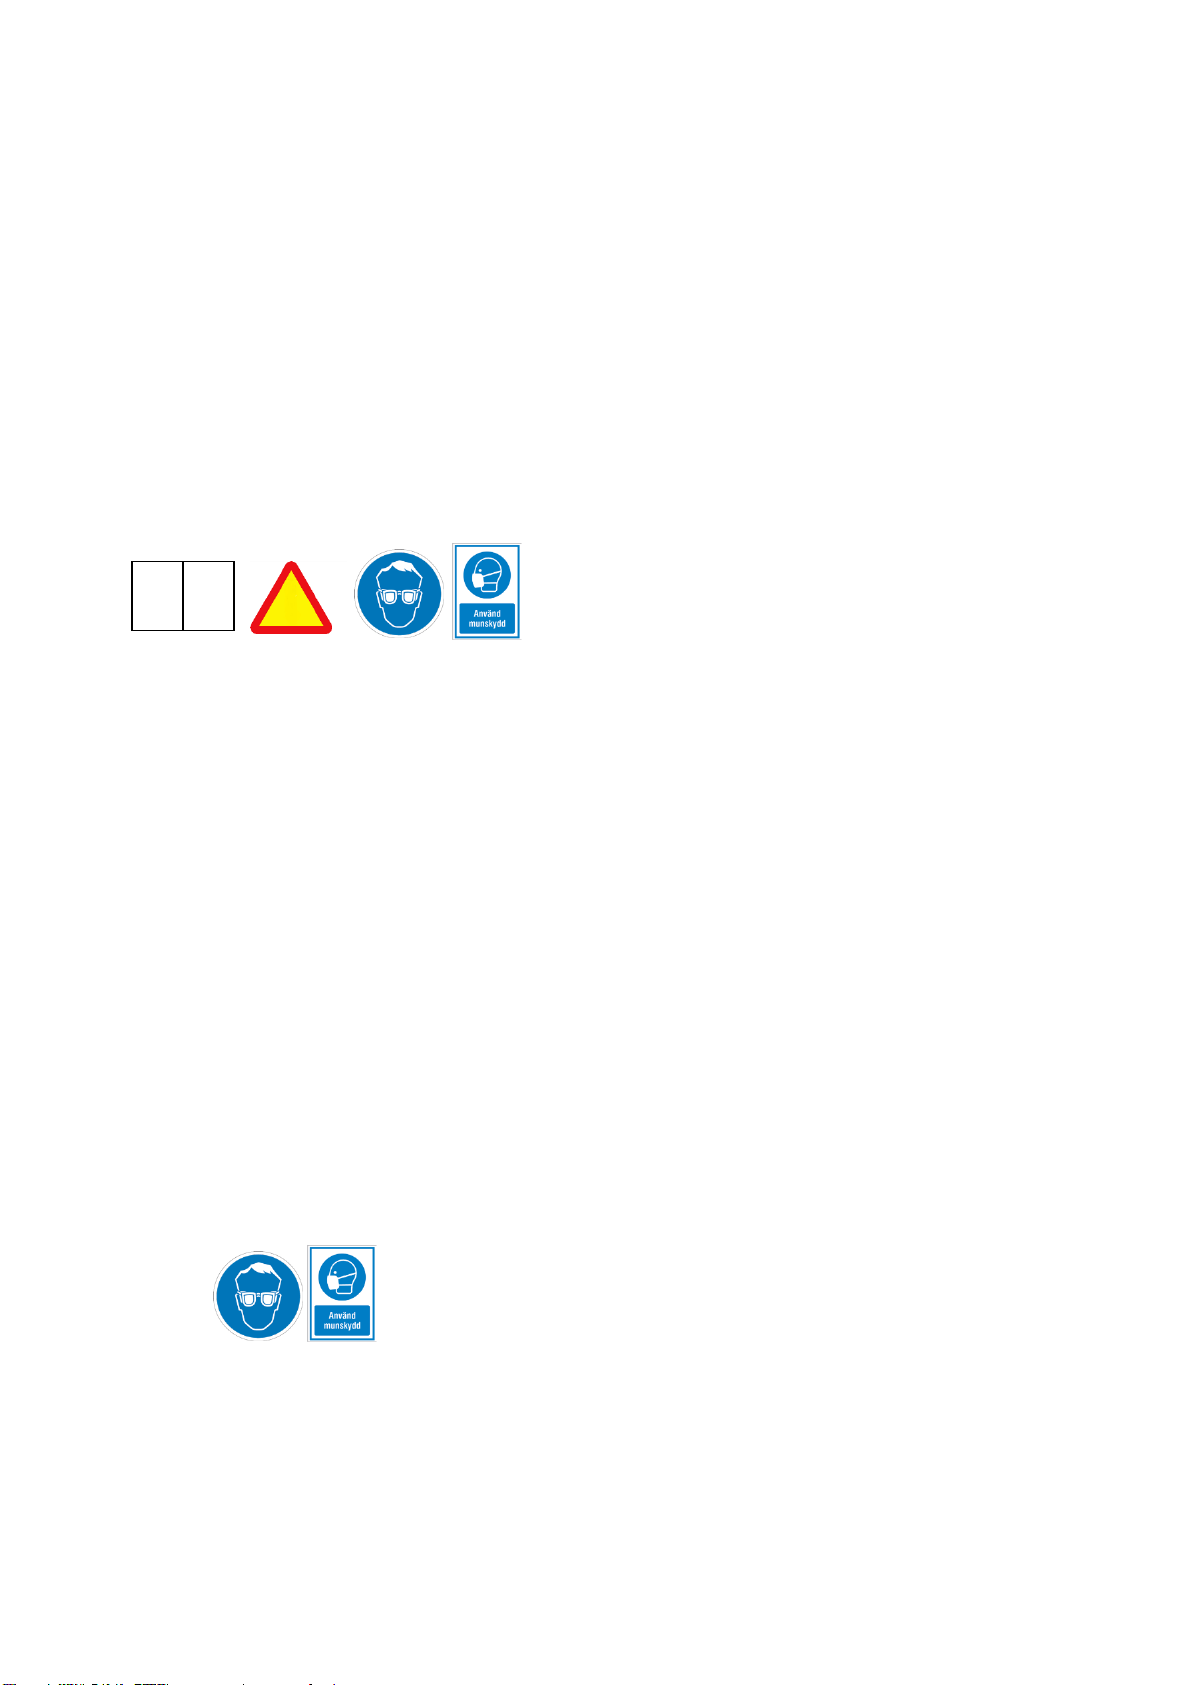
7.1 Symboler på verktyget
Följande varningssymboler finns på verktyget.
Läs igenom manualen, särskilt säkerhetsinstruktionerna, innan verktyget används. Använd rekommenderad skyddsutrustning.
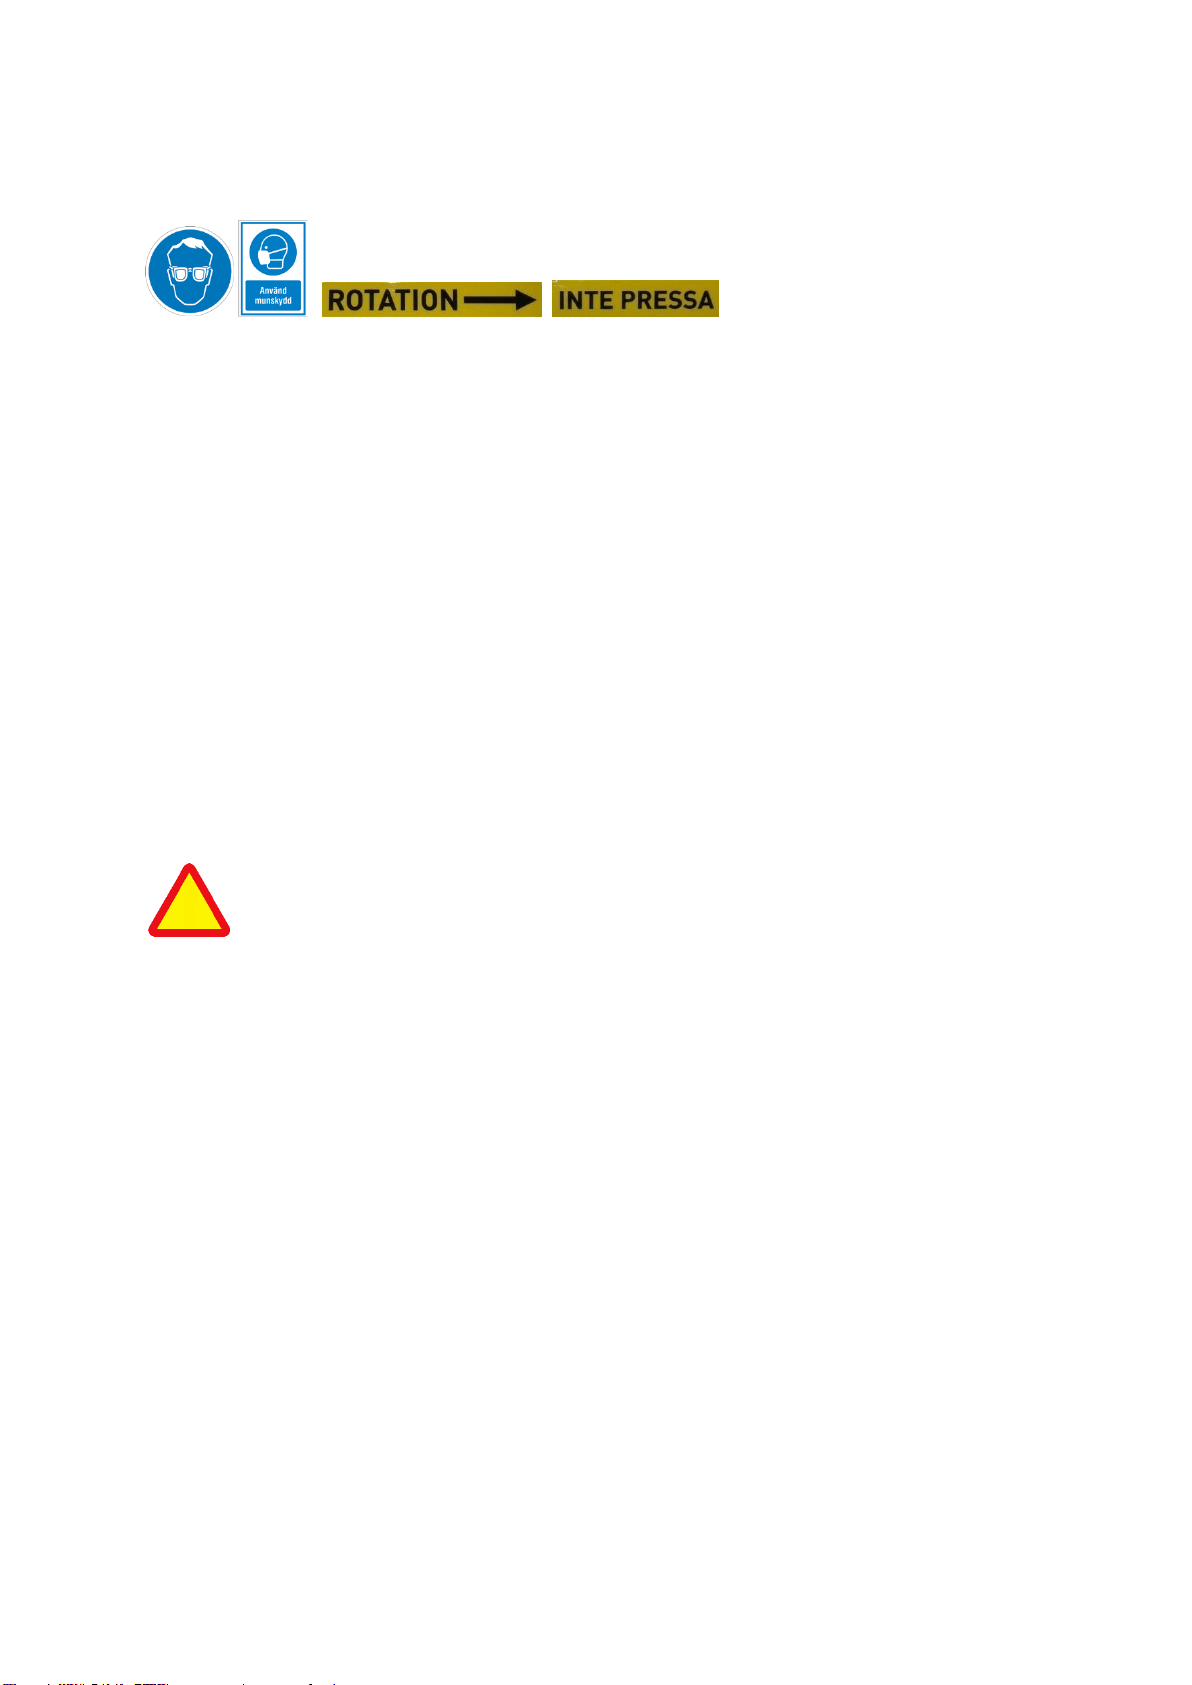
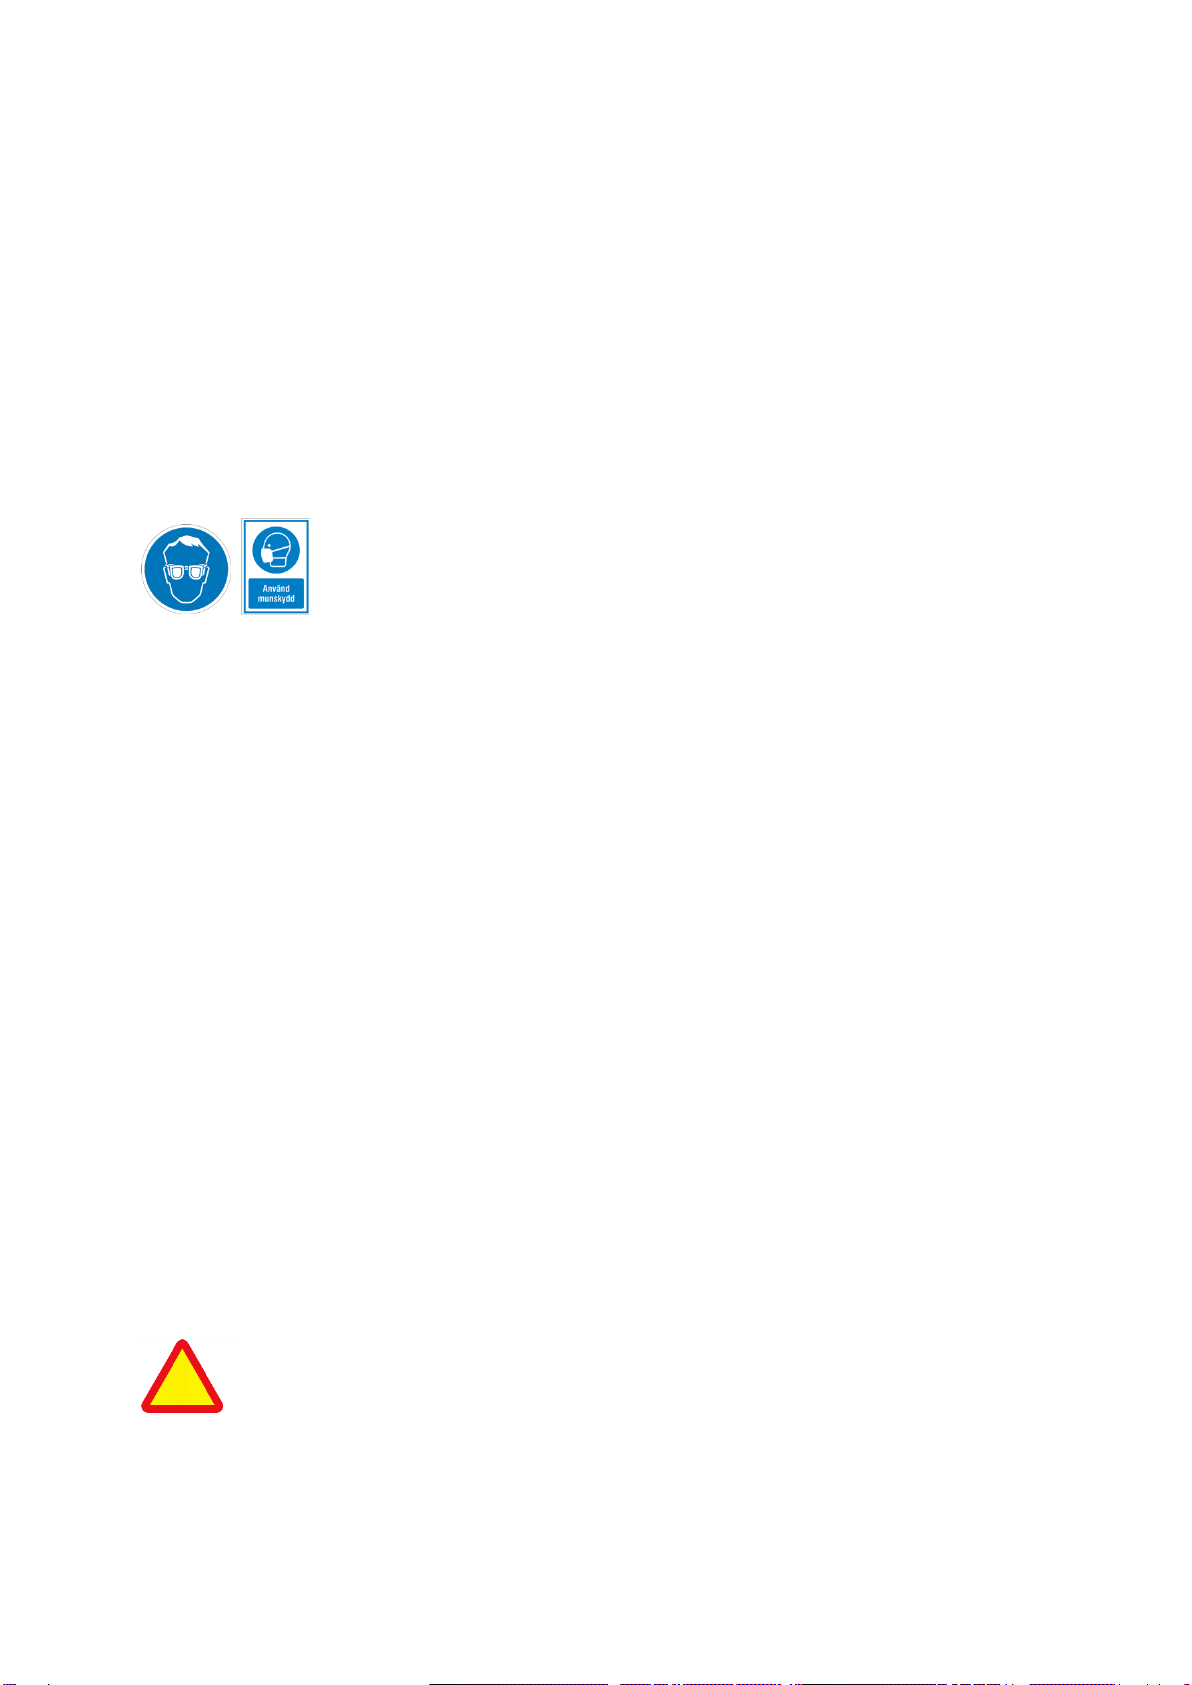
Använd Skyddsglasögon och Munskydd.
7.2 Risker vid användning av ett Borstverktyg
¤ Risk för kringflygande föremål. Använd skyddsglasögon.
¤ Risk för damm. Vissa typer av arbete, exempelvis slipning, kan alstra damm och färgstoft som är skadligt mot lungor och kan vara
cancerframkallande. Använd munskydd i förekommande fall. Slipa aldrig på sten, betong eller asbest.
¤ Risk för hörselskador –använd hörselskydd vid hög ljudnivå.
¤ Risk för elstöt. Använd aldrig ett elverktyg om den eller dess kabel varit utsatt för regn eller väta.
7.3 Skyddsanordningar
¤ Skyddskåpa mot damm skall alltid vara monterad.
8 VERKTYGETS FUNKTIONER OCH HANDHAVANDE
8.1 Verktygets funktioner
¤ Borsten har inbyggda slipkorn i trådarna som formar sig mot tex. en ojämn träfasad och slipar samtidigt bort eller reducerar målarfärg.
¤ Använd höger rotationsriktning enligt pil.
¤ Håll verktyget med bägge händerna vid arbete.
¤ Pressa inte borsten mot underlaget, verktyget arbetar bäst själv.
8.2 Montering/Demontering av verktyg/tillbehör.
Verktyget är försedd med utbytbara tillbehör som borstar(10). För snabbt och enkelt byte av dessa. Skruva ur stjärnvredet(3) och dra ur
gaveln(2). Lossa borsten(10) från drivaxeln(12) samt skyddskåpan(1).
Placera den nya borsten på samma sätt mot drivaxeln i skyddskåpan, skjut in gaveln med kullagret in i borsten och skruva stjärnvredet in i
gaveln på verktyget.
¤ Dra ut stickkontakten från eluttaget före montering av verktyget och tillbehör.
8.3 Användning
a. Kontrollera att verktyget och dess elkabel är hel samt att strömbrytare fungerar.
b. Avlägsna kontakten från eluttaget.
c. Använd skyddshandskar och montera lämpligt tillbehör.
d. Ta på dig skyddsutrustning.
e. Anslut kontakten i eluttaget.
f. Tryck in strömbrytaren för att starta verktyget. Tvinga inte verktyget mot fasaden utan lägg an ett lätt tryck och låt den arbeta av egen
kraft över ytan. Om verktyget fastnar i arbetstycket, stäng av verktyget och lossa verktyget. Undersök och åtgärda orsaken.
g. Efter avslutat arbete, avlägsna kontakten från eluttaget och rengör verktyget.
9. FÖRVARING
¤ Kontrollera att verktyget är hel och väl rengjord.
¤ Förvara den sedan i ett svalt och torrt utrymme, oåtkomlig för barn och andra obehöriga.
¤ Förvara alltid verktyget i en miljö med temperaturer mellan -20⁰C och + 40⁰C.
¤ Förvara inte verktyget i närheten av kemikalier, lösningsmedel eller gödningsmedel. Sådana produkter är ofta nedbrytande och kan
orsaka irreparabel skada på ditt verktyg.
10. SERVICE OCH UNDERHÅLL
10.1 Kontrollera att stickkontakten avlägnats från eluttaget innan service och underhåll påbörjas.
Rengör med en mjuk torr trasa. Använd aldrig några frätande kemikalier vid rengöring, de kan skada plastdetaljerna. Använd bara
reservdelar från tillverkaren.
11 MILJÖ
Samla upp damm/färgstoft från arbetsplatsen när arbetet är klart.

CE
EC DECLARATION OF CONFORMITY
UNIVERTER AB
Ölandsgatan 51 B
116 63 Stockholm
Sweden
Certifies that the design and manufacture of this product is in accordance with the following
directives and standards.
1. 2006/42 / EC
2. SS-EN 60745 -1: 2009
Product Name:
Brush tool
Article number: 15-100
The CE marking was made:
2015
Stockholm 2015-01-20
________________________________
Bengt Liljedahl
Product Manager

Instructions for use The brush tool
Content:
1. INTRODUCTION
2. TECHNICAL DATA
3. USE
4. GENERAL SAFETY REGULATIONS
5. snapshots
6. INSTALLATION
7. SPECIFIC SAFETY REGULATIONS
8. OPERATION
9. STORAGE
10. SEVRVICE AND MAINTENANCE
11. ENVIRONMENTAL
1. INTRODUCTION
This manual contains important information about how the product is used as well as any safety
risks. The user is asked to read the manual before use. (and pay special attention to these symbols)
We reserve the possibility that illustrations and descriptions of individual details do not always match
the tool completely. Examples of such details can be colors or the design and placement of buttons
and controls.
Keep the manual in a safe place adjacent to the tool. In the event of a sale, the manual should
accompany the tool.
2. TECHNICAL DATA
Speed not exceeding ………..…… 4000 rpm
Sound pressure (Lwa): ………..… 104dB (A)
Vibration level …………….………… ≤ 12.5 m / s²
Safety ...................................... IN
Dimensions …………………………….18 x 29 x 26 cm
Weight ……………………………………… 1.4 kg
3. USE AREA
The brush tool 15-100
¤ Designed for grinding wood or paint on a wooden facade.
¤ has accessories / brush with built-in grit.
¤ The brush forms against uneven surfaces such as wooden facades or the like.
i

4 GENERAL SAFETY INSTRUCTIONS
When working with the tool, the following should always be considered. Use the tool with caution
and pay close attention to the safety of persons and property located in the tool's working area.
4.1 WORK AREA
¤ Clean regularly. Dust, waste and debris in a workplace increases the risk of an accident, fire and
explosion.
¤ Do not work in dark or poor lighting.
¤ Store explosive or flammable liquids and gases outside the working area.
¤ Keep children and unauthorized persons out of the working area.
¤ Have first aid kit and telephone available.
4.2 Personal security
¤ Always read the manual before use.
¤ Pay special attention to the tool warning symbols.
¤ Do not use the tool if you are tired or affected by drugs, alcohol or medicine.
¤ If necessary, wear protective equipment such as respirators, protective gloves, hearing protectors
and goggles.
¤ Wear proper work clothes and non-slip shoes.
¤ Use hair nets if you have long hair, do not wear jewelry or loose clothing that may get caught in the
tool.
¤ Always establish a good working position with a good balance.
¤ Never allow your tool to lead to carelessness.
4.3 Use and care of the tool
¤ Check that all guards are in place and in good condition.
¤ Check that all parts, especially the movable parts, are intact and correctly fitted.
¤ Check that all buttons and controls are working. Be especially careful that the power switch works
so that you can always switch off the tool.
¤ Do not use a defective tool. Submit it to an authorized service workshop for repair.
¤ Use only recommended tools, accessories and spare parts.
¤ Only use the tool for the intended use. Work is always safer and faster if the tool is used for what it
is designed for.
¤ Do not exceed the capacity of the tool.
¤ To prevent accidental starting, remove the plug from the electrical outlet.
¤ Never leave the tool unattended when the engine is running or when it is connected to an electrical
outlet.
¤ Always remove keys, tools and other loose parts from the tool before starting.
4.4 ELECTRICAL SAFETY
¤ Do not expose electrical tools to rain, moisture if not enclosed.
¤ Handle cables carefully and protect them from heat, oil and sharp edges.

¤ Any extension cable must not be wound on a reel. Pull out the entire cable from the cable reel.
¤ Only use extension cables that are approved for outdoor use.
¤ Avoid contact with grounded surfaces, such as pipes, chutes when working with the tool. The risk
of electric shock increases when you are grounded.
¤ Any repairs should be carried out by a qualified service technician.
5
snapshots
1 Protective cover 2 Gable 3 Star knob 4 Tubular part
5 Lever knob 6 Drive pin 7 Neck 8 Ball bearing
9 Drive sleeve 10 Brush 12 Drive shaft
6 Mounting
First, install the brush (10) in the tool. Insert the drive pin (6) into the chuck, insert the chuck into the
tubular part (4) of the tool until the entire neck (7) comes in, make sure the drive pin (6) enters the
drive sleeve (9) at the bottom of the tubular part ( 4) and tighten the drill with the lever knob (5).
Make sure the switch is off before plugging in. Connect the power source and start the rotation and
gently apply the brush to the substrate.
7. SPECIAL SAFETY REGULATIONS AND PROTECTIVE EQUIPMENT
7.1 Symbols on the tool The following warning symbols are available on the tool.
Read the manual, especially the safety instructions, before using the tool. Use recommended
protective equipment. Wear safety goggles and mouth guards.
7.2 Risks of Using a Brush Tool

¤ Risk of flying objects. Wear safety goggles.
¤ Risk of dust. Some types of work, such as grinding, can produce dust and dye that is harmful to the
lungs and can be carcinogenic. Use mouth protectors where applicable. Never grind on stone,
concrete or asbestos.
¤ Risk of hearing damage - use hearing protection at high noise level.
¤ Risk of electric shock. Never use a power tool if it or its cable has been exposed to rain or moisture.
7.3 Protective devices ¤ Protective cover against dust should always be fitted.
8 TOOLS AND OPERATIONS OF THE TOOL
8.1 Functions of the tool
¤ The brush has built-in abrasive grains in the threads that form against e.g. an uneven wooden
facade and at the same time grind away or reduce paint.
¤ Use the right direction of rotation according to the arrow.
¤ Hold the tool with both hands when working. ¤ Do not press the brush against the substrate, the
tool works best on its own.
8.2 Assembly / Disassembly of tools / accessories. The tool is equipped with interchangeable
accessories such as brushes (10). For quick and easy replacement of these. Unscrew the star knob (3)
and pull out the end cap (2). Remove the brush (10) from the drive shaft (12) and the protective
cover (1). Place the new brush in the same way against the drive shaft in the protective cover, push
the end with the ball bearing into the brush and screw the star knob into the end of the tool.
¤ Unplug the appliance from the mains socket before installing the tool and accessories.
8.3 Use
a. Make sure the tool and its power cord are intact and that the power switch is working.
b. Remove the plug from the electrical outlet.
c. Wear protective gloves and mount appropriate accessories.
d. Wear protective equipment.
e. Plug the connector into the electrical outlet.
f. Press the power button to start the tool. Do not force the tool against the facade, but apply a slight
pressure and let it work over the surface by its own force. If the tool gets stuck in the workpiece, turn
off the tool and loosen the tool. Investigate and fix the cause.
g. After completing work, remove the plug from the electrical outlet and clean the tool.
9. STORAGE
¤ Make sure the tool is clean and well cleaned.
¤ Store it in a cool and dry place, out of reach of children and other unauthorized persons.
¤ Always store the tool in an environment with temperatures between -20 ° C and + 40 ° C. ¤ Do not
store the tool near chemicals, solvents or fertilizers. Such products are often disruptive and can cause
irreparable damage to your tool.
10. SERVICE AND MAINTENANCE 10.1 Make sure the plug is removed from the electrical outlet
before servicing and maintenance begins. Clean with a soft, dry cloth. Never use any corrosive
chemicals when cleaning, they can damage the plastic details. Use only spare parts from the
manufacturer.
11 ENVIRONMENT Collect dust / dye from the workplace when the work is done.
Table of contents
Languages: