Univet VisionAR User manual

USER MANUAL
VisionAR
Sommario
1.
Smart Glasses Overview.....................................................................................................................2
2.
Smart Glasses Before Starting.............................................................................................................3
3.
Smart Glasses - What’s in the Box.......................................................................................................4
4.
FCC and ISED Compliance...................................................................................................................6

1.
Smart Glasses Overview
VisionAR offers the following:
a) CapacitiveTouch
b) HapticFeedback
c) AR Optical Module
d) Inertial Measurement Unit
e) Expansion Interface
a)
Capacitive Touch
A capacitive touch sensor which can be programmed to be interpreted as
-Tap
-Double Tap
-Forward
-Back
b)
Haptic feedback
A haptic feedback can be programmed for signalling an alarm to VisionAR (i.e. vibration)
c)
AR Optical Module
The optical module is composed of a transparent display which can be aligned with the field of vision
d)
Inertial Measurement Unit
Triaxial accelerometer, gyroscope and magnetometer are on board to detect user's relative position
and movement
e)
Expansion Interface
The expansion interface allows to increase the functionalities of VisionAR by connecting compatible
device (e.g Camera) through standard I2C protocol

2.
Smart Glasses Before Starting
Assembling your safety glasses
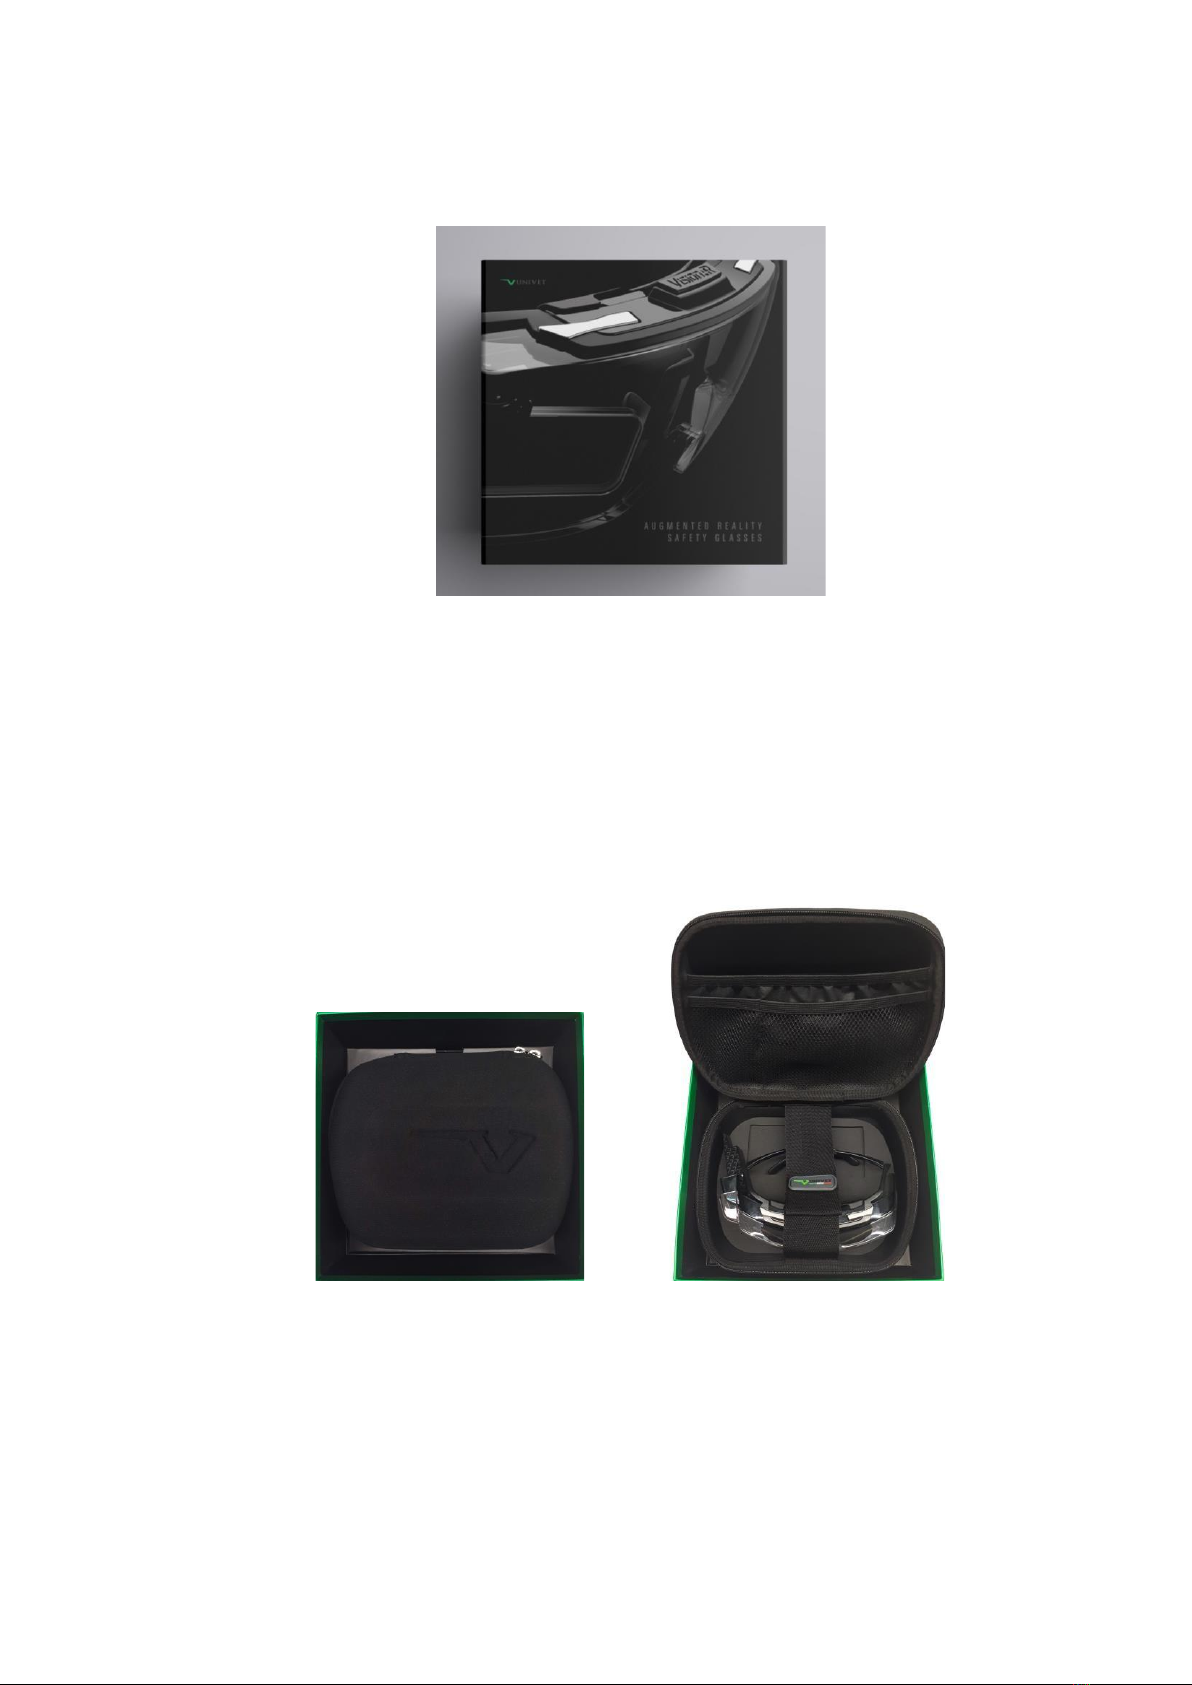
1. Take the glasses and cables out of the box
2. Fasten the elastic headband to the glasses temples using clips
3. Insert the USB cable into the USB slot on the optical module
4. Lock the USB cable to temples by clip
Disassembling your safety glasses
Make sure that the Control Unit is turned off
1. Un-plug the USB cable from the Control Unit
2. Unlock the USB cable from clip
3. Un-plug the USB cable from the optical module
4. Remove the elastic headband from glasses
5. Remove the lenses by pulling it from the opposite side respect to the Opticalmodule
6. Remove the optical unit by:
a. Lifting the two metal clips which are present on the top of the VisionAR.
b. Gently pull the optical unit out of the protective lenses.

3.
Smart Glasses - What’s in the Box
Opening the VisionAR Smart Glasses box (Figure 1), the portable case is immediately visible; all the
accessories will be displayed in this page.
Figure 1: Panoramic of VisionAR Smart Glasses box
Portable case
Inside the box, the portable case has the following content:
-Glasses with Gradient lens mounted
-Spare Clear lens
-Quick User Guide
-Informative Note
Figure 2: Portable case appearance Figure 3: Portable case content

VisionAR design is illustrated in Figure 4, a gradient lens will be mounted as default (Figure 5). Spare
clear lens is available in the package (Figure 6):
Figure 4: VisionAR design, rear view
Accessories
All supplied accessories are shown in Figure 8, a dividing layer separates portable case compartment
from accessories (Figure 7):
Figure 7: Dividing layer Figure 8: All the supplied accessories
All the accessories
1Screwdriver
2Clip
3USB cable
4Cleaning cloth and liquid
5Elastic headband
Figure 5: Fixed green LED when battery pack is fully charged

4.
FCC Compliance
This device complies with Part 15 of the FCC Rules. Operation is subject to the following two conditions: (1) this
device may not cause harmful interference, and (2) this device must accept any interference received,
including interference that may cause undesired operation.
Changes or modifications not expressly approved by the manufacturer could void the user’s authority to
operate the equipment.
Additional information about RF safety can be found on the links below:
FCC website at https://www.fcc.gov/general/radio-frequency-safety-0
Table of contents