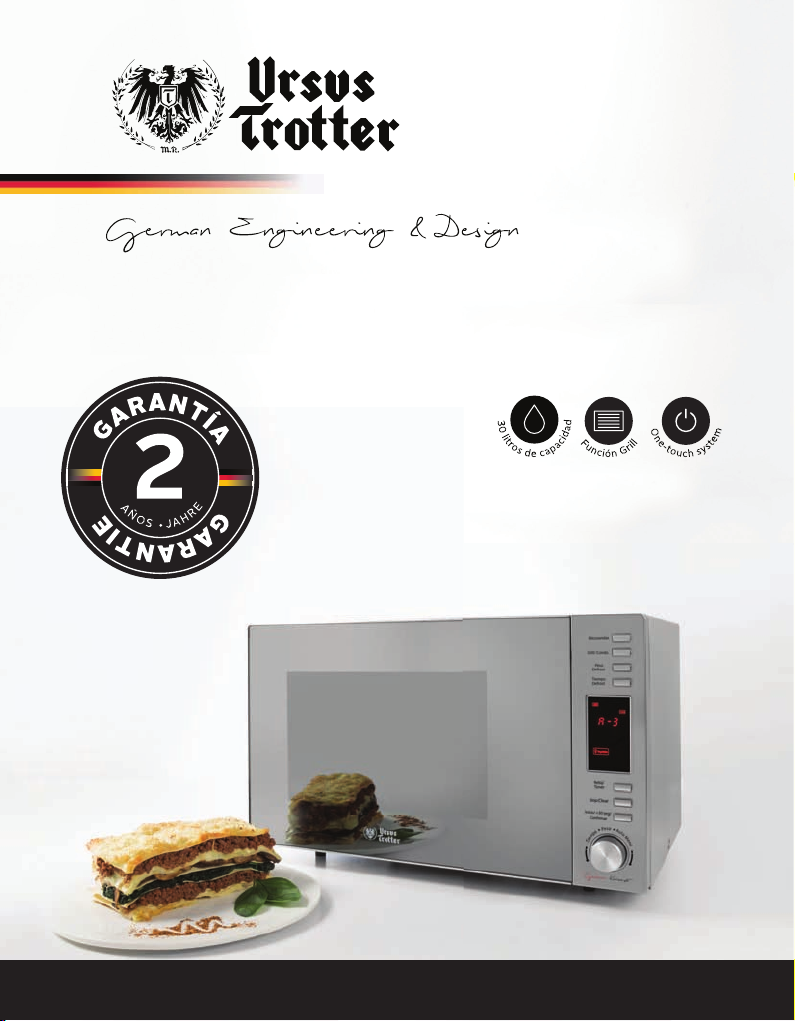
Manual de Instrucciones
MIKROWELLENOFEN
UTELEGANZ
Antes de usar el horno, lea atentamente las instrucciones
contenidas en este manual y guárdelas para consultas futuras.
Al usar el horno de acuerdo a lo indicado en las instrucciones,
obtendrá muchos años de buen funcionamiento.
GUARDE ESTE MANUAL EN UN LUGAR ADECUADO.
Precauciones para evitar posible exposicion a exceso de
energia de microondas
a) No intente hacer funcionar el horno con la puerta abierta
ya que corre el riesgo de quedar expuesto a la energía de
microondas. Es importante no forzar ni manipular el sistema
de cierre de seguridad de la puerta.
b) No coloque ningún objeto entre la puerta y la parte frontal
del horno ni permita que se acumule suciedad o restos de
productos de limpieza en las supercies del cierre hermético.
c) ADVERTENCIA: Si la puerta o el sello de la puerta están
dañados, no utilice el horno hasta que haya sido reparado por
una persona o técnico debidamente calicado.
Si el horno no se mantiene en buen estado de limpieza, es
posible que su supercie se dañe y afecte su vida útil lo que
podría generar situaciones de riesgo.
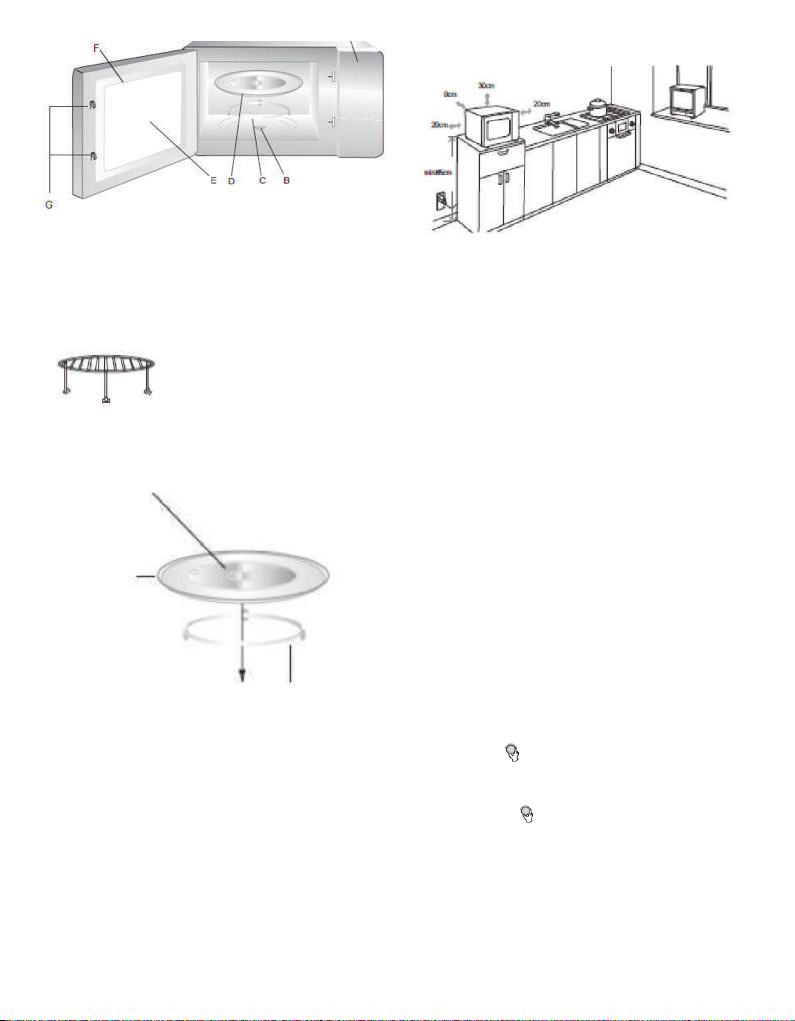
Especicaciones
Modelo: UT-ELEGANZ930
Voltaje Nominal: 220V~50Hz
Potencia de Entrada Nominal (Microondas): 1450W
Potencia de Salida Nominal (Microondas): 900W
Potencia de Entrada Nominal (Grill): 1050W
Capacidad del Horno: 30 Litros
Diámetro del Tornamesa: 315 mm
Dimensiones Externas: 520x434x326mm
Peso Neto: Aprox. 16 kg
Importantes instrucciones de seguridad
Para evitar el exceso de exposición a la energía de microondas
y reducir así el riesgo de incendio, descargas eléctricas
y accidentes al usar el horno, se recomienda seguir las
indicaciones de seguridad que se presentan a continuación:
1. Advertencia: No se deben calentar líquidos y determinados
alimentos en envases sellados ya que podrían explotar.
2. Advertencia: Sólo personal técnico especializado puede
reparar o prestar servicios de mantenimiento que involucren
el retiro de la cubierta de protección del horno contra la
exposición a la energía de microondas.
3. El horno puede ser usado por niños mayores de 8 años
y por personas con capacidades físicas, sensoriales o
mentales reducidas o por personas que no cuenten con la
experiencia ni conocimientos necesarios acerca de su uso,
sólo si son supervisadas por una persona responsable de
su seguridad o han recibido las instrucciones necesarias y
entienden los riesgos involucrados al usar el horno. Los niños
no deben jugar con el horno. Los niños mayores de 8 años
pueden limpiar y dar mantenimiento al horno sólo si están
supervisados por un adulto.
4. Mantenga el horno y el cable eléctrico fuera del alcance de
niños menores de 8 años.
5. Use sólo utensilios aptos para hornos microondas.
6. Limpie el horno frecuentemente y elimine los restos de
comida.
7. Lea y cumpla las ‘PRECAUCIONES PARA EVITAR POSIBLE
EXPOSICION AL EXCESO DE ENERGIA DE MICROONDAS’.
8. Al calentar alimentos en envases de plástico o papel, esté
atento debido a la posibilidad de que se puedan inamar.
9. Si sale humo del horno, desconéctelo o desenchúfelo y
mantenga la puerta cerrada para sofocar las llamas (si las
hay).
10. No cocine o caliente los alimentos en exceso.
11. No use el interior del horno para almacenar cosas, por
ejemplo, pan, galletas, etc.
12. Retire las amarras metálicas usadas para cerrar bolsas
plásticas o de papel antes de introducirlas dentro del horno.
13. Instale o ubique el horno sólo en los lugares adecuados
descritos en las instrucciones de instalación.
14. No se deben calentar o cocinar huevos con cáscara y
huevos duros dentro del horno ya que podrían explotar
incluso después de terminado el tiempo de cocción.
15. El horno ha sido diseñado para uso doméstico y lugares
similares como por ejemplo:
- zonas de cocina del personal en tiendas, ocinas o en otros
ambientes de trabajo;
- clientes en hoteles, moteles, apart hoteles y otros ambientes
residenciales similares;
- casas rurales,
- alojamientos tipo ‘Bed and Breakfast’ (posadas,
residenciales)
16. Si el cable eléctrico está dañado, éste debe ser
reemplazado por el fabricante, por un centro de servicio
técnico o por una persona debidamente calicada para evitar
riesgos.
17. No guarde ni use el horno en exteriores.
18. No use el horno cerca del agua, piscinas o en sótanos
húmedos.
19. La supercie exterior del horno puede alcanzar altas
temperaturas cuando está en funcionamiento. Mantenga
el cable eléctrico alejado de las supercies calientes y no
obstruya ni cubra las aberturas de ventilación del horno.
20. Evite que el cable eléctrico cuelgue sobre el borde de
mesas o encimeras.
21. Si el horno no se mantiene en buen estado de limpieza,
se podría dañar su supercie, afectar su vida útil y generar
situaciones de peligro.
22. Los líquidos y alimentos contenidos en biberones y frascos
de colados para bebés se deben batir o revolver después de
calentar y se debe vericar la temperatura antes de servirlos
para evitar quemaduras.
23. Al calentar líquidos en hornos microondas se puede
producir una ebullición tardía, por lo tanto, es necesario tener
cuidado al manipular los envases.
24. El horno no ha sido diseñado para ser usado por personas
(incluyendo niños) con capacidades físicas, sensoriales o
mentales reducidas o por personas que no cuenten con la
experiencia ni los conocimientos necesarios acerca de su uso,
a menos que sean supervisadas por una persona responsable


 Operating and installation instructions")