USASPEC BT45-HON3 User manual

the newly engineered innovative
Bluetooth®music & phone interface
www.usaspec.com
167 Mason Way, A-2
City of Industry, CA 91746
Product Manual

Table of Contents
Product Overview ...................................................................1
Notice ....................................................................................1
BT45-HON3 Package Content................................................. 2
Compatibility Information
Bluetooth Device Compatibility ........................................ 2
Radio & Device Compatibility for Music Info Display ......... 2
Vehicle Compatibility & XM Tuner Location: Honda ......... 3
Vehicle Compatibility & XM Tuner Location: Acura .......... 4
Installation
Installation Start Guide & DIP Switch Setting..................... 5
Diagram B: Recommended Microphone Locations ............ 6
Installation Instruction A: Connecting through the XM
Tuner ................................................................................ 7
Diagram A......................................................................... 8
Installation Instruction B: Connecting Directly Behind the
Radio ................................................................................ 9
Diagram B ....................................................................... 10
Bluetooth Setup
Bluetooth Device Pairing Instructions............................... 11
Media Streaming ................................................................. 12
Music Playback Control .................................................. 13
Hands-Free Phone Calls
Answer and End Calls...................................................... 14
Make Calls....................................................................... 15
Hands-free to Handset..................................................... 16
Enable & Disable Voice Prompt.........................................16
AUX input ............................................................................ 17
USB charging Port ................................................................ 17
Troubleshooting ..................................................................18
Limited warranty..................................................................19
10302016.1

1
The BT45 seamlessly integrates your vehicle’s OEM sound system
with Bluetooth (HFP) devices for hands- free phone calls and media
streaming. You can wirelessly connect your A2DP Bluetooth prole
equipped smartphone or tablet to play stored music or stream the
audio from your favorite media apps such as, iHeart Radio,Pandora,
Spotify, and YouTube. The built in echo & noise cancellation
feature will give you crystal clear sound quality on your hands free
phone calls. The all-speaker playback feature will give you a rich &
dynamic music streaming quality. The BT45 has an additional 3.5
mm auxiliary audio port, so you can play music stored in your non-
Bluetooth devices. It also has a USB charging port so you can keep
you devices charged and ready to go.
The BT45’s plug & play technology takes advantage of the OEM
radio’s ability to accept an external CD changer or Satellite Radio
by converting it into Bluetooth phone/audio streaming/AUX
input source. This design innovation allows you to maintain
functionality of existing factory installed options such as,
Bluetooth HandsFreeLink, LiveTrac, Navigation, CD changer,
Satellite radio, RSE (rear seat entertainment system), and AUX/USB
input.
Notice
USA SPEC solely distributes its products through authorized
dealers in order to ensure its customers receive proper services
and information from the dealers. USA SPEC reserves the right
to only oer technical support or warranty services for products
purchased through authorized USA SPEC dealers. Please refer
to our website www.usaspec.com for a list of authorized dealers.
Installation/Operation Precautions:
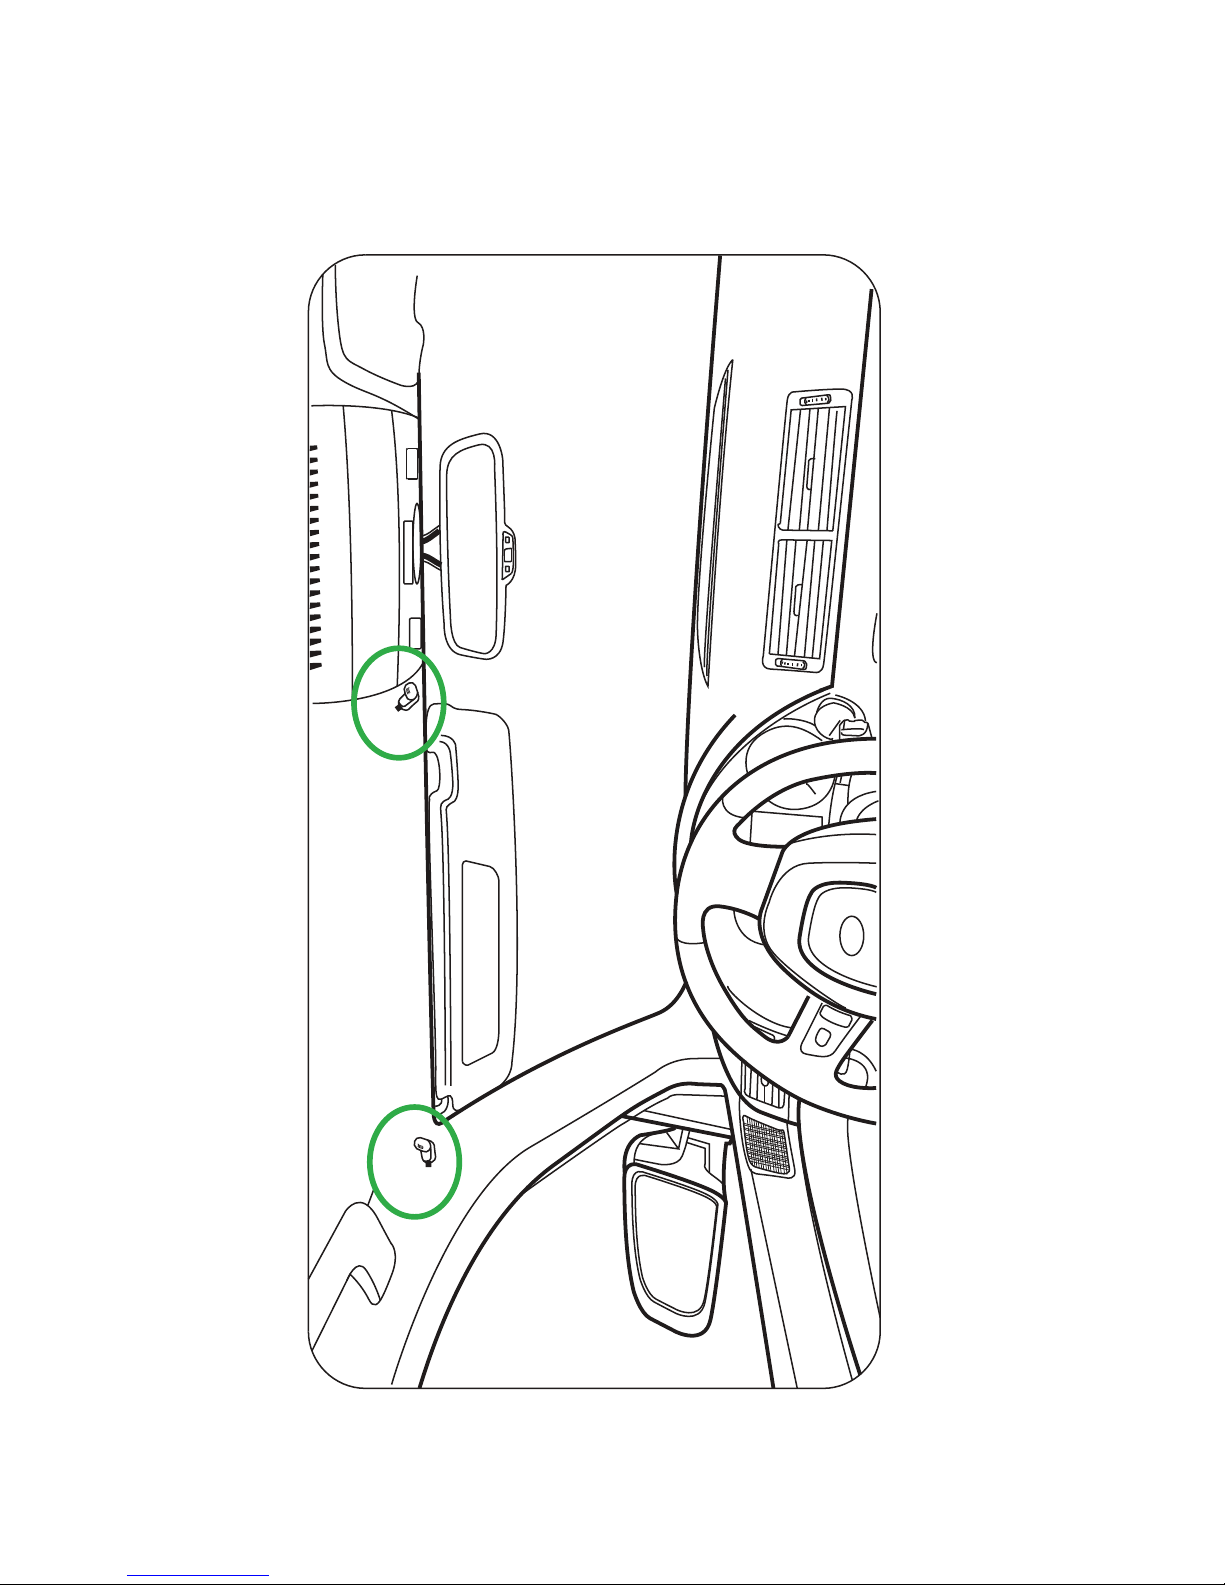
• DO read the entire manual before starting the installation. We
recommend that the BT45 be installed by a qualied professional
since all installations will require the removal of some parts of
the vehicle such dashboard, backseat, etc.
• DO install the interface securely using Velcro or wire ties (not
included) and keep away from any moving parts such as the gas
pedal.
• DO NOT open, disassemble, or modify the BT45 in any way. Such
attempts will void the warranty on the product.
• DO NOT expose the interface to extreme temperature, humidity,
or direct sunlight.
• DO NOT operate the Bluetooth device while driving. Always give
full attention to the road while driving.
Product Overview

2
BT45-HON3 Package Content
• 1 Product Manual
• 1 BT45 Interface Module
• 1 CAS-H3x Cable + CAS-H3t Cable
• 1 Microphone
Compatibility Information
Bluetooth Device Compatibility
BT45 is compatible with most Bluetooth wireless technology enabled
devices currently on the market such as iPhone, iPad, iPod Touch,
Android smartphones & tablets, Windows smartphones & tablets, and
Blackberry. Devices must have Bluetooth prole A2DP (Advanced
Audio Distribution Prole) and AVRCP (Audio/Video Remote
Control Prole) 1.4 or higher for audio streaming and text
display.
Note: Due to the dierence in Bluetooth technology, some Bluetooth
enabled devices may be incompatible or may not support all of BT45’s
features.
Radio & Device Compatibility for Music Info
Display
The display of artist, album, and song title information on the radio is
determined by the following 3 factors
1. Whether or not your radio has an XM or a SAT button(*). The
Satellite radio does not have to be activated nor does the turner
need to be present. As long as the radio has an XM or a SAT
button you can get music info to display.
2. Your device's (smartphone) operating system: iOS 6 or higher,
Android 4.0 (Ice Cream Sandwich) or higher
3. Your device's Bluetooth prole: AVRCP 1.4 or higher
* Odyssey 11-12 & Pilot 12 radios do not have XM buttons but
they are XM capable thus will be able to display music info.
Please follow the special instruction in this manual.

3
Vehicle Compatibility & XM Tuner Location:
Honda
HONDA
MODEL YEAR XM TUNER LOCATION(1)(2)
Element
(double din
radio only)
03 - 11 Behind the right rear quarter panel in the trunk
Accord 03 - 12 Behind the right rear quarter panel in the trunk
Accord Hybrid 05 - 12 Inside the rear deck
Civic 06 - 11 Behind the right rear quarter panel in the trunk
or behind the glove box
2012 Under the radio
CRV 05 - 06 Behind the left rear quarter panel in the trunk
07 - 11 Behind the glove box
CRZ 10 - 12 Behind the glove box
Fit 07 - 13 XM tuner not available, connect directly to the
radio
Insight 10 - 12 Behind the glove box
Odyssey
05 -10 Behind the right rear quarter panel in the trunk
or under the driver seat
11 - 12 XM tuner not available, connect directly to the
radio
Pilot
06 - 11 Behind the right rear quarter panel in the
trunk: inside the subwoofer enclosure
2012 XM tuner not available, connect directly to the
radio
Ridgeline 06 - 14 Behind the rear wall panel or under the driver
seat
S2000 04 - 09 In the trunk
(1) For all non-XM radios, connect directly to the radios
(2) See under the "Details" tab on http://www.usaspec.com/p-315-bt45-
hon3.aspx for photos of XM tuner locations.

4
ACURA
MODEL YEAR XM TUNER LOCATION(1)
RL (Non-Nav) 05 - 09 Behind the left rear panel in the trunk
RL (Nav) 05 - 09 Use BT45-ACU
TL (All Radios) 04 - 06 Behind the right rear quarter panel in the
trunk
TL (Non-Nav) 07 - 08 Behind the right rear quarter panel in the
trunk
TL (Nav) 07 - 08 Use BT45-ACU
MDX (Non-Nav) 05 - 12 Under the right rear floor in the trunk
MDX (Nav) 05 - 06 Under the right rear floor in the trunk
MDX (Nav) 07 - 09 Use BT45-ACU
TSX (All
Radios)204 - 08 Behind the right rear quarter panel in the
trunk
RDX (Non-Nav) 07 - 09 Behind the glove box
RDX (Nav) 07 - 09 Use BT45-ACU
(1) See under the "Details" tab on http://www.usaspec.com/p-315-
bt45-hon3.aspx for photos of XM tuner locations.
(2) For non-XM radios connect directly to the radios
Vehicle Compatibility & XM Tuner Location:
Acura
Compatibilities are subject to changes. Please consult
www.usaspec.com for the most up to date applications.

5
Installation
Installation Start Guide & DIP Switch Setting
SAT or XM button
Your radio is capable of
displaying music info
XM Channel or
XM Preview
XM Tuner is present
Set DIP Switch
to XM Mode:
1-ON, 2-OFF
3-ON, 4-OFF
Set DIP Switch
to XM Mode:
1-ON, 2-OFF
3-ON, 4-OFF
Set DIP Switch
to CDC Mode:
1,2,3,4 all ON
Follow
Installation
Instruction A
on p. 7-8
Follow
Installation
Instruction B
on p. 9-10
Follow
Installation
Instruction B
on p. 9-10
Nothing
XM Tuner is
NOT present
ID YOUR RADIO
NO SAT or XM button
Your radio is NOT capable
of displaying music info
Press the SAT or XM button
What do you hear?
NO SAT or XM button
Odyssey 11-12 & Pilot 12
Your radio is capable of
displaying music info
Set DIP Switch
1-OFF, 2-OFF
3-ON, 4-OFF
Follow
Installation
Instruction B
on p. 9-10

6
Diagram B: Recommended Microphone Locations

7
Installation Instruction A: Connecting
through the XM Tuner
Installation
Instruction A:
Connecting through
the XM Tuner
Disconnect the
CAS-H3t cable from the
CAS-H3x cable.
DO NOT use the
CAS-H3t cable
Install the microphone
See p. 6 for recommended
locations
Follow Diagram A
on p. 8
Locate the XM tuner
See p. 3-4 for
XM tuner location
Pair your Bluetooth
device (phone). See
p. 10 for instructions
Learn about audio
streaming, hands-free
phone call, and
AUX port on p. 11-13
Make sure you have
completed all of the above
steps and have made a
couple of test calls before
putting your car
back together
Install the BT45 interface
module in an easily
accessible location
See p. 17 for some
common troubleshooting
Q & A

8
Diagram A
SLQPDOH
;0781(5
&$6+;
725$',2
SLQPDOH
SLQIHPDOH
%7,QWHUIDFH0RGXOH
'2127XVHWKH&$6+W
FDEOHLIFRQQHFWLQJWKURXJK
WKH;0WXQHU
&$6+W
)DFWRU\;0&DEOH
8QSOXJWKHSLQIDFWRU\
FDEOHIURPWKH;0WXQHU
* The above depiction of the XM tuner is a generalized depiction,
the tuner in your vehicle will look similar but not exactly the same.
Please look for an unoccupied 14-pin port or unplug the factory
cable that’s occupying the 14-pin port.

9
Installation Instruction B: Connecting
Directly Behind the Radio
Installation
Instruction B:
Connecting through
the radio
Use the CAS-H3t +
CAS-H3x cable
Do not disconnect the
two cables
Install the microphone
See p. 6 for recommended
locations
Follow Diagram B
on p. 10
Remove the radio from
the dashboard
Pair your Bluetooth
device (phone). See
p. 11for instructions
Learn about audio
streaming, hands-free
phone call, and
AUX port on p. 12-16
Make sure you have
completed all of the above
steps and have made
a couple of test calls before
putting your car
back together
Install the BT45 interface
module in an easily
accessible location
Remove all CDs from
the radio’s in-dash
CD player/changer
See p. 17 for some
common troubleshooting
Q & A

10
Diagram B
SLQPDOH
&$6+[
)DFWRU\SLQ&DEOH
8QSOXJWKHIDFWRU\FDEOHIURP
WKHUDGLR
SLQIHPDOH
SLQPDOH
&$6+W
725$',2
%7,QWHUIDFH0RGXOH
5DGLR
7KHDERYHGHSLFWLRQRIWKHUDGLRLVDJHQHUDOL]HGGHSLFWLRQ\RXUUDGLR
ZLOOORRNVLPLODUEXWQRWH[DFWO\WKHVDPH3OHDVHORRNIRUDQXQRFFXSLHG
SLQSRUWRUXQSOXJWKHIDFWRU\FDEOHWKDW¶VRFFXS\LQJWKHSLQSRUW

11
Bluetooth Setup
Bluetooth Device Pairing Instructions
1. Enable the Bluetooth function on your device (phone)
2. Turn your vehicle’s ignition ON
3. Scan/search for available device from your phone.
- It may take up to 60 seconds for your phone to
locate the BT45-HON
4. Your radio will automatically
switch to XM1 audio source
5. Select BT45-HON from the
list of available devices your
phone has detected.
6. Allow the pairing process to
take place
7. Once pairing is complete you
will hear the “CONNECTED”
voice prompt from your
vehicle's audio system and
the radio will briefly display
the name of your device,
i.e. USA SPEC Test Phone.
1RWH6RPHGHYLFHVPD\DVNIRUD3LQGXULQJWKHSDLULQJSURFHVV
3DLULQJ3LQ
Radio with a SAT/XM button
&
Odyssey 11-12, Pilot 12 radios
Radio without a
SAT/XM button
4. Your radio will automatically
switch to CDC (CD changer)
audio source
5. Select BT45-HON from the
list of available devices your
phone has detected
6. Allow the pairing process to
take place
7. Once pairing is complete you
will hear the “CONNECTED”
voice prompt from your
vehicle's audio system

12
Media Streaming
• If you have music stored in your device, it will begin to play right
right after the “CONNECTED” voice prompt. If playback does not start
automatically, press TUNE UP or TRACK/SEEK UP to initiate playback.
• You can also proceed to manually start playback from your preferred
media app such as Pandora, YouTube, or Podcast app.
Your radio will display music
information such as artist, album,
and song title. Please see p. 2 for
details on device compatibility.
Radio without a
SAT/XM button
Since your radio is NOT capable
of music info display, BT45-HON3
will assign track numbers to the
currently playing audio tracks.
Radio with a SAT/XM button
&
Odyssey 11-12, Pilot 12 radios
Press the SAT or the XM button to
access XM1 (Bluetooth source).
Once the BT45 is connected,
XM1 will become the Bluetooth
audio source.
Odyssey 11-12 & Pilot 12
From your device (phone) open a
music app and press PLAY then
NEXT TRACK, wait 5s, and it will
trigger the radio to switch into
XM1 (Bluetooth).
Switching from AM/FM, CD, CDC to Bluetooth source
Press the CD/AUX button to
access CDC (Bluetooth source).
Once the BT45 is connected
CDC will become the Bluetooth
audio source.

13
Music Playback Control
Track change, play/pause, volume control
Radio without a
SAT/XM button
Radio with a SAT/XM button
&
Odyssey 11-12, Pilot 12 radios
From the radio:
Press/turn the TUNE UP/DOWN
button(s)/knob
Next & Previous Track
Play & Pause
1. Pause the media streaming
directly from your device
(phone)
2. Radio display will say
[PAUSED]
3. Press/turn the radio TUNE UP
button/knob to resume
streaming
Volume Up/Down
1. Set your device (phone)
volume to MAX
2. Use the radio or steering
wheel’s volume control to
adjust the streaming volume
to the desired level
From the radio:
Press/turn the TRACK/SEEK
UP/DOWN button(s)/knob
From the steering wheel:
Press the CH +/- button
Next & Previous Track
Play & Pause
1. Pause the media streaming
directly from your device
(phone)
2. Press/turn the radio
TRACK/SEEK UP button/knob
or the steering wheel CH+
button to resume streaming
Volume Up/Down
1. Set your device (phone)
volume to MAX
2. Use the radio or steering
wheel’s volume control to
adjust the streaming volume
to the desired level

14
Hands-Free Phone Calls
Answer and End Calls
When there is an incoming call:
1. The BT45 will automatically mute the audio source you are in
(AM/FM, CD, XM, & etc.) and switch into Bluetooth source
2. You will hear “you have a call from (caller #)” or “Private” if
caller ID is not available. If voice prompt* is disabled you will
only hear the phone’s ringtone
* See p. 16 on how to enable/disable the voice prompt feature
Radio without a
SAT/XM button
Radio with a SAT/XM button
&
Odyssey 11-12, Pilot 12 radios
From the radio:
Press/turn the TUNE UP
button/knob
NOTE: if a call comes in while
you are in XM2, you must go to
XM1 first then press the
TUNE UP button to answer the
call
From the radio:
Press/turn the TUNE DOWN
button/knob
Once a call has ended it will
remain in the Bluetooth source,
you must manually select the
source you wish to go back to
Answer Calls
End or Reject Calls
From the radio:
Press/turn the SEE/TRACK UP
button/knob
From the steering wheel:
Press the CH+ button
From the radio:
Press/turn the SEEK/TRACK
DOWN button/knob
From the steering wheel:
Press the CH- button
Once a call has ended it will
remain in the Bluetooth source,
you must manually select the
source you wish to go back to
Answer Calls
End or Reject Calls

15
Make Calls
(1) Please keep in mind that the environment inside a moving vehicle tends
to be noisier than your average environment. This will aect how accurately
your phone’s voice recognition function such as Siri picks up your voice
command .
Radio without a
SAT/XM button
Radio with a SAT/XM button
&
Odyssey 11-12, Pilot 12 radios
1. Dial calls directly from your
phone
2. Or use your phone to engage
its voice dialing function (Siri/
Google Now). Once engaged,
your voice command will be
picked up by the BT45’s
microphone(1)
3. As soon as an outgoing call
is dialed, the BT45 will
automatically switch the audio
source to Bleutooth (XM1)
4. Press the radio TUNE DOWN
button to end a call
Once a call has ended it will
remain in the Bluetooth source,
you must manually select the
source you wish to go back to.
Make Calls Make Calls
1. Dial calls directly from your
phone
2. Or use your phone to engage
its voice dialing function (Siri/
Google Now). Once engaged,
your voice command will be
picked up by the BT45’s
microphone(1)
3. As soon as an outgoing call
is dialed, the BT45 will
automatically switch the audio
source to Bleutooth (CDC)
4. Press the radio SEEK/TRACK
DOWN or the steering wheel
CH- button to end a call
Once a call has ended it will
remain in the Bluetooth source,
you must manually select the
source you wish to go back to.

16
Hands-free to Handset
Transferring an active call from
Hands-free to Handset
While on a call
From the radio:
1. Press/turn the TUNE UP
button/knob to transfer the
call from hands-free to
handset
2. Press the same button again
to transfer the call back to
hands-free mode
While on a call
From the radio:
1. Press/turn the SEEK/TRACK UP
button/knob to transfer the
call from hands-free to
handset
2. Press the same button again
to transfer the call back to
hands-free mode
From the Steering wheel:
Press the CH+ button
Radio without a
SAT/XM button
Radio with a SAT/XM button
&
Odyssey 11-12, Pilot 12 radios
1. Turn your vehicle’s ignition ON
2. go to Bluetooth source (XM1 or CDC)
3. Disable the Bluetooth function from your phone’s
setting
4. Wait 5 sec, then turn the TUNE or the TRACK/SEEK
knob to the right to ENABLE. Turn the same knob to
the left to DISABLE
* The above steps will disable both the voice prompt and
the caller # announcement features.
Enable & Disable Voice Prompt

17
AUX input
Aux 3.5 mm Audio Input
• You'll need a 3.5mm to headphone jack cable (not included
in this package)
0D[LPXPFKDUJLQJRXWSXWDPSVDWYROW
FKDUJLQJFDEOHQRWSURYLGHG
1. Press the AUX button
2. Press the PRESET 6 button
to access the audio device
connected to the AUX port
1. Press the AUX button
2. Press the DISC 6 or DISC 9
button to access the audio
device connected to the AUX
port
USB charging port
ͻ /ĐĂŶŚĞĂƌƚŚĞyDƌĂĚŝŽĂŶĚŵĞĚŝĂƐƚƌĞĂŵŝŶŐƉůĂLJŝŶŐĂƚƚŚĞƐĂŵĞ
ƟŵĞ
DĂŬĞƐƵƌĞLJŽƵŚĂǀĞĚŝƐĐŽŶŶĞĐƚĞĚƚŚĞ^Ͳ,ϯƚĐĂďůĞKEKd
hƐĞƚŚĞ^Ͳ,ϯƚĐĂďůĞŝĨLJŽƵĂƌĞĐŽŶŶĞĐƟŶŐƚŚƌŽƵŐŚƚŚĞyD
ƚƵŶĞƌ;ƉϲͿ
DĂŬĞƐƵƌĞƚŚĞĚŝƉƐǁŝƚĐŚĞƐĂƌĞƐĞƚĐŽƌƌĞĐƚůLJ;ƉϱͿ
ͻ dŚĞdϰϱͲ,KEϯŝƐĐŽŶŶĞĐƚĞĚƚŚƌŽƵŐŚƚŚĞƌĂĚŝŽďƵƚƚŚĞyDďƵƩŽŶ
ŽŶƚŚĞƌĂĚŝŽĚŽĞƐŶŽƚǁŽƌŬ
DĂŬĞƐƵƌĞƚŚĞ^Ͳ,ϯƚĐĂďůĞŝƐĐŽŶŶĞĐƚĞĚƚŽƚŚĞ^Ͳ,ϯdžĐĂďůĞ
;ƐĞĞƉϴͿ
ͻ /ŵƵŶĂďůĞƚŽƉĂŝƌŵLJƐŵĂƌƚƉŚŽŶĞĚĞǀŝĐĞ
ϭ&ŽƌŐĞƚĚĞůĞƚĞƚŚĞdϰϱͲ,KEĨƌŽŵLJŽƵƌƉŚŽŶĞΖƐůƵĞƚŽŽƚŚ
ƐĞƫŶŐZĞƐĞƚLJŽƵƌƉŚŽŶĞĂŶĚƚƌLJƚŚĞƉĂŝƌŝŶŐƉƌŽĐĞƐƐĂŐĂŝŶ
Ϯ/ĨLJŽƵŚĂǀĞĂŶŶĚƌŽŝĚĚĞǀŝĐĞŵĂŬĞƐƵƌĞƚŚĞKŶůLJǀŝƐŝďůĞƚŽ
ƉĂŝƌĞĚĚĞǀŝĐĞƐŽƉƟŽŶŝƐhE,<^ŽŵĞƟŵĞƐŝƚĐĂŶƚĂŬĞ
ƵƉƚŽϯϬƐĞĐŽŶĚƐĨŽƌƚŚĞdϰϱƚŽďĞĚĞƚĞĐƚĞĚďLJLJŽƵƌ
ƐŵĂƌƚƉŚŽŶĞĚĞǀŝĐĞ
Troubleshooting

18
ͻ DLJŚĂŶĚƐͲĨƌĞĞƉŚŽŶĞĐĂůůǀŽůƵŵĞŝƐǀĞƌLJůŽǁ
&ŝƌƐƚĂĚũƵƐƚƚŚĞƉŚŽŶĞǀŽůƵŵĞƐĞƫŶŐƚŽDyƚŚĞŶƵƐĞƚŚĞ
ƌĂĚŝŽǀŽůƵŵĞĐŽŶƚƌŽůƐƚŽĂĚũƵƐƚŝƚƚŽƚŚĞĚĞƐŝƌĞĚůĞǀĞů
ͻ /DLJƌĂĚŝŽŚĂƐĂ^dyDďƵƩŽŶďƵƚŝƚŝƐŶŽƚĚŝƐƉůĂLJŝŶŐĂŶLJŵƵƐŝĐ
ŝŶĨŽƐƵĐŚĂƐƐŽŶŐƟƚůĞƐ
ŽŶĮƌŵƚŚĂƚLJŽƵƌĚĞǀŝĐĞŝƐĞƋƵŝƉƉĞĚǁŝƚŚůƵĞƚŽŽƚŚƉƌŽĮůĞ
sZWϭϰŽƌŚŝŐŚĞƌŝƚŚĂƐŝK^ϲϬŽƌŚŝŐŚĞƌŽƌŶĚƌŽŝĚϰϬŽƌ
ŚŝŐŚĞƌ
DƵƐŝĐƐƚƌĞĂŵŝŶŐĂƉƉƐŝŶĨŽĚŝƐƉůĂLJĐĂƉĂďŝůŝƟĞƐǀĂƌLJƚŚƵƐƐŽŵĞ
ŵŝŐŚƚŶŽƚĚŝƐƉůĂLJƉƌŽƉĞƌůLJŽŶLJŽƵƌƌĂĚŝŽ
ͻ /ΖŵƵŶĂďůĞƚŽƵƐĞŵLJƐƚĞĞƌŝŶŐǁŚĞĞůĐŽŶƚƌŽůƐƚŽĂŶƐǁĞƌĐĂůůƐŽƌ
ĐŽŶƚƌŽůŵĞĚŝĂƉůĂLJďĂĐŬ
dŚĞƐƚĞĞƌŝŶŐǁŚĞĞůĐŽŶƚƌŽůŝŶyDϭĂƵĚŝŽƐŽƵƌĐĞŝƐĚĞƐŝŐŶĞĚƚŽ
ƉĞƌĨŽƌŵWZ^dĐŚĂŶŐĞƐƚŚƵƐŝƚEEKdďĞƵƐĞĚƚŽĂŶƐǁĞƌ
ĐĂůůƐŽƌƚŽĐŚĂŶŐĞƚƌĂĐŬƐĚƵƌŝŶŐŵĞĚŝĂƐƚƌĞĂŵŝŶŐ
/ŶƐŽŵĞǀĞŚŝĐůĞƐLJŽƵŵŝŐŚƚďĞĂďůĞƚŽƉƌĞĨŽƌŵƚŚŽƐĞĨƵŶĐƟŽŶƐ
ďLJƉƌĞƐƐĂŶĚŚŽůĚƚŚĞƐƚĞĞƌŝŶŐǁŚĞĞůĐŽŶƚƌŽůΖƐdhEhWKtE
ďƵƩŽŶ
Ύ/ĨƐƚĞĞƌŝŶŐǁŚĞĞůĐŽŶƚƌŽůĨĞĂƚƵƌĞŝƐŝŵƉŽƌƚĂŶƚƚŽLJŽƵƚŚĞŶLJŽƵ
ĐĂŶƵƐĞƚŚĞĂƵĚŝŽƐŽƵƌĐĞĨŽƌůƵĞƚŽŽƚŚ;LJŽƵΖůůŶĞĞĚƚŽ
ŵĂŬĞĐŚĂŶŐĞƐƚŽƚŚĞĚŝƉƐǁŝƚĐŚƐĞƫŶŐƐĂŶĚĐĂďůĞĐŽŶŶĞĐƟŽŶƐͿ
,ŽǁĞǀĞƌďLJƵƐŝŶŐŝƚŝŶƐŽƵƌĐĞLJŽƵǁŝůůůŽƐĞƚŚĞŵƵƐŝĐŝŶĨŽ
ĚŝƐƉůĂLJĨĞĂƚƵƌĞ
ͻ dŚĞdϰϱƐh^ƉŽƌƚǁŝůůŶŽƚĐŚĂƌŐĞŵLJĚĞǀŝĐĞ
WůĞĂƐĞƵƐĞĚĂƚĂ^zEĂŶĚ,Z';h^ϮϬĐĂƉĂďŝůŝƚLJͿĐĂďůĞƐ
EŽƚĂůůh^ĐĂďůĞƐŽŶƚŚĞŵĂƌŬĞƚƐƵƉƉŽƌƚĐŚĂƌŐŝŶŐ
ͻ /ŚĂǀĞĂĚĞǀŝĐĞĐŽŶŶĞĐƚĞĚƚŚƌŽƵŐŚdϰϱƐhyŝŶƉƵƚĂŶĚƚŚĞ
ǀŽůƵŵĞŝƐǀĞƌLJůŽǁ
dƵƌŶƚŚĞǀŽůƵŵĞŽŶƚŚĞĂĐƚƵĂůĚĞǀŝĐĞƚŽDyƚŚĞŶƵƐĞƚŚĞ
ƌĂĚŝŽƐǀŽůƵŵĞĐŽŶƚƌŽůƚŽĂĚũƵƐƚƚŚĞůĞǀĞů
For help with any additional issues, please contact tech support at
(626)336-3836 Mon-Fri: 9am-5pm PST
Additional troubleshooting Q&A are available at
http://www.usaspec.com/t-faq.aspx
Table of contents
Popular Accessories manuals by other brands

Bühler technologies
Bühler technologies EGK 1 Installation & operation instructions

SICK
SICK EventCam technical information

Midland
Midland E-READY EP100 manual

Dorner
Dorner AquaPruf 7400 Ultimate CE Series Installation, Maintenance, and Parts Manual

Paraavis
Paraavis SPIRIT manual

Goobay
Goobay NK quick start guide