Copyrights © U.S. Converters
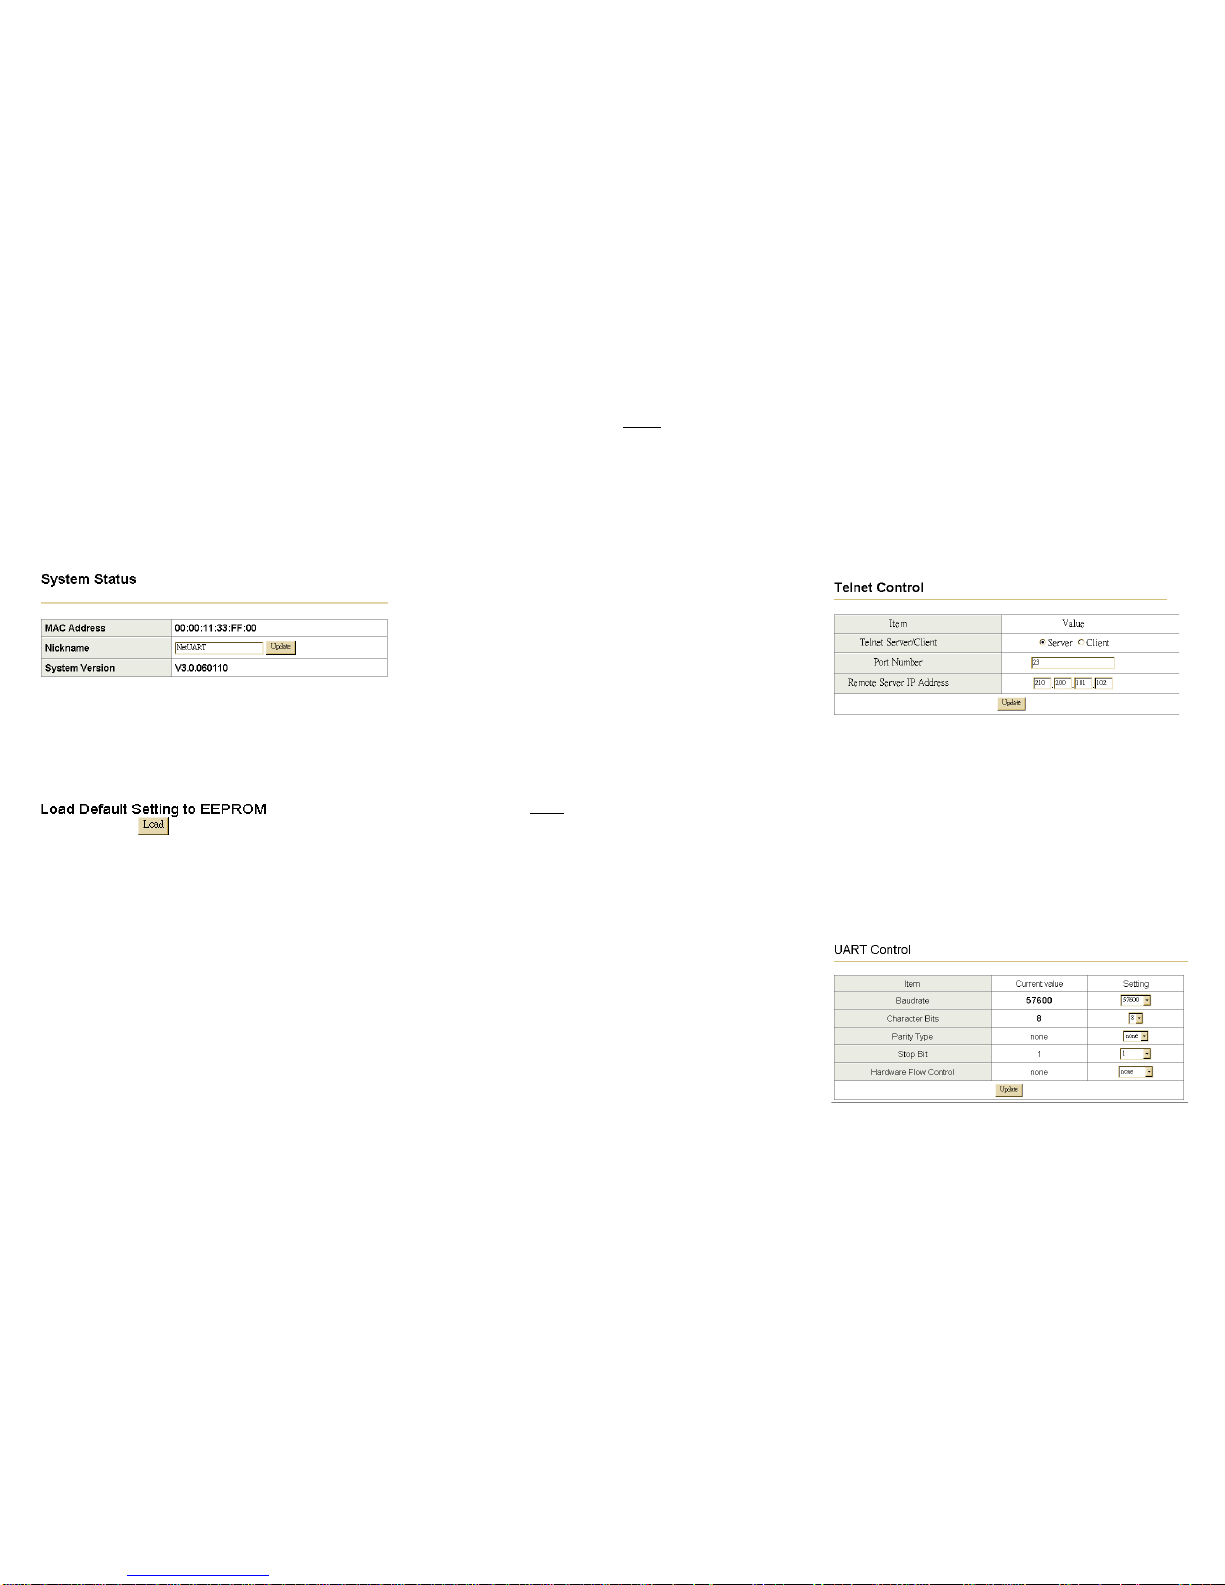
5.0 System Status
This screen shows the XS1000’s current status. All of the
information provided is read-only.
Kernel Version: the installed version of the kernel.
MAC Address: The present device MAC Address.
Nickname: the product’s NetUART model name.
5.0 Load default setting
Allows the user to reset the XS1000 to default settings. The
MAC Address will not be updated.
5.1 Telnet
Currently not supported.
5.2 Operation mode
The XS1000 supports four operation modes: TCP Server,
TCP Client, UDP Server and UDP Client. These modes
are listed in the Web page for the Operation Mode setting.
Each setup screen and available features will differ
depending on what kind of operation mode you select.
Default is TCP Server.
5.3 TCP Server
Port Number: default 23, range 0to 65535
If your device is acting as a passive device to accept
commands from a remote device and the data needs to be
guaranteed to be received by the peer is your concern, then
you can set the XS1000 as TCP UServerU. Be sure the value of
the setting Port Number is same as your remote control
application using.
Client mode inactive timeout (minutes): default 20
(0=Disable)
If you want to keep the connection between XS1000 and your
remote control application always on, then set the value of item
Client mode inactive timeout (minutes) to 0, otherwise,
when the inactive time of ‘no traffic’ on the line reach the
configured value, the XS1000 will terminate the connection.
5.4 TCP Client
Remote Connection Port Number: default 23, range 0to
65535
Remote Host IP Address: default 210.200.181.102
If your device is acting as an active device to report real-time
status to remote devices and the data needs to be guaranteed
to be received by the peer is your concern, then you can set the
XS1000 as TCP UClientU. Be sure the value of the setting
Remote Connection Port Number is same as your remote
control application using the correct value of Remote Host IP
Address.
5.5 UDP Server
Local Port Number: default 21, range 0 to 65535
If your device is acting as a passive device to accept
commands from a remote device and the data needs to
be guaranteed to be received by peer is not your concern,
then you can set XS1000 as UDP Server. Be sure the
value of item Local Port Number is same as what your
remote application is using.
5.6 UDP Client
Remote Connection Port Number: default 21, range 0to
65535
Remote Host IP Address: default 192.168.2.2
If your device is acting as an active device to report
real-time status to a remote device and the data be
guaranteed to be received by the peer is not your
concern, then you can set XS1000 as TCP Client. Be
sure the value of item Remote Connection Port
Number is same as your remote control application
using the correct value of Remote Host IP Address.
6.0 UART Control (RS-232)
Use VCOM for creating a new COM port.
The XS1000 support three serial types: RS232, RS422 and
RS485.
Baud Rate: default 57600, range 300bps to 230.4Kbps.
Character Bits: 5, 6, 7, 8 (default).
Parity Check: None (default), even, odd, space, mark.
Stop Bits: 1 (default), 1.5 or 2.
Hardware Flow Control: None (default) or Hardware.