/
www.argo-contar.com
4.2 System Status
..........................................................................................................
24
4.2.1 Wired Status
.....................................................................................................
24
4.2.2 Wireless
Status
.................................................................................................
25
4.3 Interface
Traffic
.........................................................................................................
27
4.4
Restart
......................................................................................................................
29
Chapter 5
Network
........................................................................................................
30
5.1 WAN Settings
...........................................................................................................
30
5.1.1 Internet Connection
List
....................................................................................
30
5.1.2 Internet Connection Settings
............................................................................
34
5.1.3 MAC Address Clone
.........................................................................................
40
5.2 Load
Balancing.........................................................................................................
41
5.2.1 Introduction to Load Balancing and Failover
....................................................
41
5.2.2 Load Balancing Global
Settings........................................................................
43
5.2.3 Load Balancing List
..........................................................................................
44
5.2.4 Connection Detection Settings
.........................................................................
45
5.2.5 How to Configure Connection Detection Settings
............................................
47
5.3 LAN
Settings.............................................................................................................
48
5.4 DHCP
Server
............................................................................................................
49
5.4.1 DHCP Server
Settings ......................................................................................
49
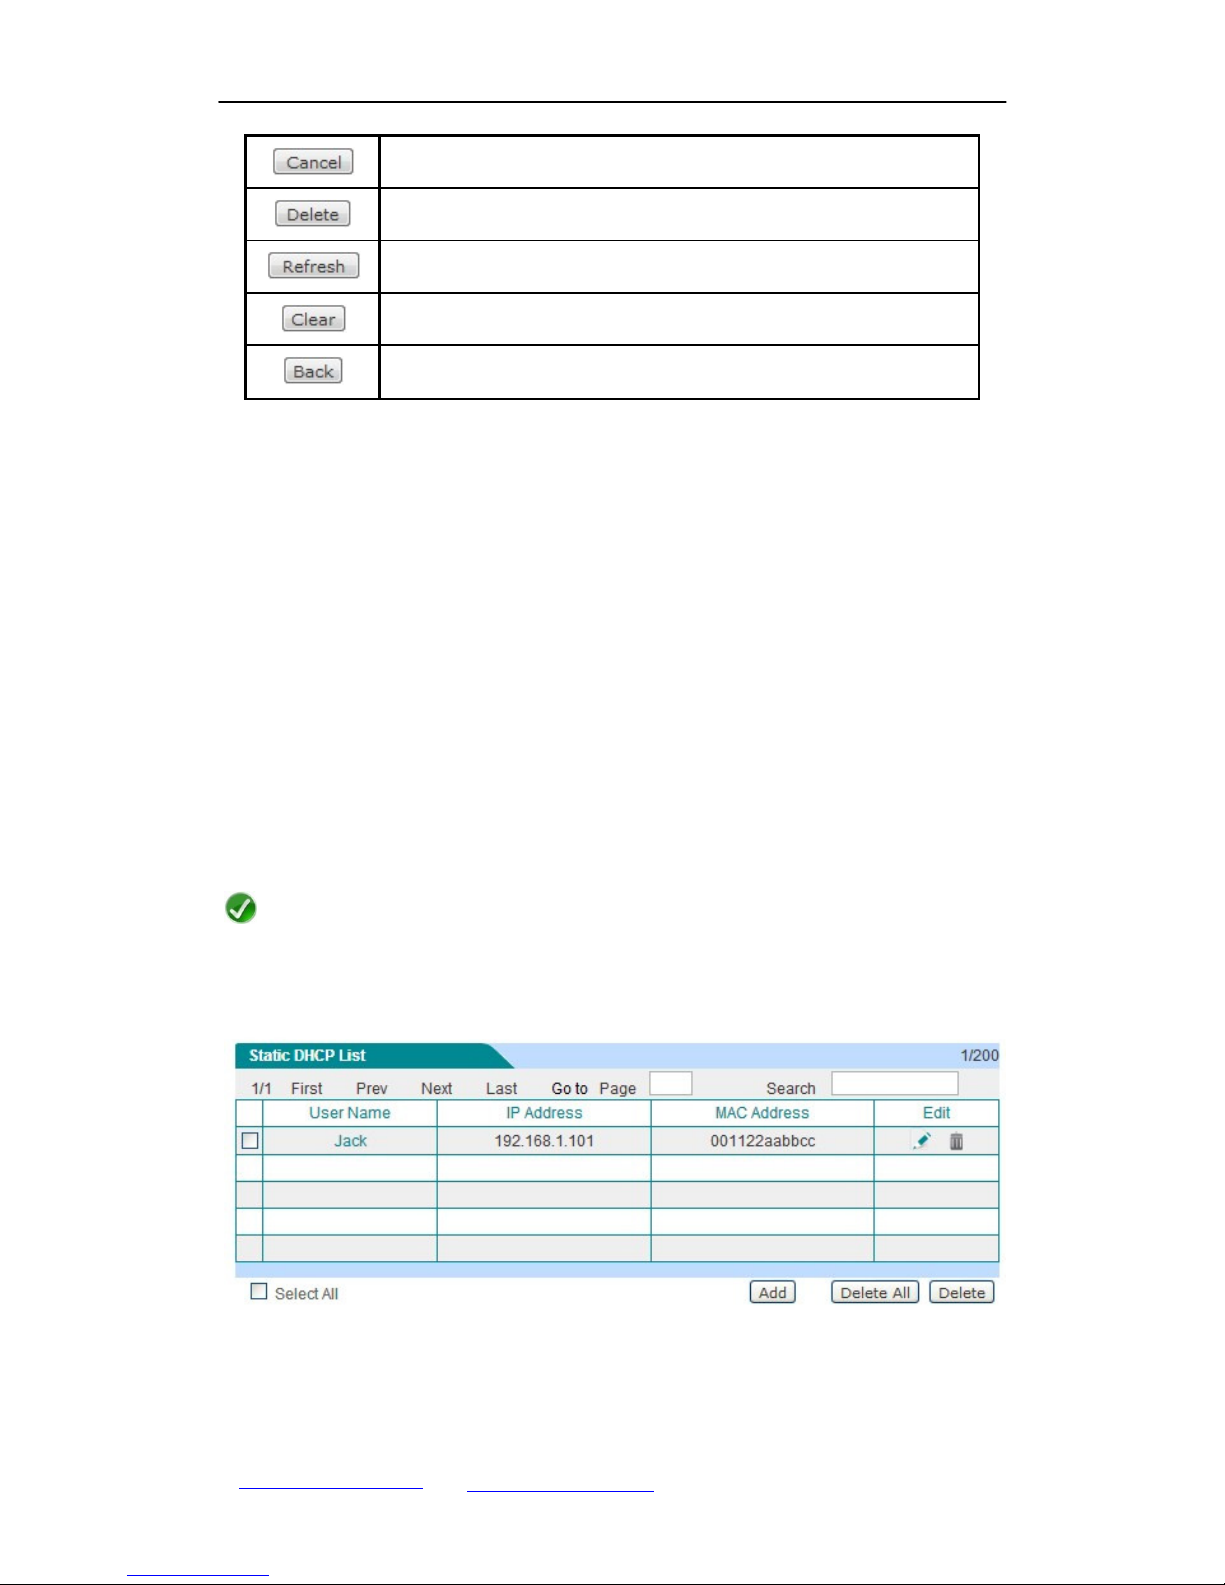
5.4.2 Static
DHCP
......................................................................................................
51
5.4.3 DHCP Client
List
...............................................................................................
53
5.4.4 Configuration Example for
DHCP
.....................................................................
55
5.5 DDNS
.......................................................................................................................
58
5.5.1 Introduction to
DDNS
........................................................................................
58
5.5.2 Apply for a DDNS
Account................................................................................
58
5.5.3 DDNS
Settings
..................................................................................................
59
5.5.4 DDNS
Status.....................................................................................................
61
5.5.5 DDNS
Verification .............................................................................................
62
5.6 UPnP
........................................................................................................................
63
5.6.1 Enable UPnP
....................................................................................................
63
5.6.2 UPnP Port Forwarding List
...............................................................................
63
Chapter 6
Advanced
.....................................................................................................
65
6.1 NAT and
DMZ
...........................................................................................................
65
6.1.1 Introduction to NAT
Features
............................................................................
65
6.1.2 Port Forwarding
................................................................................................
68
6.1.3 NAT
Rule...........................................................................................................
71
6.1.4 DMZ
..................................................................................................................
77
6.2 IP/MAC
Binding ........................................................................................................
79
6.2.1 Introduction to IP/MAC
Binding.........................................................................
79
6.2.2 IP/MAC Binding Global
Settings
.......................................................................
80
6.2.3 IP/MAC Binding
List
..........................................................................................
81
6.2.4 IP/MAC Binding Settings
..................................................................................
82