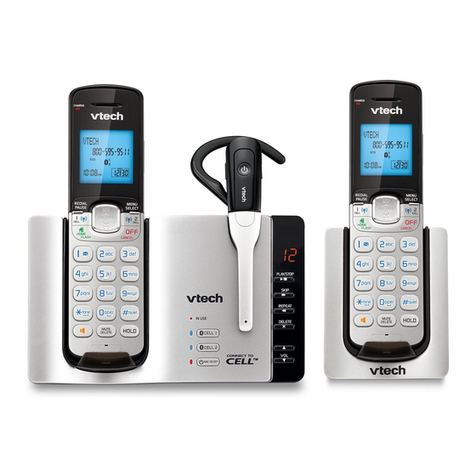
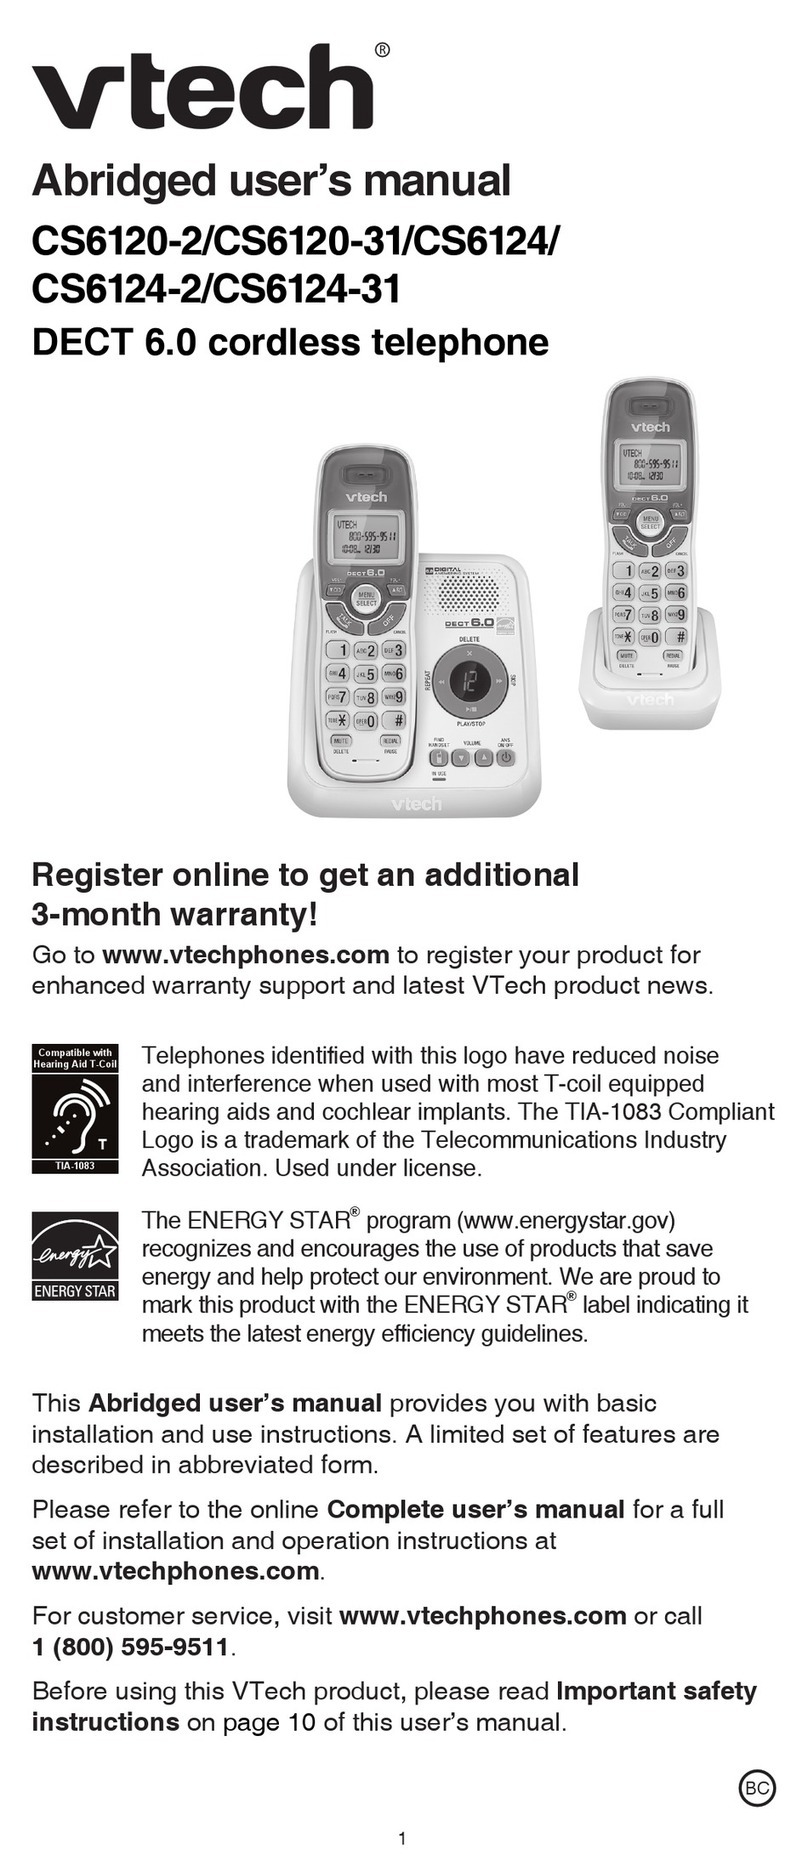
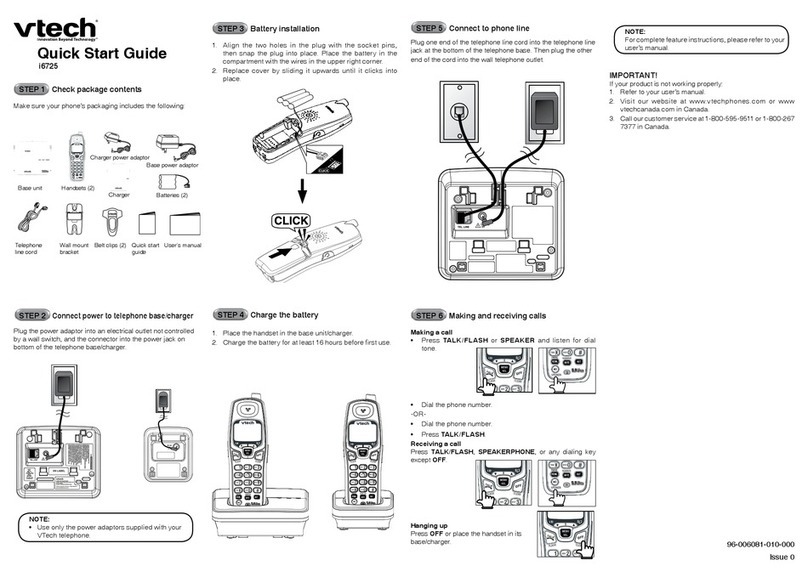
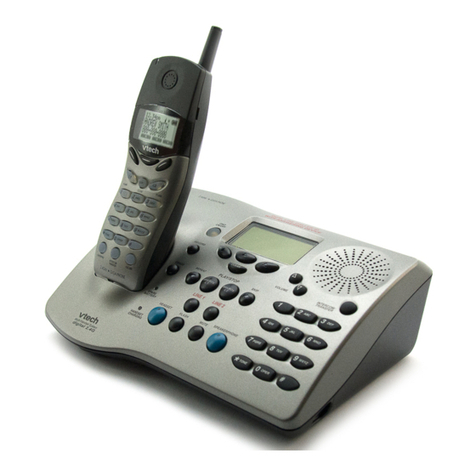
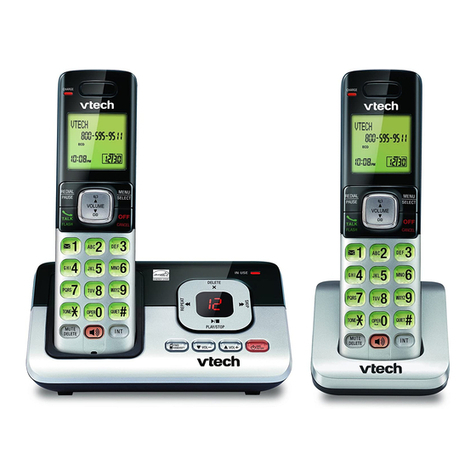
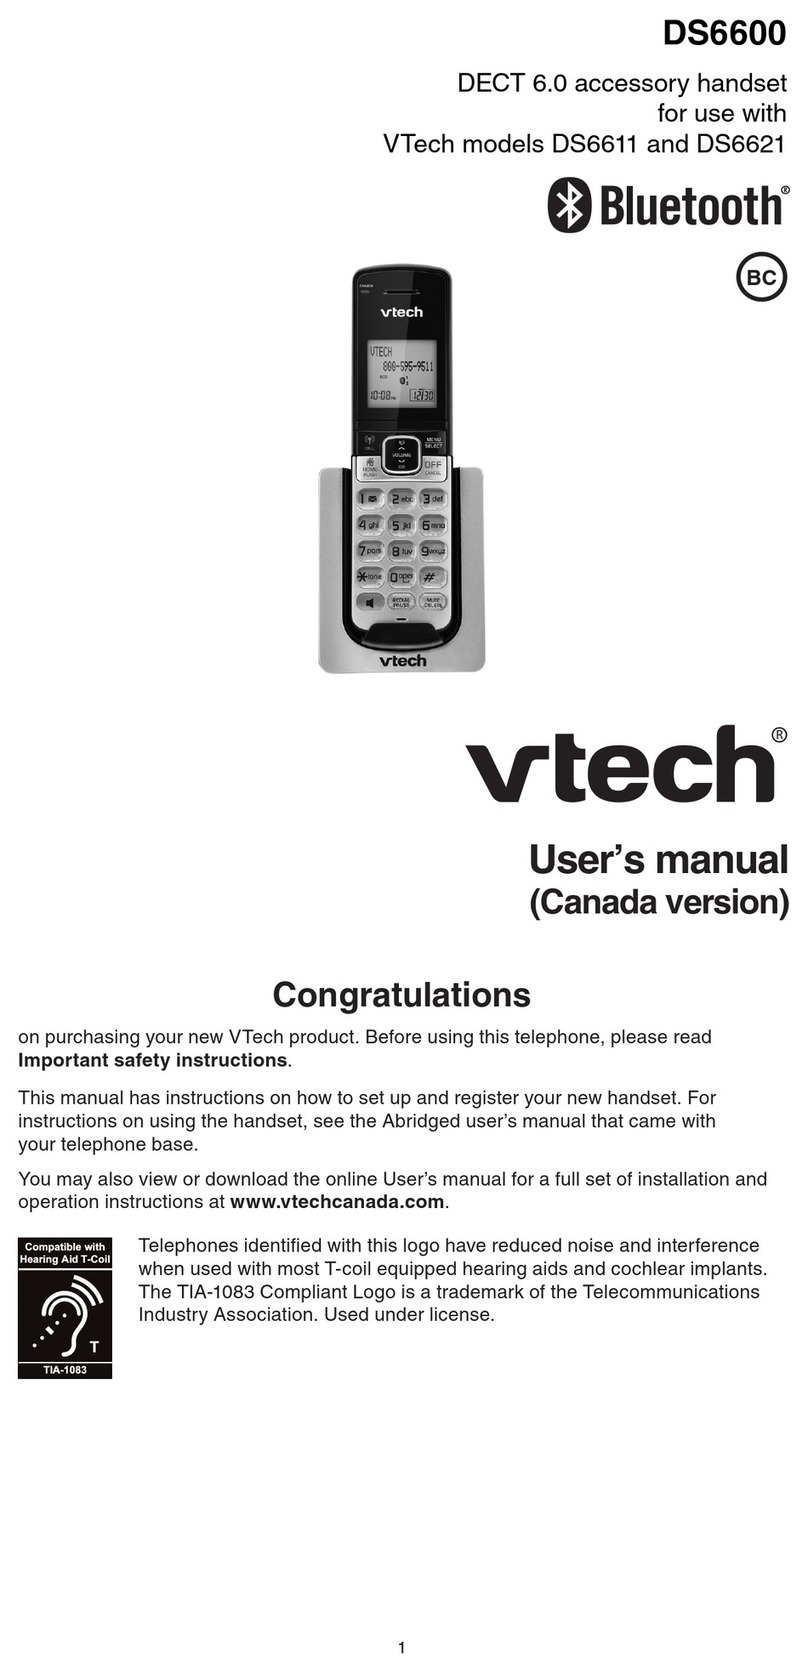
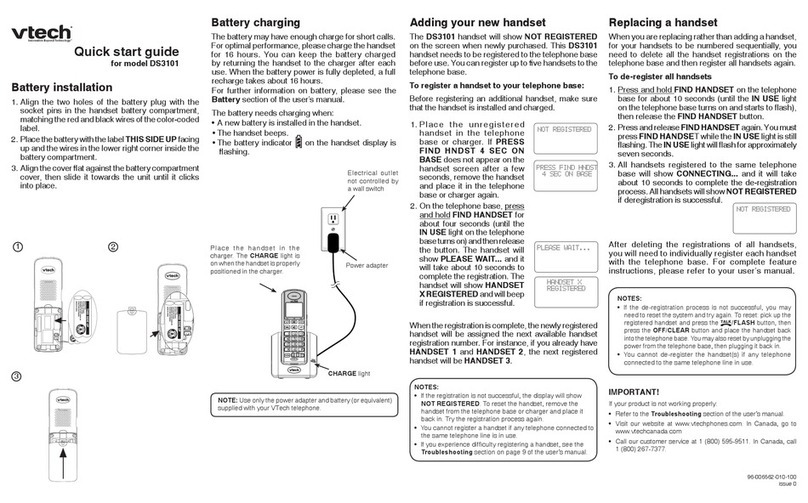
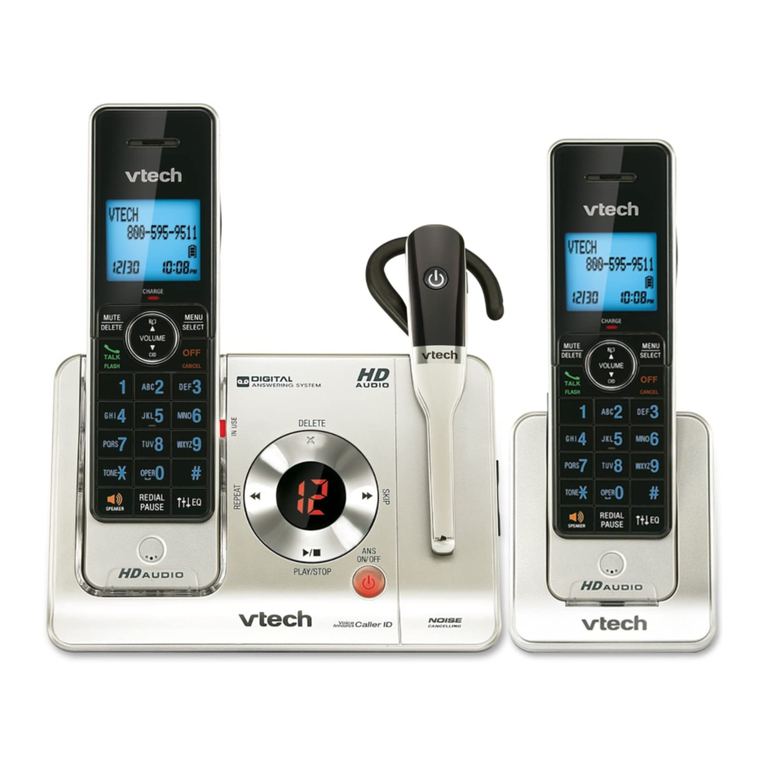
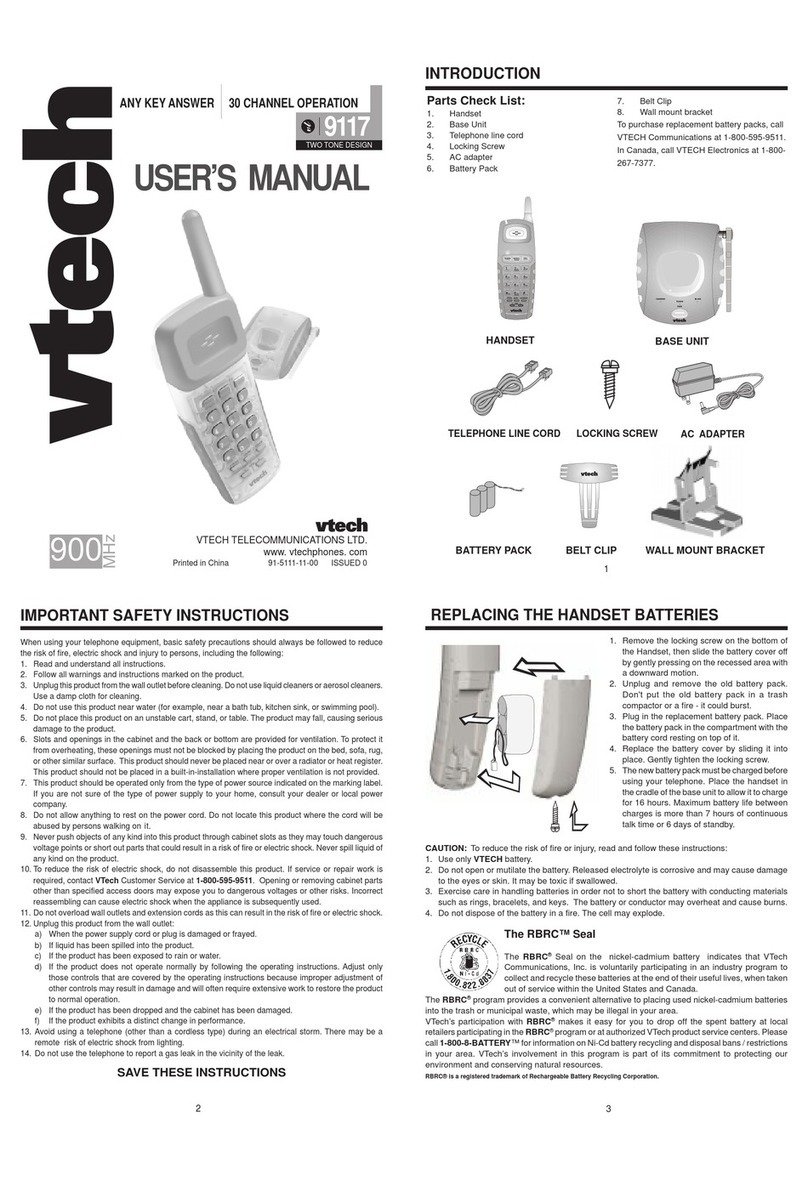
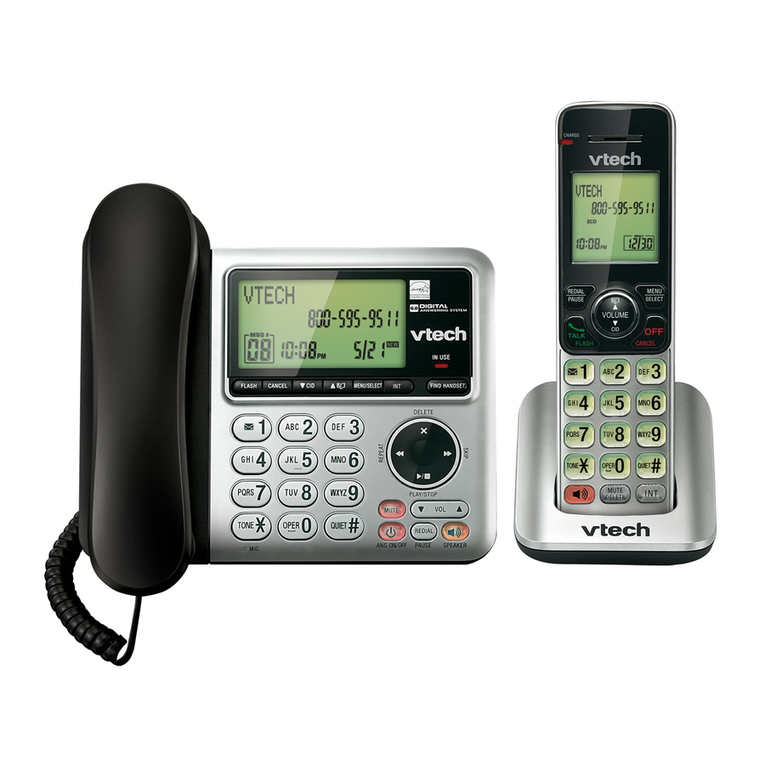
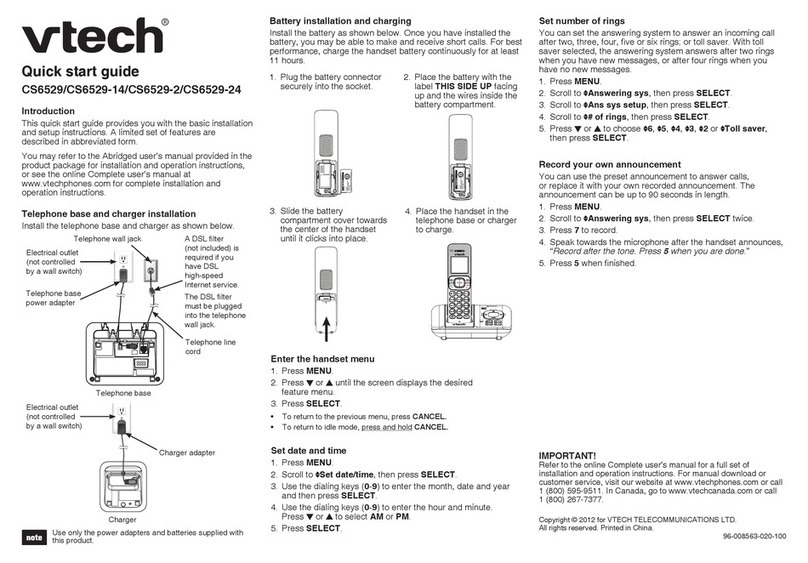
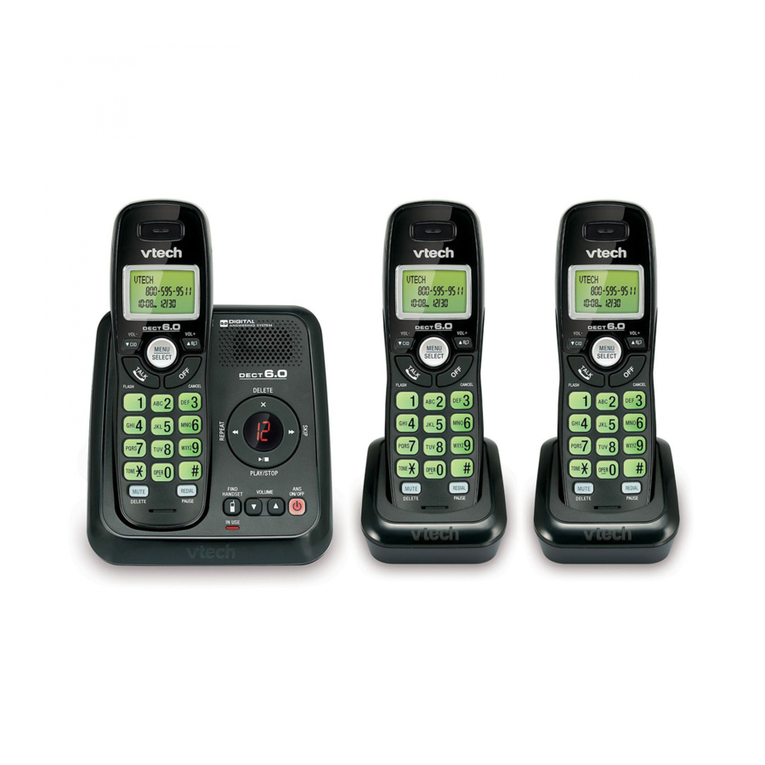
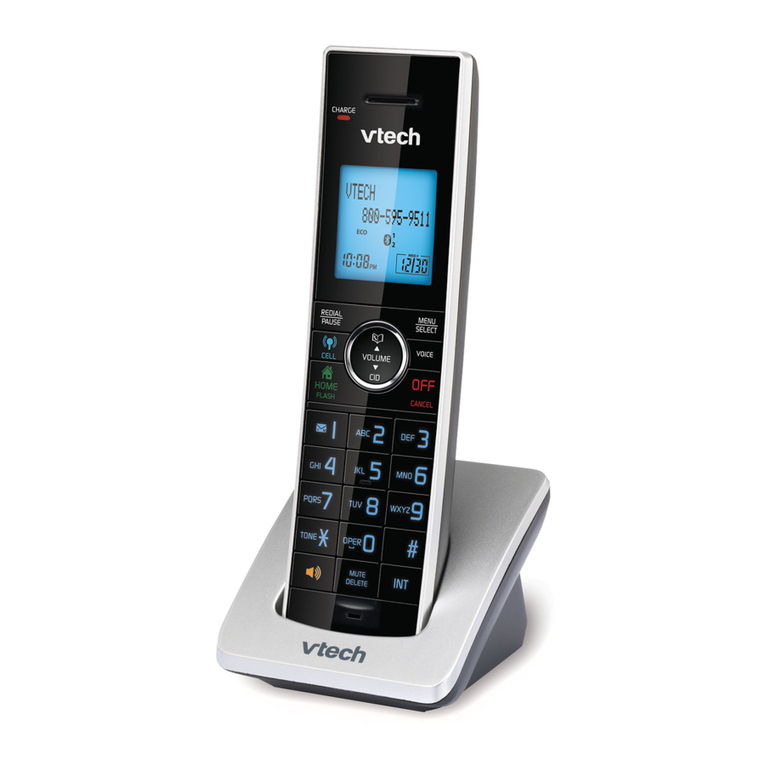
V-tech DECT 6.0 LS6315 Series User manual

User’s manual
www.vtechphones.com
Models:
LS6315/LS6315-2

Congratulations
on purchasing your new VTech product. Before using this telephone, please
read the Important safety instructions on page 51 of this manual.
This manual has all the feature operations and troubleshooting necessary
to install and operate your new VTech telephone. Please review this manual
thoroughly to ensure proper installation and operation of this innovative and
feature rich VTech product. For support, shopping, and everything new at
VTech, visit our website at www.vtechphones.com.
In Canada, please visit
www.vtechcanada.com.
The ENERGY STAR®program (www.energystar.gov) recognizes
and encourages the use of products that save energy and help
protect our environment. We are proud to mark this product with
the ENERGY STAR®label indicating it meets the latest energy
GHſEKGPE[IWKFGNKPGU

Table of contents
i
Getting started .............................. 1
Parts checklist................................. 1
Telephone base and charger
installation.................................... 2
Battery installation .......................... 3
Battery charging.............................. 4
Installation options .......................... 5
Tabletop to wall-mount
installation ................................... 5
Wall-mount to tabletop
installation.................................... 6
Telephone base layout .................... 7
Handset layout ................................ 8
Telephone settings ..................... 11
Ringer volume (telephone base) ... 11
Ringer volume (handset)............... 11
Ringer tone.................................... 11
LCD language ............................... 12
Clear voicemail.............................. 12
Key tone ........................................ 13
Set date/time ................................. 13
CID time synchronization .............. 14
Home area code............................ 14
Dial mode ...................................... 15
Website.......................................... 15
Telephone operation................... 16
Make a call ................................... 16
Predial a call.................................. 16
Answer a call ................................. 16
End a call....................................... 16
Speakerphone............................... 16
Volume .......................................... 16
Mute .............................................. 17
Temporary ringer silencing............ 17
Temporary tone dialing.................. 17
Find handset.................................. 18
Call waiting .................................... 18
Equalizer........................................ 18
Chain dialing.................................. 19
Redial list....................................... 20
Dial a redial entry .......................... 20
Delete from redial list .................... 20
Multiple handset use ..................... 20
Intercom ........................................ 21
Answer an incoming call during
an intercom call.......................... 21
Transfer/share call using
intercom ..................................... 22
Push to talk (PTT) ......................... 23
PTT On/Off.................................... 23
PTT to a single handset ................ 24
PTT to all handsets ....................... 25
Answer PTT................................... 26
Switch a one-to-one PTT
to intercom ................................. 26
End PTT ........................................ 27
Answer an incoming call
during PTT ................................. 27
Directory........................................ 28
Store a directory entry................... 29
Character chart ............................. 30
Search the directory...................... 31
Alphabetical search....................... 31
Dial a directory entry ..................... 31
Edit a directory entry ..................... 32
Delete from the directory............... 33
Call log ..........................................34
Memory match ..............................34
Missed calls indicator ................... 35
Review the call log ....................... 35
View dialing options ...................... 36
Dial a call log entry ....................... 36
ii
Table of contents
Save a call log entry to
the directory ............................... 37
Delete from the call log ................. 38
Call log display screen
messages...................................38
Appendix...................................... 39
Handset display screen
messages................................... 39
Handset and telephone base
indicators ................................... 41
Battery........................................... 42
Expand your telephone system..... 43
Add and register a handset
(optional) ....................................43
Replace a handset ........................ 44
Troubleshooting............................. 45
Important safety instructions......... 51
Precautions for users of
implanted cardiac pacemakers.. 52
Operating range ............................ 52
Maintenance.................................. 53
About cordless telephones............ 54
The RBRC®seal............................ 54
Warranty........................................ 55
FCC, ACTA and IC regulations ..... 57
6GEJPKECNURGEKſECVKQPU ................ 59
Index .............................................60

1
Telephone
line cord
Parts checklist
Your telephone contains the following items. Save your sales receipt and
original packaging in the event warranty service is necessary.
Quick start guide
Telephone base
Telephone base
power adapter
User’s manual
Handset
(1 for LS6315, 2 for LS6315-2)
Charger and charger adapter
(1 for LS6315-2)
Battery
(1 for LS6315, 2 for LS6315-2)
Battery
compartment cover
(1 for LS6315, 2 for LS6315-2)
Getting started
To purchase replacement batteries or power adapters, visit our website at
www.vtechphones.com or call 1 (800) 595-9511. In Canada, go to
www.vtechcanada.com or dial 1 (800) 267-7377.

2
Telephone base and charger installation
Install the telephone base and charger(s) as shown below.
Make sure that the electrical outlet is not controlled by a wall switch.
If you subscribe to DSL (digital subscriber line) high-speed Internet service
through your telephone line, you must install a &5.ſNVGTDGVYGGPVJG
VGNGRJQPGNKPGEQTFCPFVJGVGNGRJQPGYCNNLCEM6JGſNVGTRTGXGPVUPQKUGCPF
caller ID problems caused by DSL interference. Contact your DSL service
RTQXKFGTHQTOQTGKPHQTOCVKQPCDQWV&5.ſNVGTU
Telephone base
Telephone
wall jack
Charger
Use only the power adapters supplied with this product. To order a replacement,
visit our website at www.vtechphones.com or call 1 (800) 595-9511. In Canada,
go to www.vtechcanada.com or dial 1 (800) 267-7377.
The power adapters are intended to be correctly oriented in a vertical or
ƀQQTOQWPVRQUKVKQP6JGRTQPIUCTGPQVFGUKIPGFVQJQNFVJGRNWIKPRNCEGKH
it is plugged into a ceiling, under-the-table or cabinet outlet.
•
•
Getting started
Electrical outlet
not controlled by
a wall switch
If you have
DSL high
speed
Internet
service, a
DSL filter
(not included)
is required.
Telephone
line cord
Telephone
base power
adapter
Charger
adapter

3
Getting started
CHARGE
light
Battery installation
Install the battery as shown below.
If the battery compartment cover is on the handset, press on the
indentation and slide the cover to remove.
Plug the battery connector securely into the socket inside the handset
battery compartment, matching the color-coded label.
Place the battery with the label THIS SIDE UP facing up and the wires
inside the battery compartment.
#NKIPVJGEQXGTƀCVCICKPUVVJGDCVVGT[EQORCTVOGPVVJGPUNKFGKVVQYCTFU
the center of the handset until it clicks into place.
Charge the handset by placing it in the telephone base or charger. The
CHARGE light is on when the handset charges.
1.
2.
3.
4.
5.
13
2
45
If the handset will not be used for a long time, disconnect and remove the
battery to prevent possible leakage.
To purchase replacement batteries, visit our website at
www.vtechphones.com or call 1 (800) 595-9511. In Canada, go to
www.vtechcanada.com or dial 1 (800) 267-7377.
•
•

4
Getting started
Battery charging
Once you have installed the battery, the screen indicates the battery status
(see the table below). If necessary, place the handset in the telephone base
or charger to charge the battery. For best performance, keep the handset in
the telephone base or charger when not in use. The battery is fully charged
after 16 hours of continuous charging. See the table on page 42 for battery
operating times.
If the screen is blank, you need to charge the handset without interruption for
at least 10 minutes to give the handset enough charge to use the telephone
for a short time. When the battery is low, the handset shows Low battery
CPFCƀCUJKPI icon. If you are on a call in low battery mode, the handset
has four short beeps to alert you.
The following table summarizes the battery charge indicators and actions
to take.
Battery indicators Battery status Action
The screen is blank. Battery has no charge
and the handset cannot
be used.
Charge without interruption (at
least 10 minutes).
The screen shows
Place in charger and
ƀCUJGU
Battery has very little
charge and the handset
cannot be used.
Charge without interruption (at
least four minutes).
The screen shows
Low battery and
ƀCUJGU6JGJCPFUGV
beeps four times every
minute.
Battery has enough
charge to be used for a
short time.
Charge
without interruption
until
the screen shows HANDSET X
(about 30 minutes).
The screen shows
HANDSET X.
Battery is charged. To keep the battery charged,
place it in the telephone base
or charger when not in use.
If you do not plug in the battery into the handset and place it in the telephone base
or charger, the screen displays No battery.

5
Getting started
Installation options
Your telephone base is ready for tabletop use. If you want to mount your
telephone on a wall, use the provided wall-mount bracket to connect with
a standard dual-stud telephone wall-mounting plate. If you do not have
this mounting plate, you can purchase one from many hardware or
consumer electronics retailers. You may need a professional to install the
mounting plate.
Tabletop to wall-mount installation
Plug one end of the telephone line cord into the TEL LINE jack on the
bottom of the telephone base. Plug the small end of the larger power
adapter into the POWER jack on the bottom of the telephone base.
Position the telephone base as shown below. Insert the extended tabs of
the wall-mount bracket into the slots on the back of the telephone base.
Push the telephone base down until it clicks securely in place.
Route the telephone line cord through the wall-mount bracket hole and plug
it into the telephone wall jack. Route the power cord out of the bottom of the
telephone and plug it into an electrical outlet not controlled by a wall switch.
Align the holes on the bracket with the standard wall plate and slide the
bracket down until it locks securely. Bundle the telephone line cord and
power adapter cord neatly with a twist tie.
1.
2.
3.
4.
1 2
34

6
Getting started
Wall-mount to tabletop installation
If the telephone line cord and power adapter cord are bundled, untie
VJGOſTUV
Slide the black wall-mount bracket up and remove it from the wall plate.
7PRNWIVJGVGNGRJQPGNKPGEQTFQT&5.ſNVGTHTQOVJGYCNN7PRNWIVJG
power adapter from the power outlet.
Slide the telephone base up and remove it from the wall-mount bracket.
See Telephone base and charger installation on page 2.
1.
2.
3.
4.

7
Getting started
IN USE light
Flashes when there
is an incoming call,
or another telephone
sharing the same line
is in use.
On when the handset
is in use.
Telephone base layout
/FIND HANDSET
Press to page all
system handsets
(page 18).

8
Getting started
VOL/ (volume/directory)
Press to enter the directory when the telephone
is not in use (page 31).
While in a menu, press to scroll up.
During a call, press to increase the listening
volume (page 16).
Handset layout
CHARGE light
On when the handset is charging in the
telephone base or charger (page 3).
1
While reviewing a call log entry, press
repeatedly to add or remove 1in front of the
telephone number before dialing or saving it in
the directory (page 36).
/FLASH
Press to make or answer a call (page 16).
During a call, press to answer an incoming call
when you receive a call waiting alert (page 18).
REDIAL/PAUSE
Press to review the redial list (page 20).
While dialing or entering numbers into the
directory, press and hold to insert a dialing
pause (page 16).
(speakerphone)
Press to make or answer a call (page 16).
During a call, press to switch between
speakerphone and handset (page 16).
TONE
While you have set the dial mode to pulse and
on a call, press to temporarily change to tone
dial mode (page 17).

39
Handset display screen messages
Already saved The telephone number entered is already
stored in the directory.
Call log empty There are no call log entries.
Calling handset X
(for models with three or more handsets)
Calling other handset
(for models with two handsets)
Calling another handset.
Directory empty There are no directory entries.
Directory full The directory is full.
Ended You have just ended a call.
Handset X is calling
(for models with three or more handsets)
Calling other handset
(for models with two handsets)
Another system handset is calling.
Incoming call There is an incoming call.
Intercom The handset is on an intercom call.
Intercom ended You have just ended an intercom call.
Line in use A system handset or another telephone
on the same line is in use.
Low battery The battery needs to be recharged.
Microphone ON MUTE is turned off and the person on the
other end can hear you.
Muted You have turned off the handset
microphone. The other party cannot hear
you but you can hear the other party.
Memory full Answering system has no recording
time left.
New voicemail There are new voicemail messages from
your telephone service provider.
No battery
No battery is installed. Follow the
directions for battery installation on page 3
to install the battery before charging.
No line There is no telephone line connected.
Appendix

40
Appendix
Handset display screen messages
No signal,
call ended
Communication between handset and
telephone base is lost during a call.
N o t a v aila ble
at this time
One handset is already viewing the call
log or directory and another handset
attempts to review it.
Out of range OR
No pwr at base
The handset cannot communicate with
the telephone base. Check the telephone
base power connection or move closer.
** Paging ** The system handset is being paged.
Phone The handset is on a call.
Pla c e in
charger
The battery is very low. Place the
handset in the telephone base or charger
for recharging.
Ringer off The ringer is muted temporarily during an
incoming or intercom call.
Saved Your selection has been saved.
Speaker The handset speakerphone is in use.
Unable to call.
Try again
You have attempted to make an intercom
call, but the handset you are calling is in
the directory, in the call log, out of range
or on an outside call.
Unable to save You are attempting to save a caller ID
entry with no name or number.
XX Missed calls There are unreviewed calls in your
call log.

41
Appendix
Handset and telephone base indicators
Handset lights
On when the handset speakerphone is in use.
CHARGE On when the handset is charging in the telephone base
or charger.
Telephone base lights
IN USE On when the telephone line is in use.
On when you are registering a handset.
Flashes quickly when there is an incoming call.
Flashes when another telephone sharing the same line
is in use.
Flashes when you are deregistering all handsets.
$CVVGT[UVCVWUƀCUJGUYJGPVJGDCVVGT[KUNQYCPF
needs charging.
Battery status - animates when the battery is charging.
Speakerphone is in use.
Handset ringer off.
New voicemail received from your telephone
service provider.
New answering system messages.
NEW New call log entries.
MUTE Microphone is muted.
Handset icons

42
Appendix
Battery
It takes up to 16 hours for the battery to be fully charged. When it is fully
charged, you can expect the following performance:
Operation Operating time
While in handset use (talking*) Up to seven hours
While in speakerphone mode (talking*) 7RVQſXGJQWTU
While not in use (standby**) Up to seven days
*Operating times vary depending on your actual use and the age of the battery.
**Handset is not charging or in use.
The battery needs charging when:
A new battery is installed in the handset.
The handset beeps.
A battery is properly installed and the screen is blank.
Low battery or Place in charger shows on the handset screen.
CAUTION:
6QTGFWEGVJGTKUMQHſTGQTKPLWT[TGCFCPFHQNNQYVJGUGKPUVTWEVKQPU
Use only the battery(ies) provided or equivalent. To order a replacement, visit
our website at www.vtechphones.com or call 1 (800) 595-9511. In Canada, go to
www.vtechcanada.com or dial 1 (800) 267-7377.
&QPQVFKURQUGQHVJGDCVVGT[KGUKPCſTG%JGEMYKVJNQECNYCUVGOCPCIGOGPV
codes for special disposal instructions.
Do not open or mutilate the battery(ies). Released electrolyte is corrosive and may
cause burns or injury to the eyes or skin. The electrolyte may be toxic if swallowed.
Exercise care in handling batteries in order not to create a short circuit with
conductive materials.
%JCTIGVJGDCVVGT[KGURTQXKFGFYKVJQTKFGPVKſGFHQTWUGYKVJVJKURTQFWEVQPN[KP
CEEQTFCPEGYKVJVJGKPUVTWEVKQPUCPFNKOKVCVKQPUURGEKſGFKPVJKUOCPWCN
Observe proper polarity orientation between the battery and metallic contacts.
6QRTGXGPVſTGQTUJQEMJC\CTFFQPQVGZRQUGVJKURTQFWEVVQYCVGTQTCP[V[RGQH
moisture.
•
•
•
•
•
•
•
•
•
•
•

43
Appendix
Expand your telephone system
The handsets provided with your telephone system are pre-registered. Each
handset is assigned a number that shows on the handset display. Additional
handsets registered to the telephone system are assigned in sequential
order. For instance, if the telephone system already has HANDSET 1 and
HANDSET 2, the new registered handset is assigned HANDSET 3. This
VGNGRJQPGU[UVGOCEEQOOQFCVGUWRVQſXGJCPFUGVU
Add and register a handset (optional)
You can add new handsets (LS6305, purchased separately) to your
telephone system, but each handset must be registered with the
VGNGRJQPGDCUGDGHQTGWUG9JGPſTUVRWTEJCUGFGCEJGZRCPUKQP
handset shows
1.Press FIND HS on base 4sec and 2.Then press # on
handset
alternately. You may need to charge the handset before registering
to the telephone base. For more details on battery charging, see the table
on page 4.
To register a handset:
Place the unregistered handset in the telephone base or charger. If
1.Press FIND HS on base 4sec and 2.Then press # on handset do not
appear alternately on the handset screen after a few seconds, remove the
handset and place it in the telephone base or charger again.
On the telephone base, press and hold /FIND HANDSET for about four
seconds (until the red IN USE light on the telephone base turns on) and
then release the button.
On the handset, press #and the handset shows Registering...Please
wait. It takes about 10 seconds to complete the registration. The
handset shows HANDSET X Registered and you hear a beep when the
registration completes.
1.
2.
3.
If the registration fails, the handset shows 1.Press FIND HS on base 4 sec
and 2.Then press # on handset alternately. To reset the handset, remove
the handset from the telephone base and place it back in. Try the registration
process again.
You cannot register a handset if any other system handset is in use.
•
•

44
Appendix
Replace a handset
If you want to replace a handset or re-assign the designated handset number
of a registered handset, you must deregister all the handsets and then
individually register each handset.
To make deregistration easier, read all of the instructions on this page before
you begin.
To deregister all handsets:
Press and hold /FIND HANDSET on the telephone base for about
10 seconds (until the IN USE light on the telephone base turns on and
UVCTVUVQƀCUJVJGPTGNGCUG /FIND HANDSET.
Press and release /FIND HANDSET again. You must press
/FIND HANDSET while the IN USENKIJVKUUVKNNƀCUJKPI6JGIN USE light
ƀCUJGUHQTCRRTQZKOCVGN[UGXGPUGEQPFU
The deregistration process takes about 10 seconds to complete. All
handsets show 1.Press FIND HS on base 4sec and 2.Then press # on
handset
alternately
when the deregistration completes.
If deregistration fails, you may need to reset the telephone and try again.
To reset:
Pick up the registered handset and then press /FLASH.
Press OFF/CLEAR and place the handset back in the telephone base.
-OR-
Unplug the power from the telephone base, then plug it back in.
1.
2.
3.
1.
2.
1.
You cannot deregister a handset if any system handset is in use.

45
Appendix
Troubleshooting
+H[QWJCXGFKHſEWNV[YKVJ[QWTVGNGRJQPGRNGCUGVT[VJGUWIIGUVKQPUDGNQY
For Customer Service, visit our website at www.vtechphones.com, or call
1 (800) 595-9511. In Canada, go to www.vtechcanada.com or dial
1 (800) 267-7377.
My telephone does not work at all.
Make sure the battery is installed and charged correctly (page 3-4). For optimum
daily performance, return the handset to the telephone base or charger after use.
Make sure the power adapter is securely plugged into an outlet not controlled by a
wall switch.
/CMGUWTGVJGVGNGRJQPGNKPGEQTFKURNWIIGFſTON[KPVQVJGVGNGRJQPGDCUGCPFVJG
telephone wall jack.
Unplug the electrical power to the telephone base. Wait for approximately 15
seconds, then plug it back in. Allow up to one minute for the cordless handset and
telephone base to synchronize.
Charge the battery in the handset for up to 16 hours.
If the battery is completely depleted, it can take up to 10 minutes to charge the
handset before Low battery appears on the screen (page 4).
Remove and re-insert the battery. If that still does not work, it might be necessary to
purchase a new battery.
Disconnect the telephone base from the telephone wall jack and plug in a working
telephone. If the other telephone does not work, the problem is probably in the
wiring or the local service. Call your telephone service provider.
There is no dial tone.
First, try all the above suggestions.
Move the handset closer to the telephone base. It might be out of range.
The telephone line cord might be malfunctioning. Install a new telephone line cord.
Disconnect the telephone base from the telephone wall jack and connect a different
telephone. If there is no dial tone on this telephone either, the problem is in your
wiring or local service. Contact your telephone service provider.
I cannot dial out.
First, try all the above suggestions.
Make sure there is a dial tone before dialing. It is normal if the handset takes a
second or two to synchronize with the telephone before producing a dial tone. Wait
an extra second before dialing.
If the other telephones in your home are having the same problem, the problem is in
the wiring or local service. Contact your telephone service provider.
Eliminate any background noise. Mute the cordless handset before dialing, or dial
from another room in your home with less background noise.
•
•
•
•
•
•
•
•
•
•
•
•
•
•
•
•

46
Appendix
Troubleshooting
Low battery shows on screen.
Place the handset in the telephone base or charger for recharging.
Remove and reinstall the battery and use it until fully depleted, then recharge the
handset in the telephone base or charger for up to 16 hours.
If the above measures do not correct the problem, replace the battery.
The battery does not charge in the handset or the handset battery does
not accept charge.
Make sure the handset is placed in the telephone base or charger correctly. The
CHARGE light on the handset should be on.
Remove and reinstall the battery, then charge for up to 16 hours.
If the handset is in the telephone base or charger but the CHARGE light on the
handset is not on, refer to The CHARGE light is off in this section.
If the battery is completely depleted, it can take up to 10 minutes to charge the
handset before Low battery appears on the screen (page 4).
Purchase a new battery. Refer to the Battery section (page 42).
The CHARGE light is off.
Clean the charging contacts on the handset and telephone base each month with a
pencil eraser or a dry non-abrasive fabric.
Make sure the power adapter and telephone line cord are plugged in correctly
and securely.
Unplug the power adapter. Wait for 15 seconds before plugging it back in. Allow up
to one minute for the handset and telephone base to reset.
The telephone does not ring when there is an incoming call.
Make sure the handset ringer volume is not set to the lowest level (page 11) and the
telephone base ringer volume is not set to zero (page 11).
Make sure the telephone line cord and power adapter are plugged in properly
(page 2).
The handset may be too far from the telephone base. Move it closer to the
telephone base.
There may be too many extension phones on the telephone line to allow all of them
to ring simultaneously. Unplug some of them.
If the other telephones in your home are having the same problem, the problem is in
the wiring or local service. Contact your telephone service provider.
Other electronic products can cause interference to your cordless telephone.
Install your telephone as far away as possible from electronic devices such as:
wireless routers, radios, cellular telephones, digital telephones, intercoms, room
monitors, televisions, VCRs, personal computers, kitchen appliances, and other
cordless telephones.
•
•
•
•
•
•
•
•
•
•
•
•
•
•
•
•
•
This manual suits for next models
2
Table of contents
Other V-tech Cordless Telephone manuals

V-tech
V-tech t2450 User guide

V-tech
V-tech GZ2456 - VMix Cordless Phone User manual

V-tech
V-tech DDA200BT Manual

V-tech
V-tech IS7121 User manual

V-tech
V-tech i 5807 User manual

V-tech
V-tech i6775 User manual

V-tech
V-tech VT 2960 User manual

V-tech
V-tech gz 2334 User manual

V-tech
V-tech 15750 User manual

V-tech
V-tech ES2210-2A User manual

V-tech
V-tech 2408 User manual

V-tech
V-tech CS6529 User manual

V-tech
V-tech USB 7200 User manual

V-tech
V-tech CS5211 User manual

V-tech
V-tech vz2621 User manual

V-tech
V-tech DS6111 User manual

V-tech
V-tech 6032 Setup guide

V-tech
V-tech ES1310 User manual

V-tech
V-tech VS150 TWIN User manual

V-tech
V-tech vt2910 User manual