manuals.online logo
Brands
  1. Home
  2. •
  3. Brands
  4. •
  5. Valley
  6. •
  7. Plumbing Product
  8. •
  9. Valley BELLE 751.208P.100 User manual

Valley BELLE 751.208P.100 User manual

751.208P.100
website: www.valleyacrylic.com •E-mail: [email protected] • customer service call Toll Free: +1.877.398.8827 • Fax: +1.604.820.0124
WALL-MOUNT LAVATORY FAUCET
BELLE COLLECTION
01
INSTALLATION GUIDE
751.208P.100
website: www.valleyacrylic.com •E-mail: [email protected] • customer service call Toll Free: +1.877.398.8827 • Fax: +1.604.820.0124
WALL-MOUNT LAVATORY FAUCET
BELLE COLLECTION
02
INSTALLATION GUIDE
AEREATOR MAINTENANCE
• Avoid polishing powder, cleaning powder and any kind of detergent.
• To clean your Valley Acrylic faucet , wash with a soapy nonabrasive cloth. Wipe dry with a soft
towel or cloth. We recommend this be done on a regular basis.
Clean the aereator gently with a toothbrush.
CARE AND MAINTENANCE
Remove the unit from its packaging. Before disposing of packaging and taking unit from your
salesperson, inspect the unit.
Should inspection reveal any damage or defects in the nish, contact your salesperson. The
warranty does not cover damages or defects in the nish once the unit has been installed.
It is recommended that you place the unit in the bathroom before you start. Sectional units
should be disassembled if necessary. Conserve all nuts and bolts.
Don’t over bend the hose, ensure no hose deformation before or after installation.
CAUTION: FOR BEST RESULTS, WE STRONGLY RECOMMEND THE INSTALLATION OF THIS
FAUCET BE DONE BY A LICENSED PLUMBER.
751.208P.100
website: www.valleyacrylic.com •E-mail: [email protected] • customer service call Toll Free: +1.877.398.8827 • Fax: +1.604.820.0124
WALL-MOUNT LAVATORY FAUCET
BELLE COLLECTION
03
01
04
02
05
03
06
Before installation, open a slot
in the suitable place of the wall;
Drill four 06 holes on the wall, the
deepness of hole is about 35mm,
then put expanding plastic grain (2)
into four holes.
After tightness testing, put on all
the plastic guards, ll up the wall
spaces, and make sure 20mm is
the maximum thickness of the tile ;
Remove the plastic guards only
after drying of the cement.
Put the decorative plate(4) on,After
adjusting the direction of the spout,
x the spout unit (8) with screwing
Bolt B(9) with an allen key (14).
At last, x the handle(?) with
screwing Bolt A(6) with allen key.
Twist sealing adhesive tape on the
thread of the positioning core (11),
t the positioning core(11) and the
connecting pipe (10) with a allen
wrench
Connet the water supplying pipes
and test the tightness of water
supplying according to the following
water pressure conditions:
While closing of cartridge :
≤1.6Mpa to test the supplying
pipes and faucet; While opening of
cartridge, do not block the water
outlet:
≤0.4Mpa to test the supplying pipes
and faucet;
Fix the main body (1) into the wall
with the Self-screw(3);
Before assembly, ush the water supply pipes thoroughly to drain debris inside (allow the water to run
with the main stopcock open for 3min), otherwise dirty particles might aect the function of the faucet.
751.208P.100
website: www.valleyacrylic.com •E-mail: [email protected] • customer service call Toll Free: +1.877.398.8827 • Fax: +1.604.820.0124
WALL-MOUNT LAVATORY FAUCET
BELLE COLLECTION
04
Congratulations! You are now a part of the Valley Acrylic family.

Other Valley Plumbing Product manuals

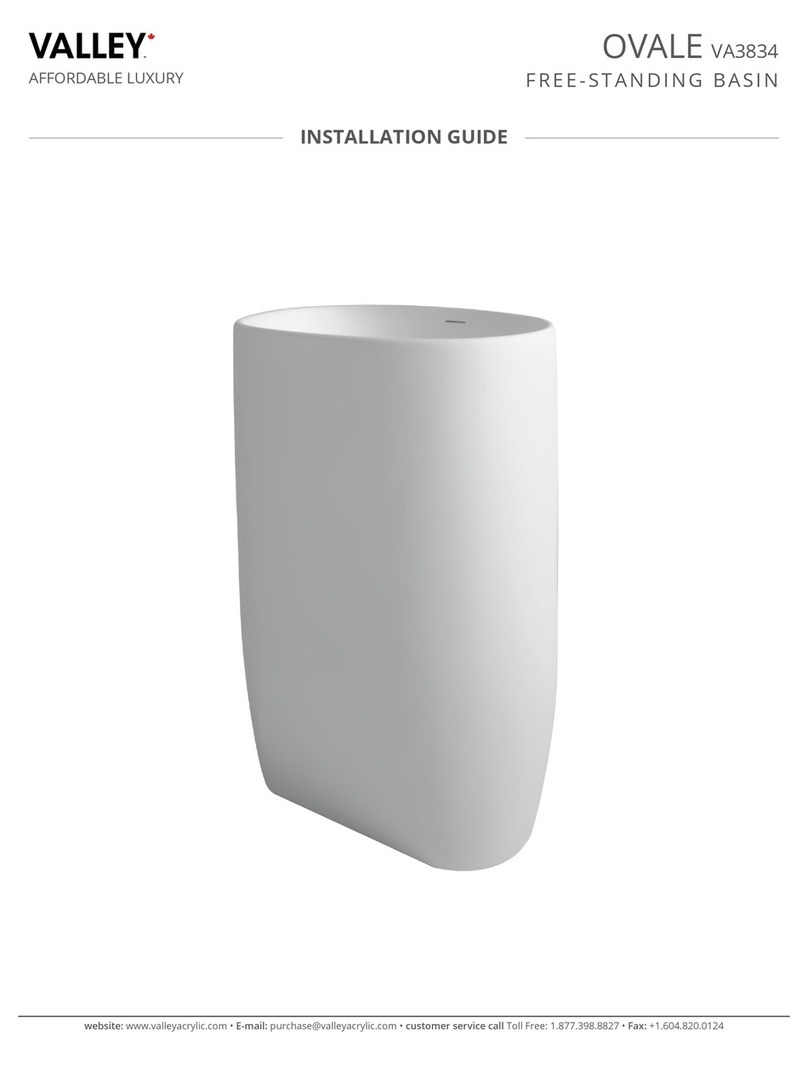
Valley OVALE VA3834 User manual

Valley

Valley OVALE VA3834 User manual

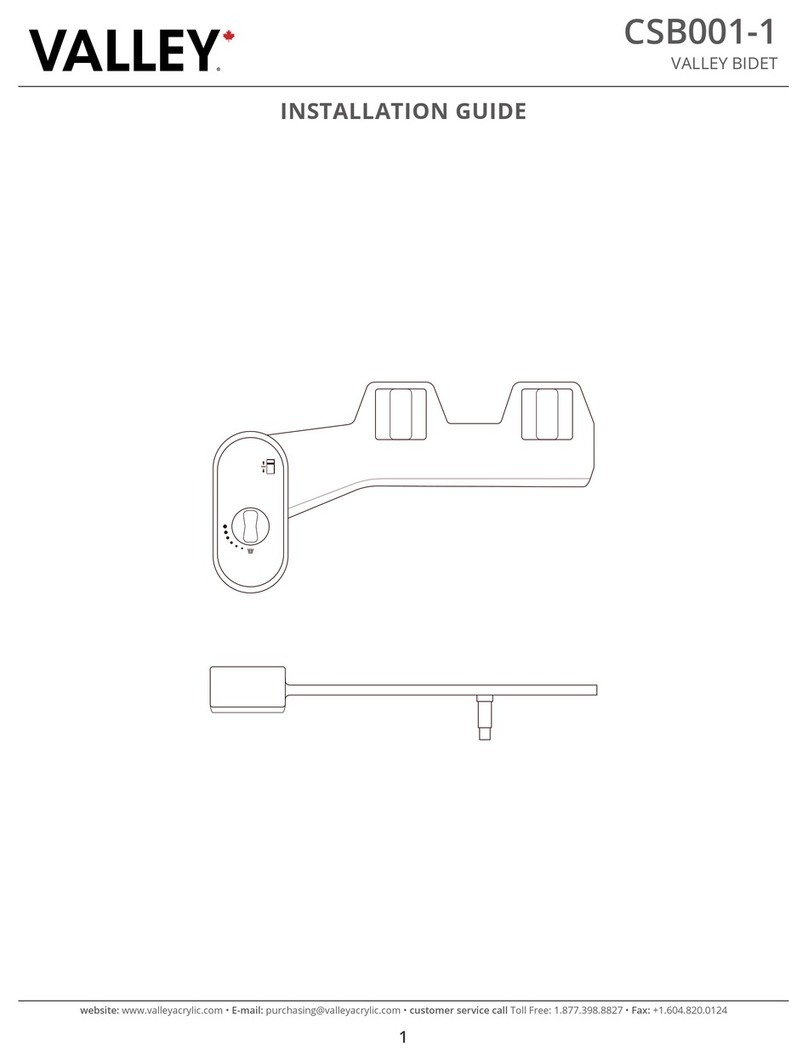
Valley CSB001-1 User manual

Valley

Valley CSB001-1 User manual

Popular Plumbing Product manuals by other brands

Kraus Kore KWT311-15 installation manual

Kraus

Kraus Kore KWT311-15 installation manual

Blu SA0505N44 installation guide

Blu

Blu SA0505N44 installation guide

Helvex TH-062 installation guide

Helvex

Helvex TH-062 installation guide

Moen Camelot 22217 specification

Moen

Moen Camelot 22217 specification

Clou New Flush 2 composite CL/03.13420 installation instructions

Clou

Clou New Flush 2 composite CL/03.13420 installation instructions

Bradley S19-270C Installation

Bradley

Bradley S19-270C Installation

BELLOSTA Mini-B 4400 Installation instruction

BELLOSTA

BELLOSTA Mini-B 4400 Installation instruction

Hans Grohe Novus 70 71020000 Instructions for use/assembly instructions

Hans Grohe

Hans Grohe Novus 70 71020000 Instructions for use/assembly instructions

Kohler K-6330 installation guide

Kohler

Kohler K-6330 installation guide

Glacier bay 67624-6001 Use and care guide

Glacier bay

Glacier bay 67624-6001 Use and care guide

Sanela SLPN 03 Mounting instructions

Sanela

Sanela SLPN 03 Mounting instructions

Clou Kaldur CL/06.15.003.29.R installation instructions

Clou

Clou Kaldur CL/06.15.003.29.R installation instructions

Kraus Allyn KPF-4100 installation manual

Kraus

Kraus Allyn KPF-4100 installation manual

baliv KI-1200 N manual

baliv

baliv KI-1200 N manual

Cosmo WIEN-E RECHTS quick start guide

Cosmo

Cosmo WIEN-E RECHTS quick start guide

Waterway Tru Flo 640-19 V Series owner's manual

Waterway

Waterway Tru Flo 640-19 V Series owner's manual

Gessi OVALE 26969 manual

Gessi

Gessi OVALE 26969 manual

Evac Evacinclick 1 quick start guide

Evac

Evac Evacinclick 1 quick start guide

manuals.online logo
manuals.online logoBrands
  • About & Mission
  • Contact us
  • Privacy Policy
  • Terms and Conditions

Copyright 2025 Manuals.Online. All Rights Reserved.