Is
:;t
11
Is
Is
~
la
e
ut
it,
~t
:If
[j,
Working
on
your car can be dangerous.
This page shows just some of the potential
risks and hazards, with the aim of creating a
safety-conscious attitude.
General hazards
Scalding
• Don't remove the radiator or expansion
tank cap while the engine is hot.
• Engine oil, automatic transmission fluid or
power steering fluid may also be dangerously
hot if the engine has recently been running.
Burning
• Beware
of
burns from the exhaust system
and from any part of the engine. Brake discs
and drums can also be extremely hot
immediately after use.
Crushing
\)
venture
under
a
car
which
is
only
supported
by
a jack.
• Take care if loosening or tightening high-
torque nuts when the vehicle is
on
stands.
Initial loosening and final tightening should be
done with the wheels
on
the ground.
Fire
• Fuel is highly flammable; fuel vapour is
explosive.
• Don't let fuel spill onto a hot engine.
• Do not smoke or allow naked lights
(including pilot lights) anywhere near a
vehicle being worked on. Also beware of
creating sparks
(electrically or by use of tools).
•
Fuel
vapour is heavier than air, so don't
work on the fuel system with the vehicle over
an
inspection pit.
• Another cause
of
fire is
an
electrical
overload or short-circuit.
fake
care when
repairing or modifying the vehicle wiring.
• Keep a fire extinguisher handy, of a type
suitable for use on fuel and electrical fires.
Electric
shock
• Ignition
HT
voltage can be
dangerous,
especially
to
r-
.f
people with heart
.f
problems or a
./
pacemaker. Don't
./
work on or near the )
~
ignition system with f I 1 ( )
"\
'"
.
the engine running or ) J \
~
'\
the ignition switched
on
.
• Mainsvoltage is also dangerous. Make
sure that any mains-operated equipment
is
correctly earthed. Mains power points should
be protected by a residual current device
(RCD)
circuitbreaker.
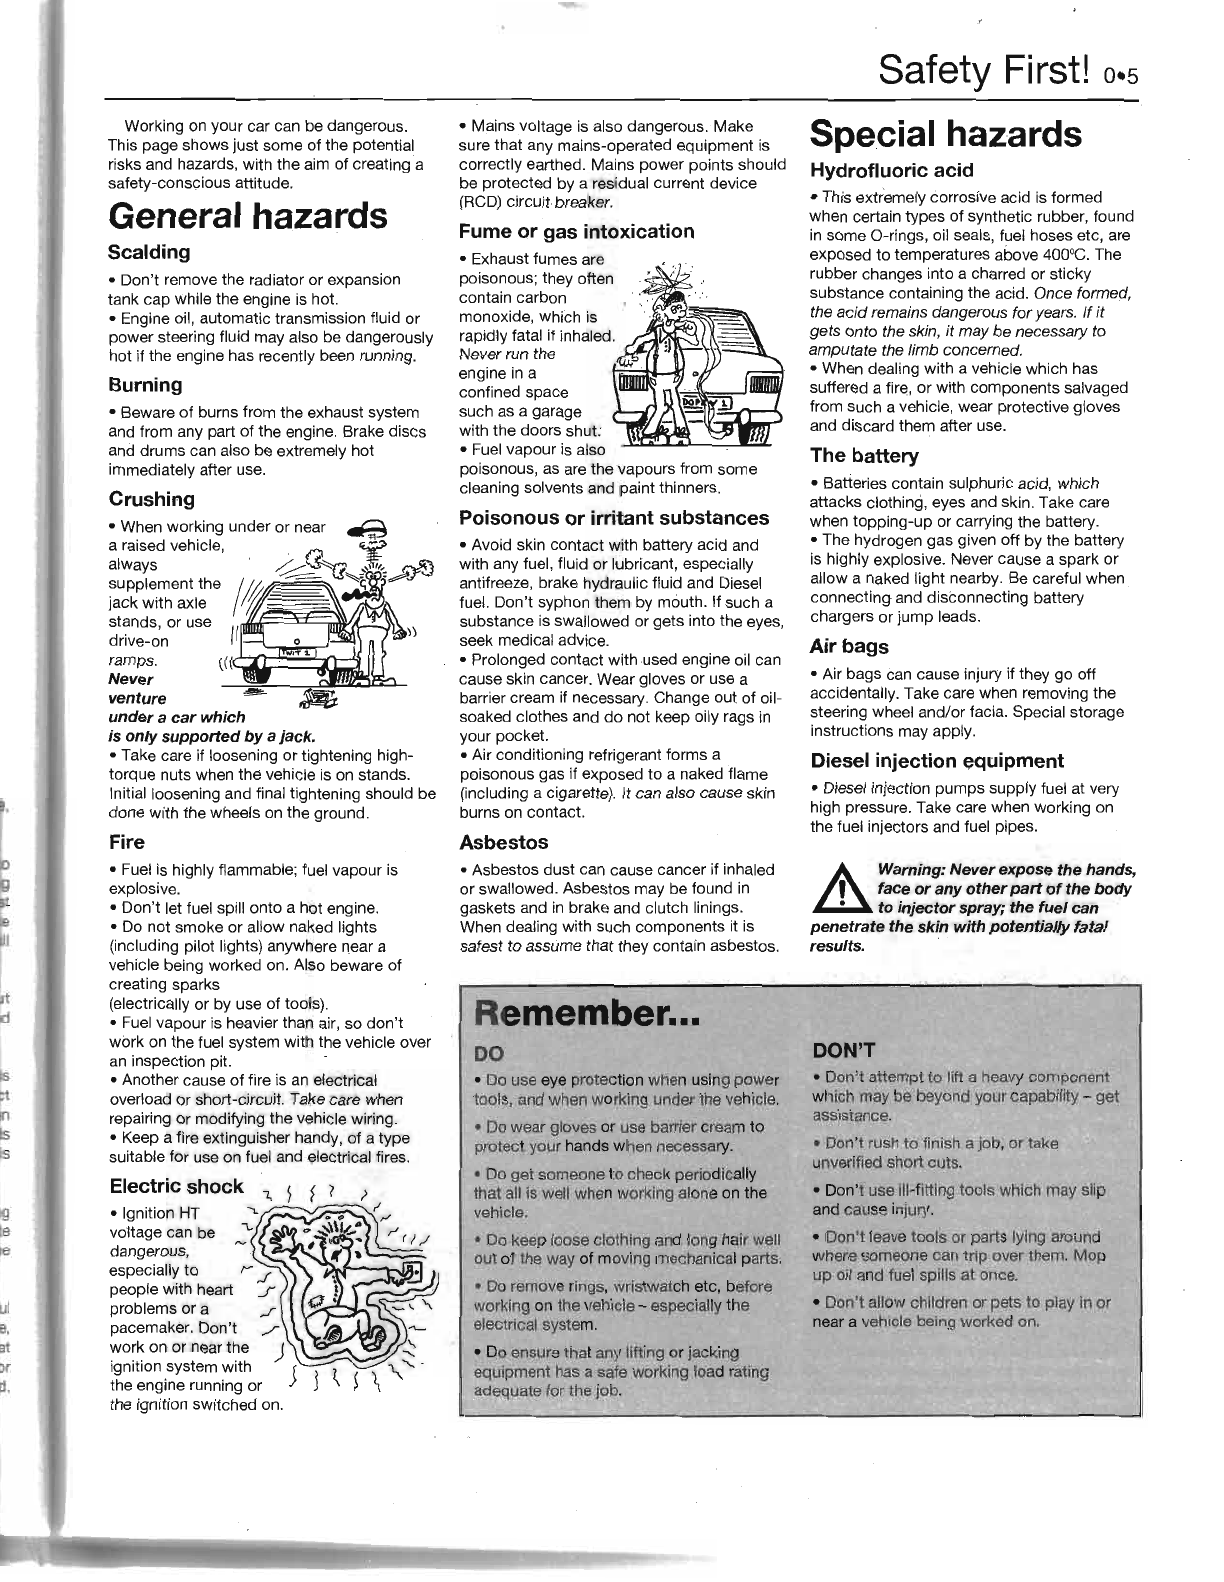
Fume
or
gas
intoxication
• Exhaust fumes are
poisonous; they often
contain carbon
monoxide, which is
rapidly fatal if inhaled.
Never run the
engine
in
a
confined space
such
as
a garage
with the doors shut:
•
Fuel
vapour is also
poisonous,
as
are
the vapours from some
cleaning solvents and paint thinners.
Poisonous
or
irritant
substances
• Avoid skin contact with battery acid and
with any fuel, fluid or lubricant, especially
antifreeze, brake hydraulic fluid and Diesel
fuel. Don't syphon them by mouth. If such a
substance is swallowed or gets into the eyes,
seek medical advice.
• Prolonged contact with used engine oil can
cause skin cancer. Wear gloves or use a
barrier cream if necessary. Change out of oil-
soaked clothes and do not keep oily rags
in
your pocket.
• Air conditioning refrigerant forms a
poisonous gas if exposed to a naked flame
(including a cigarette). It can also cause skin
burns
on
contact.
Asbestos
• Asbestos dust can cause cancer if inhaled
or swallowed. Asbestos may be found
in
gaskets and
in
brake and clutch linings.
When dealing with such components it is
safest to assume that they contain asbestos.
R
emember
...
DO
• Do use eye protection when using power
tools, and when working under
the
vehicle.
• Do wear gloves
or
use barriercream
to
protect your hands when necessa
ry.
• Do get someone to check periodically
that all
Is
well when working alone on the
vehicle.
• Do keep loose clothing
an
d
10l'\
g hairwell
out of the way
of
moving mechanical parts.
•
Do
remove
ri
ngs, wristwatch etc, before
working on the vehicle -especially the
electrical system.
• Do ensure that
any
lifting or jacking
equipment has a safe working load rating
adequate Ior the job.
Safety
First!
0-5
Special hazards
Hydrofluoric
acid
• This extremely corrosive acid is formed
when certain types of synthetic rubber, found
in some O-rings, oil seals, fuel hoses etc,
are
exposed to temperatures above 400'
C.
The
rubber changes into a charred or sticky
substance containing the acid. Once formep,
the acid remains dangerous foryears. If it
gets onto the skin, it may
be
necessary to
amputate the limb concemed.
• When dealing with a vehicle which has
suffered a fire, or with components salvaged
from such a vehicle, wear protective gloves
and discard them after use.
The
battery
• Batteries contain sulphuric acid, which
attacks clothing, eyes and skin. Take care
when topping-up or carrying the battery.
• The hydrogen gas given off by the battery
is highly explosive. Never cause a spark or
allow a naked light nearby. Be careful when
connecting and disconnecting battery
chargers or jump leads.
Air
bags
• Air bags can cause injury if they go off
aCCidentally. Take care when removing the
steering wheel and/or facia. Special storage
instructions may apply.
Diesel
injection
equipment
• Diesel injection pumps supply fuel at very
high pressure. Take care when working on
the fuel injectors and fuel pipes.
A Warning:
Never
expose
the
hands,
, face
or
any
other
part
of
the
body
•
to
injector
spray;
the
fuel
can
penetrate
the
skin
with
potentially
fatal
results. .
DON'T
• D
on't
attempt to lift a
heavy
compoRent
which may be beyond your capability -get
aSSistance.
• Don't
ruS/:l
to finish a job, or take
unverified short outs.
• Don't use ill-fitting tools which may slip
and cause injury.
• Don't leave tools
or
parts lying around
where someone can
tlip
OVer
them.
Mop
up oil and fuel spills
at
once.
•
Don't
allow children
or
pets
to
play In
or
near a vehicle being worked on,