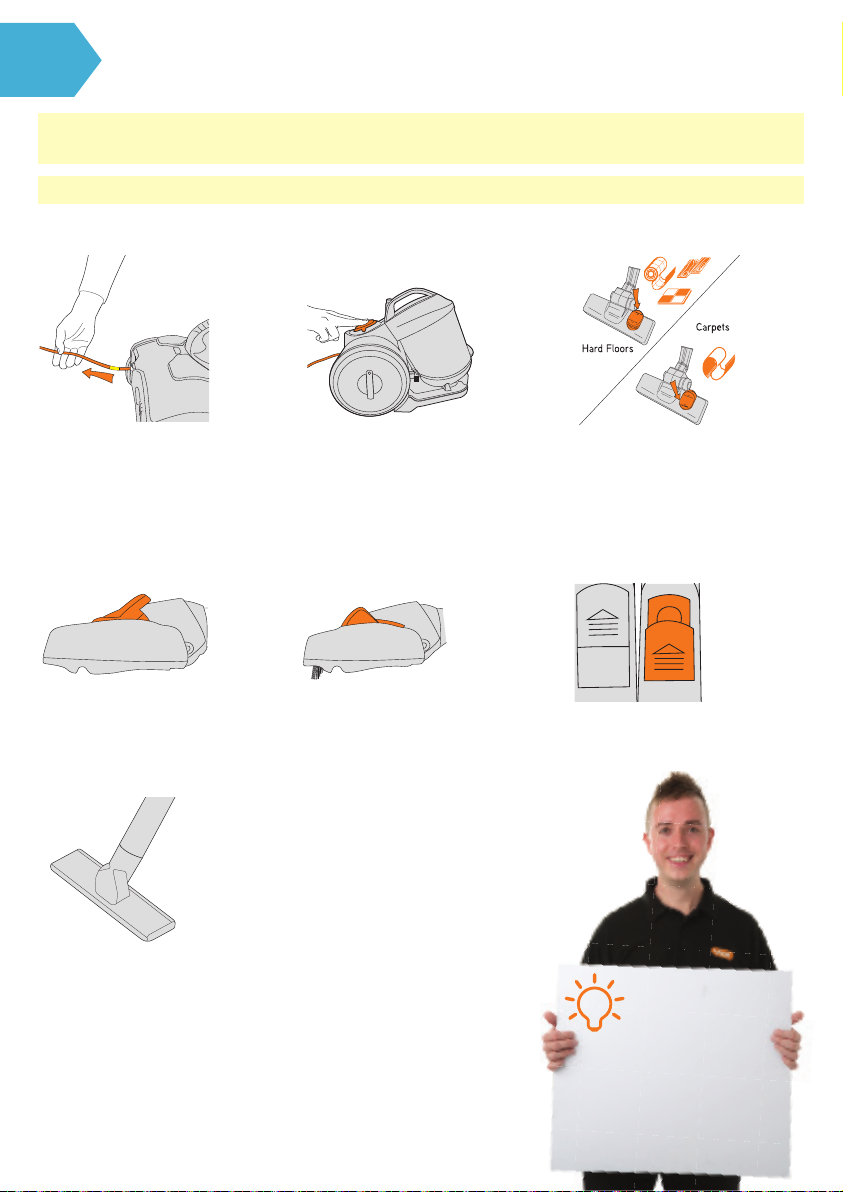
Vax C85-EW Series Installation instructions
Other Vax Vacuum Cleaner manuals

Vax
Vax X-004 Product information sheet

Vax
Vax U89-VU-R-A User manual

Vax
Vax Quicklite FoldAway V-047 User manual

Vax
Vax Rapide Product information sheet

Vax
Vax VZL-7071 SERIES User manual

Vax
Vax U90-MXP series User manual

Vax
Vax VS-033 Product information sheet

Vax
Vax turbo force zero VZL-501 User manual

Vax
Vax White VWC User manual

Vax
Vax V-102E User manual

Vax
Vax U86-ACe Series User manual

Vax
Vax V-049 User manual

Vax
Vax AirRevolve Pet VX29 User manual

Vax
Vax Steam Fresh Combi Classic S86-SF-CC Installation instructions

Vax
Vax U90-P4 SERIES User manual

Vax
Vax Power 6 SERIES User manual

Vax
Vax Mach 9 User manual

Vax
Vax Essentials VEU-11 User manual

Vax
Vax H85-AC21-B User manual

Vax
Vax Quick Flip VX85 Installation instructions