manuals.online logo
Brands
  1. Home
  2. •
  3. Brands
  4. •
  5. VDH Products
  6. •
  7. Thermostat
  8. •
  9. VDH Products ALFA(NET) 31 BS User manual

VDH Products ALFA(NET) 31 BS User manual

1
User manual ALFA(NET) 31 BS
Heater thermostat
VDH doc. 080736 Version: v1.1 Date: 22-02-2011
Software: 080610_ALFA(NET)31 BS File: Do080736.wpd Range -50/+50C (1)
*Working.
The ALFA(NET) 31 BS is a one stage heater thermostat for panel mounting. The read out is on whole
degrees. The thermostat has two set points. One for switch on and one for switch off the relay.
The ALFANET 31 BS is equipped with a RS 485 network connection for read out and control on the
Alfanet.
*Installation.
On the upper side from the ALFA(NET) 31 BS is shown how the sensor, supply and relay should be
connected.
After power up a self test is started. If the self test is completed the measured temperature will be
shown on the display. If the relay is energized the led 'on' will be light up.
*Control.
The ALFA(NET) 31 BS thermostat can be controlled by four push buttons on the front:
SET - viewing / changing from the adjusted value .
UP - raise the adjusted value.
DOWN - lower the adjusted value.
*Viewing the set points.
Viewing set point relay-on:
By pushing the SET key and the UP key simultaneously, the adjusted relay-on set point will be visible.
Also the led beside the UP-key and the led 'set' starts flashing.
Viewing set point relay-off:
By pushing the SET key and the DOWN key simultaneously, the adjusted relay-off set point will be
visible. Also the upper right decimal point starts flashing.
A few seconds after releasing the keys, the set point disappears and measured temperature will be
visible again.
*Changing the set point.
Push the SET key and simultaneously the UP or DOWN key so the relay-on or relay-off set point will
be visible. Release the keys. Push the SET key again and now the set point can be adjusted with the
UP or DOWN key.
A few seconds after releasing the keys, the set point disappears and measured temperature will be
visible again.
2
*Adjusting the sensor.
The temperature sensor can be adjusted by using the Offset control sensor (parameter 04).
Indicatesasensore.g.2Ctoomuch, theaccordingSensor-offsetparameterhastobe decreasedwith
2C.
*Error codes.
On the display from the ALFA(NET) 31 BS can appear the following error codes:
ES - Set point wrong adjusted, action relay off.
(On and off set point are on the wrong side of each other)
Er - Sensor defect. Solution:
- Check if sensor is connected correctly.
- Check sensor (1000/25C).
- Replace sensor..
EE - Adjustments are lost. Solution:
- Reprogram the adjustments.
* Technical details.
Type : ALFA(NET) 31 BS Heater Thermostat
Range : -50/+50C, read out per 1C
Supply : 230 Vac 50/60Hz
Relay : SPDT 250V/16A(C-NO), 8A(C-NC) (cos =1)
Communication : RS 485 Netwok (2xtwisted pair shielded) only on ALFANET models.
Control : Through pushbuttons on the front.
Front : Polycarbonate IP65
Sensor : SM 811/2m.
Dimensions : 31 x 77 x 71,5mm (hwd)
Panel cut out : 28 x 70mm (hw)
- Provided with memory protection during power failure.
- Equipped with self-test function and sensor-failure detection.
- Connection with screw-terminals.
- Special version on request available.
*Adjusting internal parameters.
Next to the adjustment of the set point, some internal settings can be made like differentials, sensor
offset and alarm functions.
By pushing the DOWN key for more than 10 seconds, you enter the 'internal programming menu'.
On the left display the upper and the lower segments are flashing. Over the UP and DOWN keys the
required parameter can be selected (see table for the parameters).
If the required parameter is selected, the value can be read-out by pushing the SET key. Pushing the
UP and DOWN keys allows you to change the value of this parameter.
If no key is pushed for 20 seconds, the ALFA(NET) 31 BS changes to it’s normal operation mode.
3
*Parameters ALFA(NET) 31 BS.
Para-
meter Description parameter Range Default
value
02
03
04
Minimum adjustable set point
Maximum adjustable set point
Offset sensor
-50..+50°C
-50..+50°C
-15,0..+15,°C
-50
+50
0
10
11
16
17
18
19
20
Control delay after power failure
Relay at sensor failure
Switch on delay relay 1)
Switch off delay relay 1)
Parameter 16/17 in seconds or
minutes
Minimum on-time relay
Minimum off-time relay
0..99 minutes
0 = no
1 = yes
0..99
0..99
0 = seconds
1 = minutes
0..99 minutes
0..99 minutes
0
0
0
0
0
0
0
90
95
96
97
98
99
Network number
Software version
Production year
Production week
Serial number (x1000)
Serial number (units)
1..250
0..255
00..99
1..52
0..255
0..999
1
-
-
-
-
-
1) When the delay time is active the led ‘on’ flashes.
* Function diagram.
4
If applicable
*Dimensions.
*Connections.
*Address.
VDH Products BV Tel: +31 (0)50 - 30 28 900
Produktieweg 1 Fax: +31 (0)50 - 30 28 980
9301 ZS Roden Email: [email protected]
The Netherlands Internet: www.vdhproducts.nl

Other VDH Products Thermostat manuals

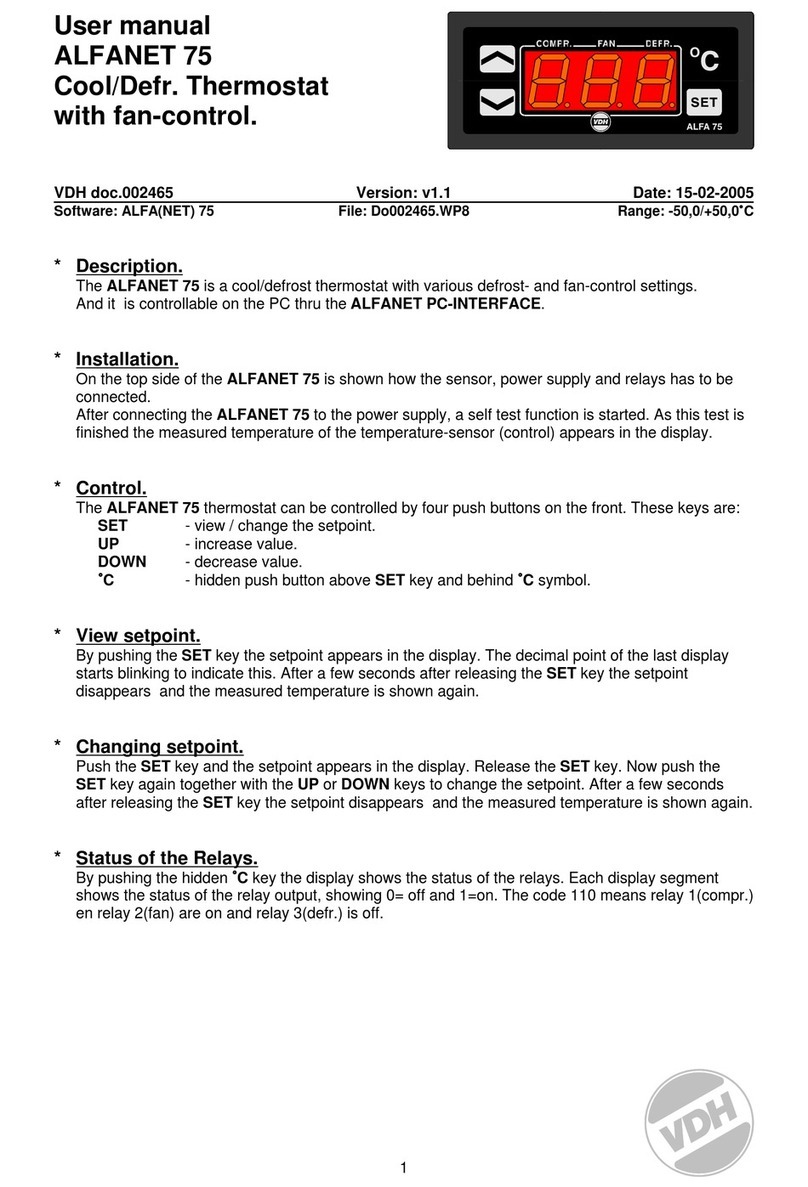
VDH Products ALFANET 75 User manual

VDH Products

VDH Products ALFANET 75 User manual

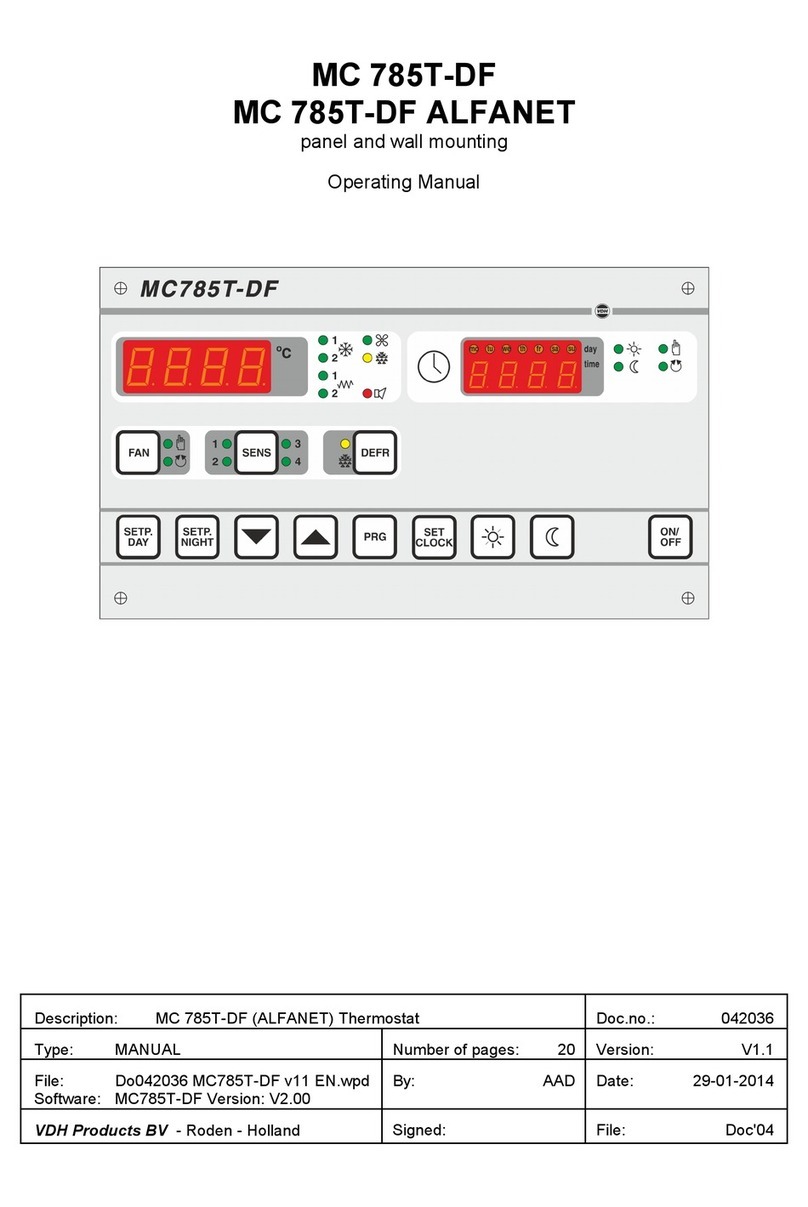
VDH Products MC 785T-DF User manual

VDH Products

VDH Products MC 785T-DF User manual

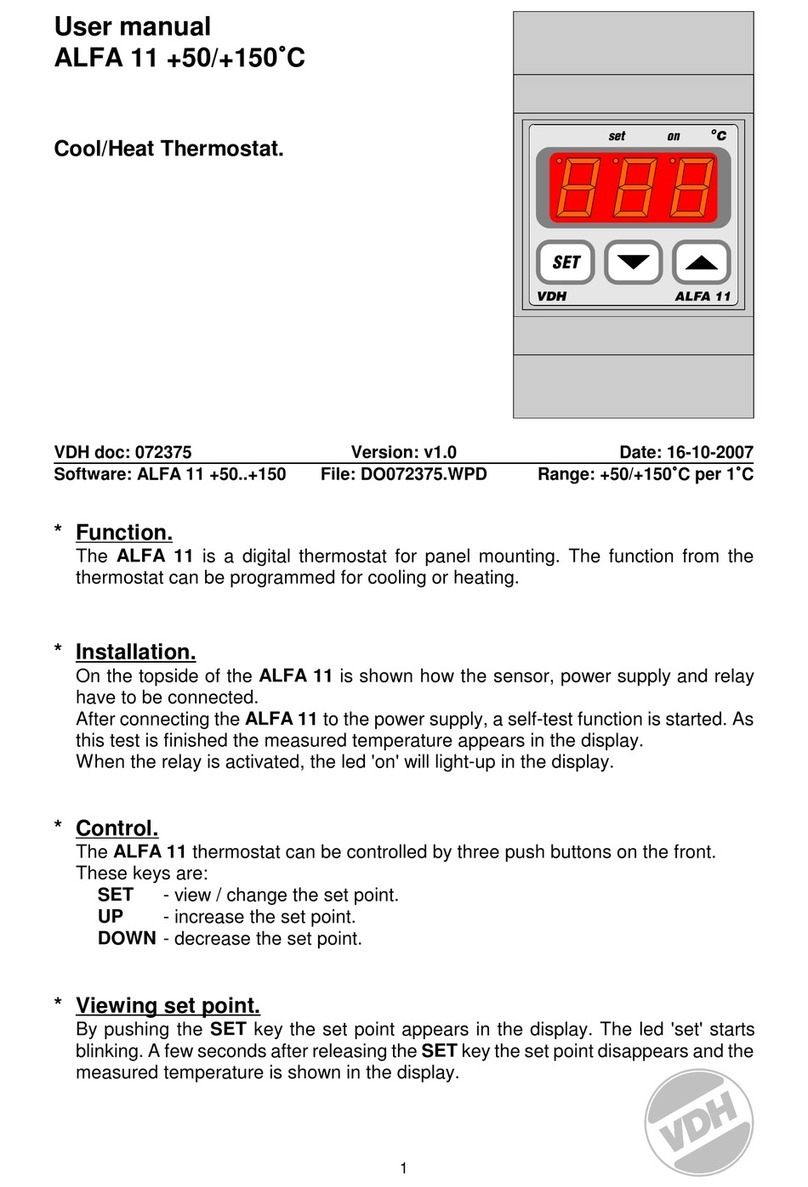
VDH Products ALFA 11 User manual

VDH Products

VDH Products ALFA 11 User manual

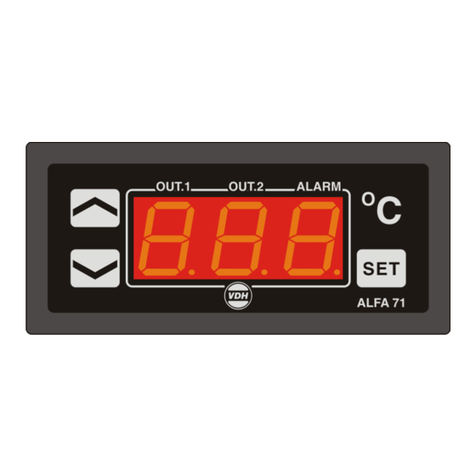
VDH Products ALFA 71 PI SSR 24Vdc User manual

VDH Products

VDH Products ALFA 71 PI SSR 24Vdc User manual

Popular Thermostat manuals by other brands

Velleman PEREL CTH406 user manual

Velleman

Velleman PEREL CTH406 user manual

Honeywell TH9320WF5003/U user guide

Honeywell

Honeywell TH9320WF5003/U user guide

Honeywell PRO TH4000 series operating manual

Honeywell

Honeywell PRO TH4000 series operating manual

Lennox iComfort Wi-Fi Flex Product specifications

Lennox

Lennox iComfort Wi-Fi Flex Product specifications

TOTALINE Signature CPV210 owner's manual

TOTALINE

TOTALINE Signature CPV210 owner's manual

Rehau STAR 30 Operating and mounting instructions

Rehau

Rehau STAR 30 Operating and mounting instructions

Aprilaire 8532 operating instructions

Aprilaire

Aprilaire 8532 operating instructions

Salus FT100 Features list

Salus

Salus FT100 Features list

Hans Grohe Ecostat 1001 SL Instructions for use/assembly instructions

Hans Grohe

Hans Grohe Ecostat 1001 SL Instructions for use/assembly instructions

Digital Monitoring Products SecureCom Smart Z-5010T Installation and programming guide

Digital Monitoring Products

Digital Monitoring Products SecureCom Smart Z-5010T Installation and programming guide

Carrier 33CS400-01 installation instructions

Carrier

Carrier 33CS400-01 installation instructions

KingShield THPW1-CA Installation & operating instructions

KingShield

KingShield THPW1-CA Installation & operating instructions

DEVI Devireg 530 Series installation instructions

DEVI

DEVI Devireg 530 Series installation instructions

Pro1 Technologies ZDA250W manual

Pro1 Technologies

Pro1 Technologies ZDA250W manual

EVE Degree Get started

EVE

EVE Degree Get started

Vive Comfort TP-N-701 Operation manual

Vive Comfort

Vive Comfort TP-N-701 Operation manual

Honeywell RTH2300 series Quick installation guide

Honeywell

Honeywell RTH2300 series Quick installation guide

DEVI devireg 550 user guide

DEVI

DEVI devireg 550 user guide

manuals.online logo
manuals.online logoBrands
  • About & Mission
  • Contact us
  • Privacy Policy
  • Terms and Conditions

Copyright 2025 Manuals.Online. All Rights Reserved.