manuals.online logo
Brands
  1. Home
  2. •
  3. Brands
  4. •
  5. Vent-Axia
  6. •
  7. Fan
  8. •
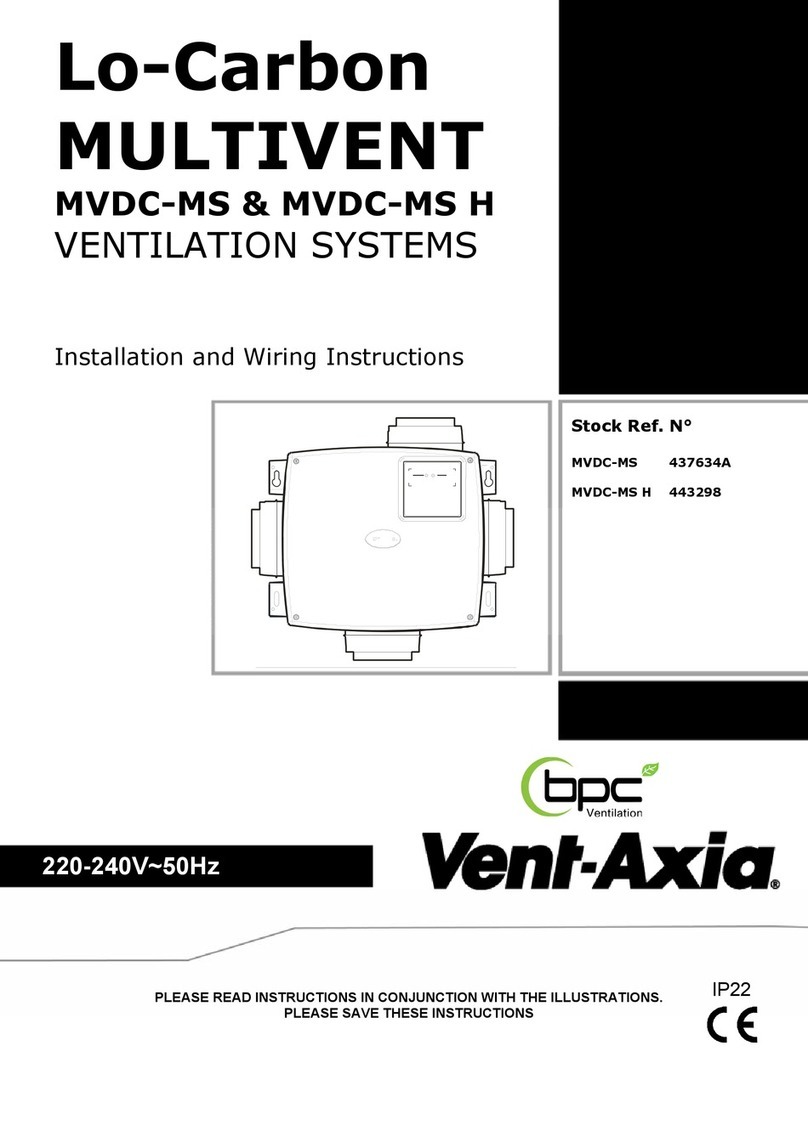
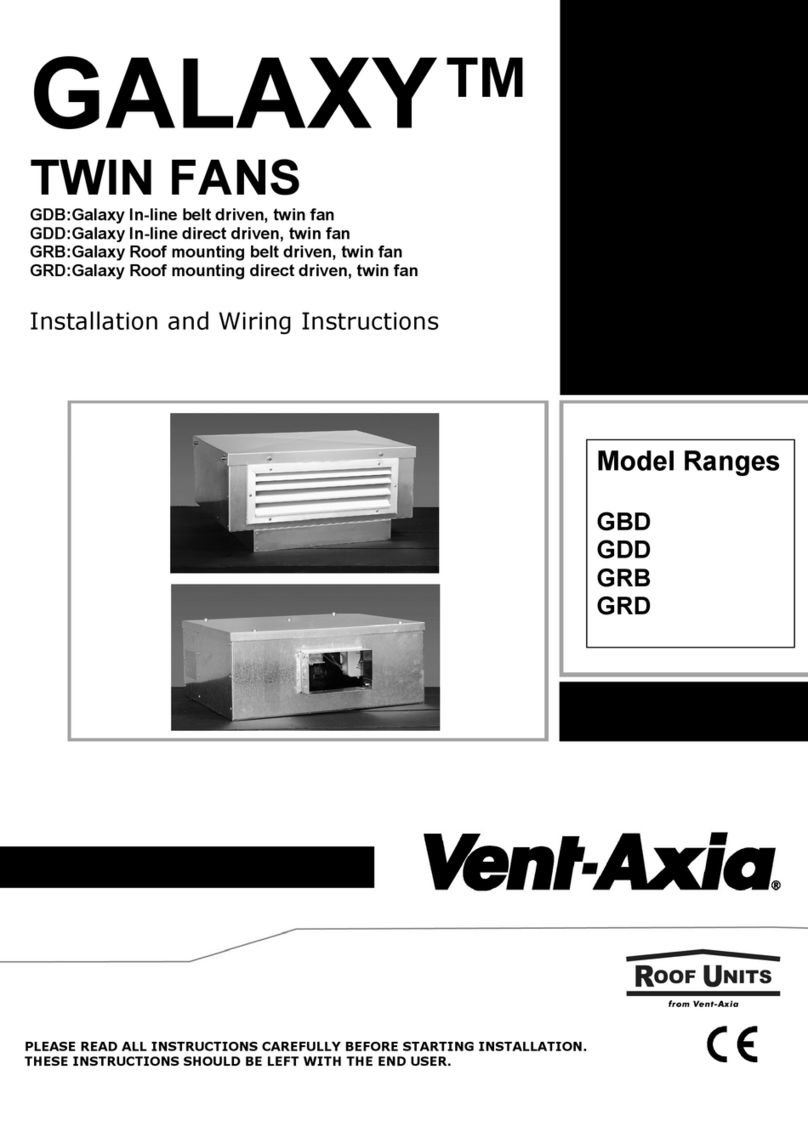
  9. Vent-Axia Lo-Carbon Minivent Series Assembly instructions

Vent-Axia Lo-Carbon Minivent Series Assembly instructions

PLEASE READ INSTRUCTIONS IN CONJUNCTION WITH THE ILLUSTRATIONS.
PLEASE SAVE THESE INSTRUCTIONS
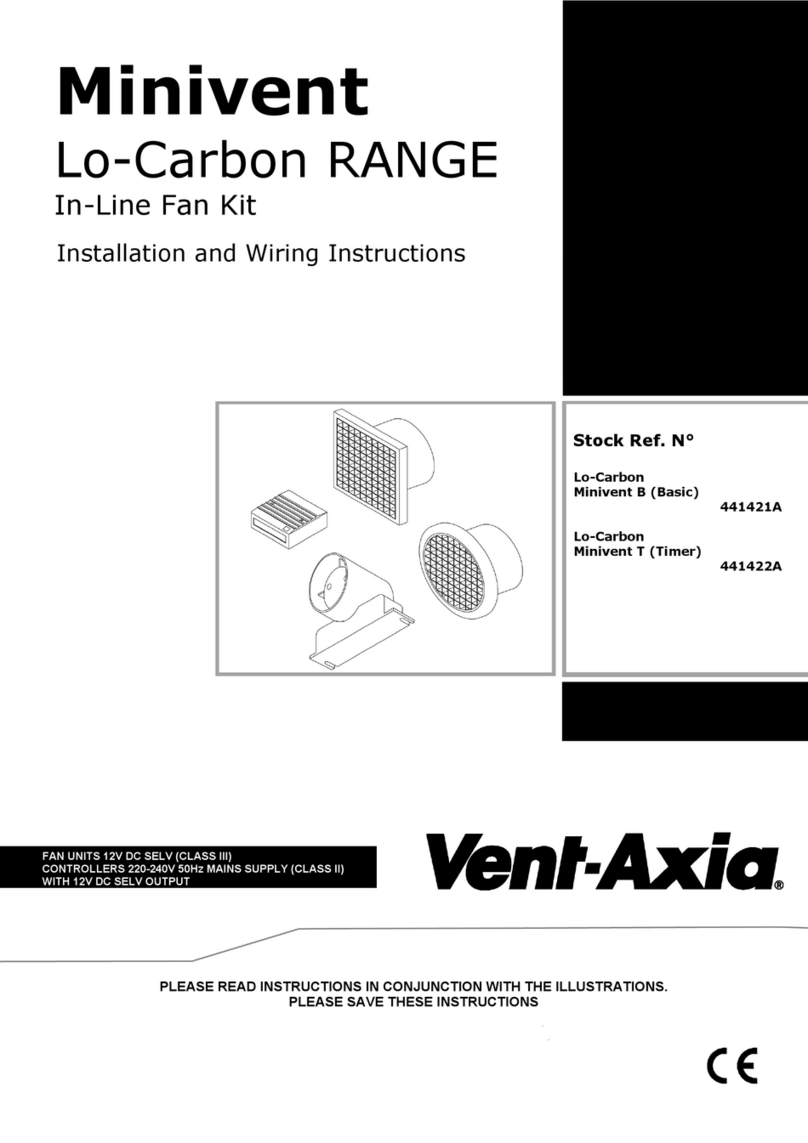
Minivent
Lo-Carbon RANGE
In-Line Fan Kit
Stock Ref. N°
Lo-Carbon Minivent B (Basic)
441421
Lo-Carbon Minivent T (Timer)
441422
Installation and Wiring Instructions
FAN UNITS 12V DC SELV (CLASS III)
CONTROLLERS 220-240V 50Hz MAINS SUPPLY (CLASS II)
WITH 12V DC SELV OUTPUT
IP44
2
Installation and Wiring Instructions for the Minivent Lo-Carbon Fan Kit.
IMPORTANT:
READ THESE INSTRUCTIONS BEFORE COMMENCING THE INSTALLATION
DO NOT install this product in areas where the following may be present or occur:
•Excessive oil or a grease laden atmosphere.
•Corrosive or flammable gases, liquids or vapours.
• Ambient temperatures higher than 40°C or less than –5°C.
• Possible obstructions which would hinder the access or removal of the Fan.
•Sudden ductwork bends or transformations close to the Fan.
SAFETY AND GUIDANCE NOTES
A. All wiring to be in accordance with the current I.E.E. Regulations, or the appropriate standards of your country
and MUST be installed by a suitably qualified person.
B. The Fan should be provided with a local double pole isolator switch having a contact separation of at least 3mm.
C. The control unit is intended for permanent connection to the fixed electrical supply.
D. The controller is only suitable for use with one fan unit.
E. The fan is only suitable for use with the safety extra low voltage DC transformer controller supplied. The unit
MUST NOT be connected directly to the mains voltage electrical supply.
F. Ensure that the mains supply (Voltage, Frequency, and Phase) complies with the rating label.
G. The transformer controller requires free air circulation and must not be recessed into the mounting surface or
covered with any insulating material that might be in a ceiling or roof void.
H. The Fan should only be used in conjunction with the appropriate Vent-Axia products.
I. It is recommended that the connection to the fan connecter terminals is made with flexible cable.
J. When the Fan is used to remove air from a room containing a fuel-burning appliance, ensure that the air
replacement is adequate for both the fan and the fuel-burning appliance.
K. The Fan should not be used where it is liable to be subject to direct water spray for prolonged periods of time.
L. Where ducted Fans are used to handle moisture-laden air, a condensation trap should be fitted. Horizontal
ducts should be arranged to slope slightly downwards away from the Fan.
M. This appliance is not intended for use by young children or infirm persons without supervision.
N. Young children should be supervised to ensure that they do not play with the appliance.
A INSTALLATION.
The unit is designed to be installed in 100mm ducting. The ducting run should not exceed 3m. The flexible ducting
should be fully extended to obtain the best results. Position the fan at the highest point on the system with both
ducting runs sloping downwards from this point. In circumstances where an excessive amount of moisture is
present in the air then a condensation trap should be installed. Before fitting the duct to the inlet side of the fan
pierce a hole in the TOP of the duct approx. 40mm from the fan. The cable supplying power to the fan will pass
through this. Secure the duct to the fan once wiring is complete. Seal around this “wiring hole” as necessary.
Fan lead to
controller
Typical installation
Inlet grille
Outlet grille
Airflow
3
~
N
L
1 Phase Supply
(220-240V 50Hz). FUSE
Switched
Fused Spur
+
LN 8V 11V
-ve
Controller
-
Fan
SELV Supply
Pullcord
Lower Speed
for Toilet Higher Speed for
Bathroom
Bath/Utility Room
Ls
~N
Switch
Toilet
SELV Supply
NL +ve -ve
+
-
Fan
Select Bath/Utillity (High Speed)
or Toilet (Low Speed) using the
selector switch
mins
Timer Adjuster.
Control Timer
B. WIRING.
WARNING: THE FAN AND ANCILLARY CONTROL EQUIPMENT MUST BE ISOLATED FROM
THE POWER SUPPLY DURING THE INSTALLATION / OR MAINTENANCE.
NOTE: The Controller MUST be surface mounted to allow air to freely circulate around the unit. When
installed in a loft void it MUST NOT be enclosed or covered with insulation.
1. Select and follow the appropriate wiring diagram (Fig. 2-3).
2. Check all connections have been made correctly and ensure all terminal connections and cable clamps are
securely fastened.
3. The cable entry must be made using the cable grommet.
4. Ensure the impeller rotates and is free from obstructions.
Fig. 2.
Minivent Lo-Carbon B
Basic Model.
Select the wiring configuration required for the Toilet or Bathroom.
Fig. 3.
Minivent Lo-carbon T
Timer Model.
Switch the selector switch to the required mode.
Timer Adjustment.
The overrun time period is factory set to 15 minutes. The overrun time period may be adjusted from 5-25 minutes,
by altering the adjuster on the back of the Control Timer.
Before adjusting the timer, switch off the Mains Supply.
1. Remove the Controller Unit.
2. To REDUCE the operating time, turn the adjuster ANTI-CLOCKWISE on the back of the Controller.
3. To INCREASE the operating time, turn the adjuster CLOCKWISE on the back of the Controller.
4. Replace the front of the Control Timer.
5. Reconnect the mains supply.
4
C. SERVICING AND MAINTENANCE.
WARNING: THE FAN AND ANCILLARY CONTROL EQUIPMENT MUST BE ISOLATED
FROM THE POWER SUPPLY DURING MAINTENANCE.
1. At intervals appropriate to the installation, the fan should be inspected and cleaned to ensure there is no build
up of dirt or other deposits.
The Lo-Carbon fan has sealed for life bearings, which do not require lubrication.
abc
Head Office: Fleming Way, Crawley, West Sussex, RH10 9YX. Tel: 01293 526062 Fax: 01293 551188
UK NATIONAL CALL CENTRE, Newton Road, Crawley, West Sussex, RH10 9JA
SALES ENQUIRIES: Tel: 0844 8560590 Fax: 01293 565169
TECHNICAL SUPPORT: Tel: 0844 8560594 Fax: 01293 539209
For details of the warranty and returns procedure please refer to www.vent-axia.com or write to Vent-Axia Ltd, Fleming Way, Crawley, RH10 9YX
441839A 0509

This manual suits for next models

2

Other Vent-Axia Fan manuals

Vent-Axia HR25 Solo User manual

Vent-Axia

Vent-Axia HR25 Solo User manual

Vent-Axia T-Series Assembly Instructions

Vent-Axia

Vent-Axia T-Series Assembly Instructions

Vent-Axia PureAir Home Assembly instructions

Vent-Axia

Vent-Axia PureAir Home Assembly instructions

Vent-Axia VA100 Series Assembly instructions
Vent-Axia

Vent-Axia VA100 Series Assembly instructions

Vent-Axia ATQ20012D Assembly instructions

Vent-Axia

Vent-Axia ATQ20012D Assembly instructions

Vent-Axia Silhouette 439974 Assembly instructions

Vent-Axia

Vent-Axia Silhouette 439974 Assembly instructions

Vent-Axia T-Series Assembly Instructions

Vent-Axia

Vent-Axia T-Series Assembly Instructions

Vent-Axia NBR DMEV 100 Assembly instructions

Vent-Axia

Vent-Axia NBR DMEV 100 Assembly instructions

Vent-Axia Lo-Carbon Sylph Series Assembly instructions

Vent-Axia

Vent-Axia Lo-Carbon Sylph Series Assembly instructions

Vent-Axia SDX100B Assembly instructions

Vent-Axia

Vent-Axia SDX100B Assembly instructions

Vent-Axia Sentinel Kinetic V Guide

Vent-Axia

Vent-Axia Sentinel Kinetic V Guide

Vent-Axia Response Series Assembly instructions

Vent-Axia

Vent-Axia Response Series Assembly instructions

Vent-Axia Solo Pro SELV Series Assembly instructions

Vent-Axia

Vent-Axia Solo Pro SELV Series Assembly instructions

Vent-Axia 45 40 55B Assembly instructions

Vent-Axia

Vent-Axia 45 40 55B Assembly instructions

Vent-Axia MultiVent FAN7453 User manual

Vent-Axia

Vent-Axia MultiVent FAN7453 User manual

Vent-Axia Centra Lo-Carbon SELV Series Assembly instructions

Vent-Axia

Vent-Axia Centra Lo-Carbon SELV Series Assembly instructions

Vent-Axia Lo-Carbon MULTIVENT MVDC-MS Assembly instructions

Vent-Axia

Vent-Axia Lo-Carbon MULTIVENT MVDC-MS Assembly instructions

Vent-Axia Centrif 179 User manual

Vent-Axia

Vent-Axia Centrif 179 User manual

Vent-Axia VA140/150KP Assembly instructions
Vent-Axia

Vent-Axia VA140/150KP Assembly instructions

Vent-Axia T Series Assembly Instructions

Vent-Axia

Vent-Axia T Series Assembly Instructions

Vent-Axia ACM100 B Assembly instructions

Vent-Axia

Vent-Axia ACM100 B Assembly instructions

Vent-Axia Lo-Carbon Centra Series Assembly instructions

Vent-Axia

Vent-Axia Lo-Carbon Centra Series Assembly instructions

Vent-Axia 405215 Advance S Guide

Vent-Axia

Vent-Axia 405215 Advance S Guide

Vent-Axia Vent-A-Light Lo-Carbon Series Assembly instructions

Vent-Axia

Vent-Axia Vent-A-Light Lo-Carbon Series Assembly instructions

Popular Fan manuals by other brands

Comfort Zone CZ121 owner's manual

Comfort Zone

Comfort Zone CZ121 owner's manual

Ebmpapst S4E300-AS72-57 operating instructions

Ebmpapst

Ebmpapst S4E300-AS72-57 operating instructions

Profi Care PC-VL 3063 M instruction manual

Profi Care

Profi Care PC-VL 3063 M instruction manual

System air AW-EX Series Installation and operating instructions

System air

System air AW-EX Series Installation and operating instructions

HAMPTON BAY WELLSTON EF200B-44 Use and care guide

HAMPTON BAY

HAMPTON BAY WELLSTON EF200B-44 Use and care guide

Ebmpapst K1G200-AD37-02 operating instructions

Ebmpapst

Ebmpapst K1G200-AD37-02 operating instructions

Ebmpapst W2E143-AB09-06 operating instructions

Ebmpapst

Ebmpapst W2E143-AB09-06 operating instructions

Air King AKF100LS Specifications

Air King

Air King AKF100LS Specifications

BLACK DECKER BDTF450 quick start guide

BLACK DECKER

BLACK DECKER BDTF450 quick start guide

Silvercrest STV 45 A1 operating instructions

Silvercrest

Silvercrest STV 45 A1 operating instructions

Ebmpapst G2D160-AF02-34 operating instructions

Ebmpapst

Ebmpapst G2D160-AF02-34 operating instructions

HAMPTON BAY 91371 Use and care guide

HAMPTON BAY

HAMPTON BAY 91371 Use and care guide

Cool mate Dripless Indoor Misting Fans quick start guide

Cool mate

Cool mate Dripless Indoor Misting Fans quick start guide

Ebmpapst D2E097-BI56-48 operating instructions

Ebmpapst

Ebmpapst D2E097-BI56-48 operating instructions

Ebmpapst G3G160-RF31-03 operating instructions

Ebmpapst

Ebmpapst G3G160-RF31-03 operating instructions

Super Vac SVU-50 user manual

Super Vac

Super Vac SVU-50 user manual

Ebmpapst D3G318-BB34-11 operating instructions

Ebmpapst

Ebmpapst D3G318-BB34-11 operating instructions

Ebmpapst A4E500-AM03-01 operating instructions

Ebmpapst

Ebmpapst A4E500-AM03-01 operating instructions

manuals.online logo
manuals.online logoBrands
  • About & Mission
  • Contact us
  • Privacy Policy
  • Terms and Conditions

Copyright 2025 Manuals.Online. All Rights Reserved.