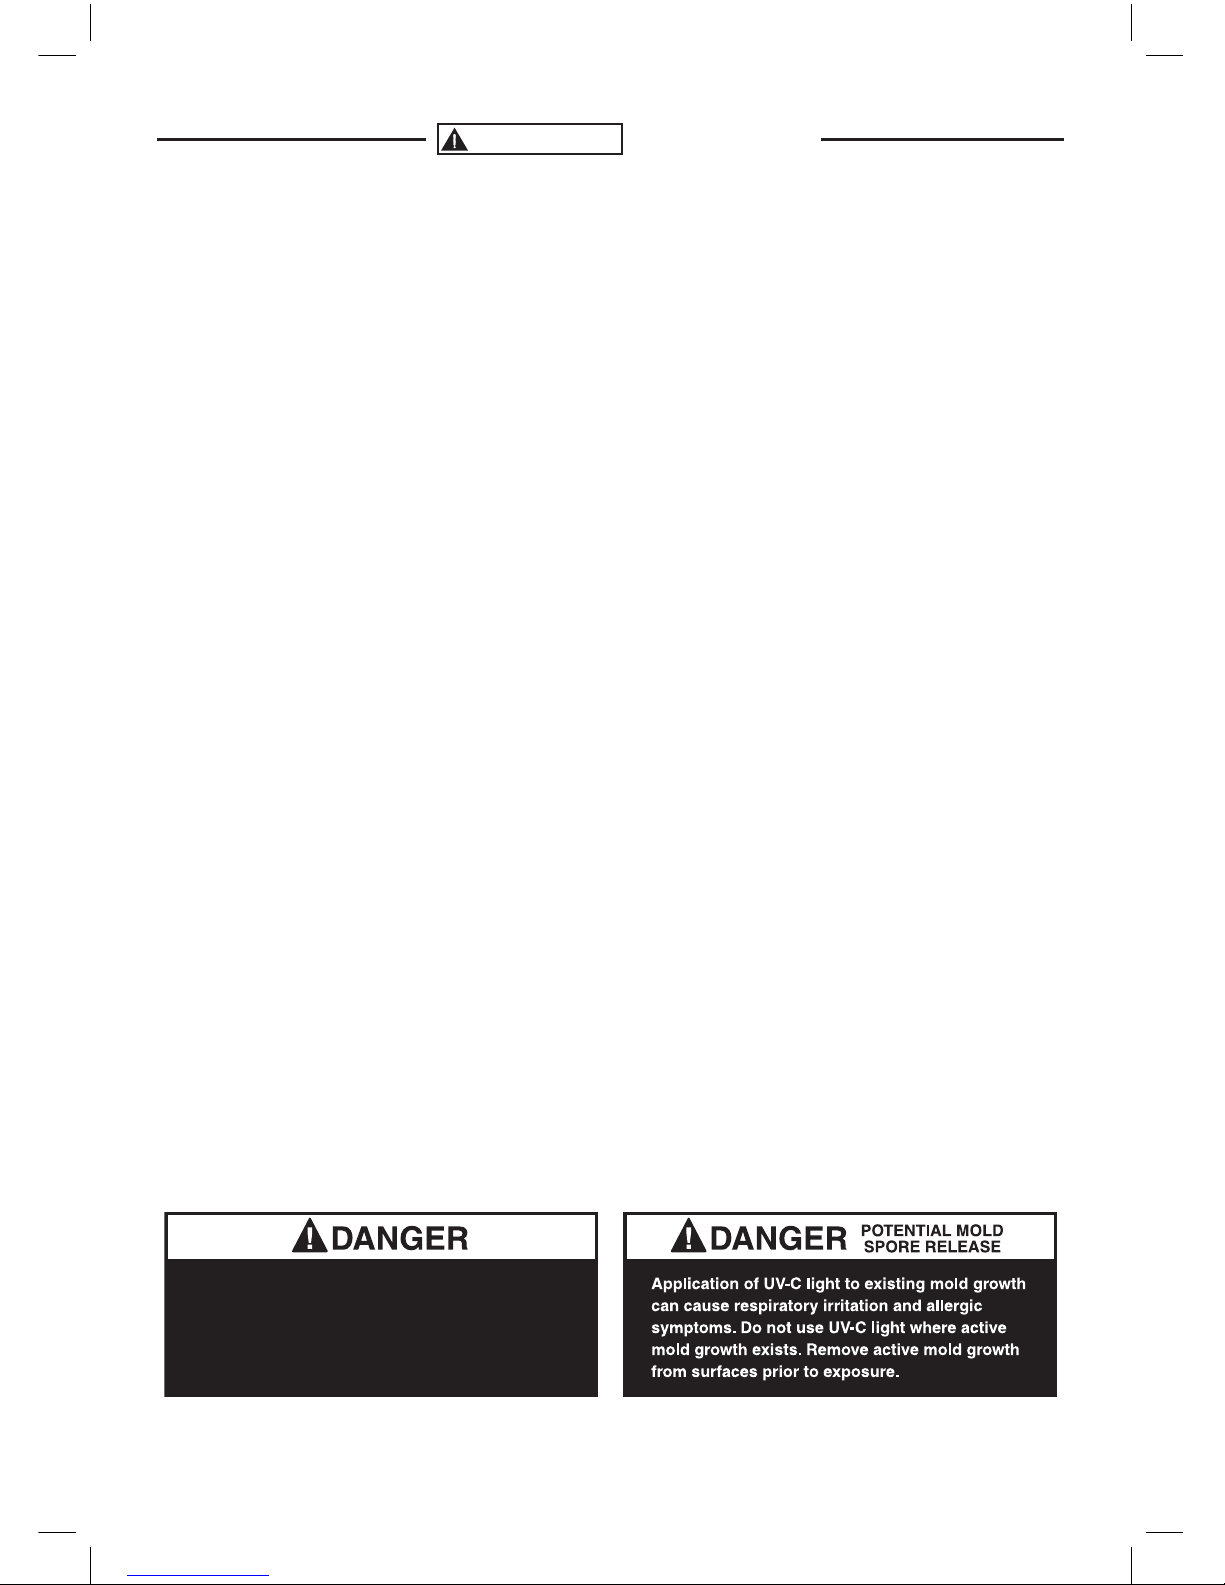
Always direct the UV-C light AWAY from the
eyes and skin. Direct prolonged exposure of
eyes or skin to the UV-C light bulb can cause
serious skin burn and eye inflammation from
short wave ultraviolet radiation. Radiation from
these lamps is harmful to the eyes and skin.
— continued
SAVE THESE INSTRUCTIONS
• Donotrunvacuumovercord.Keepcordawayfromheatedsurfaces.
• Donotunplugbypullingoncord.Tounplug,grasptheplug,notthecord.
• Donotputanyobjectintoopenings.Donotusewithanyopeningsblocked;keepfreeof
dust, lint, hair and anything that may reduce air flow.
• Keephair,looseclothing,ngersandallbodypartsawayfromopeningsandmoving
parts.
• Donotvacuumanythingthatisburningorsmoking,suchascigarettes,matchesorhot
ashes.
• Turnoffvacuumbeforeunplugging.
• Useextracarewhencleaningonstairs.
• Followalllabelsandinstructions.
• Storethevacuumcleanerindoors.Putthevacuumcleanerawayafterusetoprevent
tripping accidentally.
• Usingimpropervoltagemayresultindamagetothemotorandpossibleinjurytotheuser.
The correct voltage is listed on the rating label.
• Useondry,indoorsurfaces.
• Donotuseforanypurposeotherthandescribedinthismanual.
• AlwaysturnoffthisappliancebeforeconnectingordisconnectingtheUV-Cbaseunit.
• Allrepairsmustbecarriedoutbyaqualiedservicetechnician.
• Thereareanumberofsafetyswitchesontheundersideoftheunit.Theseswitches
prevent the UV-C bulb from activating when the product is removed from the cleaning
surface. The UV-C bulb will re-activate when placed back on a cleaning surface.
• Foryoursafety,DONOTattempttomanuallyover-ridethesafetyswitch.
• Donotleaveproductunattendedwhileon.
• Careshouldbetakentopreventbulbbreakage.
• Donotusethisproductmorethan1hourtotalinonedayforoneperson.
• UseonlyVerilux®bulbs.Useofanincorrectbulbcanresultindamage.Toordera
replacement bulb, use the Component Reorder form included with this product, or call
Verilux Customer Service at 1-800-786-6850 or visit www.verilux.com.
• Disposeofbulbsperlocalregulations.Formoreinformationonclean-upanddisposal,
see www.lamprecycle.org.
VH07-Man-Rev19.indd 5 9/8/11 8:33 AM