Contents
Package Contents
...........................................................................................................................................................
1
Top View
................................................................................................................
Error! Bookmark
not
defined.
Bottom
View
.....................................................................................................................................................................
2
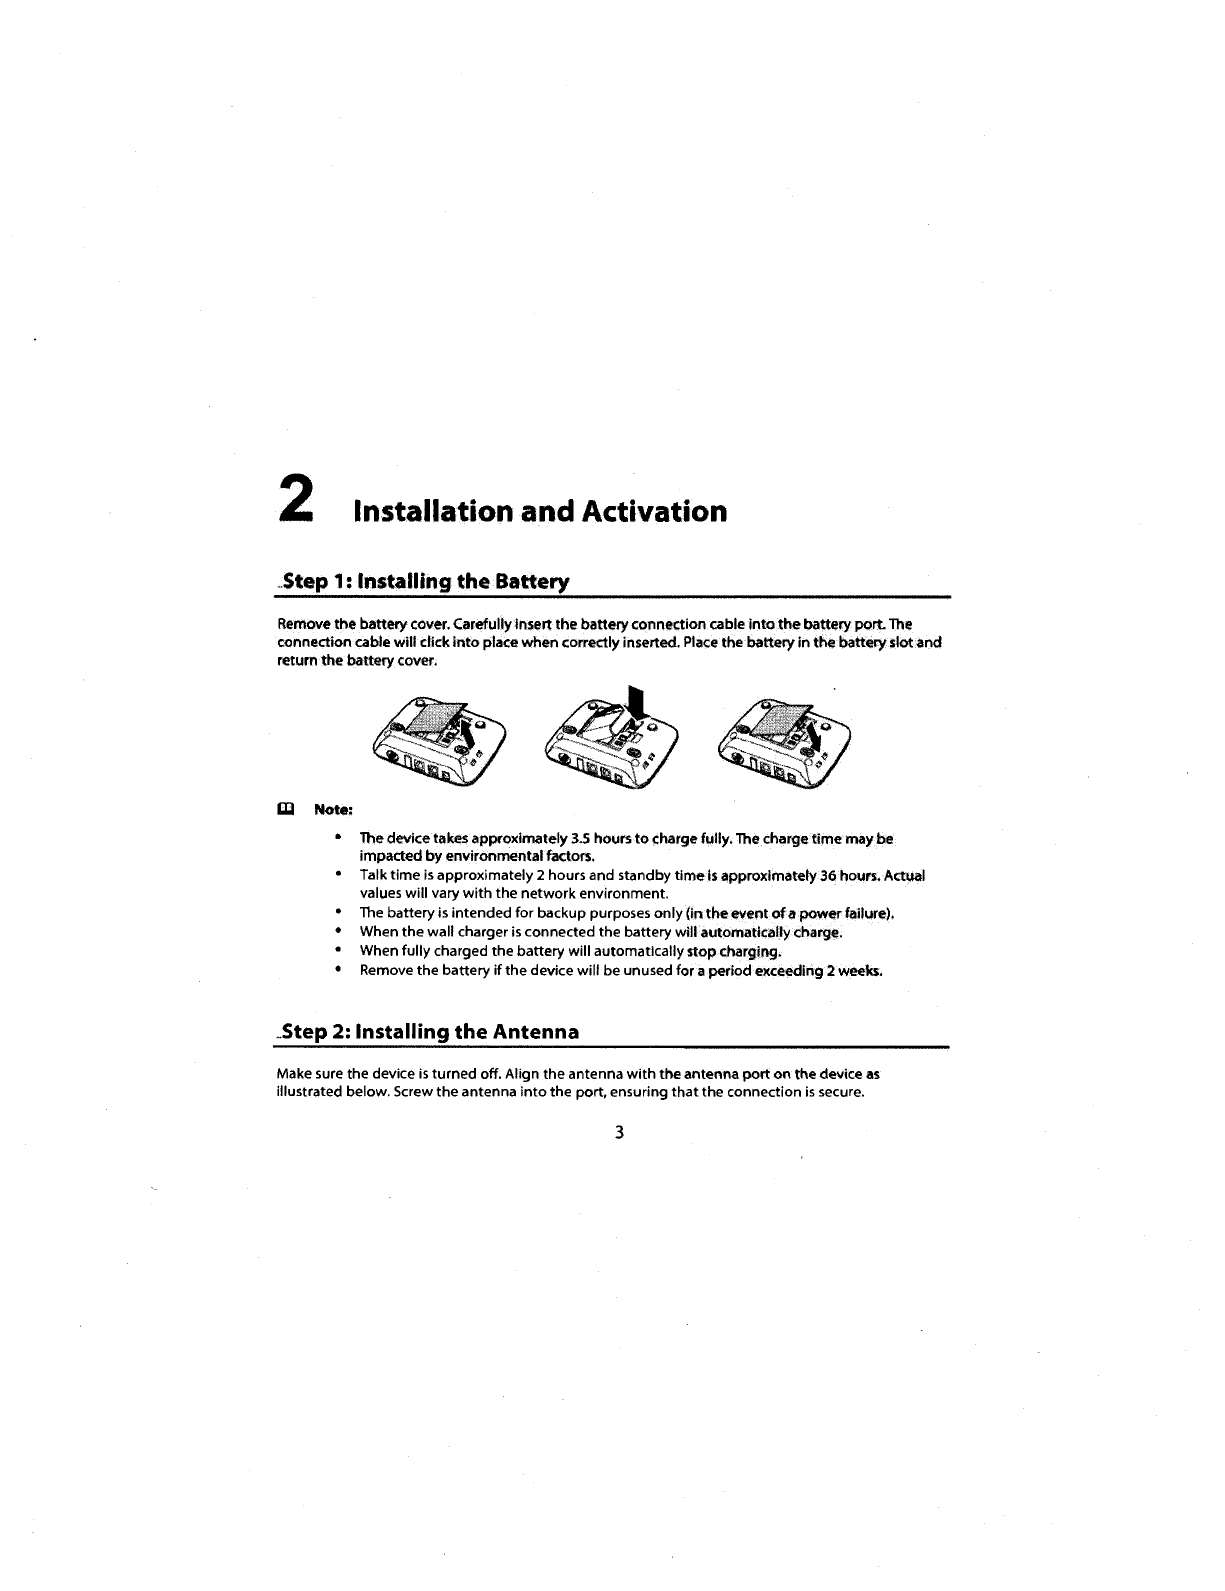
Step
1:
Installing
the
Battery
......................................................................................................................................
3
Step
2:
Installing the Antenna
....................................................................................................................................
3
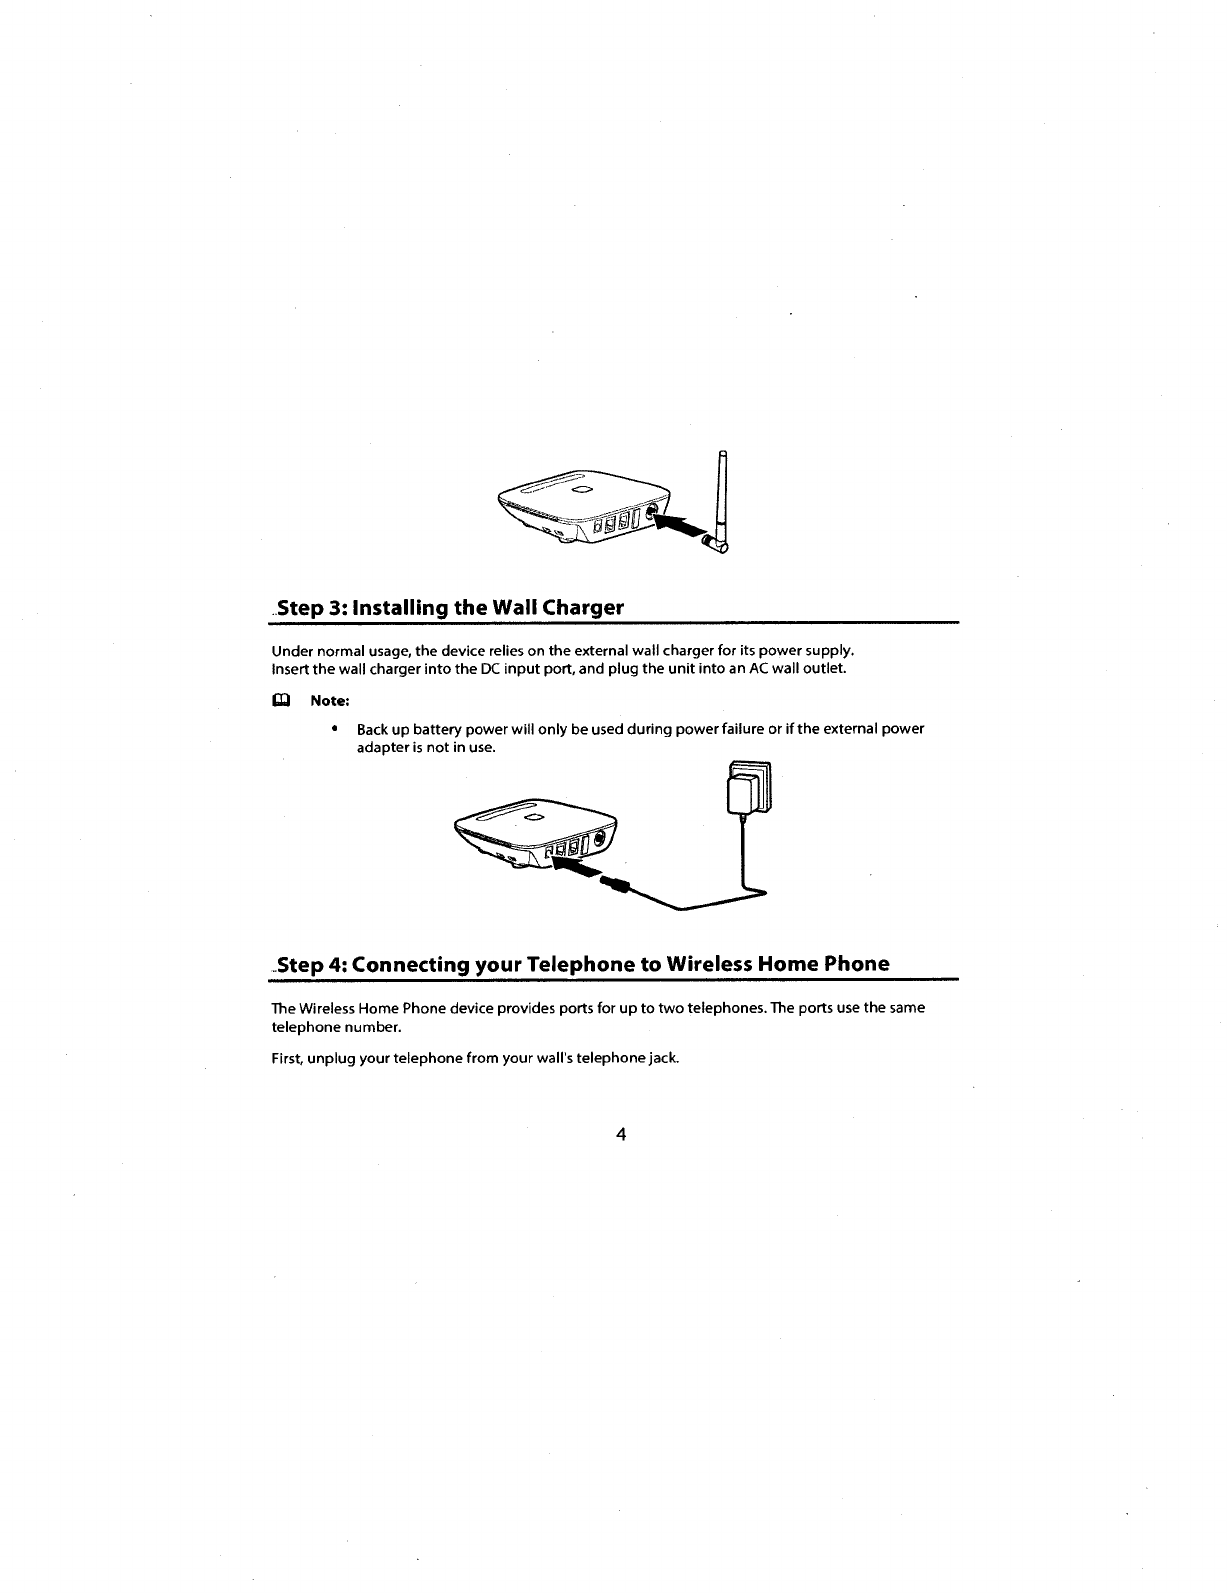
Step
3:
Installing
the
Wall Charger
...........................................................................................................................
4
Step
4:
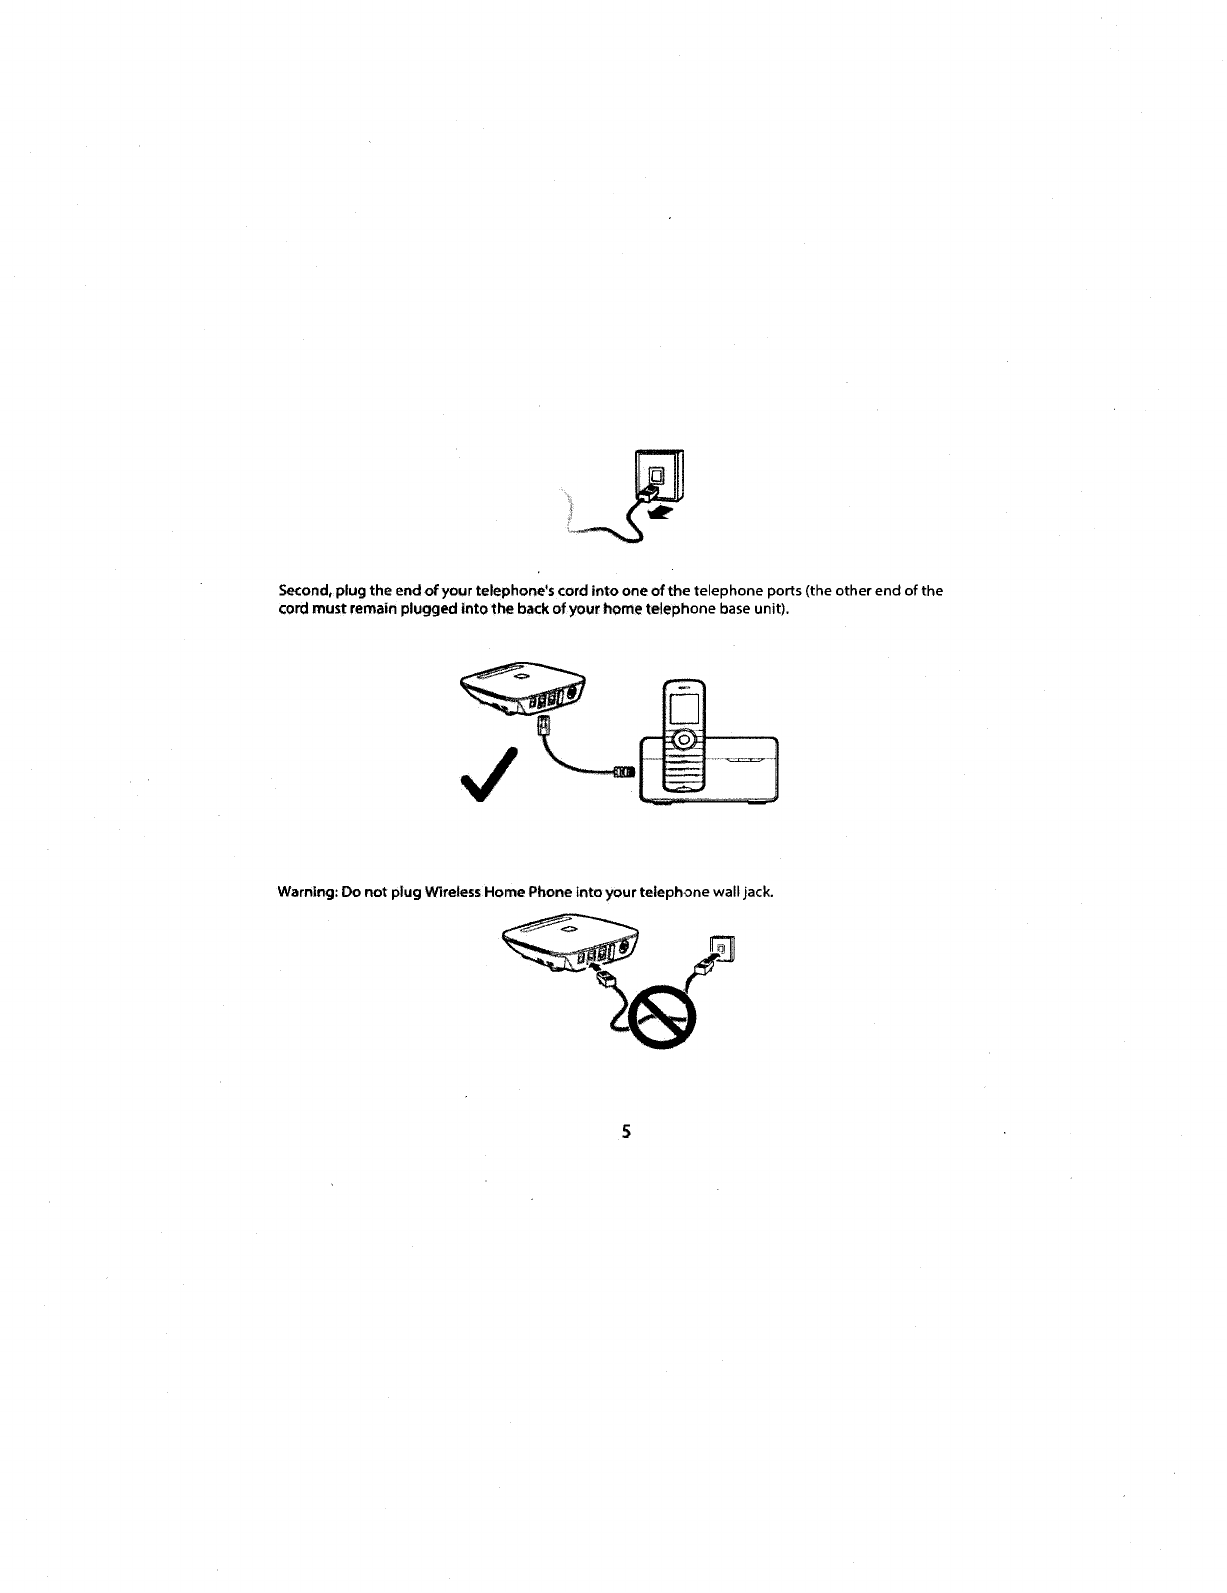
Connecting
your
Telephone
to
Wireless Home Phone
......................................................................
4
Step
5:
Powering
on
the
Device
................................................................................................................................
6
Step
6:
Activating
the
Device
.....................................................................................................................................
6
Step
7:
Understanding
the
Indicators
.....................................................................................................................
7
Step
8:
Making Calls
.......................................................................................................................................................
8
Step
9:
Receiving Calls
..................................................................................................................................................
8
]~~)~!lt~~-~~~~~~~~~~~~~~$~~~~.~J~~.!~;~~~~9
Mounting
the
Device
....................................................................................................................................................
9
Making a 3-Way Call
....................................................................................................................................................
1
0
Using Voice Mail
............................................................................................................................................................
11
Using Call Forwarding
.................................................................................................................................................
11
Important
Facts
About
Your Wireless Home Phone
........................................................................................
12
Assistive Communication Devices
.........................................................................................................................
12