Please read and follow all instructions before using sprayer.
- Before using, filling or cleaning any sprayer, read all parts of the operating instructions.
- Make sure to set up the sprayer exactly as explained in the printed operating instructions, reminder tags and/or
stickers.
- Wear protective clothing, respirator, gloves, eye protection, etc. whenever using, filling, or cleaning sprayer.
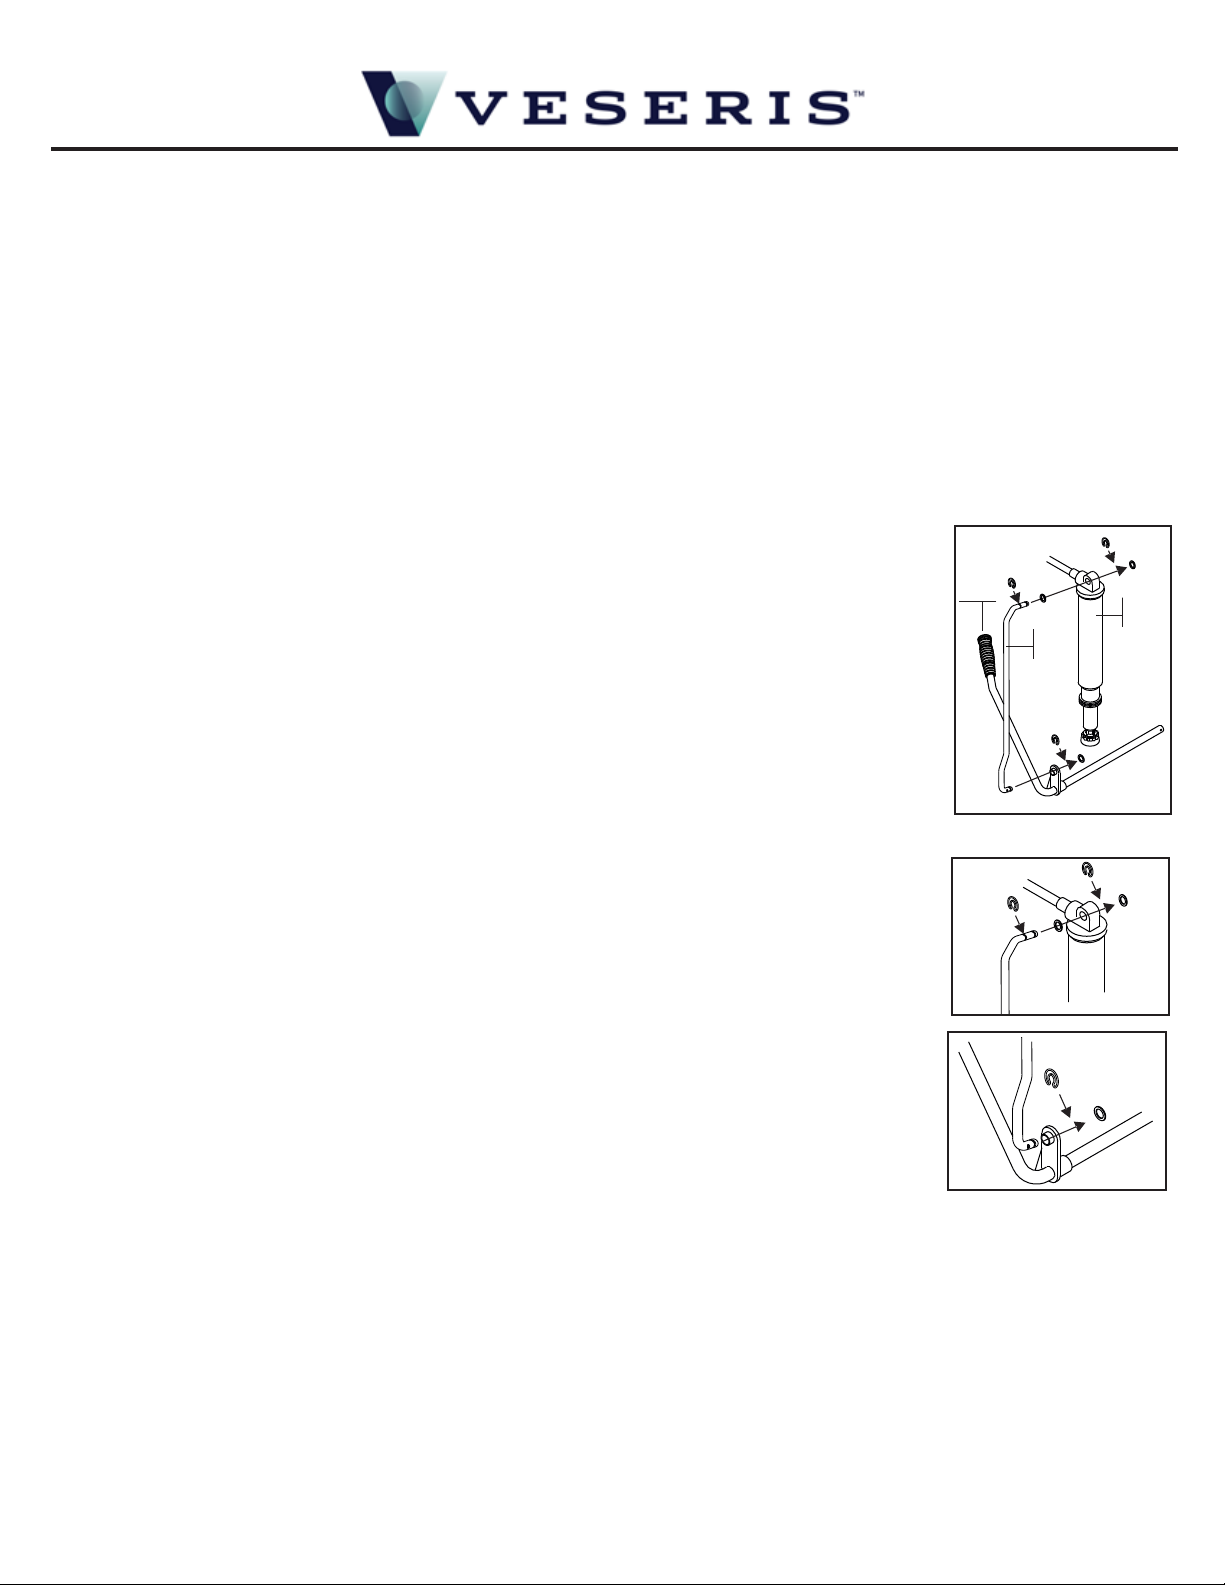
- Periodically re-grease lid gasket as well as lid vent and pump cylinder, where applicable.
- To ensure good performance, keep lid vent free of obstruction. Before and after each use, make sure all
connections are well tightened. Service and replace worn parts as required.
- Read and follow all instructions of the chemical suppliers.
- As a rule, mix your chemicals in a separate container from which to fill the sprayer. Do not mix formulas inside the
sprayer. Where an exception is made (e.g. with liquid fertilizers), fill sprayer with water BEFORE adding the active
ingredient.
- Always sift formula through the screen. If there is no built-in strainer, use a screened funnel.
- Never fill the sprayer with hot liquids. Max. 30ºC, or 85ºF.
- This sprayer is made to handle agrichemicals in their usual water or oil solutions. Do not use flammable, corrosive
or caustic solutions.
- Never use gasoline or other flammable materials.
- Before cleaning or servicing the sprayer, allow all pressure to escape. Do not store or transport sprayer under
pressure.
- After each use, wash the sprayer—including hose, lance and shut-off valve—with plenty of fresh water. Unless
spraying is to be continued within hours, drain chemical formula and thoroughly rinse the tank and all liquid ducts.
- Never store chemicals in your sprayer for any length of time.
- Use the sprayer only for the kind of jobs for which it was designed. When in doubt, ask your dealer.
- Do not leave the sprayer in reach of children or persons not qualified to handle it in proper fashion.
- When not in use—and especially during prolonged storage—keep your sprayer in a protected place away from
direct solar heat.
- Make sure the spray hose loops freely without kinking or squeezing.
- Always use original replacement parts.
2. A unit that has been used with herbicides should never be used to spray insecticides, unless the sprayer has been properly
cleaned and all other chemicals neutralized. Failure to do this could cause you to kill plants sprayed. Consult with the
manufacturer of the chemicals in use for proper instructions.
3. Remove cap.
4. Mix solution in a separate receptacle, following manufacturer's directions on the container.
5. Pour pre-mixed solution into sprayer and fasten cap securely.
6. Place sprayer on back and pressurize by pumping approximately 5 to 11 times.
7. Normal working pressure should be from 25 psi to 40 psi. Too much pressure will waste chemical and over apply, as well as
causing potential damage to pump tube.
8. Pump occasionally to maintain the desired spraying pressure.
HOW TO CLEAN AN MAINTAIN:
1. Remove cap and pour out any remaining spray solution. Rinse all parts thoroughly with clean water.
2. Leaving approximately one gallon of fresh water in the tank, pressurize and flush pumping system by depressing trigger for at
least 2 minutes. Then drain all remaining water from tank, and repeat this process two times. To properly neutralize chemicals,
a neutralizing solution mentioned in the "Trouble-Shooting" guide should be used.
3. Always store tank clean and empty in a dry shaded location.
CAUTIONS
Failure to follow
m a n u f a c t u r e r s
recommendation on
use and care of unit
will void any
e x p r e s s e d o r
implied warranty.
BN189040E/EX-0121
R00