Headquarters: 4675 Vandenberg Dr., N. Las Vegas, NV 89081 • (800) 932-2358 or (702) 651-1304 • Fax (702) 651-1303
www.VicenzaDesigns.com
INSTRUCTIONS FOR INSTALLATION
INCLUDED PARTS
A. TP holder b se ssembly(1)
B. TP holder b r (1)
C. Mounting br ckets (1)
D. Screws (2)
E. W ll nchors (2)
F. Allen wrench (1)
G. Set screw for b r - inst lled (1)
H. Set screw for b se - inst lled (1)
MOUNTING INSTRUCTIONS ON DRYWALL
1. Determine the desired loc tion for the TP holder.
2. Insert the TP holder b r (B) into the TP holder b se ssembly (A) t the desired ngle, m king sure
there is enough room for full p per roll, nd tighten the set screw (G). Hold the ssembly to the
w ll, nd m rk the position of the TP holder b se.
3. Pl ce the mounting br cket (C) on the w ll (inside where you m rked the TP holder b se position) nd
m rk the loc tion of the two screw holes.
4. Drill 5/8” holes in the w ll.
5. Pl ce two of the screws (D) through one of the mounting br ckets nd tt ch w ll nchors (E) to
the screws. Push the w ll nchors through the w ll, nd tighten the mounting br cket to the w ll by
tightening the screws. Pulling the mounting br cket w y from the w ll help secure the w ll nchors
while tightening the screws.
6. Att ch the TP holder ssembly to the inst lled mounting br cket, top first, nd tighten the set
screw (H), using the enclosed llen wrench (F). Be c reful to not over-tighten the set screw.
Note: Although basic mounting hardware is included, be sure to use the proper mounting hardware for your wall type.
If unsure, consult your local hardware store. Attaching the mounting brackets to wall studs or to backing made of 1x2 or 2x4 is
the best method for mounting your new hardware.
CARE
Cle n only with soft, dry cloth. To protect the finish, we do not recommend the use of polishes or
br sives. If you h ve ny questions reg rding your Vicenz product, ple se cont ct your loc l de ler.
Product(s): TP9000F,
TP9001F, TP9002F, TP9003F,
TP9004F, TP9005F, TP9006F,
TP9007F
Rev: 21Aug12
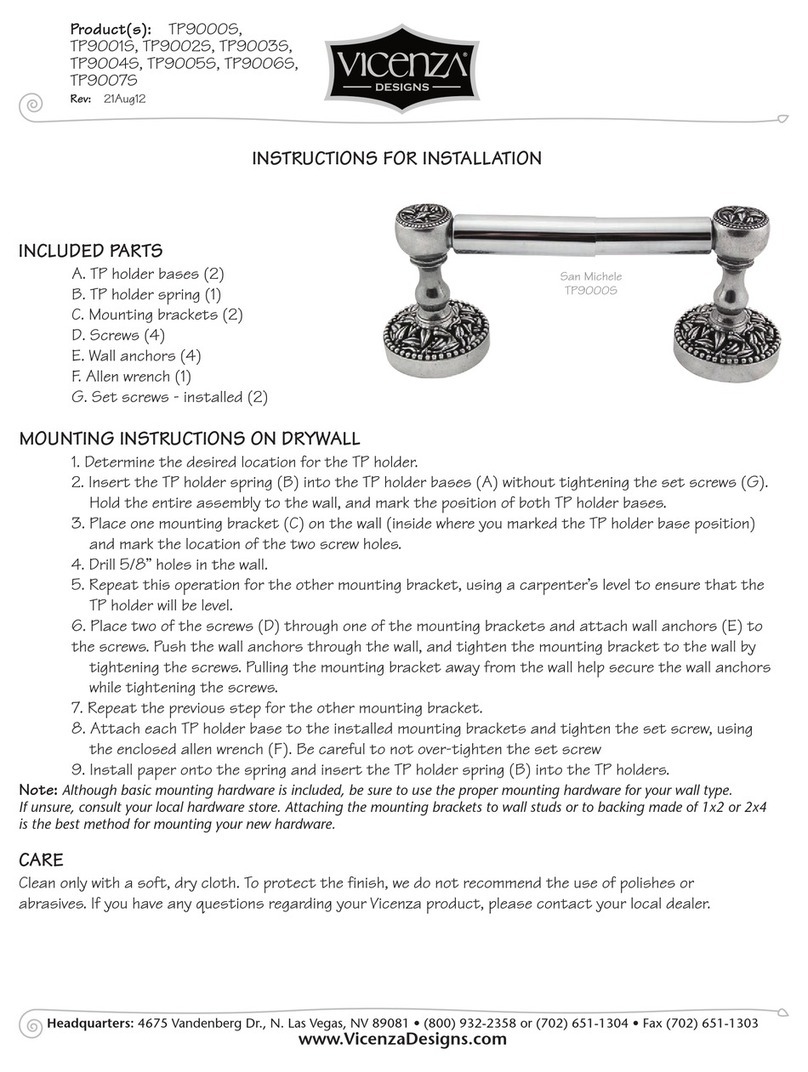
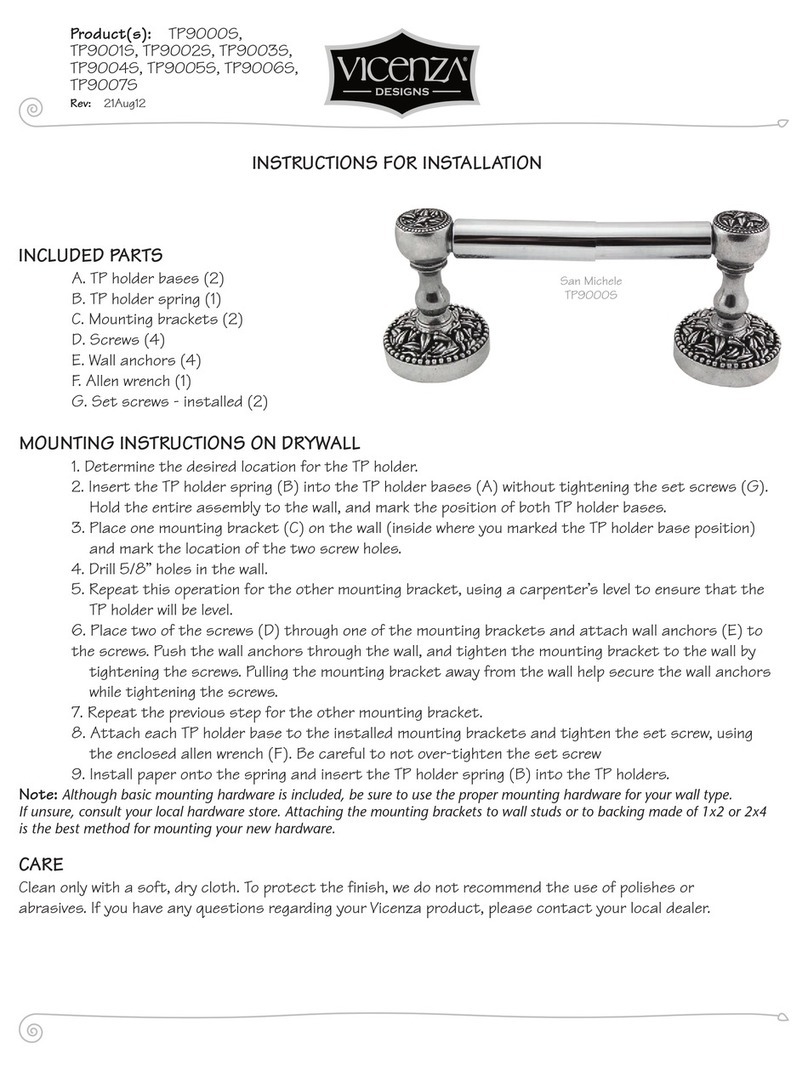
S n Michele
TP9000F


