SM ENGLISH
Version 12/2017
1
ENGLISH
1. Introduction .....................................................................................................................................2
1.1. Before you start ...................................................................................................................2
1.2. Warranty................................................................................................................................2
1.3. Restrictions ..........................................................................................................................2
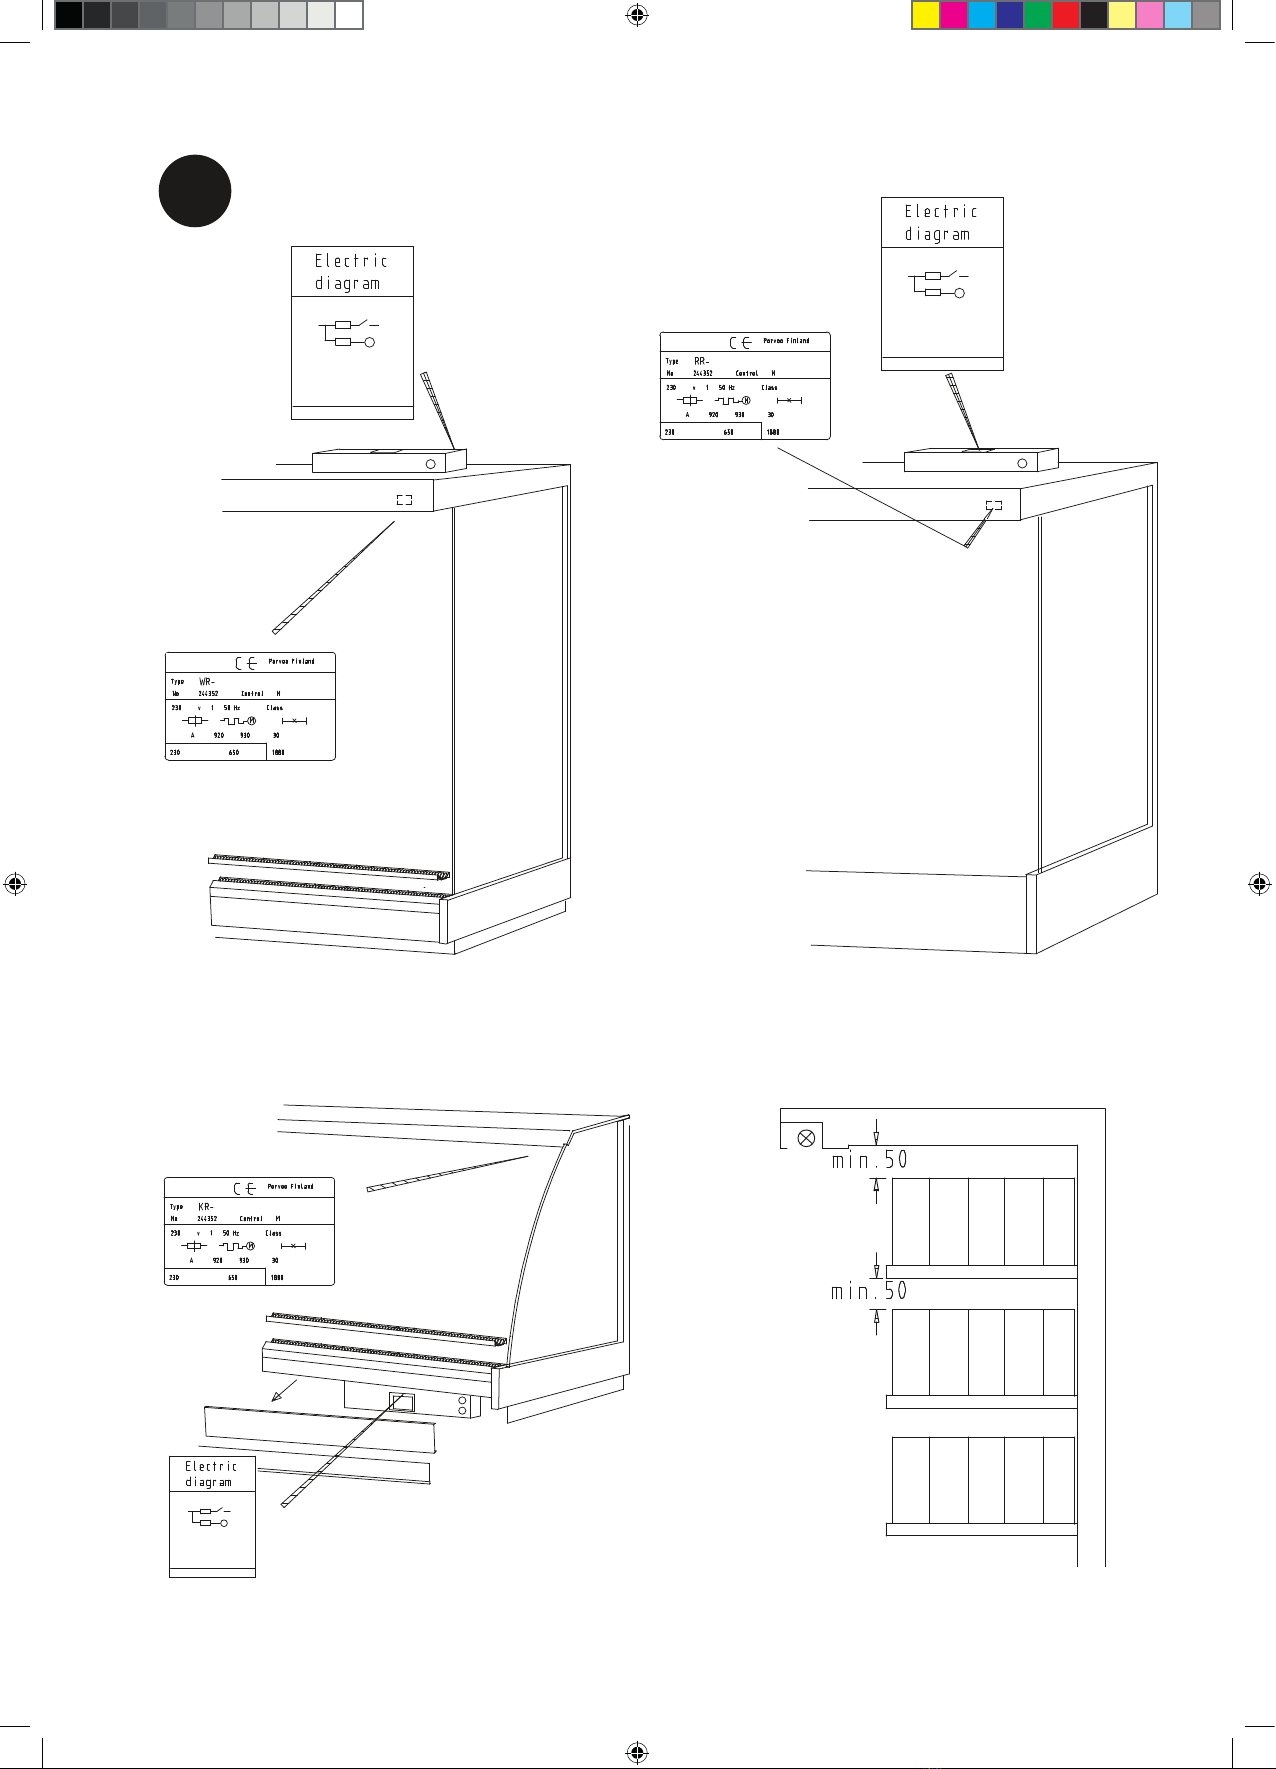
1.4. TectoDeck MD1 Spirit Plus, TectoDeck MD2 e-Novus, TectoDeck MD2 e-Ventus
and TectoDeck MD3 e-Visio, TectoDeck RI1 Intro and TectoDeck SV1 Inspi ................. 3
1.5. TectoFreeze IS1 Maxim........................................................................................................3
1.6. TectoFreeze VF1 Luxo.........................................................................................................3
1.7. TectoFreeze CF1 Nardo.......................................................................................................3
1.8. TectoFreeze SV1 Iconic.......................................................................................................3
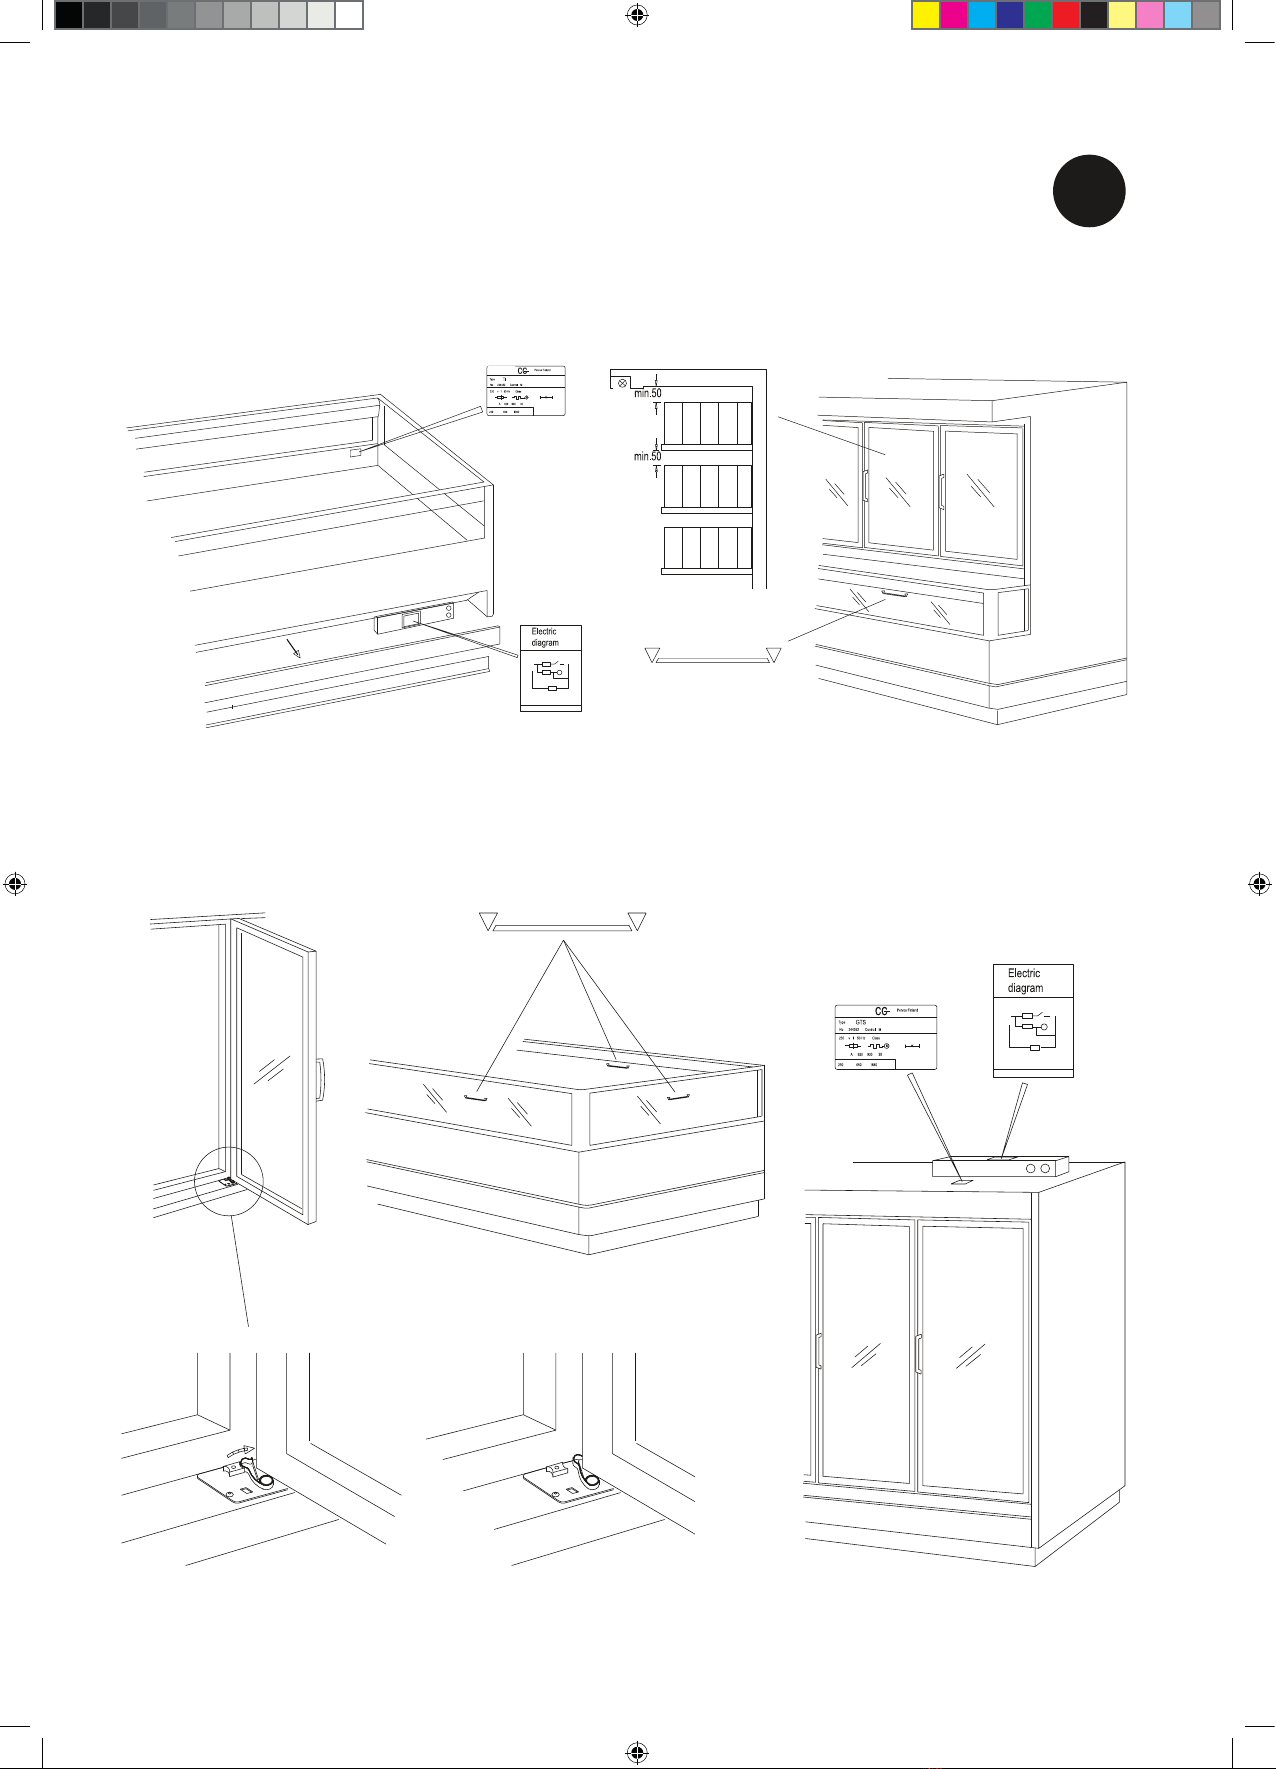
1.9. TectoServe SL1 Gusto.........................................................................................................4
1.10.TectoServeDC1Soe..........................................................................................................5
1.11.TectoServe DC1 Emilie........................................................................................................5
1.12.Night covers, glass lids and doors ....................................................................................6
2. Preparations ....................................................................................................................................7
2.1. Package ................................................................................................................................7
2.2. Transport damage................................................................................................................7
2.3. Installation............................................................................................................................7
2.4. Cleaning before use.............................................................................................................8
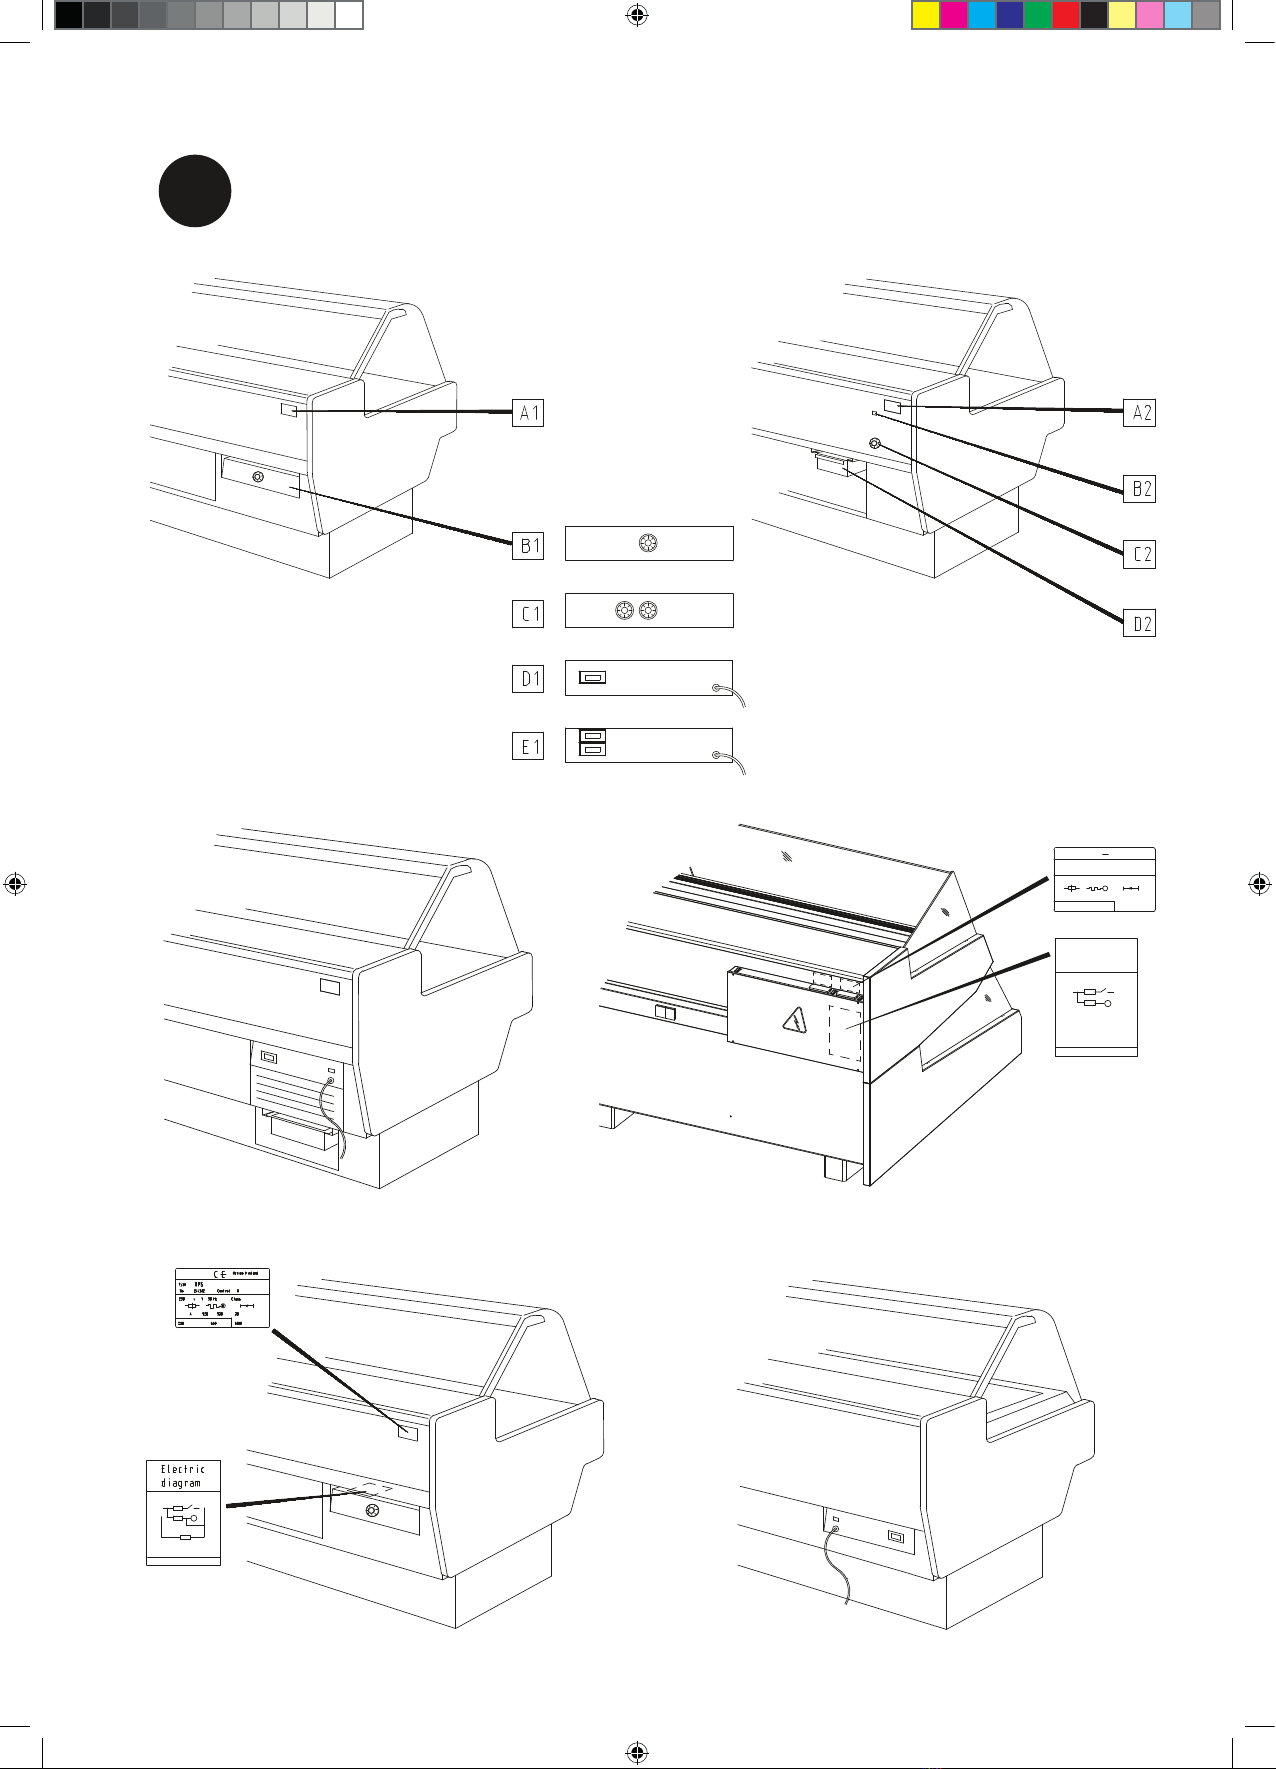
2.5. Electrical connections.........................................................................................................8
3. Operation .........................................................................................................................................8
3.1. Start-up .................................................................................................................................8
3.2. Operating thermostat ..........................................................................................................9
3.2.1. Machine Status menu................................................................................................9
3.2.2. Programming menu ...................................................................................................9
3.2.3. Manual activation of defrosting cycle.......................................................................10
3.2.4. LED..........................................................................................................................10
3.3. Automatic defrosting.........................................................................................................10
3.4. Loading cabinet ................................................................................................................. 11
3.5. Fan speed control..............................................................................................................12
4. Maintenance ..................................................................................................................................12
4.1. Cleaning..............................................................................................................................12
4.2. Troubleshooting.................................................................................................................13
4.3. Interruption in mains supply.............................................................................................13
4.4. Servicing and spare parts.................................................................................................13
4.5. Disposal of equipment ......................................................................................................14