ENGLISH
1. Before you start
1.1. Warranty
2. Norwell
2.1. Warnings
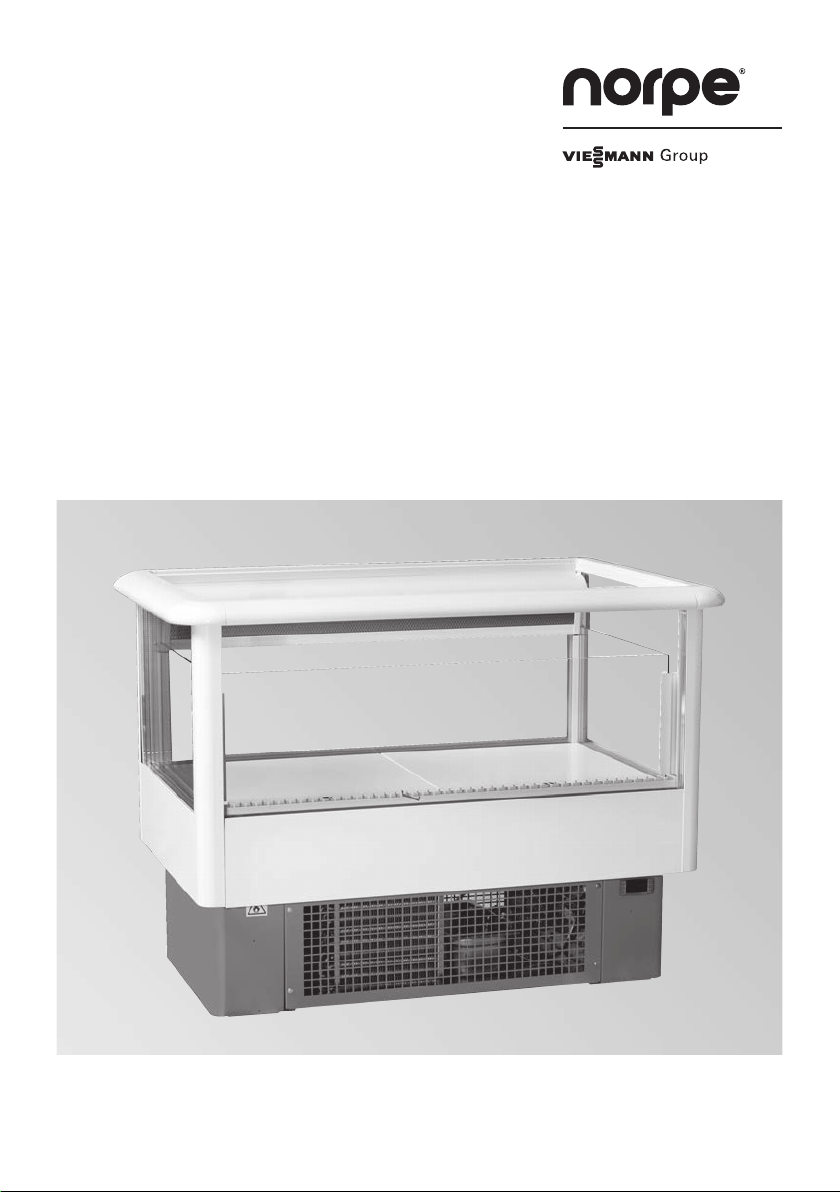
2.2. Cabinet types
2.3. Restrictions
2.4. Package
2.5. Transport damage
2.6. Installing
2.7. Cleaning before use
3. Electrical connections
4. Operation
4.1. Starting up
4.2. Loading cabinet
4.3. Setting operating thermostat
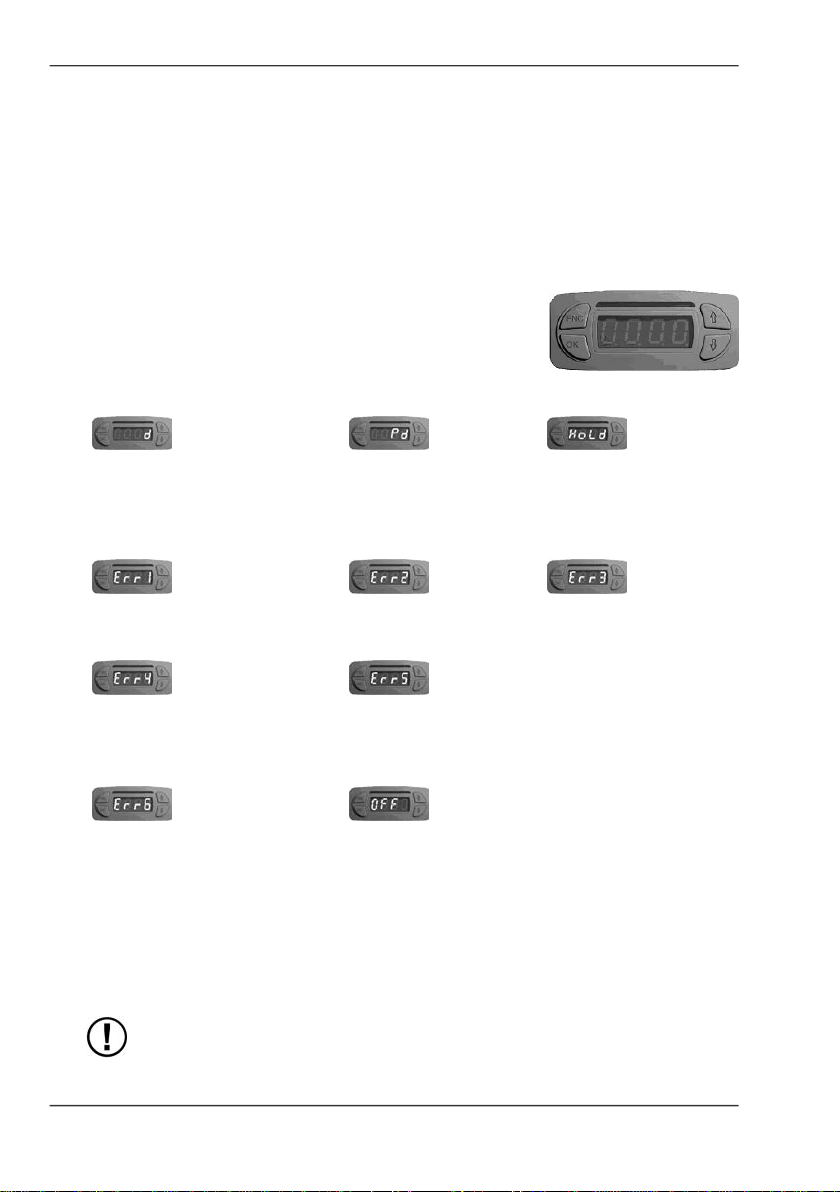
4.4. NRC-100 control device
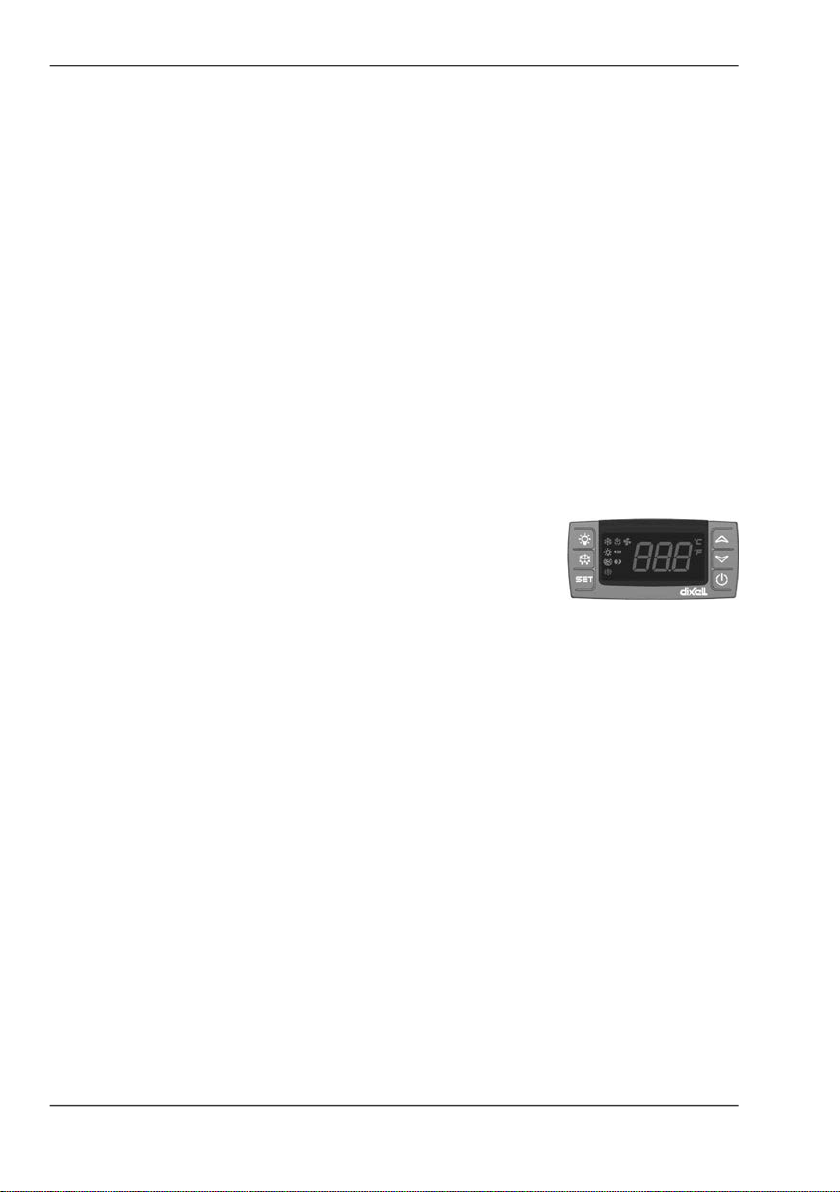
4.5. Dixell XR40CX control device
4.6. Automatic defrosting
5. Cleaning
5.1. Cleaning condenser
6. Interruptions in electricity distribution
7. Troubleshooting
8. Servicing and spare parts
8.1. Replacing fluorescent tube
9. Disposal of equipment
ENGLISH