● IR Mode
Use to measure IR\air\dewpoint\wet
bulb temperature and air humidity
without camera.
It i s ca n dis pla y th e IR M AX\ MIN
temperature and DIF\AVG temperature.
Press and hold the measure button
to measure the temperature.
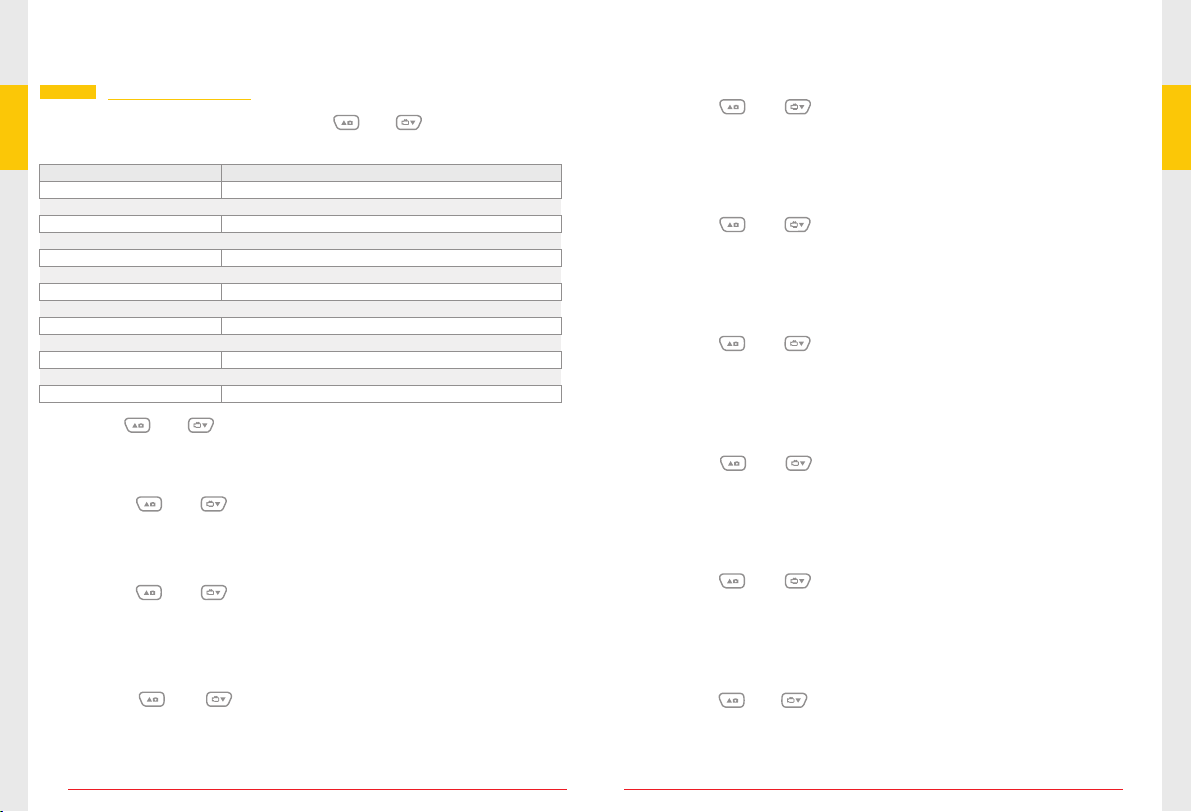
● Temperature Chat
In the Temperature Chat Mode, first
set the parameter, like high alarm
value, low alarm value, time interval,
and the line color, then press the
measure button to start logging. the
unit will automatically record data.
Press the button to exit the mode,
then the data will automatically save.
Esc
22.4℃
20:54:50 2011/01/03 £=1.00
AT:23.9℃
RH:48%
DP:12.3℃
WB:16.7℃
KT:24.9℃
MAX:22.4℃
MIN:21.7℃
AVG:22.0℃
DIF:0.7℃
IR
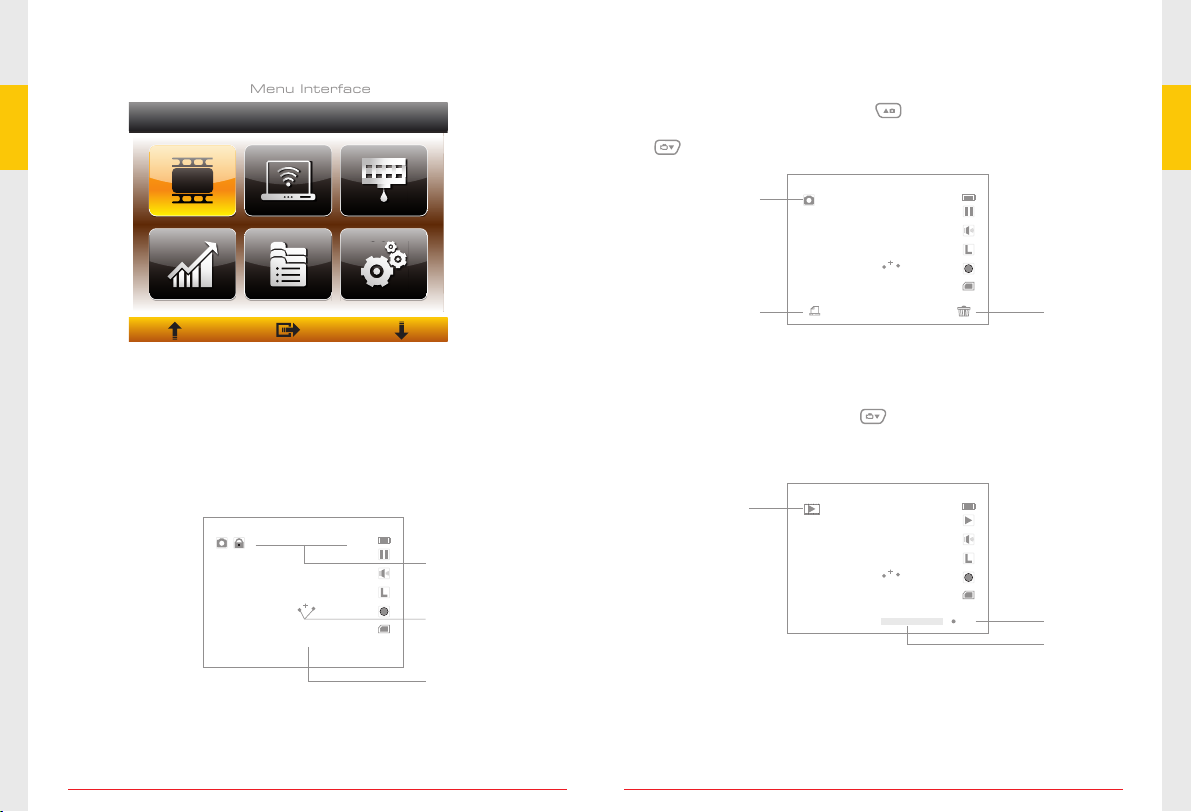
● Dewpoint Mode
Measure the IR\dewpoint temperature.
Press and hold the measure button
to measure the temperature.
This is that the IR temperature and dewpoint
temperature close to the percentage of.
22.4℃
20:54:50 2011/01/03 £=1.00
AT:23.9℃
RH:48%
DP:12.3℃
WB:16.7℃
KT:24.9℃
MAX:22.4℃
MIN:21.7℃
AVG:22.0℃
DIF:0.7℃
DP
0.0%
29.1℃
2011/01/03 20:54:50
0
58
The detailed settings of the “Measure Setting” see the next page.
* Do not use the unit to measure shiny or polished metal surfaces
(stainless steel, aluminum, etc.).
* The unit cannot be measured through transparent surfaces such
as glass. it will measure the surface temperature of the glass
instead.
* Steam/dust/smoke,etc, can prevent accurate measurement by
obstructing the unit's optics.
NOTE:
H
L
Remark
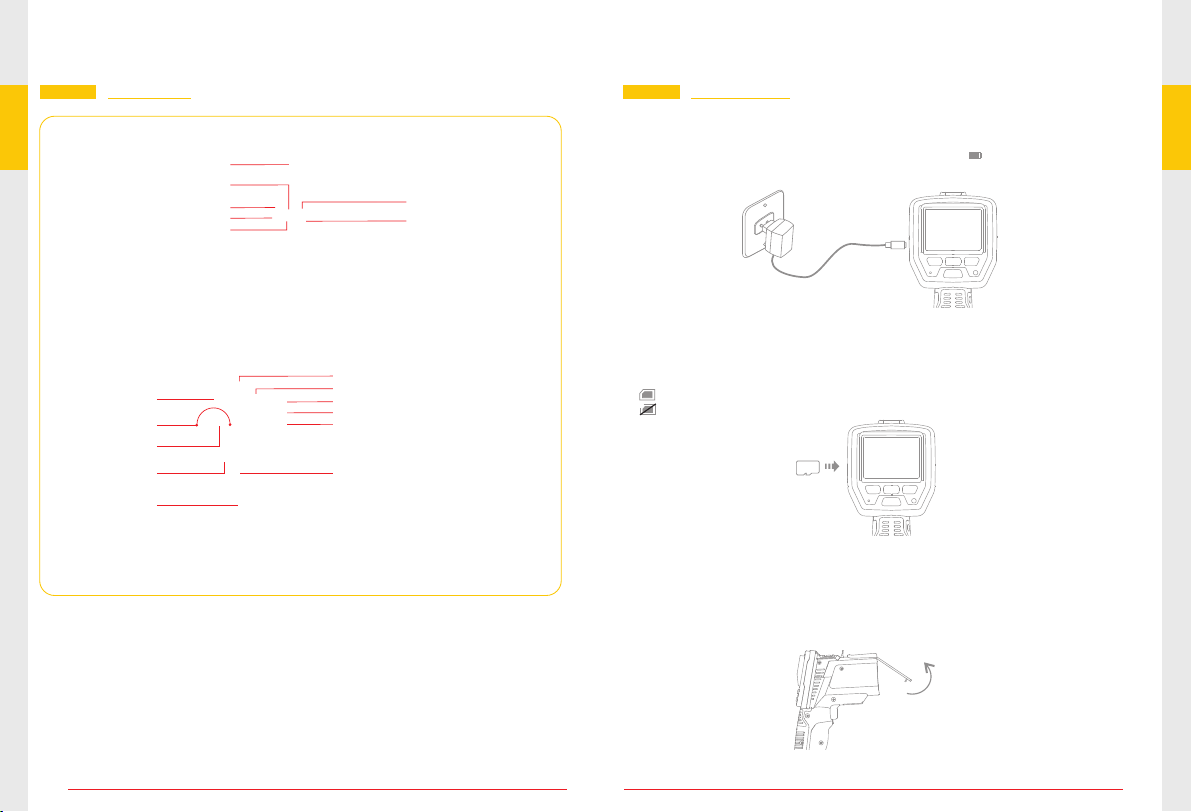
* The video will be automatically saved as an individual file every 30
minutes.
* “Memory Full!” appears on the LCD screen indicates that the TF
card memory is full.
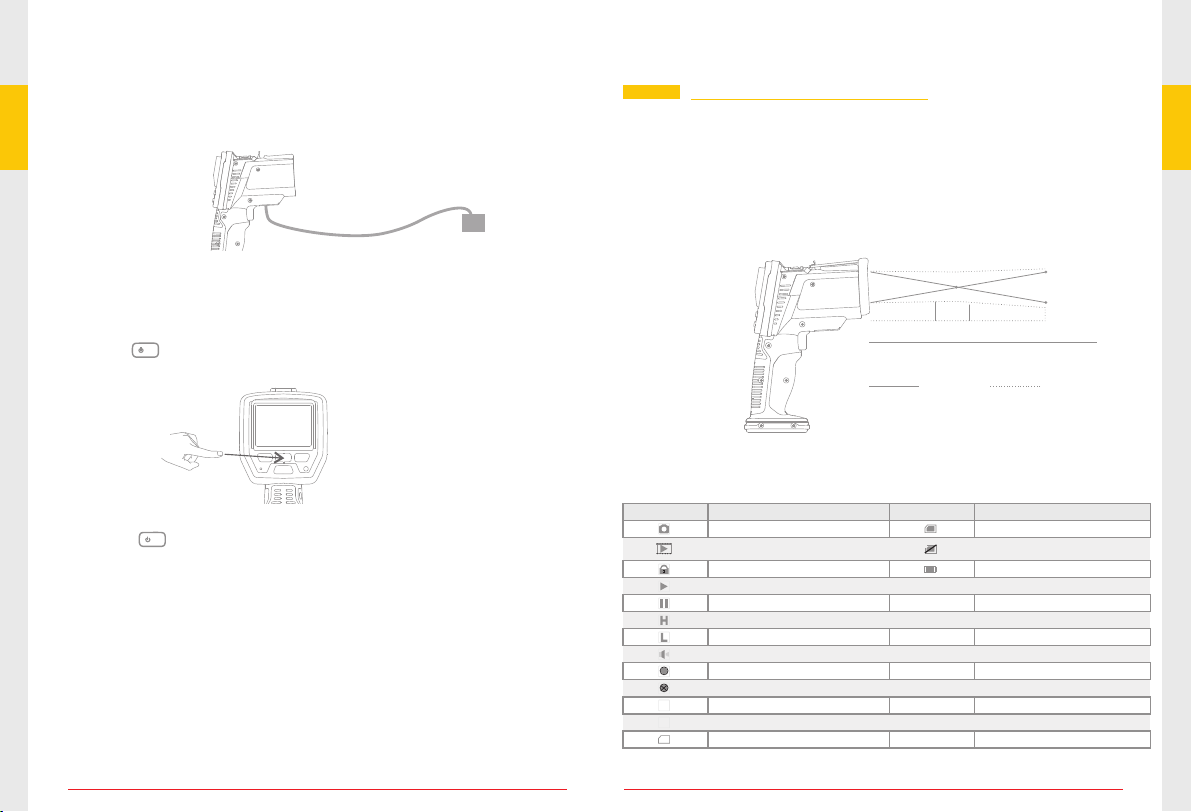
The current temperature
On any measure temperature mode, press the OK button into the
function menu:
Measure Temperature Settings
Emissivity
High Alarm
Laser
Auto
Timing Shooting
Low Alarm
Max/Min
Avg./Dif.
AT/%RH
K Type Sensor
Dewpoint/Wetbulb
Items Descriptions
Emissivity
High Alarm
Low Alarm
Laser
Auto
Max/Min
Avg./Dif.
AT/%RH
Dewpoint/Wetbulb
K Type Sensor
Set the emissivity
On or off the high temperature alarm and set the value
On or off the low temperature alarm and set the value
Able or disable of laser
Lock to continue measure
Display the max. or min. IR temperature
Display the average or difference of IR temperature
Display the air temperature and humidity
Display the dewpoint and wet bulb temperature
Enable or disable the type-k input
Timing Shooting Able or disable the timing shooting function and
set the shooting time
09 10