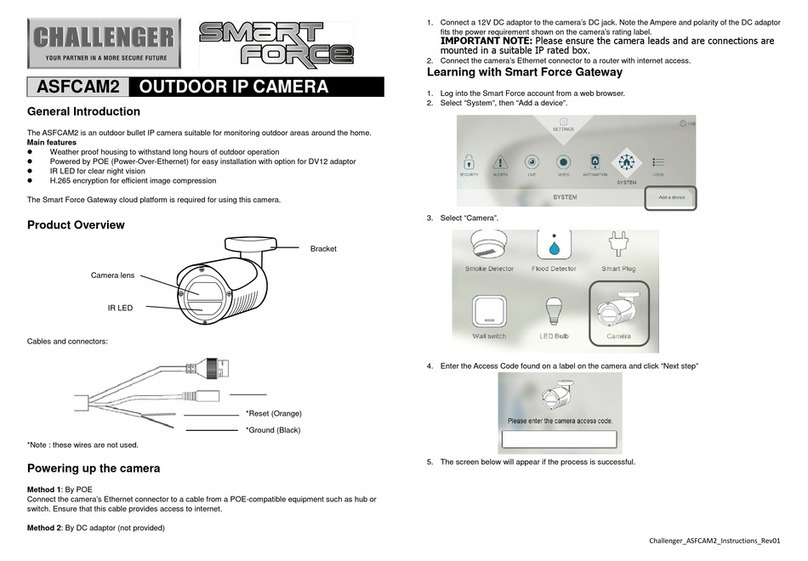
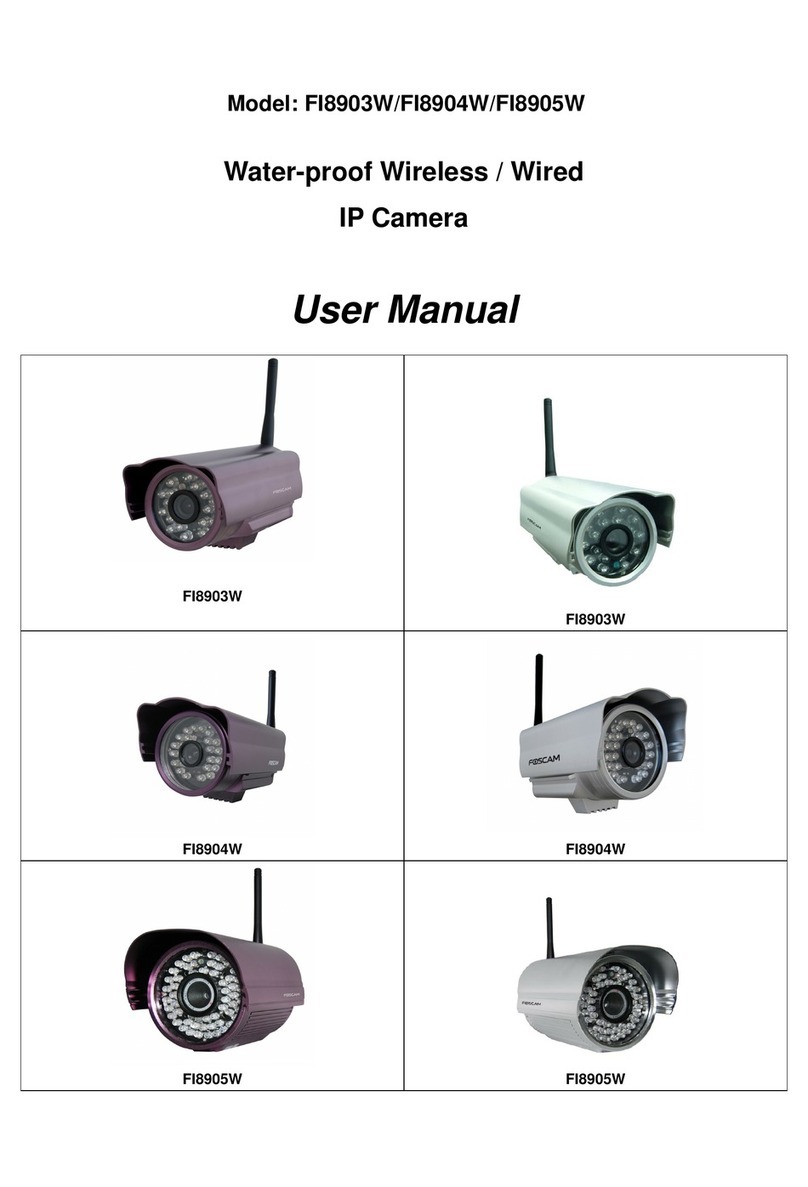
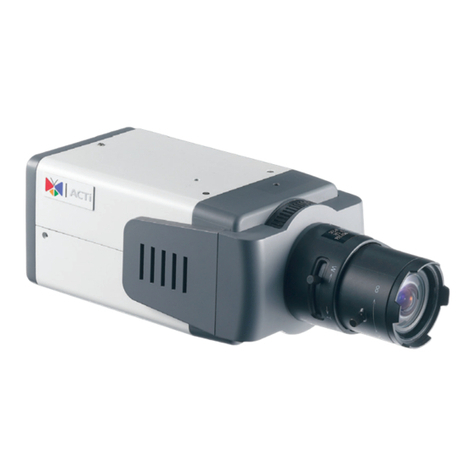
Vilar VWC-300PT User manual

Thank you for purchasing a Vilar IP Camera. The IP-001A is a high performance IP
Camera. The camera provides many features such as steady net ork connection,
po erful customer management, compatibility and security. You can use it simple and
convenient.
This guide explains ho to install this camera fast. For more details, please refer to the [IP
Camera User Manual.doc] on accessory CD.

Connecting the LAN
Connect the net ork cable to the RJ45 net ork connection port.
Connect the po er adapter to the IP Camera po er socket and then insert the plug into an
available po er outlet.
Start up your computer, and make sure it connects to the LAN successfully. Click
Start>Running, and enter “command” (for Windo s 95/98/ME) or “cmd” (for
Windo s2000/XP). Then select “OK” and enter “ipconfig”, press enter. The basic setting
of your net ork ill be sho n as follo :
Please record the IP Address, Subnet Mas , and Default Gateway. You might use this
information to set your device.

Insert the accessory CD into the CD-ROM, copying the “VilarWizard_CN.exe” hich is
green soft are from the CD to your computer. Double-click it on your computer. The
interface as follo ill pup up.
This indo sho s us all the IP Cameras in your LAN. You can press the refresh button
to get a ne list.
If there are many cameras in your LAN, you can look for your camera by checking
camera’s “serial number”. The serial number is on the back cover of this guide.
If your IP Camera’s IP address is not as the same segment of your PC(defined by IP
Address and Net ork Mask), you may not be able to visit your IP Camera. For example,
Your PC’s IP address is 192.168.100.33, net ork mask is 255.255.255.0, then your PC
can visit the IP address from 192.168.100.1 to 192.168.100.255 only, If your IP Camera’s
IP Address is not in this range, you cannot access it. Therefore you can click [Setup IP]
button to change IP Camera’s IP address and adjust it adapting your PC setting.

Please fill in the LAN parameters hich ere you recorded before such as Subnet Mas ,
Default Gateway and IP Address. Attention of IP Address is the front three sections of IP
Address are the same as your recorded, but the last section you have to enter the number
is different from your computer. For example your PC IP address is 10.0.8.69; you can set
your camera IP address as 10.0.8.210. You might need contact your net ork administrator
to make sure ho to set the last number of your camera IP address.
For example:
Subnet Mas :255.255.255.0
Default Gateway:10.0.8.1
IP Address:10.0.8.210
After that click [ok] and then enter the administrator’s username as “admin” and the
administrator pass ord as “123456”.

Click “OK”, the system starting assign a ne IP address for your IP camera.
Click “OK” after you sa the successfully prompt. Then ne IP address of your camera
has been sho n in the interface.

Selecting this camera, and click “visit IPCam” option, the Internet explorer ill connect
your camera automatically.
Above interface can be indicated means your IP camera is connect to net ork
successfully.
Also you can enter your camera IP address into the Internet explorer to access, such as
http://10.0.8.210

Click the “User Zone” button; you ill enter the image vie interface. The login indo ill
be indicated at the first time.
Please fill in the administrator’s username as “admin” and the administrator pass ord as
“123456” to enter the ebsite.
When you enter the ActiveX mode at the first time, you might be prompted to install the
ActiveX control. After you set the IE security option correctly, you ill see the follo dialog
box.
Click [Install] to continue. If you cannot see the message as above, you have to modify
the Internet Explorer security configuration.

Setting Internet Explorer (IE) security configuration ill execute follo ing steps:
1. Select [Internet Options] in [Tools] menu of IE;
2. S itch to [Security] option card;
3. Select [Custom Level];
4. Setup as the follo ing:
a) Init and Run unmar ed as safety ActiveX controls: Select [Alert];
b) downloading unsigned ActiveX controls: Select [Alert];
c) Run ActiveX controls and plug-in: Select [Enable];
5. Click [OK] to save it.
In addition the IPCam also can be a “Trusted Sites”, the setting process as follo :
1. Select [Internet Options] in [Tools] menu of IE;
2. S itch to [Security] option card;
3. Select [Trusted Sites];
4. Uncheck “√“ before “……https:(S) ”;
5. Enter IP Camera’s IP address or URL, for example, http://192.168.0.250 or
http://tom.vipcam.cn;
6. Click [Add], [OK] to save it.
Note: You can not download the ActiveX
Control without authorization until setup
Internet Explorer security configuration
properly.

The access from internet
Sometimes you might need to visit your IP camera from internet. Such as you ant to see
your pets hen you at office. You can control the home camera send the pets’ video to you
by using internet. You have to do some configurations of your router before you visit your
camera from internet.
You cam image there are many cameras and computers are connecting the same inside
net ork port of router. The router can get a public net ork IP address (such as
202.102.3.11) to connect the internet, ho ever it assign inside net ork port address for
each device as LAN IP address, such as 192.168.0.xxx.
You can choose follo methods to modify router configuration. After that the remote user
can visit your IP camera.
You can achieve this goal by enable Reversal NAT (RNAT) function of IP Sharing Device.
1. “Virtual Server”: Many routers have “Virtual Server” support. You must for ard the
WAN 80 TCP port to LAN IP Camera’s IP and Port. (If you visit 210.82.13.21’s 80 port
outside, you ill be for ard to LAN 192.168.0.2’s 80 port).
2. Another method is the “DMZ Host”. If enabled to use a LAN device as the DMZ host,
the outside PC ill be able visit this LAN device directly, as if there is no IP Sharing
Device exists. This method support only one LAN device exposed to the WAN. Thus, if
you have more IP Cameras, you have to use the above method.
The Dynamic Domain Name access
The dynamic domain name (DDN) access is using DDN system to mapping a user’s
dynamic IP address to a settled dynamic domain name service. It makes up of Server
program and Customer program. The Customer program sends the dynamic IP address of
host computer to Server program, and then the Server program update the data no . Also
the Server program can provide a settled domain name for customer. The ne IP address
ill be tied ith the settled domain name together by Server program. At this time the
dynamic domain name service (DDNS) is done, and your server can be visited by others.
The function of DDNS is achieving the resolution bet een dynamic IP address and settled
domain name. After getting the ne IP address, user has to apply update data from DNS
every time. When the user is online, someone ants to visit this domain name from
internet, the DDN server ill return to the correct IP address. To prevent a confusion
caused by reusing the same IP address, the DNS have to stop use the domain name
hen the user is offline.

The DDNS operating figure as follo :
In order to use DDNS you have to apply a DDNS domain name first. Please visit
http:// .vipcam.cn, enter the product serial number and original pass ord login. You
can find the serial number and pass ord of your camera in the back cover of this guide.
Setting your DDNS domain name and changing your pass ord on this page. Please enter
in common use e-mail address, because you can get back your pass ord easier hen you
forget your pass ord. After that visiting your camera on your computer, select “system
setting->networ setting” and set the “Dynamic domain name” option, it sho n as
follo :
Please choose “DDNS supplier”, enter your “User name” and “Password”, and then click
“apply”. The net ork camera ill reboot after that, if you see the current status is “update
Other manuals for VWC-300PT
1
Other Vilar IP Camera manuals


