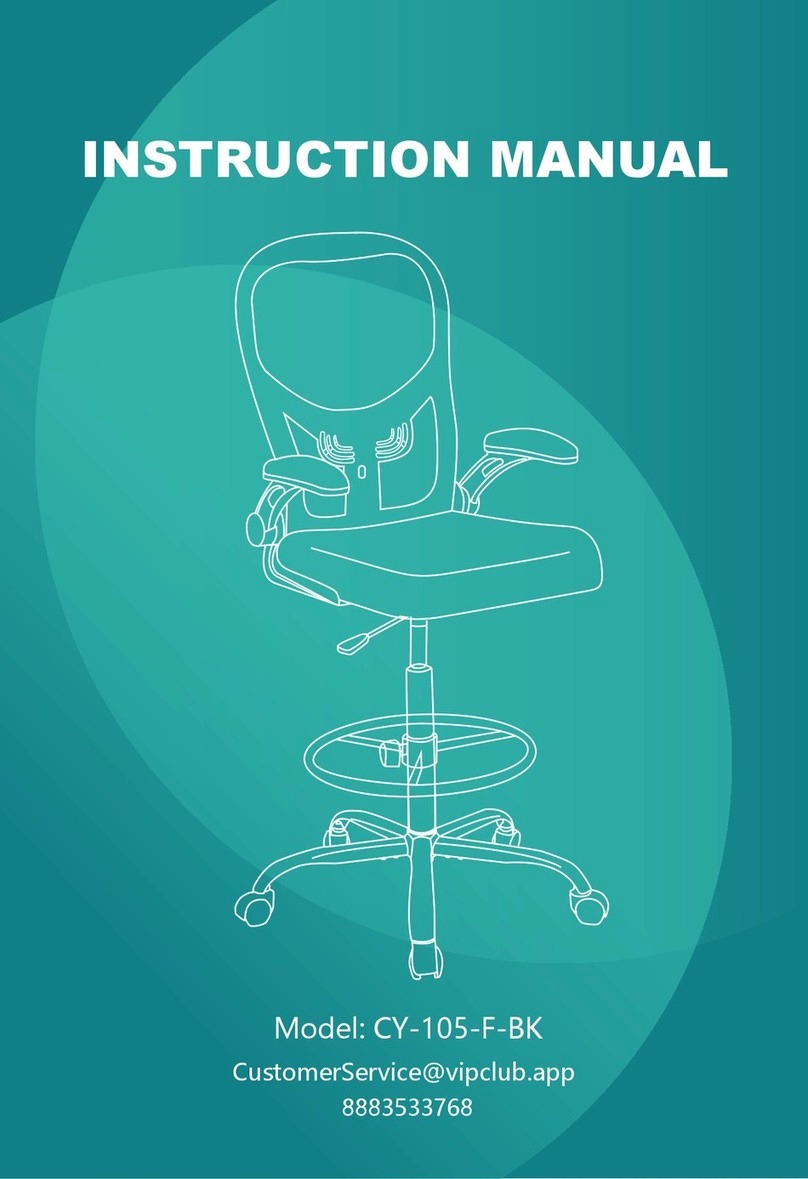
Vipclub H-2127 User manual

ASSEMBLY GUIDE
Congratulations, you are now the owner of a brand new home & office chair!
To best enjoy the comfort of the chair, you have to put it together first! This assembly guide
will take you through the assembly process. To make sure the assembly goes well, please
follow the instructions, and especially the important safety information. It is possible
to assemble the chair on your own, but it is recommended to have a second person to
make it easier and safer.
Please check if there are any missing parts from the package before starting. If there is
any issue, please don't hesitate to drop us an email and we'll help you out ASAP.
If you run into any difficulty when assembling the chair, remember to check out the
assembly video to see if you've missed anything. If you're unable to resolve the
problem, just send us an email and our support team will assist you.
WARNING
To ensure proper assembly, please follow all steps and use all parts. Failure to
follow this warning can result in serious injury to yourself or others.
https://qygjuser.s3.us-east-2.amazonaws.com/HL/14%E3%80%81OFC-2127F.mp4
2
833-969-2075 / 1 (770) 298-8947

Package List
Without further ado, we kindly suggest you to list all parts needed
for the chair first.
3
Backrest
Mechanism Gas Lift Base
Legs BoltsCasters
Bolts Bolts Bolts
Bolts
(1)*1 (2)*1 (3)*2
(4)*1 (5)*1 (6)*5
(7)*1 (8)*5 (9)*10
(10)*4 (11)*2 (12)*4
(13)*4
Wrench
(14)*1
Seat Cushion Armrests
833-969-2075 / 1 (770) 298-8947

Assembly Instruction
Step 1:
Turn the Base (6) upside down,
and then insert the Legs (7) one
by one into the Base.
Next, screw ten Bolts (9) into
the pre-drilled holes with the
Wrench (14) to attach the base
and the legs.
Press the Casters (8) into the holes
at the end of each Base Leg.And
then insert the Gas Lift (5) to the
base.
Step 2:
1
2
4
833-969-2075 / 1 (770) 298-8947
(9)×2
(7)
(6)
(5)
(8)

Turn the Seat (2) upside down
and align three holes on one of the
Armrests (3) with the pre-drilled
holes under the Seat.
Attach the Armrest to the Seat with
two Bolts (13) and one Bolts (11)
using the Wrench (14). Repeat on the
other side of armrest.
Turn the Backrest (1) upright and
align four holes on the Seat Cushion
(2). Attach four Bolts (12) with the
Wrench.
3
4
5
Note 1: The "Front" mark on the Armrests and the "Front" mark on the
Seat Cushion should be in the same direction.
Note 2: Armrests are labeled with an "L" (left) or "R" (right) to show which
side they should be placed on.
5
Step 4:
Step 3:
833-969-2075 / 1 (770) 298-8947
(13)×4 (11)×2
(2)
(3)
(12)
(1)

5
6
6
Align the Mechanism (4) over
the pre-drilled holes underneath
the Seat Cushion (2), make sure
the front of the mechanism is
facing the front of the seat.
Attach the Mechanism to the seat
with four Bolts (10), and tighten
all bolts with the Wrench (14).
*Be cautious as mis-threading the bolts will damage the seat.
Step 5:
Step 6 :
Align the hole at bottom of the
seat with the Gas Lift (5), put the
body of the chair on the gas lift.
6
833-969-2075 / 1 (770) 298-8947
(10)×4
(1)

Instructions For Use
7
2. Operating the rocking function
To let your chair tilt back, pull the
control handle out.
To stop your chair from tilting, sit
forward, then push the control
handle in.
1. Seat Height: Paddle-shaped lever on the right side
To lower:
While seated, lift lever up.
To raise:
While taking your weight off chair,
lift lever up.
* At the proper height, your feet should rest flat on the floor.
8
833-969-2075 / 1 (770) 298-8947

Safety And Maintenance
Safety Information
9
Do not stand on the chair, Do Not use the chair as a stepladder.
Use this product for seating one person at a time.
Do not use the chair unless all bolts and screws are firmly secured.
Avoid contact with sharp objects to prevent puncturing the fabric.
Every 6 months, check all bolts and screws to ensure they are tight.
To clean, spot clean only using a damp towel and mild cleaner, first
test on a small, unseen area of fabric.
Chair weight limit not to exceed 250 lbs.
Sit in the center of the
chair,with your back to
the backrest
Do not push the chair
around when a person
is sitting in it
Do not push down on
the backrest when a
person is reclined
Do not place all your
weight on only the
backrest
Do not sit at the front
edge of the chair Do not stand on the
chair Do not use the chair
with more than one
person
9
833-969-2075 / 1 (770) 298-8947

833-969-2075 / 1 (770) 298-8947
Limited Warranty
10
The producer promises to repair or replace any chair that is found to be
defective in material or workmanship within one(1) and year from the date
of original purchase so long as you, the original purchaser, still owns it.
This is your sole and exclusive remedy. This warranty is subject to the
provisions below.
This warranty does not apply and no other warranty applies to:
Normal wear and tear, which are to be expected over the course of
ownership.
Misuse, abuse, or excessive use of the product.
Modifications or attachments to the product that are not approved
by the manufacturer.
Products that were not installed, used or maintained in accordance
with product instructions and warnings.
Products used for rental or commercial purposes.
Damage caused by the carrier in-transit is handled under separate terms.
Normal use for seating is identified as the equivalent of a single shift,
forty- (40) hour workweek. To the extent that a seating product is used
in a manner exceeding this, the applicable warranty period will be
reduced in a pro-rata manner.
Some retailers might have custom models imported directly from the
factory and therefore are not supported by our local service team
because we don’t have the correct parts, please contact your retailer
directly for support. If you have any questions about that we will be
happy to assist and identify those items.
EXCLUSIONS:
SEATING USAGE:
10

833-969-2075 / 1 (770) 298-8947
We adopt a 30 days return policy which means that all products purchased
on this website may be returned to us within the timeframe. You need to
contact us within 30 days after the product(s) came into your possession
and the product(s) must be returned to us without any undue delays.
Returned products must be returned in the same condition as they were
sent and they must be sent in its original packaging.
If the product is not faulty, (i.e. if you changed your mind or if you are
unhappy with the product for some other reason), the cost of shipping
will all on you. And it is your responsibility that the package arrives safely
to us so we recommend that you use a courier service where it is possible
to track the shipment.
If the product is faulty when you receive it please contact us and we will
help you out (see more information under Manufacturer Warranty).
We reserve the right to give a partial refund in cases when the product(s)
is not in an unused condition, is damaged or has missing parts not due
to our error.
Contact us through the contact form on our website and attach the invoice
to the message as proof of purchase. And please also write the reason for
the return.
We will then get back to you as soon as possible with information on where
to send the product(s).
As soon as we have received the product(s) and made an inspection we will
inform you of our decision.
If a refund is approved we will automatically credit the purchase to your
credit card or original method of payment.
If the product(s) is damaged, not in its original condition or missing parts
we will inform you if you are eligible for a partial refund. This is decided
from case to case depending on the severity of the damages or what parts
are missing.
RETURN POLICY:
HOW RETURNS WORK:
11
Table of contents
Other Vipclub Indoor Furnishing manuals
Popular Indoor Furnishing manuals by other brands

Estate
Estate ESW5420SSW Assembly/installation instructions

Furniture Values International
Furniture Values International aspenhome I248-366-1 Assembly instructions

Balt
Balt 66626 Assembly instructions

Core Products
Core Products Augusta AG902 Assembly instructions

BRW
BRW ROKSANA 2 SZF3D/22/18 Assembly instructions

Homelegance
Homelegance Quinby 1525-6 Assembly instruction