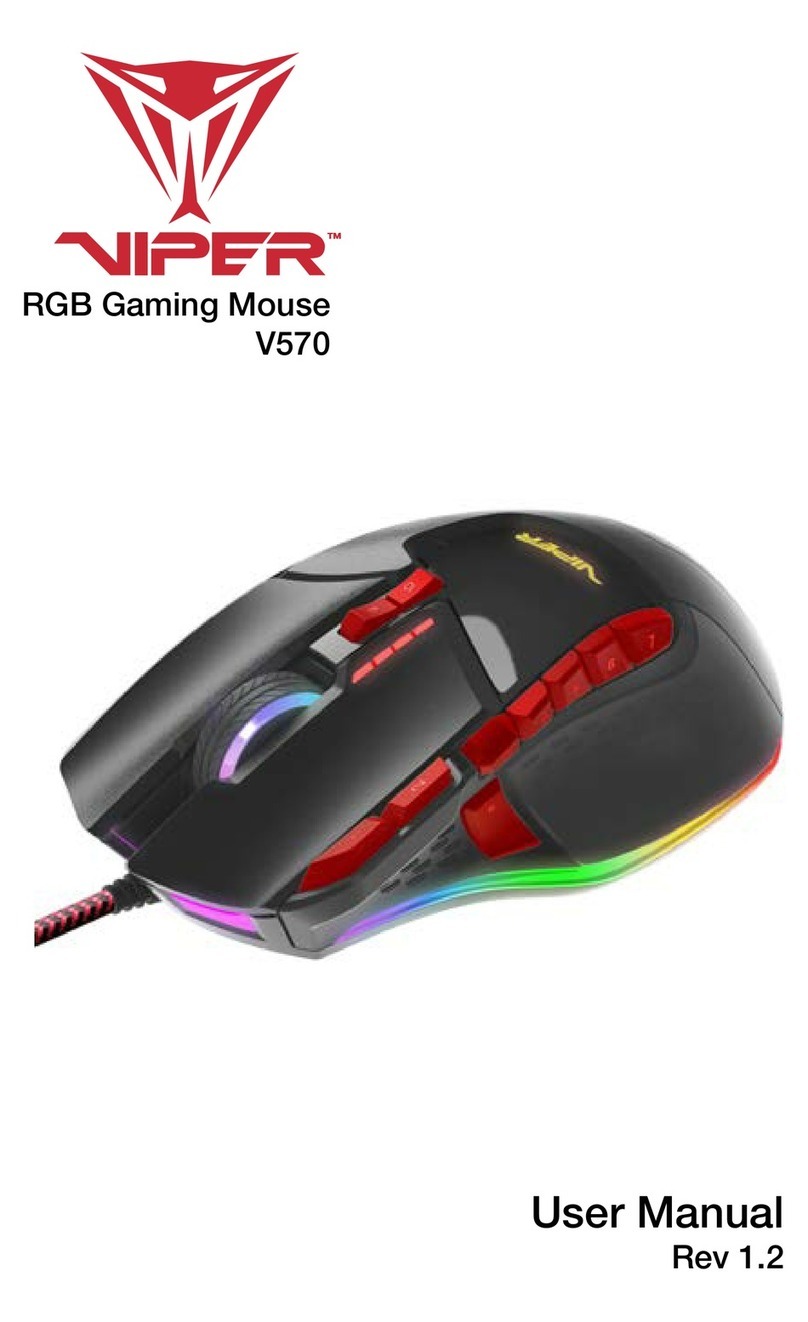
Viper V550 User manual

V55O
USER MANUAL

V55O
INTRODUCTION
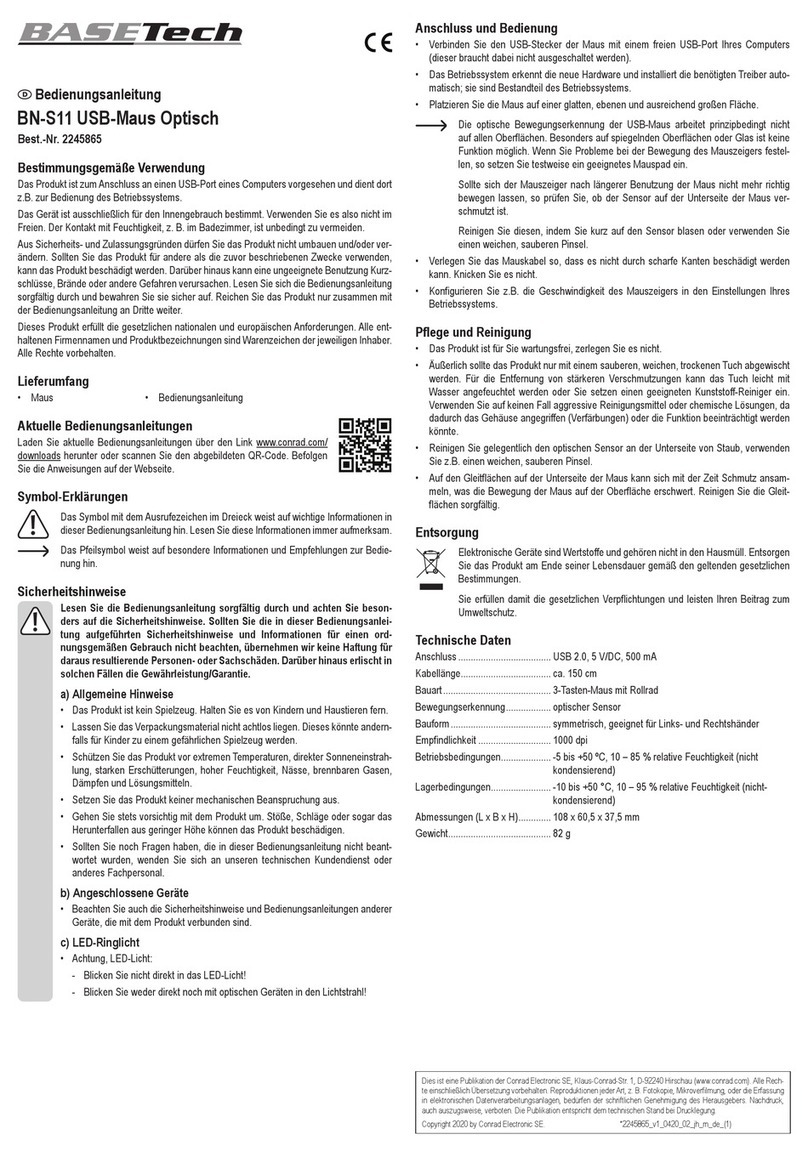
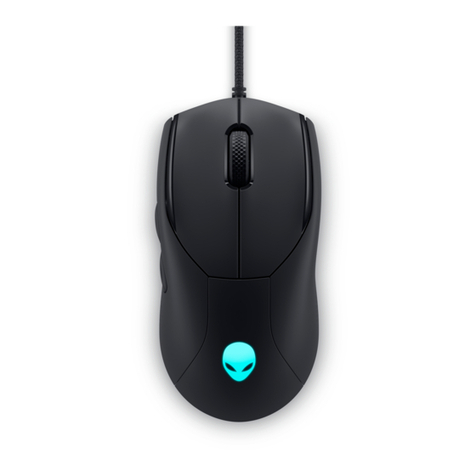
Thank you for purchasing the Viper V550 ambidextrous optical gaming mouse.
Be prepared at your next LAN party! Viper Gaming has you covered with our
first ambidextrous RGB gaming mouse. The V550, is built ergonomically with
versatility and comfortability in mind. Assembled with PixArt’s 3325 optical
sensor, and an adjustable DPI of 5,000, giving you the agility and boost you
need while strategizing through the most extreme games. Easily adjust DPI
settings of up to 10,000 DPI with the Viper Software. Giving you the flexibility
to link various game settings to 8 individual, programmable buttons, you can
now dominate any match with a breeze.
Spice up your setup with the V550’s full spectrum RGB lighting customization
to match countless color themes. With a max IPS of 100 and polling rate of
1,000Hz, Viper’s V550 sensor is suitable for fast, point-and-click style aiming in
addition to real-time tracking. The Viper V550 ambidextrous mouse stays
incredibly comfortable during those long, fierce gaming sessions to keep your
performance high and your experience pain-free. Perfectly compatible with all
up to date operating systems and backed by a two-year warranty, the V550
can bring any gaming session to life. Boost your setup and immerse yourself
into the game at your next LAN party
FEATURES /TECHNICAL SPECIFICATIONS
• Pixart 5000 dpi optical sensor
• 10000 dpi through software
• Ergonomic ambidextrous design
• Fully customizable
• Multi-zone full spectrum RGB
• 9 buttons, 8 programmable
• Omrom switches, 10 million clicks
• USB interface, 1.8 m braided cable
• Large PTFE glide pads
• IPS: 100
• Polling rate: 1000Hz
• Viper software
PACKAGE CONTENTS:
• Viper V550 Ambidextrous RGB Gaming Mouse
• Quick Start Guide
• Viper Sticker

PRODUCT FUNCTIONS
DPI LED INDICATOR
• LED combination (left front side) to indicate DPI levels
• No LED “ON” for DPI level 1 : 800 dpi
• Front LED “ON” for DPI level 2 : 1600 dpi
• Back LED “ON” for DPI level 3 : 2400 dpi
• Both Front and Back LEDs “ON” for DPI level 4 : 3200 dpi
• For each DPI level, DPI value can be set up from 50~12000 DPI by software.
DPI LED Indicator
Side Rubber

PTFE gliDE PADs:
• The mouse is fitted with PTFE glide pad which offer superior glide,
and smooth tracking
HARDwARE InstAllAtion
Connect the mouse to computer’s USB port.
Wait 5~10 seconds for the mouse to be recognized by the computer.
SoFtwARE InstAllAtion
Please download the mouse software from http://www.patriotmemory.com/ to
adjust the gaming buttons, mouse settings, DPI settings, and RGB lighting.
SOFTWARE INSTALLATION INSTRUCTIONS
Once downloaded, double click on the software to start the installation. Follow
the onscreen instructions to finish the process.

BUTTON SETTINGS INSTRUCTION
The SENSOR button allows you to enter the DPI settings window and adjust the
DPI settings to your preference.
The MACRO EDITOR button allows you to enter the macro editor window and
set up and save macro scripts for assignment to buttons of your choice.
The SETTINGS button allows you to access the general settings window to
adjust the polling rate, enable and disable mouse functions, and reset the mouse
to factory settings.
The LIGHT EFFECTS button allows you to customize the RGB lighting and enable
lighting effects.
This mouse offers 5 profiles for saving customized button assignments and
macro scripts. You may name and color code each profile from the color pallet
to identify the profile.
There are 8 programmable buttons where you may customize their functions.

SENSOR
Click on the Sensor button to access the DPI settings window
Default values for the 4 DPI levels
• Level 1: 800 DPI
• Level 2: 1600 DPI
• Level 3: 2400 DPI
• Level 4: 3200 DPI
You may adjust the DPI levels from 50 DPI to 10000 DPI by dragging the XY axis
indicator to the desired level.
You may select X/Y axis independent to set different DPI values for the X axis
and Y axis.
You may set to Auto Speed to set Auto-Speed range. The DPI can be
automatically adjusted in the range you set up according to the mouse
movement speed.
• Fast mouse movement --- higher DPI --- moves through the screen more
quickly, especially on 4K high resolution monitors.
• Sow mouse movement --- lower DPI --- moves more precisely to a target on the
screen.

MACRO EDITOR
The macro editor has four components
MACRO LIST WINDOW
The Macro List has a maximum of 64 lines. Every macro can be named and saved
to indicate the meaning or function or the macro.
Note: A maximum of 14 characters are allowed on each line.
MACRO EDITOR
This window shows the recording of your macro commands as you create them.
FUNCTION MENU
The function menu lists the various commands to create/edit/save your macros.
ICON FUNCTION
Drag from this icon to where you would like to insert time delay. Delay time can be adjusted by clicking "+" and
"-", or double clicking the inserted delay to enter delay time.
Drag from this icon to where you would like to insert keyboard, mouse, or scroll command.
Drag from this icon to where you would like to insert a mouse movement. Enter the movement distance by X
axis and Y axis. Choose Relative coordinates (cursor will move from where it is) or Absolute Coordinates (cursor
will move from the upper left corner of the screen).

MEMORY INDICATOR
Indicates how much memory each macro is using
CREATING A MACRO
Click MACRO EDITOR to open the Macro editor window.
Click Create new macro, name the macro, and click OK.
Click in the MACRO TYPE box to click through the different macro type selections.
• One –time mode - macro will run once.
• Loop mode - click once to start looping the macro, click again to stop.
• Fire-key mode – macro will repeat as long as the button is held.
Click the Record keyboard and mouse commands button to begin recording your
macro. Click the Stop recording button to stop recording.
You may edit the macro
using the delay, keyboard,
mouse or scroll command,
or mouse movement.
Drag the script from the
Macro Editor window to the
Macro List Window to “+”
bar to name and save as a
new macro, or drag the
script to an existing macro
to overwrite it.

To EXPORT SCRIPTS OR MACROS
Click on the Export macro to file.
Choose the file destination and Save.

To imPORT SAVED MACROS
Click on the Import macro from file
Select script or macro from the list and Open
DELETING MACROS
Click on the macro from the Macro List Window and click Delete current item.
Table of contents
Other Viper Mouse manuals
