Vista Acoustics VW6 User manual

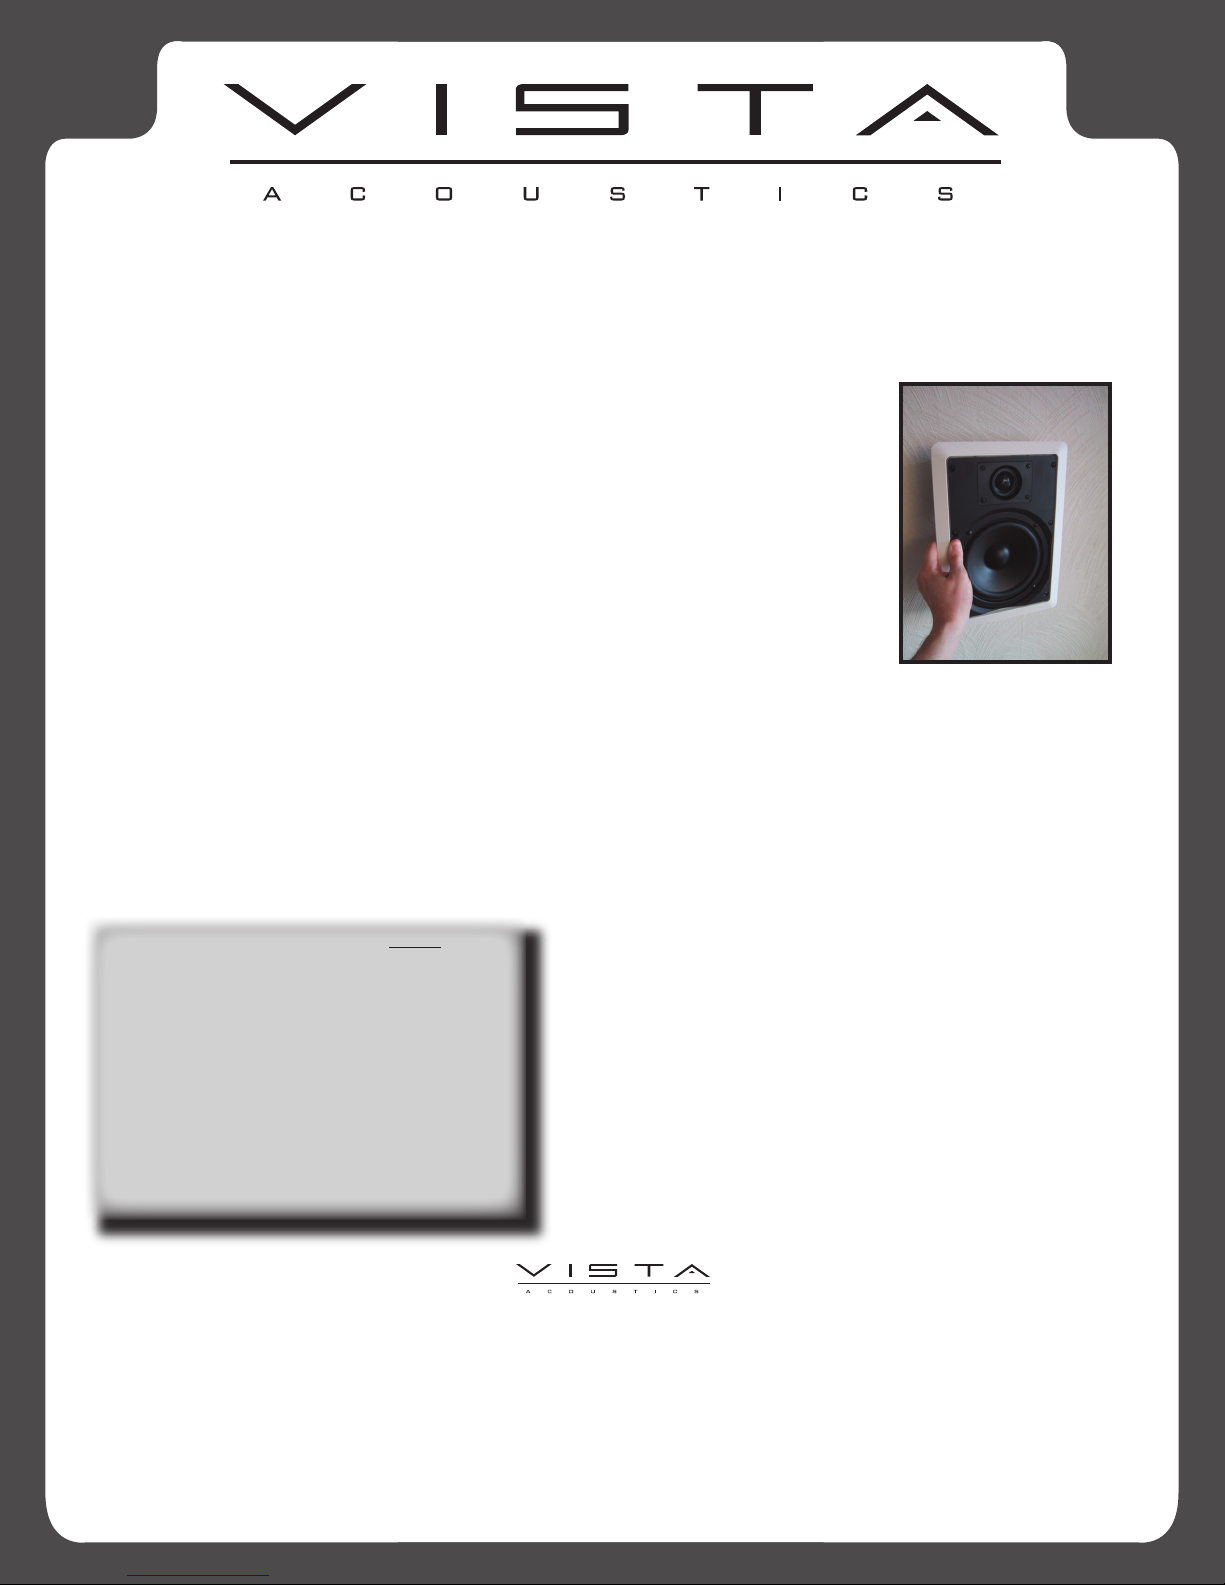
VW6 In-Wall Speaker
VISTA ACOUSTICS VW6 OWNER’S MANUAL
INSTALLATION INSTRUCTIONS:
Tools Needed:
Pencil
Keyhole or Drywall saw
Phillips screwdriver
Small level
Fish tape or a coat hanger
Wire strippers
Gloves
Safety goggles
Drill
1” Flat bit (if driving through studs ½”or ½”bit for test hole)
1: Decide where you want to place your speakers. The speakers should be
separated approximately 6 to 10 feet apart. If possible, the left and right speakers
should be located the same distance from the listening position. If needed, the piv-
oting tweeter on the VW6 can be directed towards the listener for improved sound
quality.
2: Make sure the place you choose for your in-wall speakers is between the
wall studs. Tap the wall for a hollow sound or use a stud nder to locate the studs.
3: Trace around the cardboard template for your speaker placement as
shown in Figure A. Make sure the speakers are even and level.
4: Drill a small hole in the center outline you just traced.
5: Bend a piece of coat hanger wire. Insert the wire into the hole, then slowly
rotate to check for any obstructions. If there are any obstructions, patch the hole
and relocate the speaker. See gure B.
6: Carefully cut away the outline you traced using a keyhole or drywall saw.
Then remove the cutout. See gure C.
7: Run the cable from the speaker outputs of your receiver or amplier to
your speakers. Allow a few extra feet of cable. You may also splice together lengths
of cable if you have a long distance to cover. Leave enough cable slack to strip the
conductors and work on the connections.
Note: If cable is to be run through walls or ceilings, the cable must be UL and CL
rated for your safety and building code compliance.
Figure A: Mark cutout area
using template
Figure C: Cut speaker hole
Drill Hole, Insert Coat Hanger
Figure B: Check clearances
inside the wall
WWW.VISTAACOUSTICS.CA
VW6
Mounting Depth 3.1in - 78mm
Mounting Cutout 7.35in X 10.8in
187mm - 274mm
Overall Diameter 8.7in x 12.1in
220mm x 307mm
Power Handling 100 Watts
Frequency Response 50Hz to 20kHz
Nominal Impedance 8 ohm
Crossover Slope 24dB Acoustical
Pivoting Tweeter 25mm Silk Dome
Specications subject to change.
8: (Optional): Speaker performance can be enhanced by insulating the cavity
with berglass insulation. When installing speakers in a ceiling, it is best to install a
sheet of berglass insulation behind and around the back of the speaker.
9: Pull the cable slack through the hole in the ceiling and strip o the outer
jacket. Strip about ½” of insulation o the ends of the wires. Connect the positive
wire from the amplier to the red terminal on the speaker. Connect the negative wire
to the black terminal on the speaker.
Note: Make sure the power is turned o on your amplier or receiver before con-
necting the speakers.
10: Remove the speaker grill using provided tool. Place the speaker into the cut-
out in the wall. See gure D.
11: Tighten the dogleg mounting screws evenly until the speaker is at against
the ceiling. If you are using a drill to tighten the screws, be sure to set the drill to its
lowest torque setting.
12: Make the nal adjustments to the pivoting tweeter and reinsert the grill into
the speaker bae.
VISTA ACOUSTICS VW6 OWNER’S MANUAL
Figure D: Install the speaker
Vista Acoustics® warrants to the original purchaser of this product that should the product or any part thereof be proven defective in material or workmanship within a period of 1 year
from date of purchase by original purchaser, such defects will be repaired or replaced, at the Company’s option, without charge for parts or labor.
THIS WARRANTY DOES NOT APPLY TO ANY PRODUCT OR PART THEREOF WHICH HAS BEEN DAMAGED THROUGH ALTERATION, MISHANDLING, MISUSE, NEGLECT, ACCIDENT,
IMPROPER INSTALLATION OR UNAUTHORIZED REPAIR.THIS WARRANTY IS EXCLUSIVE AND IN LIEU OF ANY AND ALL OTHER WARRANTIES, EXPRESSED OR IMPLIED, INCLUDING
WITHOUT LIMITATION THE IMPLIED WARRANTIES OR MERCHANTABILITY AND FITNESS FOR A PARTICULAR PURPOSE AND ANY OBLIGATION, LIABILITY, RIGHT, CLAIM OR REMEDY
IN CONTRACT OR TORT, WHETHER OR NOT ARISING FROM THE COMPANY’S NEGLIGENCE, ACTUAL OR IMPUTED. NO PERSON OR REPRESENTATIVE IS AUTHORIZED TO ASSUME FOR
THE COMPANY ANY OTHER LIABILITY IN CONNECTION WITH THE SALE OF THIS PRODUCT. IN NO EVENT SHALL COMPANY BE LIABLE FOR INCIDENTAL OR CONSEQUENTIAL DAM-
AGES.
GRILL AND TRIM
PAINTING INSTRUCTIONS:
1. Don’t paint speakers while installed. Be sure they
are removed.
2. Remove the grill and paint seperately with two light
coats.
3. Using scissors cut out the paint shield template pro-
vided with speakers. Place paint shield over the speak-
er area, so no paint will get on the cone or tweeter.
Paint the trim using same method as the grill.
VW6 SPECIFICATIONS:
Other Vista Acoustics Speakers manuals

Popular Speakers manuals by other brands

Bowers & Wilkins
Bowers & Wilkins DS7 owner's manual

musikelectronic geithain
musikelectronic geithain TS34 Instructions for installation and use

Philips
Philips BTM2310/05 user manual

Steren
Steren BAF-1285 instruction manual

Celestion
Celestion TF range TF0615 MR Specifications

Omnitronic
Omnitronic Combo-160BT user manual


