manuals.online logo
Brands
  1. Home
  2. •
  3. Brands
  4. •
  5. Viva
  6. •
  7. Indoor Furnishing
  8. •
  9. Viva 40-VF4821GR-494 User manual

Viva 40-VF4821GR-494 User manual

Tools You Will Need - Outils Requis
Groove joint pliers
Pinces multiprises
Screwdriver
Tournevis
Rubber Hammer
Marteau en caoutchouc
Electric hand drill
Perceuse électrique
40-VF4821GR-494
876mm
34-1/2"
1219mm
48"
533mm
21"
Vanity Set · Ensemble meuble-lavabo
1245mm
Ǝ
32mm
Ǝ
559mm
Ǝ
Polymarble top
VT-SQ73-4922
50mm
Ǝ
NUM NUM
116
8
9
7
1
2a 1 4
2b 1 8
31 4
41104
51
DIMENSION / SIZE: W x T x D (mm)
1219 x 42T x 762 443 x 12T x 133
678xT21x915
762xT)51+91(x293
519 x 12T x 876 450 x 15T x 160
678xT81x3911 437 x 9T x 183
1193 x 12T x 506
203 x 15T x 160
331xT21x9121
QTÉ / QTY QTÉ / QTYDIMENSION / SIZE: W x T x D (mm)
Size / Dimension :
2b
3
5
4
6
10
8
8
9
7
Pièces de remplacement / Replacement parts
P2 of 9
X4
12a
Part List / Liste de pièces:
8 X (SD+SB) 8 X F 2 X H
72 X A 4 X C 4 X D
20 X W
Master Part :
4 X C
1
(2*2) X H
1
(4*2) X I
1
4 X I
A. Screws / Vis
C.Plastic tripod / Trépied en plastique
D. L shaped metal parts / Pièces métalliques en forme de L
SD+SB. Metal drawer slides / Glissières en métal
F. Metal Brackets / Supports métalliques
H. Drawers handles / Poignées de tiroirs
H
1
. Screws of drawers handles / Poignées des vis des tiroirs
I. Doors handles / Poignées de portes
I
1
. Screws of Doors handles / Vis des poignées de portes
W. Bumper / Pare-chocs
2XP
2X Q
P. Plastic plug / Bouchon en plastique
Q. Screw for back panel / Vis pour panneau arrière
P3 of 9
2b
2a
3
X6
4
1
Do not fully tighten
the screws yet
Separate slides and brackets
*Glisse et supports séparés
*Ne pas trop serrer
les vis encore
Step 1 / Étape 1 Step 2 / Étape 2
Step 3 / Étape 3 Step 4 / Étape 4
Step 5 / Étape 5 Step 6 / Étape 6
X4
4 x A
2 x D 4 x A
Vanity installation procedures / Procédures d'installation de meuble-lavabo
8 x A
8 x F
2 x D
F
SD+SB
X8
3
8
8
7
9
P4 of 9
6
5
X1 X3
Step 7 / Étape 7 Step 8 / Étape 8
Step 9 / Étape 9 Step 10 / Étape 10
Step 11 / Étape 11 Step 12 / Étape 12
Vanity installation procedures / Procédures d'installation de meuble-lavabo
4 x I
(4*2) x I
1
10
P5 of 9
1 x SD
1 x (SD+SB)
X8
X4
1 x SB
2 x SB
6 x A
4 x W
Vanity installation procedures / Procédures d'installation de meuble-lavabo
Step 13 / Étape 13
Step 14 / Étape 14
Step 15 / Étape 15
Step 16 / Étape 16
6 x A
2 x SD
P6 of 8
Vanity installation procedures / Procédures d'installation de meuble-lavabo
X4
X4
Step 17 / Étape 17 Step 18 / Étape 18
Step 19 / Étape 19
P7 of 8
Vanity installation procedures / Procédures d'installation de meuble-lavabo
4 x C
4 x C
1
(2*2) x H
1
(4*2) x A
For Wooden Top
*Pour Haut Bois
2 x H
X4
(2*2) x W
X4
Fully tighten the original screw
and lock more 2 screws
*Serrer complètement la vis
d'origine et verrouiller plus de 2 vis
The vanity wall mounting screws need to be fixed onto the studs behind the dry wall board.
Locate and mark the stud positions with a stud finder, drill pilot mounting holes at marks onto
desire studs. Insert the plastic screw sleeves into drilled mounting holes on wall. Drill the screw
holes on vanity back panel to match the mounting holes on wall. Install the mounting screws
through the vanity back panel, dry wall board to the studs.
*Les vis de fixation murale vanité doivent être fixés sur les montants derrière le panneau mural sec.
Repérez et marquez les positions des goujons avec un détecteur de montants, percer des trous de
montage pilotes à des marques sur les goujons de désir. Insérez les douilles à vis en plastique dans
les trous de montage percés sur le mur. Percez les trous de vis sur la vanité panneau arrière pour
faire correspondre les trous de fixation sur le mur. Installez les vis de montage à travers le panneau
arrière de la vanité, panneau de cloison sèche sur les poteaux.
studs
*goujons
studs
*goujons
2 x P
2 x Q
Dry wall
*Cloison sèche
Tools You Will Need - Outils Requis
stud finder
finder stud
Installation procedures / Procédures d'installation
P8 of 8
Installation procedures / Procédures d'installation
Step 20 / Étape 20
Step 21 / Étape 21
P9 of 9

This manual suits for next models

1

Other Viva Indoor Furnishing manuals

Viva 731-19VF3021GB User manual

Viva

Viva 731-19VF3021GB User manual

Viva COMFORT ADI903-03 User manual

Viva

Viva COMFORT ADI903-03 User manual

Viva ADI996-01 Series User manual

Viva

Viva ADI996-01 Series User manual

Viva VT-SQ32-01817 User manual

Viva

Viva VT-SQ32-01817 User manual

Viva VT-SQ32-041517D User manual

Viva

Viva VT-SQ32-041517D User manual

Popular Indoor Furnishing manuals by other brands
Home affaire Tessin 317364 Assembly instructions
Home affaire

Home affaire Tessin 317364 Assembly instructions

Furinno 11048WH-PI Assembly instruction
Furinno

Furinno 11048WH-PI Assembly instruction

Astonica Star Blossom Bench instruction manual

Astonica

Astonica Star Blossom Bench instruction manual

Ercol Winslow 4171/455 Assembly instructions
Ercol

Ercol Winslow 4171/455 Assembly instructions

LDI Safco 8915 Assembly instructions

LDI

LDI Safco 8915 Assembly instructions
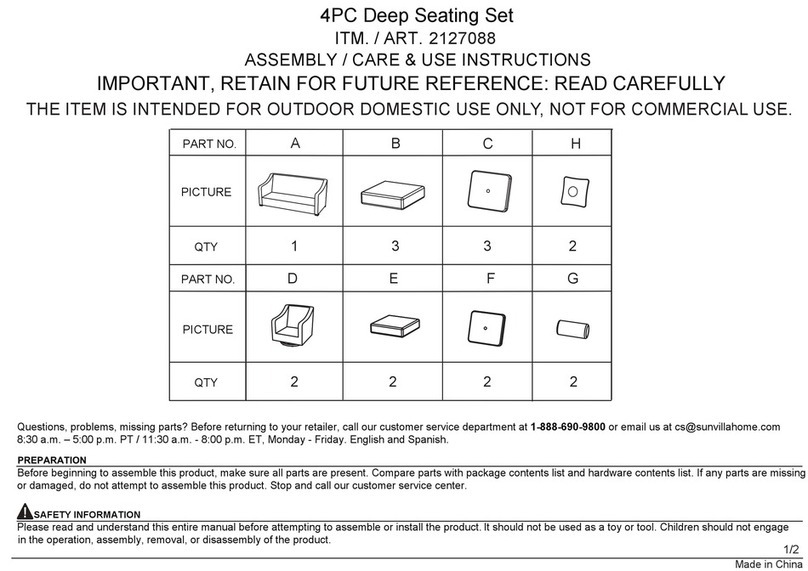
SUNVILLA 2127088 Assembly / care & use instructions
SUNVILLA

SUNVILLA 2127088 Assembly / care & use instructions

Vivo DESK-M43TB instruction manual

Vivo

Vivo DESK-M43TB instruction manual
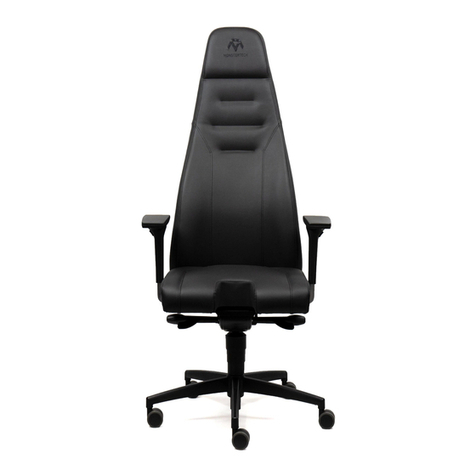
Monstertech FLIGHT CHAIR instruction manual
Monstertech

Monstertech FLIGHT CHAIR instruction manual

Hammerbacher XMST Series operating instructions

Hammerbacher

Hammerbacher XMST Series operating instructions

Whittier Wood 3527DUET Assembly instruction
Whittier Wood

Whittier Wood 3527DUET Assembly instruction

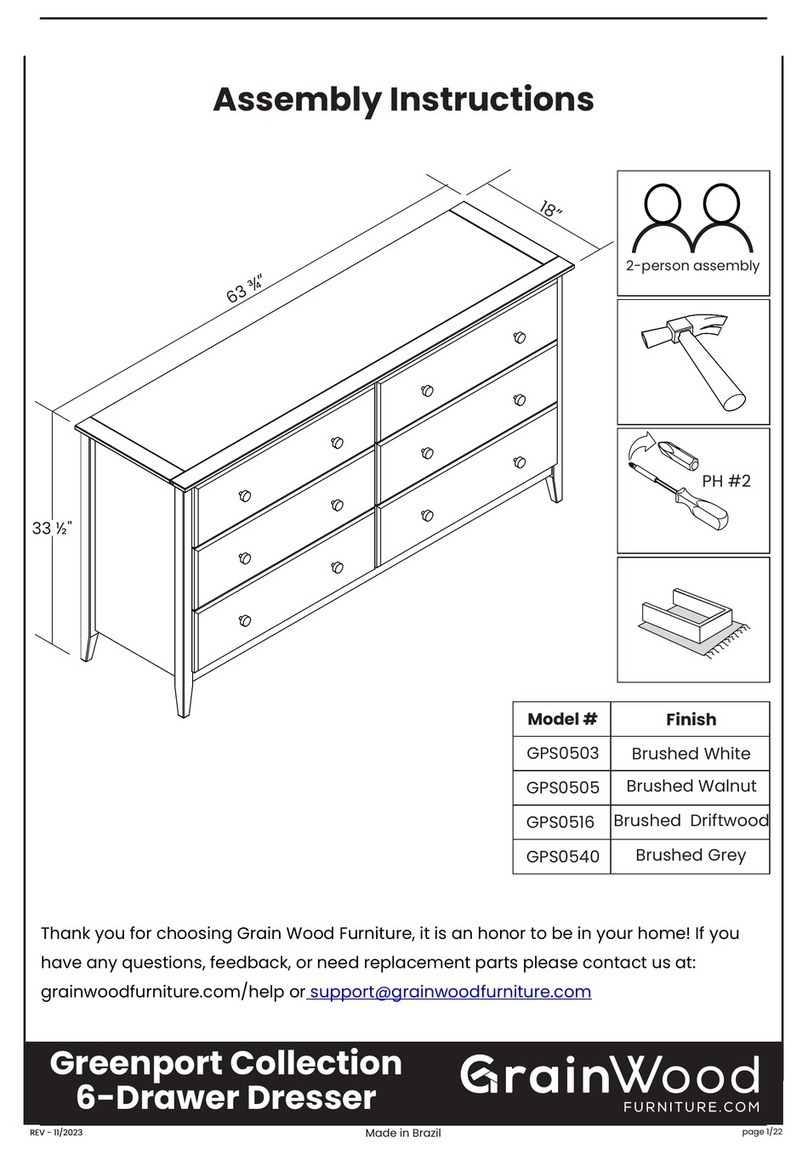
GrainWood Greenport GPS0503 Assembly instructions

GrainWood

GrainWood Greenport GPS0503 Assembly instructions

Madeli Milano-48 Specification & installation guide
Madeli

Madeli Milano-48 Specification & installation guide

atmosphera OSCAR 194657 manual

atmosphera

atmosphera OSCAR 194657 manual
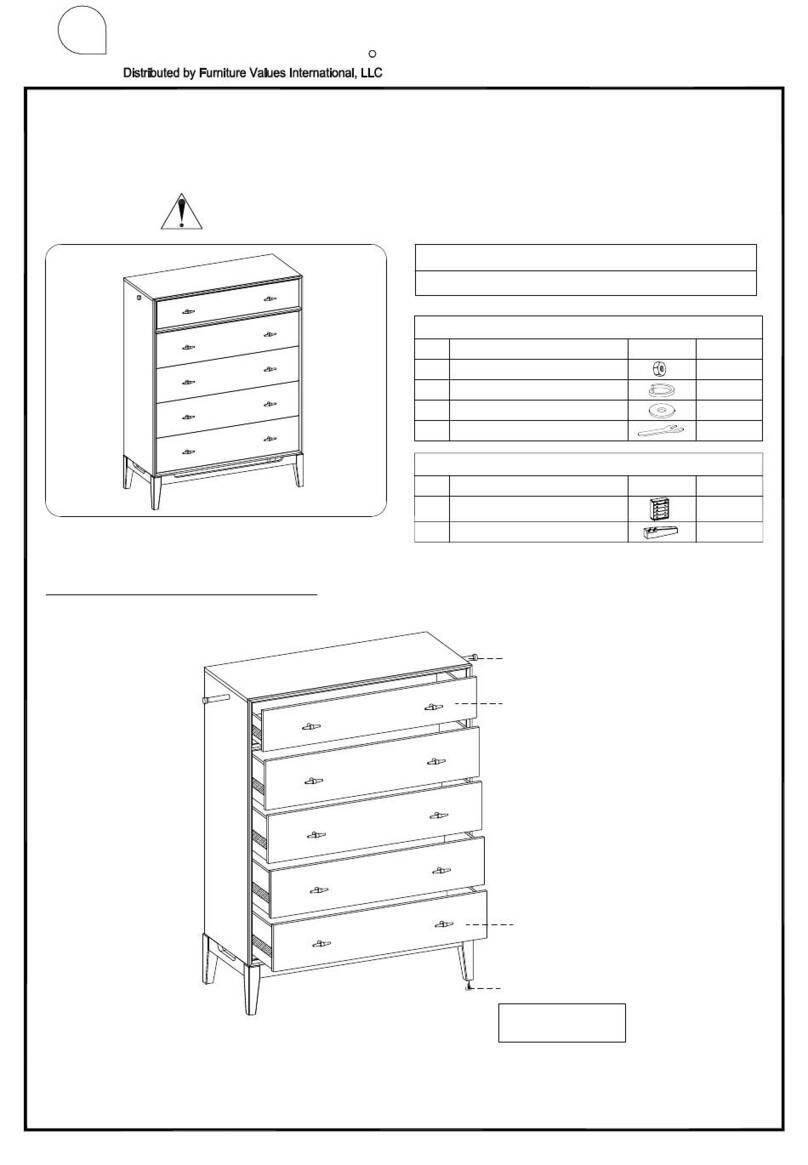
aspenhome I3048-456 Assembly instructions
aspenhome

aspenhome I3048-456 Assembly instructions

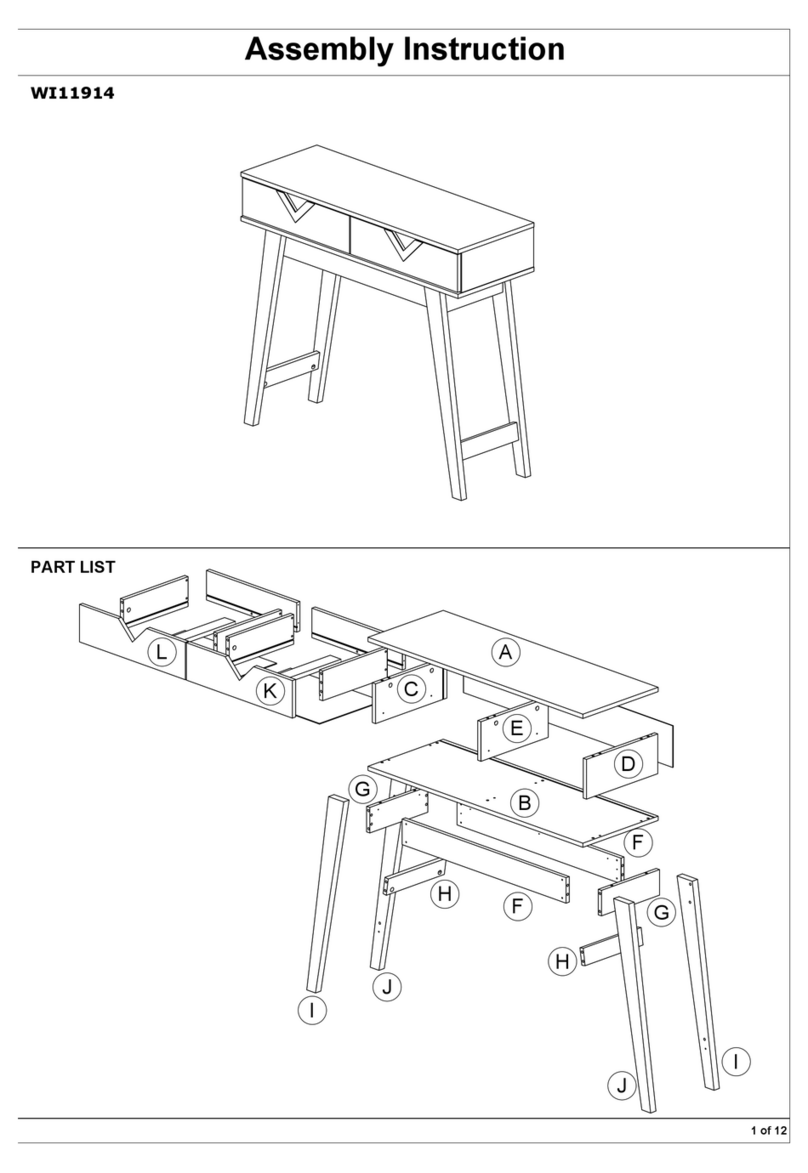
Baxton Studio WI11914 Assembly instruction
Baxton Studio

Baxton Studio WI11914 Assembly instruction

Zelberg TWIST-120 Install Instruction

Zelberg

Zelberg TWIST-120 Install Instruction
Rutland County The Langham Minor Store Assembly instructions
Rutland County

Rutland County The Langham Minor Store Assembly instructions

deVRIES Eagan Assembly instructions

deVRIES

deVRIES Eagan Assembly instructions

manuals.online logo
manuals.online logoBrands
  • About & Mission
  • Contact us
  • Privacy Policy
  • Terms and Conditions

Copyright 2025 Manuals.Online. All Rights Reserved.