Vivint EC-FF345 User manual

4931 N 300 W Provo, UT 84604
Enrolling (see Image 1)
To enroll the
monitor, set your panel into program mode (refer to your instruction manual for details). For panels with an
automatic learn feature
, press and release the learn button next to the tamper switch. Do NOT use the tamper switch to enroll.
1. To enroll for fire alarm monitoring, add a wireless zone and set panel into LEARN mode. Quickly press and release the
learn button. This uses the 7-digit TXID (transmission ID) printed on the device. Add the device to the system using
Loop 1 and program the panel zone type as either "FIRE" (type 09) or "FIRE WITH VERIFICACTION" (type 16).
2. To enroll for CO alarm monitoring, add a wireless zone and set panel into LEARN mode. Press and hold the learn
button for longer than 2 seconds
. This uses the CO listening TXID that is one higher than the one printed on the device.
Add the device to the system using Loop 1 and program the panel zone type as “CARBON MONOXIDE” (type 14).
3. Alternatively, the TXID can be manually entered into the panel. The number printed on the device is the TXID number
for the smoke alarm detection portion, while the CO portion is one number higher. For example, if
the TXID printed on
the device is 034 5748, that is the correct TXID for smoke, while 034 5749 is the TXID for CO.
The Vivint Smoke and CO
Alarm Monitor is designed to listen for any single alarm
from
any smoke, carbon, or combo alarm next to which it is installed. Once an
a
larm is confirmed, the monitor will transmit a signal to the control panel. When
the
system is connected to Vivint Monitoring, personnel, after verifying the signal,
will
dispatch the fire department.
WARNING:
This alarm monitor is intended only as a listening device with a smoke,
CO
, or combo alarm; it does not itself detect the presence of smoke, heat, or fire.
Mounting
(see Images 2 & 3)
Before mounting the monitor, verify that the smoke and/or CO alarm is not expired. Never install the monitor next to an expired
alarm.
Included with the monitor is a mounting bracket, hardware, and double-sided tape. For proper operation, make sure the
side with the small holes is directly facing the sounder holes on the
alarm.
Secure the bracket to the wall or ceiling using the two
screws and double
-sided tape provided, then secure the audio monitor to the bracket using the small screw provided.
IMPORTANT:
The monitor must be mounted within 6" of the smoke and/or CO alarm to ensure proper operation.
WARNING:
Printed information describing proper installation, operation, testing, maintenance, evacuation planning, and repair
service is to be provided with this equipment. Owner’s instru
ction notice (located on smoke and CO alarms; not on the monitor)
:
'Not to be removed by anyone except occupant'.
Quick Reference (User Manual – Install & Operation)
Vivint Smoke and CO Alarm Monitor
(EC-FF345)
Testing (see Image 1)
During the first hour after power up
(i.e., any time the batteries are replaced), the Smoke and CO Alarm M
onitor is in test mode.
This allows you to
use the test button on the smoke, CO, or combo alarm to test the system. After the first hour, the monitor
requires at least two valid sound pa
tterns from the alarm device in order to validate an alarm (
which may not be possible via the
alarm
's test button). To test the RF transmission you can either generate a tamper by removing the cover, or press the learn
button
inside the device. This will send a signal to the panel. To test the audio detection and confirm that the device will send
alarm signals to the monitoring station in the event of a
n alarm, press and hold the alarm's test button.
If you are using zone type
16 (Fire with Verification), you must press & hold the alarm button for at least 30 seconds to ensure
the monitor has sufficient time to identify the alarm pattern and lock into alarm.
Repeat for a
CO (or combo) device if applicable.
For combo devices, th
e alarm will typically sound the smoke temporal pattern, then the CO temporal pattern. In test mode the
monitor will detect both, and send two transmissions to the panel.
Ensure the cover is on,
and that you wear hearing protection.
NOTE:
This system must be checked by a qualified technician at least once every three (3) years. Please test the unit once per
week to ensure proper functionality.
PRINT INSTRUCTIONS:
REFERENCE
SHEET FOR EC-FF345 P/N 77-600045-001 REV 1.0 |
INK:
BLACK | MATERIAL: 20 LB MEAD BOND | SIZE:5.50" X 8.50" SCALE 1:1 |
FOLD
S: TRI-FOLD VERTICAL, TRI-FOLD HORIZONTAL (TO FIT IN BOX)
Specifications
Frequency
345 MHz
Battery
One 3Vdc lithium CR123A (1550 mAh)
Battery Life
5 years under normal usage
Detection Distance
6 inches maximum
Operating Temperature
32° to 120°F (0° to 49°C)
Operating Humidity
5-95% Non-Condensing
Compatibility
2GIG and Honeywell receivers
Supervisory Signal Interval
64 minutes (approximate)
Maximum Current Draw
23mA during transmission

Image 2 —
Installation Distance
Image 3 —
Side Markings
Legacy
Smoke Alarms
All
smoke alarms should be replaced prior to the expiration date, or at least every 10 years. If you encounter an alarm that does
not support Temporal 3 pattern,
it should be replaced as per the manufacturer recommendation. If replacement is not an
option
, the monitor can be programmed to detect non-temporal alarms. In this mode, the monitor must not be located near
any other audible device, like
a security keypad or sounder, as those can be misconstrued as a valid smoke alarm. To enter
this mode
, press & hold the tamper switch while inserting the battery, then release the switch and note the LED behavior:
ONE flash: Only a Temporal 3 and Temporal 4 signal will trigger an alarm (Default).
TWO flashes: Generic listening mode (will trigger after 30 seconds of continuous 3K frequency sound).
NOTE:
You can always verify the mode by simply removing the battery and replacing it. The LED will flash once or twice
depending on the mode it is in.
Repeat the steps above to change the mode as required.
FCC and ISED Canada Regulatory Compliance Statement*
CAUTION:
Unauthorized changes or modifications could void the user’s authority to operate the equipment.
This device has been tested and found to comply with the
limits for a Class B digital device, pursuant to Part 15 of FCC Rules and Industry Canada
license
-exempt RSS standard(s). Operation is subject to the following two conditions:
(1) This device may not cause harmful interference, and
(2) This device must accept any interference received, including interference that may cause undesired operation of the device.
These limits are designed to provide reasonable protection against harmful interference in a residential installation. This e
quipment generates, uses,
and can radiate radio frequency energy and
, if not installed and used in accordance with the instructions, may cause harmful interference to radio
communications. However, there is no guarantee that interference will not occur in a particular instal
lation. If this equipment does cause harmful
interference to radio or television reception, which can be determined by turning the equipment off and on, the user is encou
raged to try to correct
the interference by one or more of the following measures:
•Reorient or relocate the receiving antenna.
•Increase the separation between the equipment and the receiver.
•Connect the equipment into an outlet on a circuit different from that to which the receiver is connected.
•Consult the dealer or an experienced radio/television technician for help.
FCC ID:
XQC-WST601, IC: 11455A-ECFF345
*For
complete regulatory compliance information, go to: vivint.com/fcc
Replacing the Battery
When the battery is low, a signal will be sent to the control panel. To replace the battery:
1. Remove the top cover to reveal the battery. This will send a tamper signal to the control panel.
2. Replace with a Panasonic CR123A battery, ensuring the + side of the battery faces as indicated on the device.
3. Re-attach the cover, you should hear a click when the cover engages properly.
WARNING:
While the Smoke and CO Alarm Monitor measures its own battery, it does not measure the battery in smoke alarm
s.
Batteries should be changed as per the
original smoke alarm manufacturer's instructions. Always test the monitor and smoke
alarms after battery installation to confirm proper operation.
© 2021 Vivint Inc. All Rights Reserved. | P/N: EC-FF345 | 6B1J-A1252 V02 | Doc P/N: 77-600045-001 Rev. 1.0
WARRANTY
For the complete Vivint warranty and service plan, including details about terms and conditions, go to:
vivint.com/company/policies/terms-of-use
IMPORTANT
:The Vivint Smoke and CO Alarm Monitor does not detect the presence of smoke, heat, or fire directly. It relies solely on the presence of
an audio alarm signal generated by an existing smoke or fire
alarm in close proximity to the monitor to make such a determination. The monitor must
be used with
working smoke alarms certified according to UL Standards, and in strict accordance with the installation and operation instructions
provided with such
alarms. It is the owner’s responsibility to ensure that smoke or fire alarms used in conjunction with the monitor are maintained
and tested on a regular basis in accordance with the manufacturer’s instructions.
Vivint expressly disclaims any responsibility for the failure of the
monitor to detect the presence of smoke or fire due to the failure of any smoke or fire
alarm
used in conjunction with the monitor to operate properly
due to any condition, including improper installation, operation, maintenance or testing of such smoke or fire alarm.
Image 1 —
Enrolling / Test / Tamper
Table of contents
Popular Smoke Alarm manuals by other brands
System Sensor
System Sensor 2412 Installation and maintenance instructions
Panasonic
Panasonic EBL512 G3 5000 user manual
FireAngel
FireAngel Thermoptek ST-622 user manual
Blaupunkt
Blaupunkt SD-S1 quick guide
Digital Monitoring Products
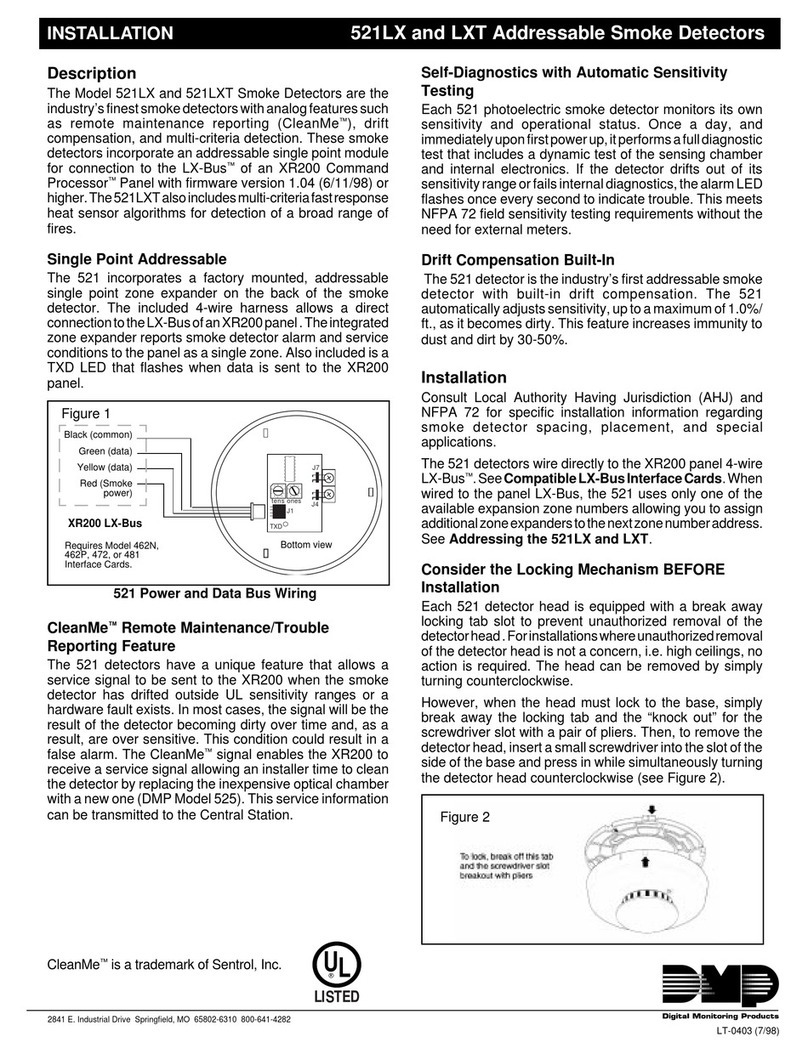
Digital Monitoring Products 521LX Installation

FireAngel
FireAngel SI-601 user manual
Notifier
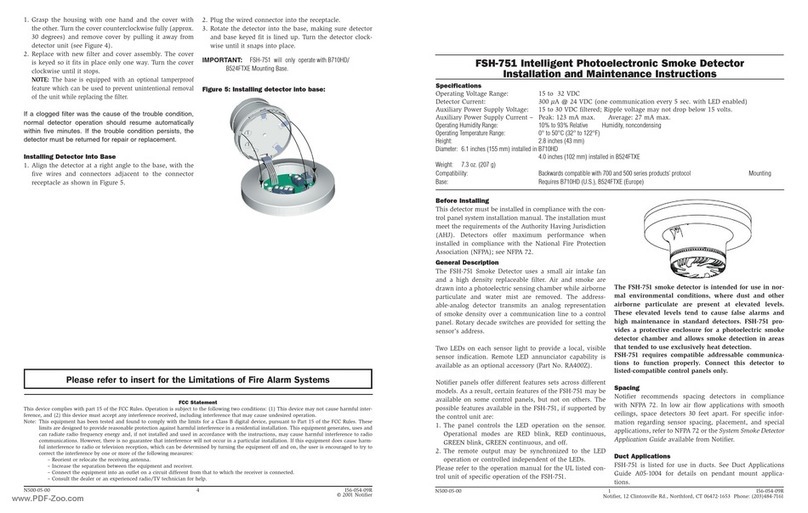
Notifier FSH-751 Installation and maintenance instructions

Bosch
Bosch D296 Series installation instructions

PSA Products
PSA Products LIFSAIR quick start guide

Bosch
Bosch FAS-420-TM Operation guide
System Sensor
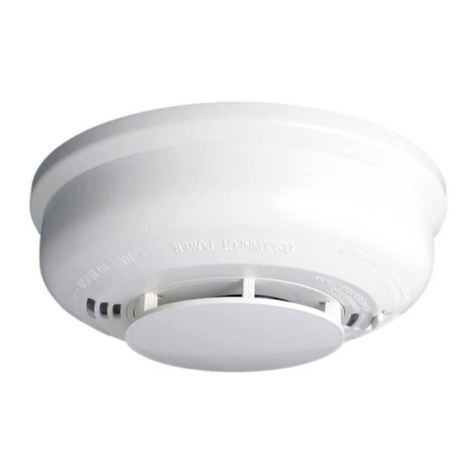
System Sensor 2012/24AUS Installation and maintenance instructions
Orientalert
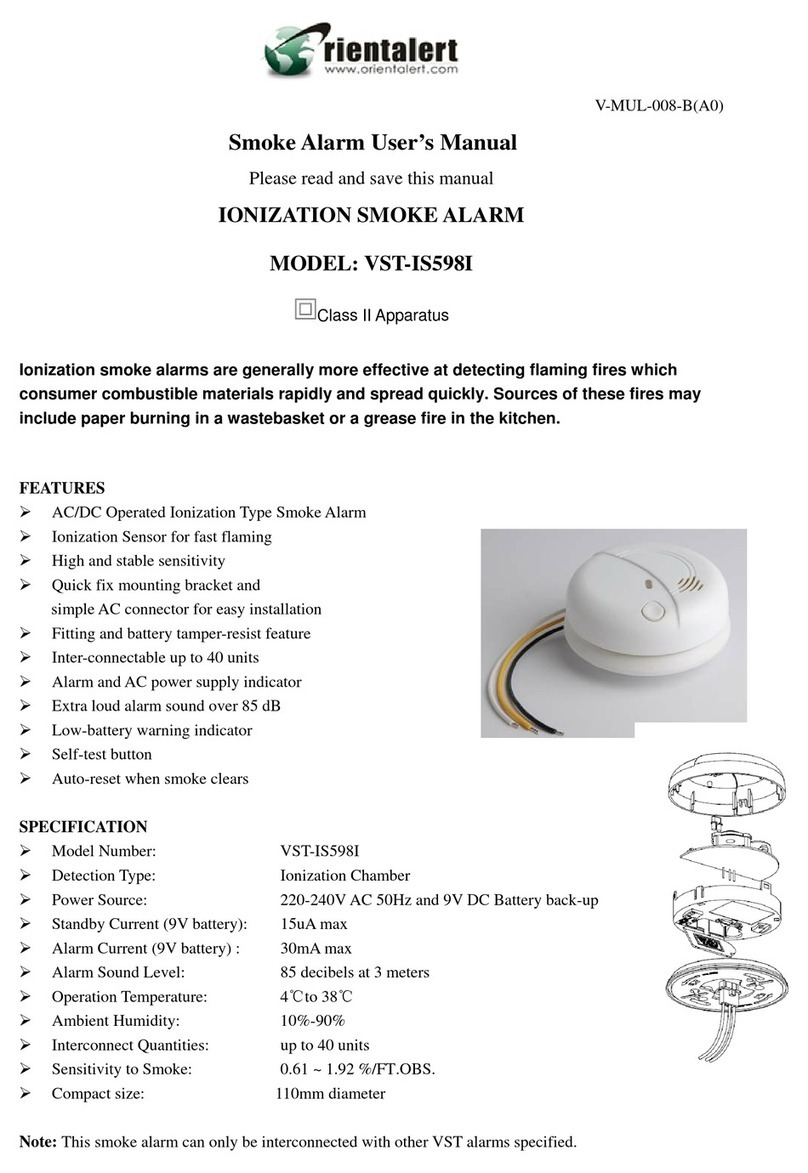
Orientalert VST-IS5981 user manual
