1. READ ALL INSTRUCTIONS BEFORE USING YOUR CHARGER.
2. This product is not a toy, do not allow children to play with it. Adult supervision is advised.
3. This product should not be exposed to extreme heat or fire. Do not store in a location with
temperatures above 104°F.
4. Do not expose this product to any water, liquids, or excessive humidity.
5. Do not crush, throw or subject this product to extreme physical force.
6. Do not use this product if it appears to be cracked or damaged.
7. Do not use in wet or humid environments. Do not place on wet surfaces.
8. Please recycle or dispose of the product properly based on the laws and rules of your
municipality. Contact local recycling facilities and/or the manufacturer of the product for further
information.
9. To prevent damage to the product, always place it on a flat, even surface.
10. In order to avoid the risk of electric shock, never attempt to open your charger or repair it
without the assistance of certified professionals.
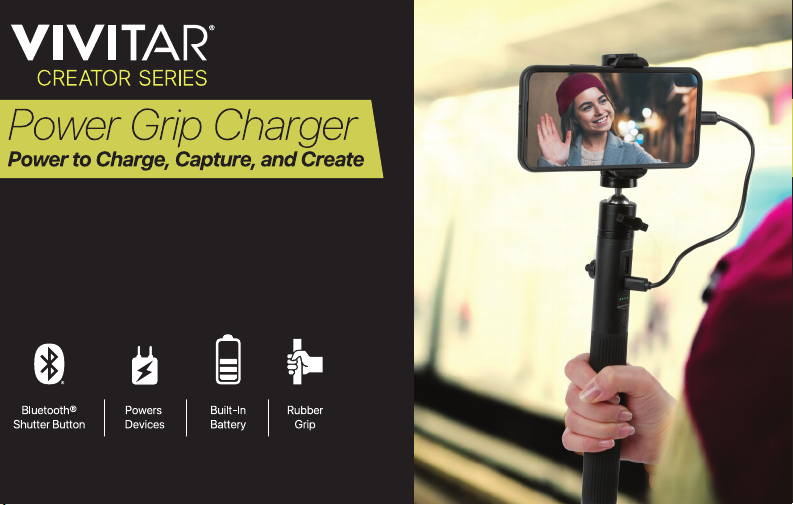
Introduction
Thank you for purchasing the Vivitar Power Grip Charger, item VIRL5000KIT. Use the included
supplies to assemble an all-in-one tripod, phone mount, phone charger and more. Please read
this manual carefully before using.
Specications
Power Grip Size: 12” x 1”
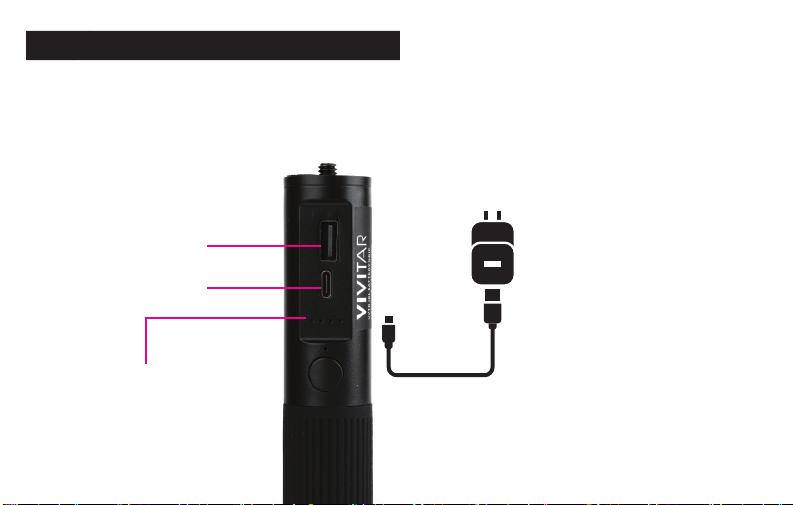
Cable Type: USB-C, USB-A
USB-C Charging Port: 5V 2A
USB-A Charging Port: 5V 1A
Battery: 5000mAh Lithium Polymer
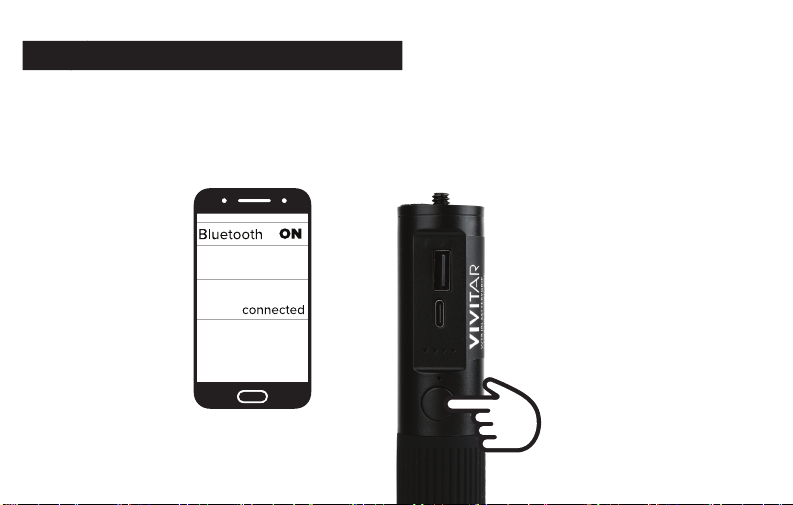
Bluetooth Version: 5.0
Thread Holes: 3/8” & 1/4“
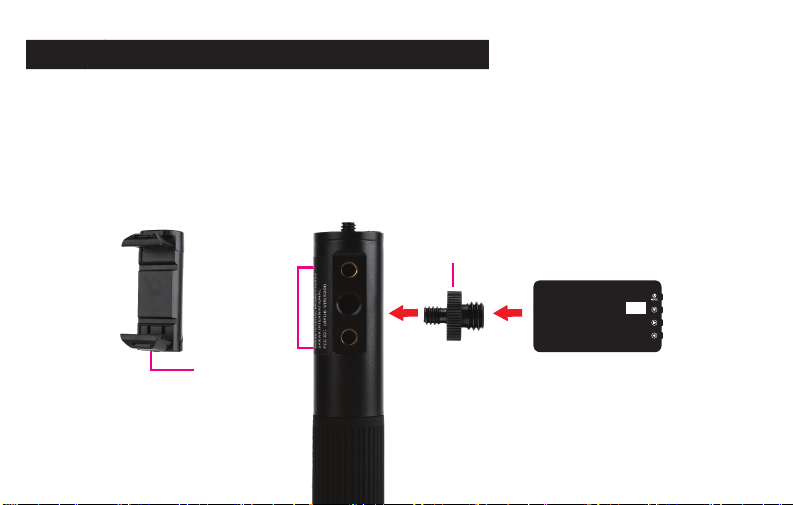
Package Contents
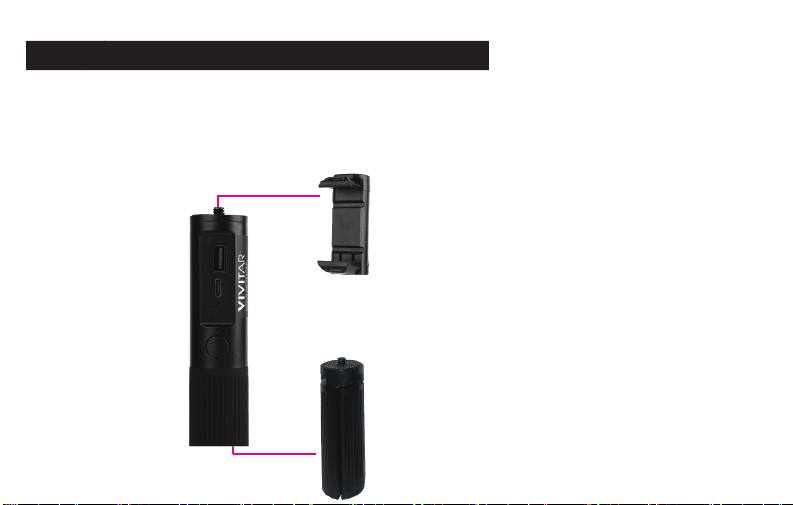
-1 Power Grip
-1 Ball Head Mount
-1 Smartphone Mount
-1 Table Top Tripod
-1 USB-A to USB-C Charging Cable
-1 USB-C to USB-C Charging Cable
-1 Micro-USB Cable
-1 3/8” to 1/4” Adapter