manuals.online logo
Brands
  1. Home
  2. •
  3. Brands
  4. •
  5. Vivo
  6. •
  7. Rack & Stand
  8. •
  9. Vivo STAND V001L User manual

Vivo STAND V001L User manual

Laptop Tra  Des Mount
Instruction Manual
Email: [email protected]
Live chat: www.vivo-us.com
Call: 1-800-371- 6 4
-Model STAND V001L
A 



 
 
D
 
E 
 
F 
 


J 
 

  !
!"
#" 
I 
 
L 
$%  !
M 
&  

N1 
 
O 
$ '(
$
$!
R 
 
S
 
N& "
 
Scan the QR code with your mobile device or follow the link to
helpful videos and specifications related to this product.
Tools Required
phillips screwdriver
$acage ontents
1
- -https//vivo us.com/products/stand v001l
Q 
- " )!* 
U 
 
T 
+ )(
V 
 
-2 1 
, -
- 2 & 
, -
Assembl Steps
2
Step 1 Install the $ole to the Destop
1. Install the Clamp Brace (C) to the Pole (A) using 3pcs Bolts (F), see Figure 1.
2. Attach Soft Pad (W-1) to the Clamp Brace (C), see Figure 2.
3. Install the Clamp (B) to the pole assembly according to the thickness of the desktop.
The thickness can be changed to three positions. Connect it using 2pcs Bolts (G), and
tighten using the Allen Key (O). Tighten the Clamp to the desktop using the plastic
knob, see Figure 3.
Option A Des lamp Install
Existing Grommet Hole Installation
If the existing grommet hole comes with a
plastic protector, remove it to ensure a flat
surface before installing the desk mount.
1. Install the Grommet Base Plate (M) to the
Pole (A) using 3pcs Bolts (F), see
Figure 4.
2. Attach Soft Pad (W-2) to the Grommet
Base Plate (M), see Figure .
3. Position the Pole (A) on the mounting
surface and secure using the Support Plate
(J), M10 Washer (K), Spring Washer (L) and
M10 Bolt (I). Fasten the M10 Bolt using
provided Wrench (P), see Figure 6.
Figure 1 Figure & Figure 3
Figure 4 Figure 5
Figure 6
Option  !rommet ase Install
Step 1 (ontinued)
Step & Install Arm to the $ole
Option  !rommet ase Install
Self Drilled Grommet Hole Installation
1. Position the Pole (A) on the mounting
surface and mark the center hole. Drill a 3/8"
(10mm) diameter hole at the marked
position through the mounting surface.
2. Install the Grommet Base Plate (M) to the
Pole (A) using 3pcs Bolts (F), see Figure 7.
3. Attach Soft Pad (W-2) to the Grommet
Base Plate (M), see Figure 8.
4. Position the Pole (A) on the mounting
surface and secure using the Support Plate
(J), M10 Washer (K), Spring Washer (L) and
M10 Bolt (I). Fasten the M10 Bolt using
provided Wrench (P), see Figure 9.
Install Swivel Arm (D) to the Pole (A). Fasten the bolt with supplied Allen Key (O).
Attach the Wire Clip (N1,N2) to the Pole (A) and Swivel Arm (D).
Figure 7 Figure 8
Figure 9
Step 5 Mae adjustments
Tighten the bolt with the supplied Allen
Key (O) to fix the tilt angle.
Use the supplied Allen Key (O) to make
the necessary adjustments.
Step 4 Attach Monitor to Swivel Arm
Slide the monitor onto the head of
Swivel Arm (D) as shown in the above
diagram.
Install the Security Nut (H). Make sure
the Security Nut is installed before
you rotate the monitor.
Step 3 Attach VESA $late to Laptop Tra or Monitor
For Laptop For Monitor
with a Flat ac
For Monitor
with a urved or
Recessed ac
3
4
If you do not understand these directions, or if you have
any doubts about the safety of the installation, please call a
qualified technician. Check carefully to make sure there are
no missing or defective parts. Improper installation may
cause damage or serious injury. Do not use this product for
any purpose that is not explicitly specified in this manual.
We cannot be liable for damage or injury caused by
incorrect assembly or inappropriate use.
Email: help@vivo-us.com
Live chat: www.vivo-us.com
Call: 1-800-371- 6 4
For more VIVO products, check out our
website at
www.vivo-us.com.
If any parts are received damaged or defective, please
contact us. We are happy to replace parts to ensure you
have a fully functional product.
Safet 2arning
ontact us at
Last updated: 4/30/2018
Step 6 Manage ables
Use wire clips (N1, N2) to manage cables. Store Allen Keys (O) in wire clip
(N1) for future adjustments.

Other Vivo Rack & Stand manuals

Vivo Sidekiix User manual

Vivo

Vivo Sidekiix User manual

Vivo MOUNT-KB05W User manual

Vivo

Vivo MOUNT-KB05W User manual

Vivo MOUNT-SG04 User manual

Vivo

Vivo MOUNT-SG04 User manual

Vivo MOUNT-V00MIC User manual

Vivo

Vivo MOUNT-V00MIC User manual

Vivo STAND-V103C User manual

Vivo

Vivo STAND-V103C User manual

Vivo STAND-V102K User manual

Vivo

Vivo STAND-V102K User manual

Vivo STAND-V101L User manual

Vivo

Vivo STAND-V101L User manual

Vivo STAND-V001 User manual

Vivo

Vivo STAND-V001 User manual

Vivo MOUNT-SP01CB/CW User manual

Vivo

Vivo MOUNT-SP01CB/CW User manual

Vivo MOUNT-KB05E User manual

Vivo

Vivo MOUNT-KB05E User manual

Vivo STAND-V101G1U User manual

Vivo

Vivo STAND-V101G1U User manual

Vivo STAND-V100HU User manual

Vivo

Vivo STAND-V100HU User manual

Vivo MOUNT-HP02M User manual

Vivo

Vivo MOUNT-HP02M User manual

Vivo PP-2-G060C User manual

Vivo

Vivo PP-2-G060C User manual

Vivo STAND-TV03N User manual

Vivo

Vivo STAND-TV03N User manual

Vivo STAND-HS04H User manual

Vivo

Vivo STAND-HS04H User manual
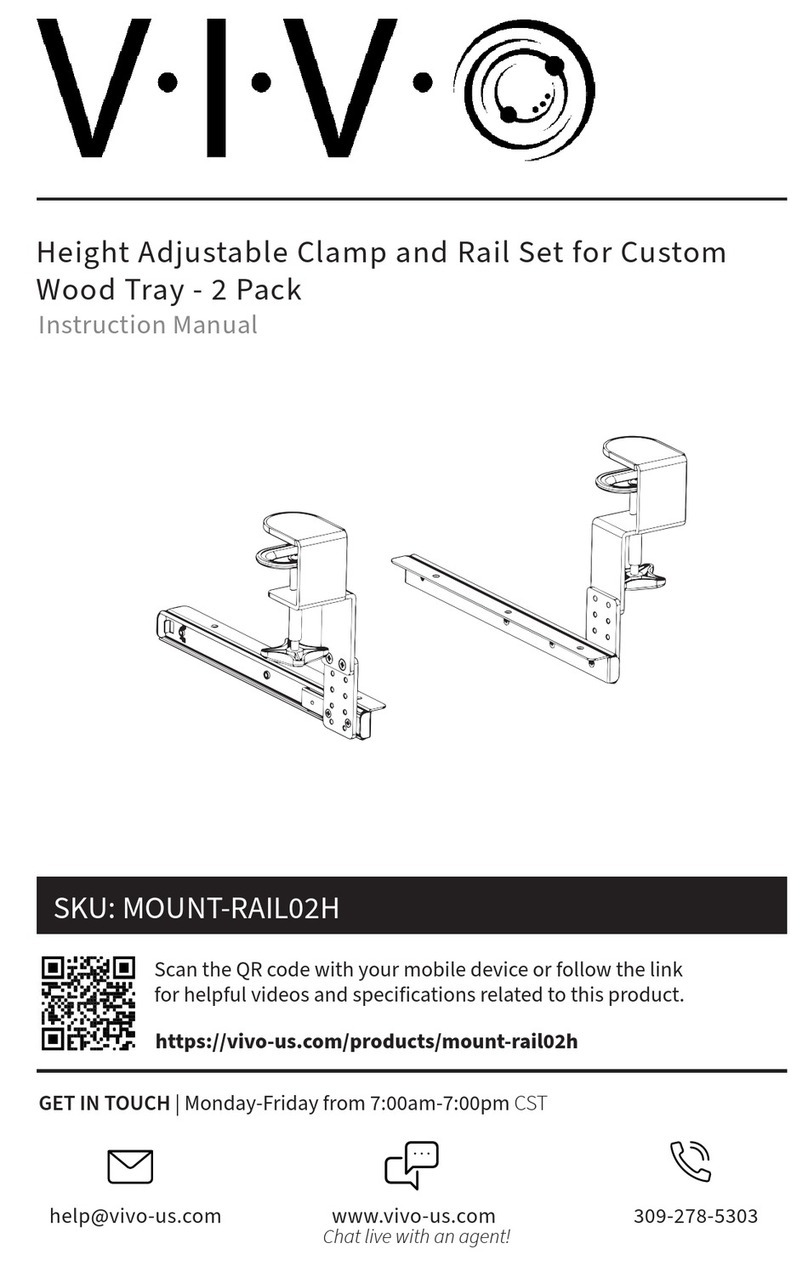
Vivo MOUNT-RAIL02H User manual

Vivo

Vivo MOUNT-RAIL02H User manual

Vivo MOUNT-ARM01 User manual

Vivo

Vivo MOUNT-ARM01 User manual

Vivo STAND-V032M User manual

Vivo

Vivo STAND-V032M User manual

Vivo MOUNT-VW02AW User manual

Vivo

Vivo MOUNT-VW02AW User manual

Vivo STAND-V001Q User manual

Vivo

Vivo STAND-V001Q User manual

Vivo MOUNT-ALL02 User manual

Vivo

Vivo MOUNT-ALL02 User manual

Vivo STAND-TV09 User manual

Vivo

Vivo STAND-TV09 User manual

Vivo STAND-LAP4 User manual

Vivo

Vivo STAND-LAP4 User manual

Popular Rack & Stand manuals by other brands

ESDEC Clickfit Evo manual

ESDEC

ESDEC Clickfit Evo manual

Crimson C37-36A instruction manual

Crimson

Crimson C37-36A instruction manual

META 82456 Assembly and operating instructions

META

META 82456 Assembly and operating instructions

Strong FS Series Product data sheet

Strong

Strong FS Series Product data sheet

Thor’s Drone World LIFTHOR RC PRO PLUS user manual

Thor’s Drone World

Thor’s Drone World LIFTHOR RC PRO PLUS user manual

CRU DataPort 30 installation guide

CRU

CRU DataPort 30 installation guide

Manhattan 461108 instructions

Manhattan

Manhattan 461108 instructions

Ergotron UKMCBK user guide

Ergotron

Ergotron UKMCBK user guide

Konica Minolta MK-704 installation manual

Konica Minolta

Konica Minolta MK-704 installation manual

StarTech.com RK1236BKF installation manual

StarTech.com

StarTech.com RK1236BKF installation manual

Ross LN2RPT400 instruction manual

Ross

Ross LN2RPT400 instruction manual

System Sensor SMB600 Installation and maintenance instructions

System Sensor

System Sensor SMB600 Installation and maintenance instructions

shopPOPdisplays 14100 Assembly instructions

shopPOPdisplays

shopPOPdisplays 14100 Assembly instructions

Salamander EZ-LIFT Series user manual

Salamander

Salamander EZ-LIFT Series user manual

Volkswagen VAS6131/19 operating manual

Volkswagen

Volkswagen VAS6131/19 operating manual

Williams Sound RPK 004 instructions

Williams Sound

Williams Sound RPK 004 instructions

Rockwell RK9034 User safety and operating instructions

Rockwell

Rockwell RK9034 User safety and operating instructions

Philips BM05911 installation guide

Philips

Philips BM05911 installation guide

manuals.online logo
manuals.online logoBrands
  • About & Mission
  • Contact us
  • Privacy Policy
  • Terms and Conditions

Copyright 2025 Manuals.Online. All Rights Reserved.