manuals.online logo
Brands
  1. Home
  2. •
  3. Brands
  4. •
  5. Vonage
  6. •
  7. Modem
  8. •
  9. Vonage V-Portal User manual

Vonage V-Portal User manual

Popular Modem manuals by other brands

Paradyne COMSPHERE 3810 User guide supplement

Paradyne

Paradyne COMSPHERE 3810 User guide supplement

Zhone 6411-A1-xxx Technical specifications

Zhone

Zhone 6411-A1-xxx Technical specifications

Air 802 Linux USB?ADG?2 user guide

Air 802

Air 802 Linux USB?ADG?2 user guide

ETEK TD-8011 user manual

ETEK

ETEK TD-8011 user manual

Arris Touchstone CM8200 user guide

Arris

Arris Touchstone CM8200 user guide

3Com EtherLink 3C900B Installation and operating instructions

3Com

3Com EtherLink 3C900B Installation and operating instructions

Axxera DMH25 Operation manual

Axxera

Axxera DMH25 Operation manual

Lantronix M110 Series Command reference

Lantronix

Lantronix M110 Series Command reference

Megasat HD Stick 510se user manual

Megasat

Megasat HD Stick 510se user manual

Davicom DM562AP Operation manual

Davicom

Davicom DM562AP Operation manual

NetComm IG1000 Specifications

NetComm

NetComm IG1000 Specifications

Intelimax MA-2060 user manual

Intelimax

Intelimax MA-2060 user manual

ELPRO 905U-E user manual

ELPRO

ELPRO 905U-E user manual

SMC Networks D3CM1604V Administrator's manual

SMC Networks

SMC Networks D3CM1604V Administrator's manual

Telstra Wi-Fi 4G Advanced Pro X user guide

Telstra

Telstra Wi-Fi 4G Advanced Pro X user guide

Thrane&Thrane imarsat EXPLORER 300 user manual

Thrane&Thrane

Thrane&Thrane imarsat EXPLORER 300 user manual

Samsung AceLink SAM-335A user guide

Samsung

Samsung AceLink SAM-335A user guide

Enfora Enabler-G Integration guide

Enfora

Enfora Enabler-G Integration guide

manuals.online logo
manuals.online logoBrands
  • About & Mission
  • Contact us
  • Privacy Policy
  • Terms and Conditions

Copyright 2025 Manuals.Online. All Rights Reserved.

Vonage V-Portal User Guide
Getting to know your V-Portal
Ever hear the term user friendly? Well, the Vonage V-Portal defines the term. From the LCD Display
messages to the color coded ports on the rear panel, the V-Portal is friendly to the user ... YOU. Installation
and use is easy!
The V-Portal can connect up to 2 Vonage digital phone lines through your high-speed Internet connection.
Just plug the blue Ethernet cable from the V-Portal into your broadband modem and use the two green RJ-
11 telephone ports to connect your existing phones or fax machine. The Vonage V-Portal allows you to use
your Internet connection for your computer and your phones at the same time, and because it’s Vonage, you
get clear digital phone sound quality.
The V-Portal’s built-in single-port wired router supports your PC or home network connection. You can plug
one computer directly into the yellow Ethernet (LAN) port of your V-Portal or build your own home network
(often referred to as a LAN, "Local Area Network") by plugging in another router or switch and connecting
network devices, such as computers or printers.
View the Terms of Service by visiting the Vonage website at www.vonage.com/tos. Pay particular attention to
Section 11 which explains limitations on Warranty, Remedy and Liability. 1
Vonage V-Portal User Guide
Rear Panel
The rear panel of the V-Portal is functional and informative.
Reset Button
The Reset button is identified as RESET. Press the Reset button and hold it in for at least 10 seconds to
reset the V-Portal back to the factory default settings.
Icons
The Power, Internet, Ethernet (LAN) and Phone ports are colour coded for easy identification. A printed icon
above each port identifies the port as:
•The Power Port •(Orange)
•The Internet Port •(Blue)
•The Ethernet (LAN) Port •(Yellow)
•Phone Port 1 •(Green)
•Phone Port 2 •(Green)
represents AC Power. The power adapter that came with your V-Portal plugs into the port identified
with the orange Power icon. Simply connect the other end of the power cord to your AC power outlet.
represents the Internet. You’ll find this icon on a blue label surrounding a port on the rear panel of
the V-Portal. The Internet port icon identifies the port through which your V-Portal connects to the Internet.
You’ll also see this icon displayed on the status bar of the LCD and Web-based Configuration and Status
User Interface (“Web UI”) when the V-Portal is ready to access the Internet.
represents your Local Area Network (LAN). You’ll find this icon on a yellow label surrounding a port on
the rear panel of the V-Portal. The Ethernet (LAN) port icon identifies the port through which your V-Portal
connects to your computer or LAN. You’ll also see this icon displayed on the status bar of the LCD and Web
UI when the V-Portal is connected to your computer or LAN.
represents Phone Port 1 or Phone Line 1. When you sign up for one line of Vonage service, you’ll
typically plug your phone into Phone Port 1 on the V-Portal. The Phone Port 1 icon on the green label
surrounding a port on the rear panel of the V-Portal identifies it as the port you’ll use to connect your phone
View the Terms of Service by visiting the Vonage website at www.vonage.com/tos. Pay particular attention to
Section 11 which explains limitations on Warranty, Remedy and Liability. 2
Vonage V-Portal User Guide
to the V-Portal. You’ll also see this icon displayed on the status bar of the LCD and Web UI when you can
place and receive phone calls using Phone Line 1.
represents Phone Port 2 or Phone Line 2. When you sign up for two lines of Vonage service, you’ll
typically plug the phone for your secondary line into Phone Port 2 on the V-Portal after you peel off the clear
label from the port. The Phone Port 2 icon on the green label surrounding a port on the rear panel of the V-
Portal identifies it as the port you’ll use to connect the phones for your secondary line to the V-Portal. You’ll
also see this icon displayed on the status bar of the LCD and Web UI when you can place and receive
phone calls using Phone Line 2.
Informational LEDs
Two light-emitting diodes (LED) are located on the sides of both the blue Internet port and the yellow
Ethernet (LAN) port. A yellow LED is located on the left of the port and a green LED is on the right.
The yellow LED is lit solid when the port is connected. For example, if the yellow LED on the left of the
Internet port is lit solid yellow, the V-Portal is connected to your cable or DSL modem.
The green LED blinks when there is activity on the port. For example, if the green LED on the right of the
Ethernet (LAN) port is blinking green, data is being sent either to or from your equipment (such as a
computer or router) connected to the V-Portal’s Ethernet (LAN) port.
View the Terms of Service by visiting the Vonage website at www.vonage.com/tos. Pay particular attention to
Section 11 which explains limitations on Warranty, Remedy and Liability. 3
Vonage V-Portal User Guide
V-Portal Top
The top of the V-Portal contains an LCD display area along with buttons for navigating through the LCD
menu.
The V-Portal LCD display keeps you informed. From power-up through everyday use, the V-Portal
communicates with you through the LCD display. Status messages are provided during power-up and use,
letting you know exactly what is happening. The V-Portal even tells you when it is ready for you to use it for
calling.
The , , and icons display on the upper line of the LCD so you can tell the status of
your Vonage service at a quick glance.
•icon indicates that your V-Portal has access to the Internet.
•icon indicates that your V-Portal is connected to your computer or LAN.
•icon indicates that you can place and receive phone calls using Phone Line 1.
•icon indicates that you can place and receive phone calls using Phone Line 2.
•icon indicates that you have a Voicemail message waiting for you on Phone Line 1.
•icon indicates that you have a Voicemail message waiting for you on Phone Line 2.
If your V-Portal encounters a problem during power-up or use, error messages are provided to help you to
determine the cause of the problem. Besides telling you that something is wrong, the V-Portal also provides
advisories and/or suggested solutions.
In addition, you can control various settings using the LCD menu, such as the display language and
brightness. Use the LCD menu to view your calls logs for incoming, outgoing and missed calls. And, for all
you technology buffs, you can find out network and device information such as IP Address. You can even
run diagnostic tests from the LCD menu. Vonage V-Portal LCD Menu provides complete details for using the
menu.
View the Terms of Service by visiting the Vonage website at www.vonage.com/tos. Pay particular attention to
Section 11 which explains limitations on Warranty, Remedy and Liability. 4
Vonage V-Portal User Guide
Control buttons are located directly under the LCD display area. Press the SELECT> button to enter the
LCD Menu then use the and buttons to navigate through the menu items. The SELECT> button
chooses the menu item and the <BACK button navigates backward to the previous menu.
V-Portal Bottom
The V-Portal's sleek design will inspire you to proudly display it in your home. The bottom of the V-Portal has
four protective nubs that allow you to place it on a flat surface, such as a desk or shelf, without fear of
scratching your furniture. If you would prefer, the V-Portal can be mounted on a wall using the two wall-
mount slots included on the bottom of the V-Portal. Simply follow the wall mounting instructions below.
Wall Mounting the V-Portal
The bottom of the V-Portal includes two wall-mount slots. The distance between the two slots is 3.25 inches
(82 mm). You’ll need two #4 or #6 screws with two anchors sized appropriately to the screws to mount your
V-Portal to a sheetrock wall.
Here’s how to mount the V-Portal on your wall:
1. Determine where you want to mount the V-Portal.
2. Mark the position of the V-Portal's wall-mount slots on your wall. The middle of the slots are 3.25
inches (82 mm) apart.
3. Drill two holes into the wall at the marked wall-mount slot positions and insert an anchor in each hole.
4. Insert a #4 or #6 screw into each anchor in your wall. Leave 0.25 inches (6.35 mm) of each screw
head exposed.
5. Maneuver the V-Portal so the wall-mount slots on the V-Portal line up with the two screws in your wall.
6. Place the wall-mount slots over the screws and slide the V-Portal down until the screws fit snugly into
the wall-mount slots.
That’s all there is to it!
View the Terms of Service by visiting the Vonage website at www.vonage.com/tos. Pay particular attention to
Section 11 which explains limitations on Warranty, Remedy and Liability. 5
Vonage V-Portal User Guide
Vonage V-Portal LCD Status Messages
Your V-Portal keeps you informed of its progress when powering up by displaying LCD messages and icons.
The V-Portal even lets you know when new messages are displayed... the brightness level of the LCD
backlight automatically increases.
Key to Icons
•The Internet Port
•The Ethernet (LAN) Port
•Phone Port 1
•Phone Port 2
LCD Message Meaning
Powering up
When you see this message, the V-Portal is in the process of
powering up. It is not yet connected to the Vonage network so
you can not use the V-Portal to make calls when this message
displays. You will be able to make calls momentarily, as soon
as "Ready to make calls" displays.
All icons are off.
The display backlight is on and set to High (full brightness).
Connecting to Internet
When you see this message, the V-Portal has powered up and
is attempting to connect to the Internet. It is not yet connected
to the Vonage network so you can not use the V-Portal to make
calls when this message displays. You will be able to make
calls momentarily, as soon as "Ready to make calls" displays.
All icons are off.
The display backlight is on and set to High (full brightness).
Retrieving IP address
When you see this message, the V-Portal is connected to the
Internet and is communicating with your Internet Service
Provider (ISP) to obtain information that allows Internet access.
It is not yet connected to the Vonage network so you can not
use the V-Portal to make calls when this message displays. You
will be able to make calls momentarily, as soon as "Ready to
make calls" displays.
All icons are off unless you’ve plugged a device (such as a
computer or printer) into the Ethernet (LAN) port on the back of
your V-Portal. If the LAN port is connected, the Ethernet (LAN)
port icon displays on the LCD status bar.
The display backlight is on and set to High (full brightness).
View the Terms of Service by visiting the Vonage website at www.vonage.com/tos. Pay particular attention to
Section 11 which explains limitations on Warranty, Remedy and Liability. 6
Vonage V-Portal User Guide
Connected to Internet
When you see this message, the V-Portal can successfully
access the Internet. It is not yet connected to the Vonage
network so you can not use the V-Portal to make calls when this
message displays. You will be able to make calls momentarily,
as soon as "Ready to make calls" displays.
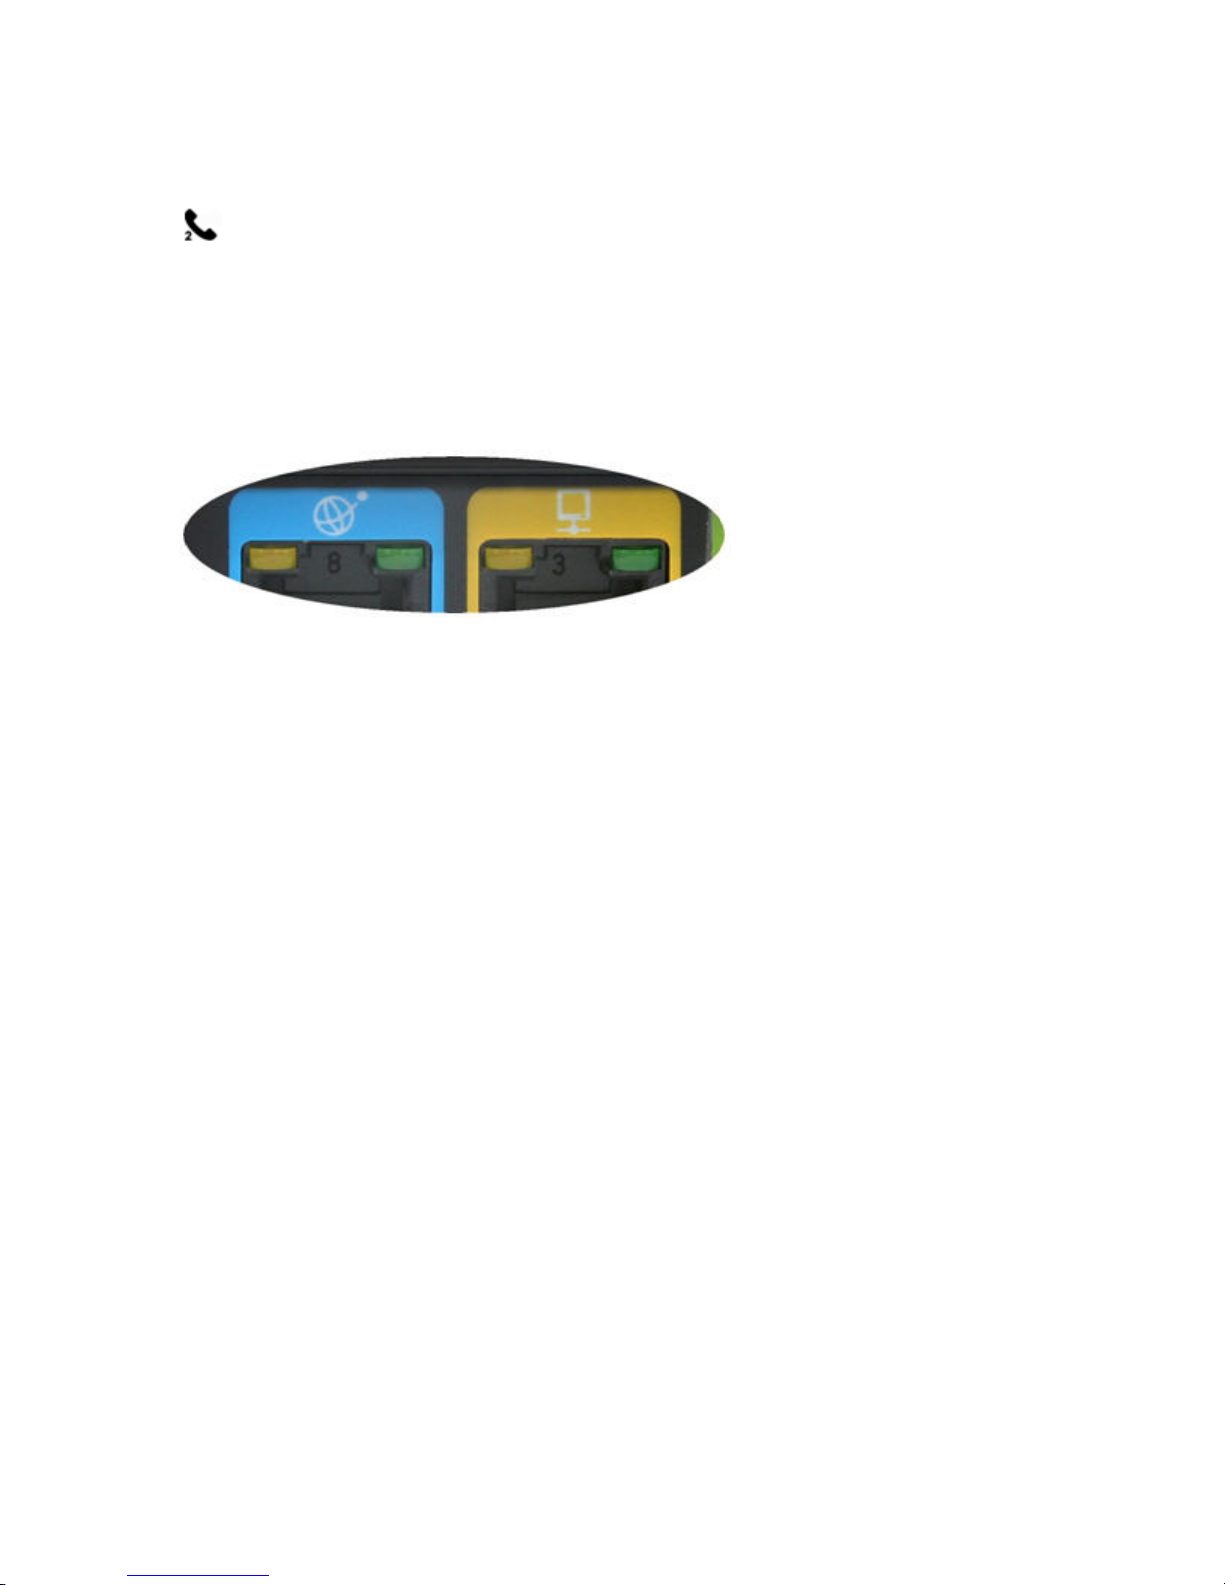
The Internet port icon displays on the LCD status bar. If the
LAN port is connected, the Ethernet (LAN) port icon also
displays.
The display backlight is on and set to High (full brightness).
Retrieving Profile
When you see this message, the V-Portal is automatically
obtaining its configuration file (profile) from the Vonage
Network. The configuration file provides the V-Portal settings
that are necessary for the V-Portal to function properly.
The V-Portal is not yet connected to the Vonage network so you
can not use the V-Portal to make calls when this message
displays. You will be able to make calls momentarily, as soon
as "Ready to make calls" displays.
The Internet port icon displays in the status bar. If the LAN port
is connected, the Ethernet (LAN) port icon also displays.
The display backlight is on and set to High (full brightness).
Connecting to Vonage server
When you see this message, the V-Portal has successfully
downloaded its profile from the Vonage Network. It is
connecting to the Vonage Network and, as the connection has
not completed, you can not use the V-Portal to make calls when
this message displays. You will be able to make calls
momentarily, as soon as "Ready to make calls" displays.
The Internet icon displays in the status bar. If the LAN port is
connected, the Ethernet (LAN) port icon also displays.
The display backlight is on and set to High (full brightness).
Ready to make calls
Congratulations! When you see this message, your V-Portal is
connected to the Vonage Network and "Ready to make calls".
Your phone number displays on the LCD and you can start
making and receiving phone calls.
A phone icon displays in the status bar for each Vonage phone
line ready for use. The Phone port 1 icon indicates that phone
line 1 is ready for use; the Phone Port 2 icon indicates that
phone line 2 is ready for use.
The Internet port icon displays in the status bar. If the LAN port
is connected, the Ethernet (LAN) port icon also displays.
The display backlight is on and changes to the default setting of
Medium or the setting you defined using the LCD menu.
Update of firmware in progress, please
do not power down. Device will restart
automatically after update completes.
The firmware that runs your V-Portal is being transferred from
the Vonage Network to your V-Portal. By downloading the
firmware, Vonage keeps your V-Portal up-to-date with all the
new features and improvements that are available.
View the Terms of Service by visiting the Vonage website at www.vonage.com/tos. Pay particular attention to
Section 11 which explains limitations on Warranty, Remedy and Liability. 7
Vonage V-Portal User Guide
Vonage V-Portal LCD Error Messages
If a problem occurs when installing or using your V-Portal, you’ll see one of the error messages described
below. Each message identifies the problem and tells you the most common solution.
If you see an error message, follow the advice on the second line of the message. For instance, the second
line of the "Internet Port Error [Code 001]" message advises you to "Unplug blue cable and securely plug it
back into the blue port." Simply unplug the blue cable and securely plug it back into the blue port. The V-
Portal should then power up successfully.
Need more help? The most common causes for each error message are listed below along with suggestions
on how to solve the problem.
Internet Port Error [Code 001]
Unplug blue cable and securely plug it back into the blue port
This message displays when any of the following errors occur:
•Internet cable is loose, disconnected or bad. Simply unplug the blue cable and securely plug it
back into the blue port. You should hear a click.
In rare cases the blue cable could be faulty. If so, use any other Ethernet cable in place of the
blue one.
Or...
•Your modem is not functioning.
Typically the cause is still a loose cable. Make sure the cable connecting your cable/DSL modem
to the Internet connection on your wall is securely connected and the modem is powered on.
If all the cables are securely connected and the problem still exists, pull the power cord out of the back of
your cable/DSL modem, wait for 30 seconds and plug it back in. The modem will then take a few minutes to
complete its start-up process. Most modems have a light that should be lit solid when start-up is complete.
When start-up is complete, this error should be cleared up.
Internet Connect Error [Code 002]
Check if your Internet is down. Try restarting modem. For DSL: Check PPPoE setup.
This message displays when any of the following errors occur:
•Your V-Portal can not reach your ISP (Internet Service Provider).
This indicates that your modem's connection to your ISP is down or your ISP's servers are down.
View the Terms of Service by visiting the Vonage website at www.vonage.com/tos. Pay particular attention to
Section 11 which explains limitations on Warranty, Remedy and Liability. 8
Vonage V-Portal User Guide
Unplug the power cords from the back of both the V-Portal and your cable/DSL modem. After
about 30 seconds, plug the power cord back into the cable/DSL modem. Allow enough time for
your modem to complete its start-up process. Most modems have a light that should be lit solid
when start-up is complete. Then plug the power cord back into the V-Portal.
If you still can not access the Internet, check with your ISP to see if they're having connection
issues in your area.
Or...
•You use cable service and the V-Portal can not get an IP Address from your Internet
Service Provider (ISP).
When you receive your V-Portal, it’s set up to use DHCP for dynamic IP address assignment, the
typical setting for cable service. Verify that the Internet connection type has not been changed by
logging in to the V-Portal's Web UI from a computer connected to your V-Portal through the yellow
port, either directly or as part of your LAN. Enter V-Configure.com into the address bar of a web
browser and navigate to the Basic Setup page (from the Home Page click Basic Setup). If the
Internet connection type is not DHCP, change it following the directions provided in "How do I
setup a DHCP connection?" on the right of the Basic Setup screen.
With the Internet connection type of DHCP, your V-Portal asks the ISP to automatically assign an
IP address to your V-Portal when the Internet port is connected. An IP address is like a street
address, it tells the location of your V-Portal in the IP network. The Internet knows where to direct
calls placed to your phone number once an IP address is assigned.
You will see Error [Code 002] if the ISP has trouble assigning an IP address to your V-Portal.
Typically it’s easy to correct this problem, simply pull the power cord out of the back of your cable
modem, wait for 30 seconds and plug it back in. The cable modem will then take a few minutes to
reload its software. When it has finished powering up, this error should be cleared up.
NOTE: If you are having trouble accessing the Web UI using V-Configure.com, please enter
192.168.15.1 in the address bar of your browser instead.
Or...
•You are using cable service and your ISP (cable company) requires you to register the
MAC Address of your V-Portal with them.
A MAC address identifies a device (such as a V-Portal, router, computer, or printer) in your home
network (often called a LAN, "Local Area Network"). Think of it as the name of the device.
Information can be sent to a device if the LAN knows the device’s name (MAC address) within the
LAN.
Some ISPs require that you register the MAC address of a PC or router on your LAN when you
set up your cable service. If your ISP required you to register a MAC address during set up, keep
the registered device connected in your LAN when you install your V-Portal. Your V-Portal can
adopt that device’s MAC address by using a process called MAC cloning. Make sure the original
View the Terms of Service by visiting the Vonage website at www.vonage.com/tos. Pay particular attention to
Section 11 which explains limitations on Warranty, Remedy and Liability. 9
Vonage V-Portal User Guide
device is turned on then unplug the power cord from the back of the V-Portal. After about 30
seconds, plug it back in again.
The V-Portal automatically searches for the MAC address of the other device and adopts it so that
the V-Portal can connect to your ISP on behalf of all the devices connected to the V-Portal's
yellow port. By automatically cloning the MAC address, Vonage saves you from having to call
your ISP to change the registered MAC address to the Vonage device's MAC address.
If you still get the “Internet Connect Error [Code 002]” message, call your ISP to register the V-
Portal’s MAC Address.
Or...
•You are using DSL service and your ISP requires that you use Point to Point Protocol over
Ethernet (PPPoE) as your method of connecting to the Internet but you didn’t select
PPPoE from your V-Portal’s Web-based Configuration and Status User Interface (“Web
UI”).
Many DSL service providers require that you use PPPoE. If yours does, you’ll have to set up
PPPoE via the Web UI of the V-Portal.
Login to the V-Portal’s Web UI from a computer connected to your V-Portal through the yellow
Ethernet port, either directly or as part of your LAN. Enter V-Configure.com into the address bar of
a web browser and navigate to the Basic Setup page (from the Home Page click Basic Setup)
and choose PPPoE as your method of connecting to the Internet. Complete instructions are
provided in “How do I setup a PPPoE connection?” on the right of the Basic Setup screen.
NOTE: If you are having trouble accessing the Web UI using V-Configure.com, please enter
192.168.15.1 in the address bar of your browser instead.
Vonage Connect Error [Code 003]
Restart and try again. Unplug power connector and plug it in again.
This message displays when any of the following errors occur:
•Your cable ISP assigns static IP Addresses, you’ve entered the assigned IP Address via
the Web-based Configuration and Status User Interface (“Web UI”) of the V-Portal but the
static IP Address entered was invalid.
Some cable ISPs prefer you use an assigned, non-changing (static) IP Address to connect your
devices (such as a V-Portal, computer or printer) to the Internet instead of allowing the ISP to
automatically assign them dynamically as needed. It is important that you enter the assigned IP
Address exactly as stated by the ISP. Entering is done via the V-Portal Web UI at V-
Configure.com.
View the Terms of Service by visiting the Vonage website at www.vonage.com/tos. Pay particular attention to
Section 11 which explains limitations on Warranty, Remedy and Liability. 10