manuals.online logo
Brands
  1. Home
  2. •
  3. Brands
  4. •
  5. WAGO
  6. •
  7. Network Hardware
  8. •
  9. WAGO MCS-MAXI Assembly instructions

WAGO MCS-MAXI Assembly instructions

MCS-MAXI Advanced User Guide V1.0
MCS-MAXI Kit Contents (Kit Part Number: 2013008)
Part Number Product Code Descri tion
2011254_12X2 MCS-T16 Handset
2011040 MCS-CCE Crossover Cable Extension Ada ter
2012074 MCS-FRC_5000 5m Flat Ribbon Crossover Cable
2012054 MCS-6E (x2) 6 Way Ex ansion Module
2012079 MCS-HCK Handheld Cli Kit
2013029_300 MCS-LNK Wire CAN link (300 mm)
2013008_DECV1 MCS MAXI Decal Set
Setting t e MCS-6E Address
•Press and hold button 'B‘ for a roximately 5 seconds, until the red LED
on OP1 turns on. (either flashing or steady) Do not let go the button!
Continue holding for another five seconds. The 4 status LEDs will then
turn on, either steady or flashing.
•Press button 'A' to change the address. If an LED is flashing, the number
above it is ignored. Add the number of all the LEDs that are 'Steady On'
and this will then become the address of the module.
(Example: If LED 1 is steady, LED 2 is flashing and LED 4 is steady on, then add 1 and 4: The
address of this module is 5 )
•Press button 'B' to save t e address, t en cycle t e power.
2011040
2012074
Notes
•Door In ut: When this in ut changes from 0V to 12V, if Combo 1 is active then Combo 1 will be deactivated and Combo 2 Activated.
•Clear All In ut: Grounding this in ut (0V) will deactivate all buttons and combinations. Buttons will be inhibited as long the in ut remains grounded.
•Ignition In ut: Kee ing this in ut active (12V) will revent the handset from slee ing. The handset will normally go to slee if no buttons or combos are active for 60 seconds.
•Sidelight/Inhibit In ut: When this in ut is active (12V) out ut 3 is inhibited. (Note: Even if the out ut is inhibited, the handset button will remain illuminated when selected.)
•Illumination In ut: When this in ut is active the handset is dimmed.
•Brake / Inhibit: While this in ut is grounded (0V) out ut 6 is enabled. When it is disconnected, or connected to 12V the out ut is inhibited. (Note: Even if the out ut is inhibited, the handset button will
remain illuminated when selected. This function can be enabled\disabled in the setu menu.)
C anging t e MCS-6E Current Limits
•Press and hold button 'B' for a roximately 5 seconds, until the red
LED on OP1 turns on. (either flashing or steady)
•Release button 'B'.
•Pressing button 'A' will then cycle between 5A limit (flashing) and 10A
(steady on).
•Pressing button 'B' will then cycle to the next out ut.
Cycle through the outputs, selecting the current limit as required
Once you are finished changing settings, reset the device by pressing
the reset button, or cycling the power.
2011040
MCS-MAXI Advanced Menu
Page 1) (Start) Press and hold buttons 2 and 5 and then ower u the device.
When the buttons start to flash blue and red release them This will take you to page 2
Page 2) (Colours) Press any button to change its colour. There are 8 available colours.
When you are finished, press and hold the button that is flashing to move to the next
page
Page 3) (Combo 1) Press any illuminated button to add it to Combo Grou 1.
When you are finished, press and hold the button that is flashing to move to the next
page
Page 4) (Combo 2) Press any illuminated button to add it to Combo Grou 2.
When you are finished, press and hold the button that is flashing to move to the next
page
Page 5) (Latc ing) Press and hold any illuminated button to switch between
latching(selected) and momentary mode.
When you are finished, press and hold the button that is flashing to move to the next
page
Page 6) (Options 1)
Button Beep: When active (green) buttons will bee when ressed.
Warn Beep: When active (green) the handset will bee every five seconds if any button is selected.
Dim\Bright: Select the overall handset brightness.
IF YOU WAN O ACCESS HE SIMPLE FUC IONS (NORMAL): PRESS and HOLD the bottom button
until the page changes back to Page 2 Colours. OR
IF YOU WAN O ACCESS HE ADVANCED FUC IONS: PRESS and HOLD the button with the star ( * )
and while holding it, PRESS and HOLD the bottom button until the page changes to Page 7: Option 2
Page 7) (Options 2)
Walk: Enables the walk test. Press and hold the Combo 2 to start the walk test in normal o erating
mode.
Lock: Enables the Key ad Lock. Press and hold the bottom button (Combo 1) to Lock\Unlock the
key ad in normal o erating mode.
Combo1 & Combo2 Clear: This will clear all buttons when Combo 1 or Combo 2 are ressed
res ectively.
Ext(ernal) Inh(ibit): When Enabled, Out ut 6 is only enabled when in ut 6 is grounded.
Low V(oltage): When Enabled, if the su ly dro s below 115V the out uts will be inhibited, and the
handset will go into low ower mode.
When you are finished, press and hold the button that is flashing to move to the next page
Once you are complete, cycle t e power to t e device to return to normal operating mode.

This manual suits for next models

1

Other WAGO Network Hardware manuals

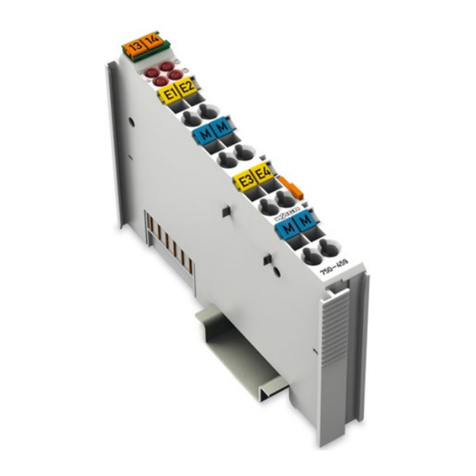
WAGO 750-459 User manual

WAGO

WAGO 750-459 User manual

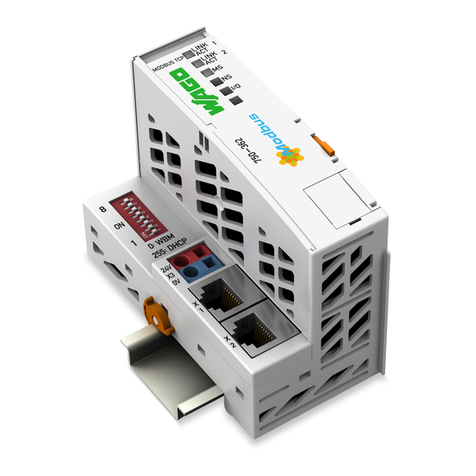
WAGO WAGO-I/O-SYSTEM 750 750-362 User manual

WAGO

WAGO WAGO-I/O-SYSTEM 750 750-362 User manual

Popular Network Hardware manuals by other brands

Black Box LES1604A quick start guide

Black Box

Black Box LES1604A quick start guide

AVPro Edge AC-MXNET-1G-E AVDM Setup and configuration guide

AVPro Edge

AVPro Edge AC-MXNET-1G-E AVDM Setup and configuration guide

HIK VISION iDS-9632NXI-I8/16S user manual

HIK VISION

HIK VISION iDS-9632NXI-I8/16S user manual

Black Box Multi Quick Check RJ-11 manual

Black Box

Black Box Multi Quick Check RJ-11 manual

Black Box COMPACT T1 quick start guide

Black Box

Black Box COMPACT T1 quick start guide

Multitech Multi-Tech RouteFinder SOHO RF820 reference guide

Multitech

Multitech Multi-Tech RouteFinder SOHO RF820 reference guide

HIK VISION DS-3WF02C-5N/O quick start guide

HIK VISION

HIK VISION DS-3WF02C-5N/O quick start guide

Multitech FaxFinder FF-120 Administrator user guide

Multitech

Multitech FaxFinder FF-120 Administrator user guide

Black Box IC457A-F Specifications

Black Box

Black Box IC457A-F Specifications

Watchguard Firebox T45-CW quick start guide

Watchguard

Watchguard Firebox T45-CW quick start guide

AMX Heavy Duty FDB Module RDM-HFDB Installation sheet

AMX

AMX Heavy Duty FDB Module RDM-HFDB Installation sheet

Security Camera King NVR-ELT-8-POE4 user manual

Security Camera King

Security Camera King NVR-ELT-8-POE4 user manual

SAS Nucleus IP Engine user guide

SAS

SAS Nucleus IP Engine user guide

Lantronix x6010 user guide

Lantronix

Lantronix x6010 user guide

Idis DR-6232PS-S Operation manual

Idis

Idis DR-6232PS-S Operation manual

ADTRAN SDX 621i XGS-PON ONT quick start guide

ADTRAN

ADTRAN SDX 621i XGS-PON ONT quick start guide

zBoost YX550 VLTE-AWS user guide

zBoost

zBoost YX550 VLTE-AWS user guide

Arista CloudVision DCA-CV-100 quick start guide

Arista

Arista CloudVision DCA-CV-100 quick start guide

manuals.online logo
manuals.online logoBrands
  • About & Mission
  • Contact us
  • Privacy Policy
  • Terms and Conditions

Copyright 2025 Manuals.Online. All Rights Reserved.