walimex 650-1300/8-16 Tele T2 User manual

1
Copy of Instruction Manual
650-1300/8-16 Tele T2
Gewerbering 26
86666 Burgheim
Tel. +49 84 32 / 9489-0
Fax. +49 84 32 / 9489 - 8333
eMail: [email protected]
www.foto-walser.de

2
Content
0. ...........................................................................................................................................Introduction 3
1. ................................................................................................................................Mounting your lens 3
2. ....................................................................................................................................Focusing the lens 3
4. .........................................................................................Using the viewfinder with telephoto lenses 4
5. .........................................................................................................................................Depth of field 4
6. .............................................................................................................Cleaning and maintenance tips 4
7..................................................................................................................................Fault finding 5
8................................................................................................................. Technical specifications 5
9...................................................................................................................................... Shipment 5

3
The walimex Telezoom Lens has an unusually long focal distance range of 650-1300mm at a speed of
8.0-16 (depending on focal distance). The sturdy metal casing and the high-quality coated glass
lenses ensure a good image quality. The internal focusing (i.e. the front lens does not turn while
focusing) enables the unproblematic use of polarising and graduated filters. With the help of the
sturdy tripod mount ring the lens can be fastened to a tripod with an optimised balance point
(because of the long focal distance we recommend the use of a tripod in order to achieve vibration-
free exposure). With a comparatively short closest focusing distance of only 5 metres, the lens
enables a sensational magnification at 1300mm. Focusing takes place manually. The lens can be
used with aperture priority and manual exposure setting. Thanks to the easy handling, the lens is
also especially suitable for beginners.
1. Mounting your lens
Your Lens utilizes a universal mounting ring (T2) which allows your lens to fit practically
all SLR cameras manufactured since 1960. Simply attach the specific T2 adapter for your
style camera to the actual lens and then mount to your camera body in the same way as
your existing lens, which your camera is equipped. Also remove your lens the same way
as your exiting lens and consult your camera introduction manual for further details.
After mounting your T2 adapter to the lens, you may have to adjust the T-mounts so that
the top of the lens faces upward. If this is necessary, loosen the 3 small screws located
on the T-mounts and turn the lens until it is in the proper usable position. Make sure to
retighten the 3 screws after you make the adjustments.
2. Focusing the lens
Turn the ring with hole open position. Now you see through the viewfinder of their camera.
Now you can set the desired focal length. This setting attach by focusing again on hole
position is rotated.
NOTE: In order to compensate focusing when normal focusing position may differ due to extreme
temperature change, the focusing ring has been designed to allow rotation beyond tile fixed
engraved marks of the distance scale, To avoid error, focusing should always be made while
looking through the viewfinder.
NOTE: No adjustment of focusing is necessary when taking infrared photography, as is required
with normal lenses.

4
3. Using the viewfinder with the telephoto lenses
The effectiveness of different types of focusing screens varies with the focal length and
maximum aperture of the lens. The range finder of microgrid prisms built into the
ground glass do not work as well with longer focal length lenses as they do with the
normal camera lens and most wide-angle lenses, and may blackout partially or fully "the
center focusing spot." When such as a condition exists, focusing is best done on the
ground glass portion of the viewing screen. On some SLR cameras, Iong telephoto lenses
appear to produce a cut-off image in the upper corners or along the entire upper edge of
the view finder. Actually such viewing cut-off is caused by the size of the camera's mirror
which is more suitable for the shorter focal length lenses only. The exposed slide or
negative will be unaffected by this viewing deficiency. The picture is not affected by the
defect!
4. Depth of field
The area in acceptable sharpness in front of, and behind, the subject in focus is called tole
Depth of Field. The aperture selected and e distance of the subject, as well as, the focal
length of a lens determines such depth of field.
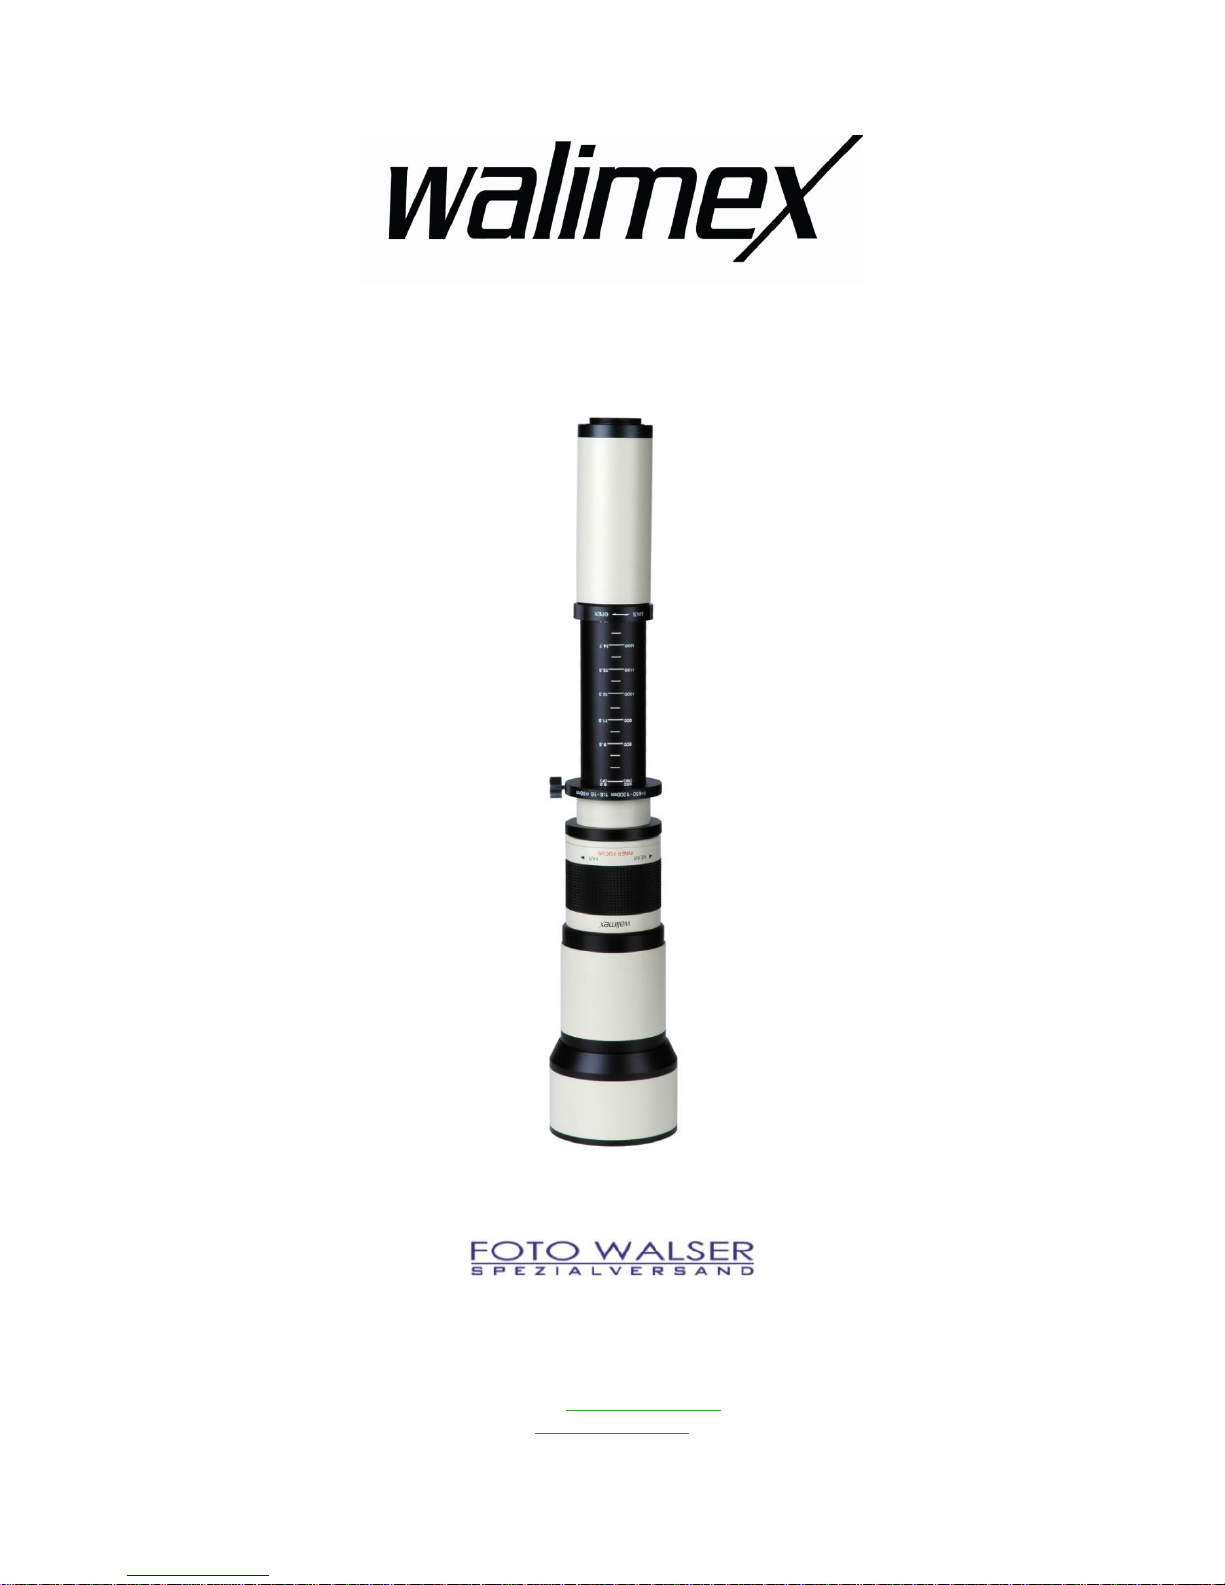
Because of the longer focal length of your Reflex lens the depth of field is acutely narrow, for
example, with a 500mm f8.0 lens, at a distance of 6 feet, the depth of field is only 1/2 inch
wide. Therefore, it is recommended to first practice focusing with your lens before taking
any serious pictures, especially in close-up photography. lt is suggested that a focus
magnifier be used to help determine the depth of field sharpness under such extreme con-
ditions.
5. Cleaning and maintenance tips
The lens should always be capped when not in use. Like other precision optics, it should never
be simply wiped with tissue since this may abrade the surface with any dust clinging to it or on
the lens.
Any accumulated dust should occasionally be blown off with a syringe or available blower
brush designed for this purpose. To remove fingerprints or smears, shred the edge of a lens
tissue and roll it to make a swab: dampen it with a lens cleaner specially. made for
photographic optics and gently wipe the surface without exercising any pressure. Repeat the
procedure if necessary using a new swab. To clean, start at the center of the lens, using a
circular motion and working to the edge of the lens for best results.
When the lens is not in use, it should be stared in a cool dry place, however, if this is not
possible, a leather case with a silica gel packet will afford the same protection as an aluminum
case with poly foam liner.

5
6. Fault finding
Phenomena
Causes
Measures
A lens can´t be
attached to the
camera
The lens ring mount and
the camera mount are
not aligned.
Align the lens ring mount and
the camera mount.
A lens can´t be
detached from the
camera
Incorrect rotation
direction for detaching.
If the user turns the lens
while holding the
camera, it may cause
damage to the lens.
Press the lens release button on
the camera, and lightly turn the
lens to the lens attaching and
detaching reference points, in
the direction as marked on the
camera and then pull the lens
forward.
Dark Image
Incorrect focusing.
Insufficient shutter
speed or camera shake
Turn the focus ring while
checking the indication or
checking an object visually, set
the focus until it reaches a clear
point and then press the
shutter. Steady the camera and
take a photograph at a shutter
speed of 1/125 sec.
Autofocus failure
Autofocus failed with
manual control focus
lens
Set focus by turning the focus
ring.
Dark or too bright
pictures
Inappropriate exposure
Adjust the aperture size by
turning the lens or adjust the
shutter speed
7. Technical specifications
Lens speed
F8.0-16
Lens group/Lenses
8/5
Image angle
38°-2°
Closest focusing distance
5m
Filter diameter
30,5mm
Front diameter
67mm
Overall length
approx. 298mm
Weight
approx. 640g
8. Included in delivery
1 x lens
1 x lens cap
1 x lens bag
Table of contents
Other walimex Camera Lens manuals