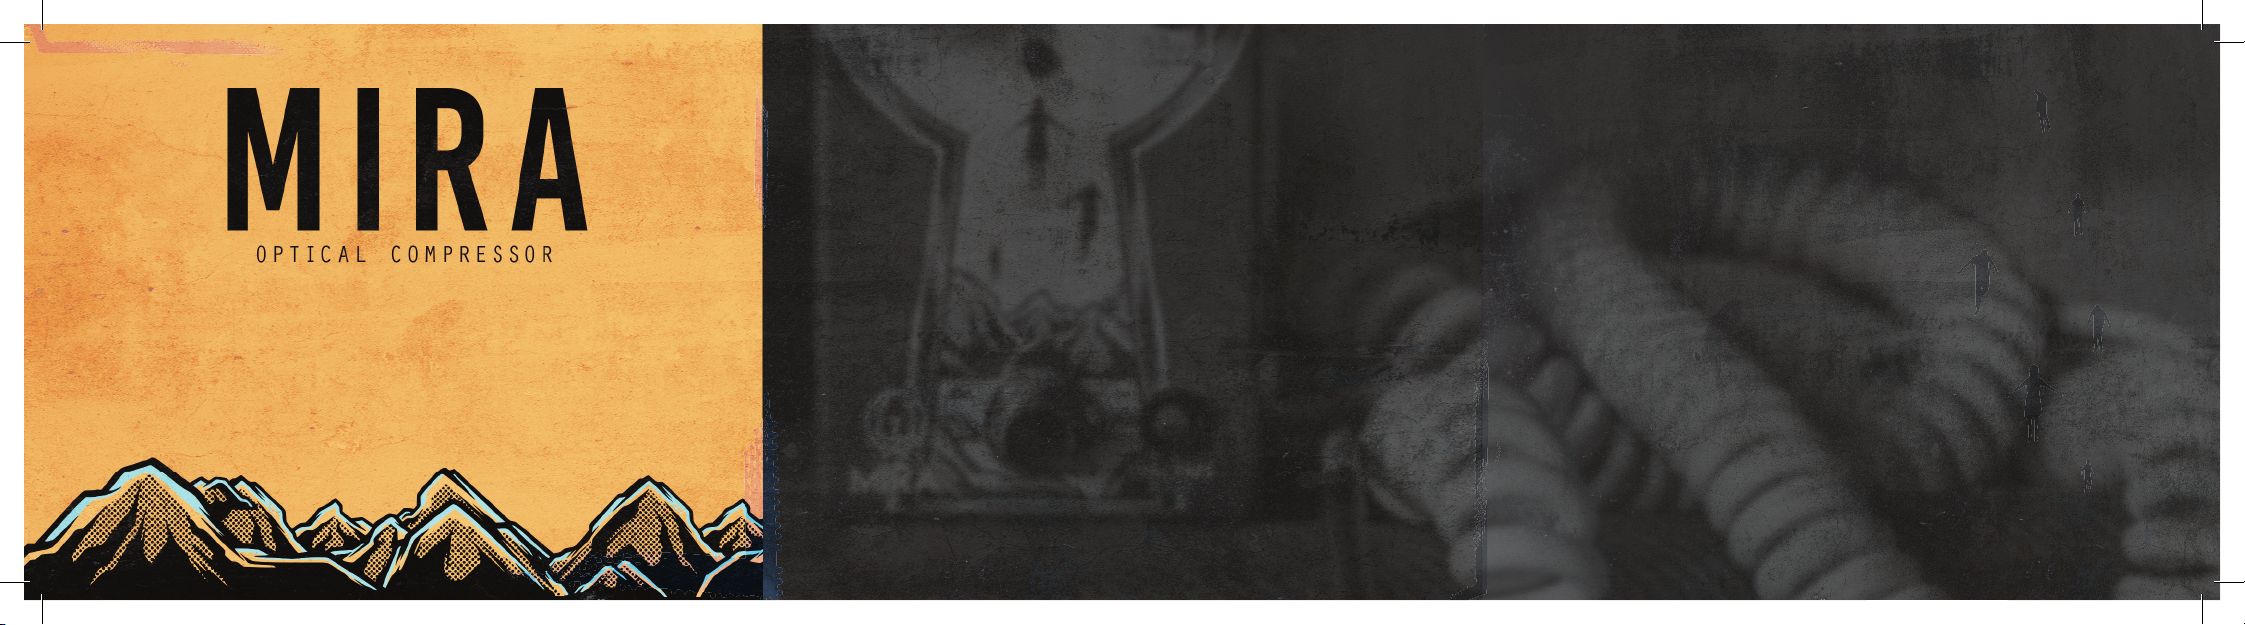
Look! Come and see the Mira’s capabilities. In the Spanish language,
Mira is a command that translates to look, see, and call attention to.
With the Mira Optical Compressor, you’re creating and shaping studio-
grade timbre that demands to be seen, heard, and above all,
felt
. The
Mira delivers warm, analog optical compression with mountains of
sustain and a smooth attack and release that can be blended in to
taste. Dynamically engage the senses with the Mira.
Level – The Level knob sets the overall output volume of the pedal.
Blend – The Blend knob controls the amount of compressed signal mixed in with the dry
signal at the output. With this control at minimum, all compressed signal is removed from
the output leaving just the dry signal. With this control at maximum, all dry signal is removed
from the output leaving just the compressed signal. Mixing in some dry signal with the
compressed can maintain note clarity while offering increased sustain.
Make-Up – The Make-Up knob sets the amount of gain applied to your signal after it has
been compressed. This allows you to “make-up” any lost volume due to the action of the
compressor to maintain unity level of the compressed signal.
Threshold – The Threshold knob allows you to set the volume point at which the compressor
starts to engage. Counter clockwise is a lower threshold; clockwise is a higher threshold.
Lower the Threshold for stronger compression and raise it for less compression.
Ratio – The Ratio knob sets the ratio of the compressor or how much volume reduction
occurs after signal crosses the threshold. The higher the ratio, the more the signal gets
compressed once it crosses the threshold. The range is about 1:1 - 20:1. A ratio of 1:1 (one to one)
is the lowest and it represents no attenuation. A ratio of 2:1 indicates that a signal exceeding
the threshold by 2dB will be attenuated by 1dB, or a signal exceeding the threshold by 8dB
will be attenuated by 4dB, etc. Use this control to fine tune how the compressor responds to
signal once it crosses the set threshold.
Attack – The Attack control allows you to tune the initial response, or the engagement of
the compressor once the signal crosses the threshold. Counter clockwise will give you faster
attack times; clockwise will give you slower attack times. Use faster attack times if you really
want to grab the attack of your guitar and get it under control. Use slower attack times if you
want the attack of your notes to shine through before the compressor engages.
Release – The Release control allows you to tune the release response (“release time”) of the
compressor once the signal goes below the threshold. This is where you can really control
the sustain of your signal. Lower settings will give you a faster release, while higher settings
will give you a slower release. Use slower release times if you want more sustain and faster
release times if you want less sustain.
*Note - Use the attack and release together to help control transients, and dial in
sustain to “glue” things together.
HPF – When engaged, the HPF switch introduces a High Pass Filter in the side-chain (the part
of the circuit that controls the optical element in the compressor). Use this when you want
to prevent bass frequencies (120Hz or below) from engaging the compressor as much as the
higher frequencies. This will keep the compressor from overworking on lower notes, which
tend to have more amplitude and can cause the compressor to not respond to your playing
as well. This filter is finely tuned and will be most noticeable when playing instruments
with greater lower frequency content like bass guitar and keeping low-frequency dynamics
dramatic for guitar players. Leave the switch out for normal operation, in to engage the HPF.
Gain Reduction LED – Illuminated when gain reduction is happening and compression is
being applied. It gets brighter the more the gain is reduced.


