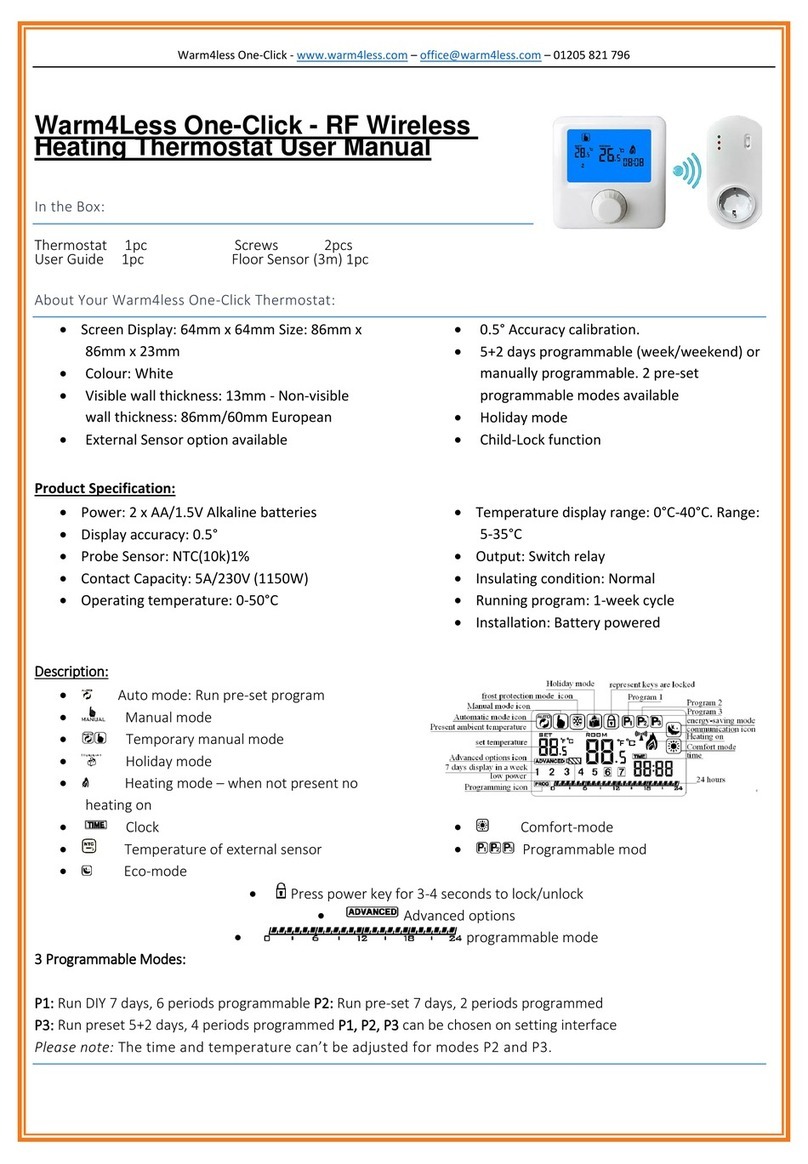
Warm4Less ONE-CLICK User manual

01205 821 796 oce@warm4less.com
www.warm4less.com
ONE-CLICK
INSTRUCTION
MANUAL
1
In the Box:
- Thermostat 1pc - Screws 2pcs
- User Guide 1pc - Floor Sensor (3m) 1pc
About Your Warm4less One-Click Thermostat:
�
�
�
�
�
�
�
�
Product Specica�on:
�
�
�
�
�
�
�
�
�
�
�

01205 821 796 oce@warm4less.com
www.warm4less.com
INSTRUCTION
MANUAL
2
01205 821 796 oce@warm4less.com
www.warm4less.com
INSTRUCTION
MANUAL
2
ONE-CLICK
Warm4less One-Click Operation:
�Power on: Hold down button for 3 seconds
�Power o: Press rotary button to switch between and
�Adjust settings: Choose settings option then click to conrm
�Increase: Clockwise turn
�Decrease: Anti-clockwise turn
�Power key: On the right-hand side
Turning on the One-Click:
Turn the controller on using the power key. Hold down the rotary button for 3 seconds to enter setting
adjustment, and rotate the button to set preferred value, then click to conrm setting.
When the TIME icon is ashing, the user can adjust the set minute, hour and week by using the rotary button.
Warm4less One-Click - Programmable Mode:
3 Dierent modes: P1, P2 and P3. Hold down the rotary button for 3 seconds, rotate the button to choose P1.
Click the button to select this option and alter the week, temperature and time by rotating and clicking to
conrm each option.

01205 821 796 oce@warm4less.com
www.warm4less.com
INSTRUCTION
MANUAL
3
ONE-CLICK
Holiday Mode: Hold down the rotary button for 3 seconds, select the button to enter holiday mode. Select your
preferred days, and temperature and pressing the rotary button to conrm each selection. The temperature
range is between 5~15℃(default 10℃). Holiday mode can be cancelled by pressing .
Evening-Saving Mode: Hold down the rotary button for 3 seconds, rotate the button to select the option to enter
the evening-saving mode. Rotate the button to set the preferred temperature (default 17 degrees), press the
button to conrm the selection and when returning to the last interface, it will skip the next setting icon
automatically.
Comfort Mode: When entering the mode selection, rotate the dial to choose and press the rotary button to select
comfort mode. The temperature can be adjusted (default 17 degrees) to suit and by pressing the rotary button it
will automatically skip the last interface option .
Receiver Comments:
Power light: Green light illuminated
Signal Light: Orange light within 10s after the power comes on (matching IP). The signal light turns o when it matches with
the controller. The orange light will blink within 10s when the power turns o.
Fault/load light: Red light
IP connection is faulty (IP: FFFF). This red light will blink 2 times (0.25 seconds spacing).
This light will blink 3 times when it does not receive wireless signal for 1 hour (0.25 seconds spacing).
This light will blink 4 times when the external sensor is faulty (0.25 seconds spacing).
External sensor temperature alarm for electric/water/underoor heating:
- The detected temperature by external sensor is above the setting temperature of A5 (Advanced options), this will in
turn then trigger high temperature protection and will ash.
- Detected temperature by external sensor is below setting temperature of A6 (Advanced options). This will then
trigger low temperature protection and appear,it will auto open relay to heat and the ame will reappear
Advanced One-Click Op�ons:Hold down the rotary button for 3 seconds, enter the advanced option setting by
rotating the button to advanced , and press the dial.

01205 821 796 oce@warm4less.com
www.warm4less.com
INSTRUCTION
MANUAL
4
ONE-CLICK
Troubleshooting: Use these steps to help troubleshoot if you have trouble setting up the receiver or
controller.
Constant Blinking of the signal icon:
If you have plugged the receiver in and the red light on the receiver ashes o (after 10 seconds of
power) and the controller does not connect please follow the steps below:
- Plug in the receiver with the switch on the receiver in the down position to turn the receiver o.
- Make sure the controller is turned o (button on the side of the controller).
- Then, proceed to turn the receiver on until the orange light disappears. Now turn on the
controller and see if the two pair together (if they connect a red light will show on the receiver).
Signal Loss:
The next step would be to change the frequency.
- Hold the button down on the front of the controller to access the IP settings. The rst set of
numbers/digits will appear. Change these to anything other than the original number that came up by
twisting the central button.
- Once you have changed the two rst digits press the button in and do the same again. Press
the button in so that it shows the four digits all together.
- Turn the receiver back on and the controller will display a ’55’. This means that the two have
paired correctly together.
- The ‘55’ will continue to ash until it turns o, once it is o you can resume to use the
controller as per usual.
If you con�nue to experience diculty with troubleshoo�ng, please contact the oce on
Table of contents
Other Warm4Less Thermostat manuals