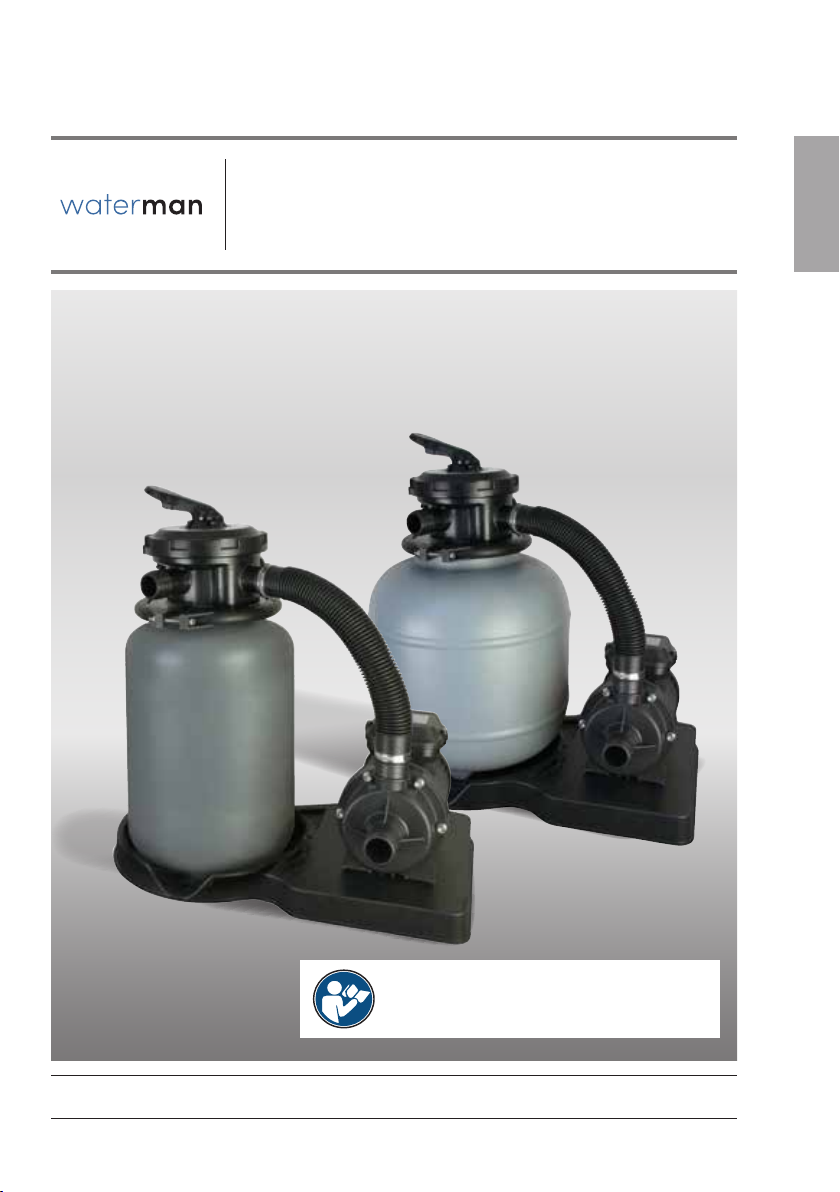
Assembly and Operating Instructions Sand Filter System without Pre-lter
English
19
6.3 CIRCULATION PUMP IS TOO NOISY
1. Filter is dirty; it must be backwashed.
2. Remove foreign particles from the pump, unscrew
pump housing, clean housing and impeller.
3. Motor bearings are too noisy, replace the entire
motor complete with impeller.
4. The pump is standing on a bare wood oor or
concrete oor, resulting in a sound transmission
to the building (structure-borne sound). Place the
pump on a noise-damping insulating base (rubber,
cork, etc.).
6.4 CIRCULATION PUMP
DOES NOT START AUTOMATICALLY
1. Check whether the power line is live.
2. Check if the fuse is defective.
3. For AC pumps, check whether the capacitor is in
proper working order.
4. Check that the motor is in proper working order;
have the winding checked by an electrician.
5. Check whether the pump has got stuck (motor
shaft can be turned easily with a screwdriver, other-
wise see 6.4). Attention: Carry out only after the
mains plug has been disconnected! Risk of injury!
Check whether the motor-protective circuit-brea-
ker has been tripped; if so see point 6.2.
6.5 WATER DRIPPING FROM CIRCULATI-
ON PUMP BETWEEN PUMP HOUSING
AND MOTOR
1. During commissioning, it is possible that water
escapes in drops at intervals of approx. 2 minutes.
After a few hours of operation, when the seal has
run in, the dripping stops automatically.
2. If water is constantly leaking from this point, the
mechanical seal is defective.
6.6 QUARTZ SAND IS FLUSHED OUT OF
THE FILTER INTO THE POOL
1. Incorrect grain size (too ne). Special quartz
sand granulation 0.4 - 0.8 mm required.
2. Filter base in lter container damaged - replace
lter base.
3. 6-way valve damaged or dirty - replace/clean.
6.7 FILTER PRESSURE AT THE PRESSU-
RE GAUGE DOES NOT DROP BACK
TO INITIAL PRESSURE AFTER BACK-
WASHING, OR INITIAL PRESSURE IS
TOO HIGH
1. Pressure gauge defective - replace.
2. Quartz sand hardened and/or clumped - lter sand
must be replaced.
3. Suction or pressure line too small or valve closed.
6.8 WATER IS NOT CLEAR
1. Insufcient disinfection (chlorination), which cau-
ses an overload of the lter; check and adjust
chlorine and pH value in respect of specied
values.
2. Filter is too small.
3. Circulation time is too short.
4. If necessary, use occulant for quartz sand lters.
5. Insufcient lter backwashing operations cause
short lter run times.
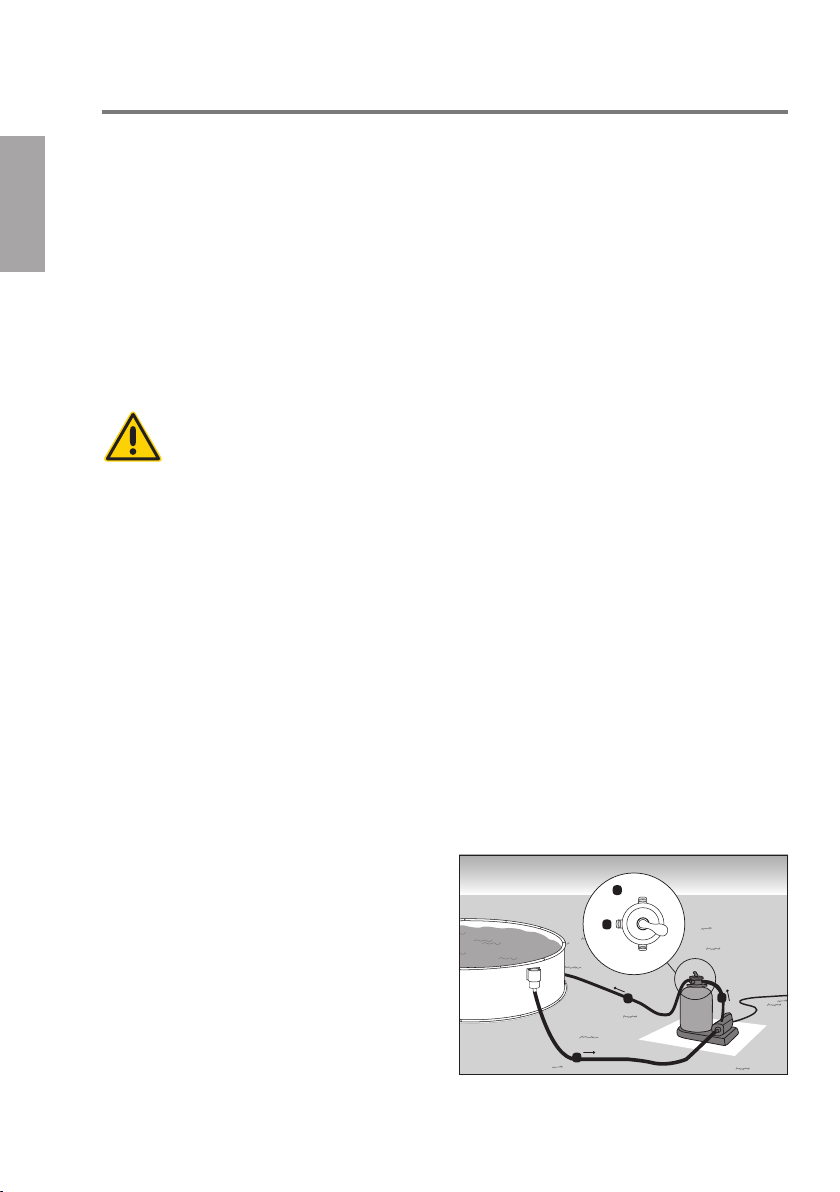
6.9 SWIMMING POOL LOSES WATER VIA
THE FILTER SYSTEM
1. Gaskets in 6-way valve damaged - replace.
2. Feed pipe from swimming pool is leaking.