Waterstone 5000 User manual

Model #: 5000
HOT TANK INSTALLATION AND OPERATING
INSTRUCTIONS

1 2 3 4
Turn o water supply. Observe all local
plumbing codes.
Inspect waste and water
supplies for signs of damage.
Replace as necessary.
DO NOT use petroleum
based products on this
faucet.
REQUIRED TOOLS: PARTS INCLUDED:
1. Adjustable Wrench 2. Tape Measure
INLET CONNECTOR 1/4”
NPTF TO 1/4” TUBE
OUTLET CONNECTOR 1/4”
NPTF TO 5/16” TUBE
BEFORE YOU BEGIN YOUR INSTALLATION:
3 LINE VENTED FAUCET
Connection to a non-vented faucet WILL DAMAGE THE TANK and void the warranty. A kinked tank
outlet tube or debris in the faucet obstructing the free ow of water from the tank will subject the tank
to pressures exceeding its design limits and cause the tank to leak. The HotTank is an open vented system
appliance.When not being operated, the pressure is 0psi. Minimum operating pressure is 22psi.
WARNING - USE OF AN IN-LINE INSTALLATION OF A WATER CHILLER WITH A WATERSTONE FAUCET OF
ANY KIND WILL VOID OUR WARRANTY.
Since 2005, Waterstone has continued to advise all of our customers against the installation of any brand of
in-line water chiller unit with our faucets. Compressor style chiller units have been proven to arbitrarily exceed
the standard household in line pressure ratings causing the faucet inlet connection line to burst and create the
potential for water damage claims in the eld.
Waterstone can not and will not be held liable for damages created by a use for which our products were not designed. Waterstone will only
recommend the installation of a water chiller in the vented side (in place of a hot tank) with one of our Hot or Hot & Cold Filtration faucet models.
INSTALLATION GUIDE
WARNING!
THE WATERSTONE #5000 HOT TANK IS DESIGNED FOR USE WITH
A 3 LINE VENTED FAUCET ONLY.

1. 2.
H
G
K
J
A
B
C
D
E
F
Water from the blue supply tube (A) ows
through the faucet base to the ON/OFF
valve (B). Water is then diverted into the
red tube (C) and into the Hot Tank (D) and
pressure is regulated through the built-in
PRV valve.The entering water displaces
hot water in the tank causing it to ow
freely through the clear“high temp”tube
(E). Hot water continues straight through
the faucet and exits the spout (F).
IMPORTANT - NEVER OPERATE THE
FAUCET WITH A KINKED CLEAR
OUTLET TUBE
OUTLET
INLET
Turn o water supply. Find a location under your sink that has access to an electrical outlet and
close enough to reach faucet tube leads without kinking. For tank to operate properly, it cannot be
installed beyond reach of factory tubing. Unit must be placed vertically and level. Unit should have
approximately 4”- 5”of space on the sides and approximately 1”from the cabinet wall in back.
HOW A VENTED FAUCET WORKS
HOT TANK INSTALLATION
NEVER!
CONNECTION TO A FAUCET OTHER THAN
A 3-LINE VENTED WILL VOID WARRANTY
AND CAUSE INTERNAL DAMAGE TO TANK
CONNECT A #5000 HOT TANK TO A FAUCET
AS SHOWN
CHOOSE TANK LOCATION
After faucet installation, connect 1/4”red
tube (G) to connect tting on tank inlet
(H). Base of inlet will be blue. Push until
secure.
Connect 5/16”clear tube (J) to connect
tting on tank outlet (K). Base of outlet
will be red. Push until secure.

3.
L
M
WATER TEMPERATURE
ON/OFF/SET BUTTON
CONTROL PANEL
N
INCREASES
TEMPERATURE
BY ONE DEGREE
DECREASES
TEMPERATURE
BY ONE DEGREE
RED RINGS
Push power button in center to enable unit. Water
temperature number will ash.
Set Hot Tank to desired temperature by pushing
arrow buttons around the center. Hot Tank comes
with six temperature presets: 167F, 176F, 194F,
203F, 206F, and 208F. The single arrows on the
top and bottom control the pre-set temperatures.
Use the double arrow buttons on the left and right
to adjust temperature up or down by one degree.
Once the desired temperature is chosen, push the
center button again to set. HotTank will then begin
to heat up and outer red rings will pulsate. Once
unit has reached set water temperature, pulse will
stop and red rings will remain lit.
If the HotTank ever becomes empty of water and is
turned ON, an automatic dry-burn protection
sensor will shut down the unit. The display panel will then ash 208°F to indicate lack of water. To ll again, turn power o and
repeat Step 4 in the installation section. Temperatures at or above 203F are the optimal settings for most installations. However,
there are factors which may inuence the performance of the unit such as incoming water temperature, atmospheric pressure and
altitude. Should any water discharge from the spout during heat up, reduce the setting by 1 preset to compensate.
SIX PRE-SET TEMPERATURE SETTINGS:
167F, 176F, 194F, 203F, 206F, and 208F.
4. 5.
HOT TANK OPERATIONS
DO NOT plug in unit until tank is full
of water. Turn on faucet hot water until
water ows freely from faucet. This means
Hot Tank is full.Tank will take about 90
seconds to ll.Turn o faucet and check all
connections for leaks or hose kinks.
Connect 1/4”blue tube (L) to
water supply (M). Turn water
supply back on.
Check that installation area is dry and no
water has spilled. Connect plug to the
power socket. The Hot Tank’s display panel
(N) will light up with the ON/OFF power
button illuminated.

FLUSHING THE HOT TANK
It is recommended that you ush through the system 2 or 3 times to ensure the system is fully operational. Turn on hot water until hot water
within the tank has emptied. Allow the unit to reheat and then repeat.
WATER DRAW BACK AND CONTAMINATION IN THE TANK
You must ensure that the faucet spout is not submerged in water, especially during the dispensing of hot water when the hot water handle is
closed.This will cause water draw back and contaminate the tank.
POWER SAVING
If the unit is not being used for long periods of time, turn o the unit to save power.
SEASONAL SHUTDOWN
Both the Hot Tank and Filtration Faucet must NOT be exposed to freezing temperatures. If there is a possibility of this, the system must be
drained of water. Shut-o the main water supply and unplug the unit from the power socket. Allow the tank to cool for at least 1 hour.
Disconnect the blue inlet and clear outlet tubes from the connectors on the tank. Lift the unit to the sink, turn upside down and drain all the
water from the tank.When re-installing, follow the original installation instructions.
NOTICE
Like any water heater, the Waterstone Hot Tank has a limited operational life span. In order to ensure maximum performance, the unit should
be ushed and inspected regularly for any water leakage or damage. This will help avoid possible property damage or personal injury. If a leak
is found, replace any connectors and loose or split tubes. Place the unit in a drain pan or use aWaterstone AS-414 Safety Valve-Leak Detector
for added leak protection.
This product can cause harm if installed incorrectly. Carefully read these instructions before installing and operating the HotTank. Failure to
comply with these instructions could result in property damage, serious injury or death.
• Make sure all electrical wiring and water connections conform to local codes. Standard 120v electrical outlet is required under the sink. If
possible, use a separate circuit dedicated to your Hot Tank.
• To avoid shock, serious injury or death, use a grounded power connection. DO NOT place cord, plugs or unit near or in water or other liquids.
• DO NOT disassemble main box or any part of the power supply.
• DO NOT operate the Hot Tank controls or power supply with wet hands.
• Check the power rating of your HotTank. Make sure it is suitable for the power rating of the electrical circuit it is being installed on.
• DO NOT operate or install the unit if it appears to have any missing parts or damaged in any way.
• DO NOT use outdoors or in a damp area or in a location that may fall below 32F.
• DO NOT use for anything other than intended domestic use. Not intended for commercial use.
• The Hot Tank must be installed vertically with inlet and outlet connections at the top of unit.
• Ensure the front of the unit is visible and the front control panel can be easily reached.
• DO NOT attempt to open, modify or service this electronic HotTank unit. Opening the unit will void the guarantee.
• Due to high water temperature, and for safety reasons, the HotTank unit is not under pressure. It is an open vented system unit.
• Turn o all controls before unplugging.
• To avoid the risk of ooding and property damage, regularly inspect the connections for any signs of leakage.
• DO NOT connect to a standard faucet. May cause injury, will damage the Hot Tank and void the guarantee.
• Keep children away from unit.
• DO NOT directly wash unit with water.
• Under sink should be ventilated and protected from direct sunshine.
• Humidity should stay in a range of 10% to 60%. Be sure there is no dew.
SAFETY INSTRUCTIONS
MAINTENANCE AND CARE INSTRUCTIONS
VEN-038-HTTK
PROBLEM: Water and steam is spitting from the Filtration Faucet spout
WHAT TO DO: The unit is boiling. Turn on the faucet’s hot water and
release the water. Adjust the water temperature on the display to a
lower setting.
PROBLEM: Water is not hot.
WHAT TO DO: Turn on the power and press the ON/OFF/SET button.
Adjust the water temperature or pre-set on the display to a higher
setting. Press the ON/OFF/SET button again and conrm the heat up.
PROBLEM:The electronic display has not been powered up
WHAT TO DO: Check that the unit is plugged in and power is on.
PROBLEM: Water is too hot.
WHAT TO DO: Water temperature is set too high. Adjust the water
temperature on the display to a lower setting.
PROBLEM:Water is dripping from the Filtration Faucet spout.
WHAT TO DO: The expansion chamber isn’t draining the system
correctly due to dispensing very small amounts of water. Dispense 2
cups of water to clear and prime the system. Avoid dispensing less than
1/2 cup of water per use.
PROBLEM: The spout is blocked
WHAT TO DO: Remove and clean the aerator. Bleed system to remove
any air. Prime tank to allow correct operation.
PROBLEM: Slow ow from the spout
WHAT TO DO: Water lter may be clogged from impurities in the water.
Water lter must be changed every 6 months to maintain warranty.
PROBLEM: Water does not ow right away.
The HotTank is designed for non-pressurized operation. There will be
a slight delay until the near boiling water appears. If a large volume
of water has been dispensed on the previous use, there may a slightly
longer delay in the water appearing from spout.
PROBLEM: No water owing
WHAT TO DO: Water valves may have been turned o or inlet hoses
may have been twisted or blocked.Turn on all the water valves and
ensure the hoses are not twisted or kinked to restrict ow. The Hot Tank
is not under pressure, so there will be a slight delay in water ow after
the hot water faucet handle has been turned on.This is normal and
indicates that the Hot Tank is functioning properly.
TROUBLESHOOTING
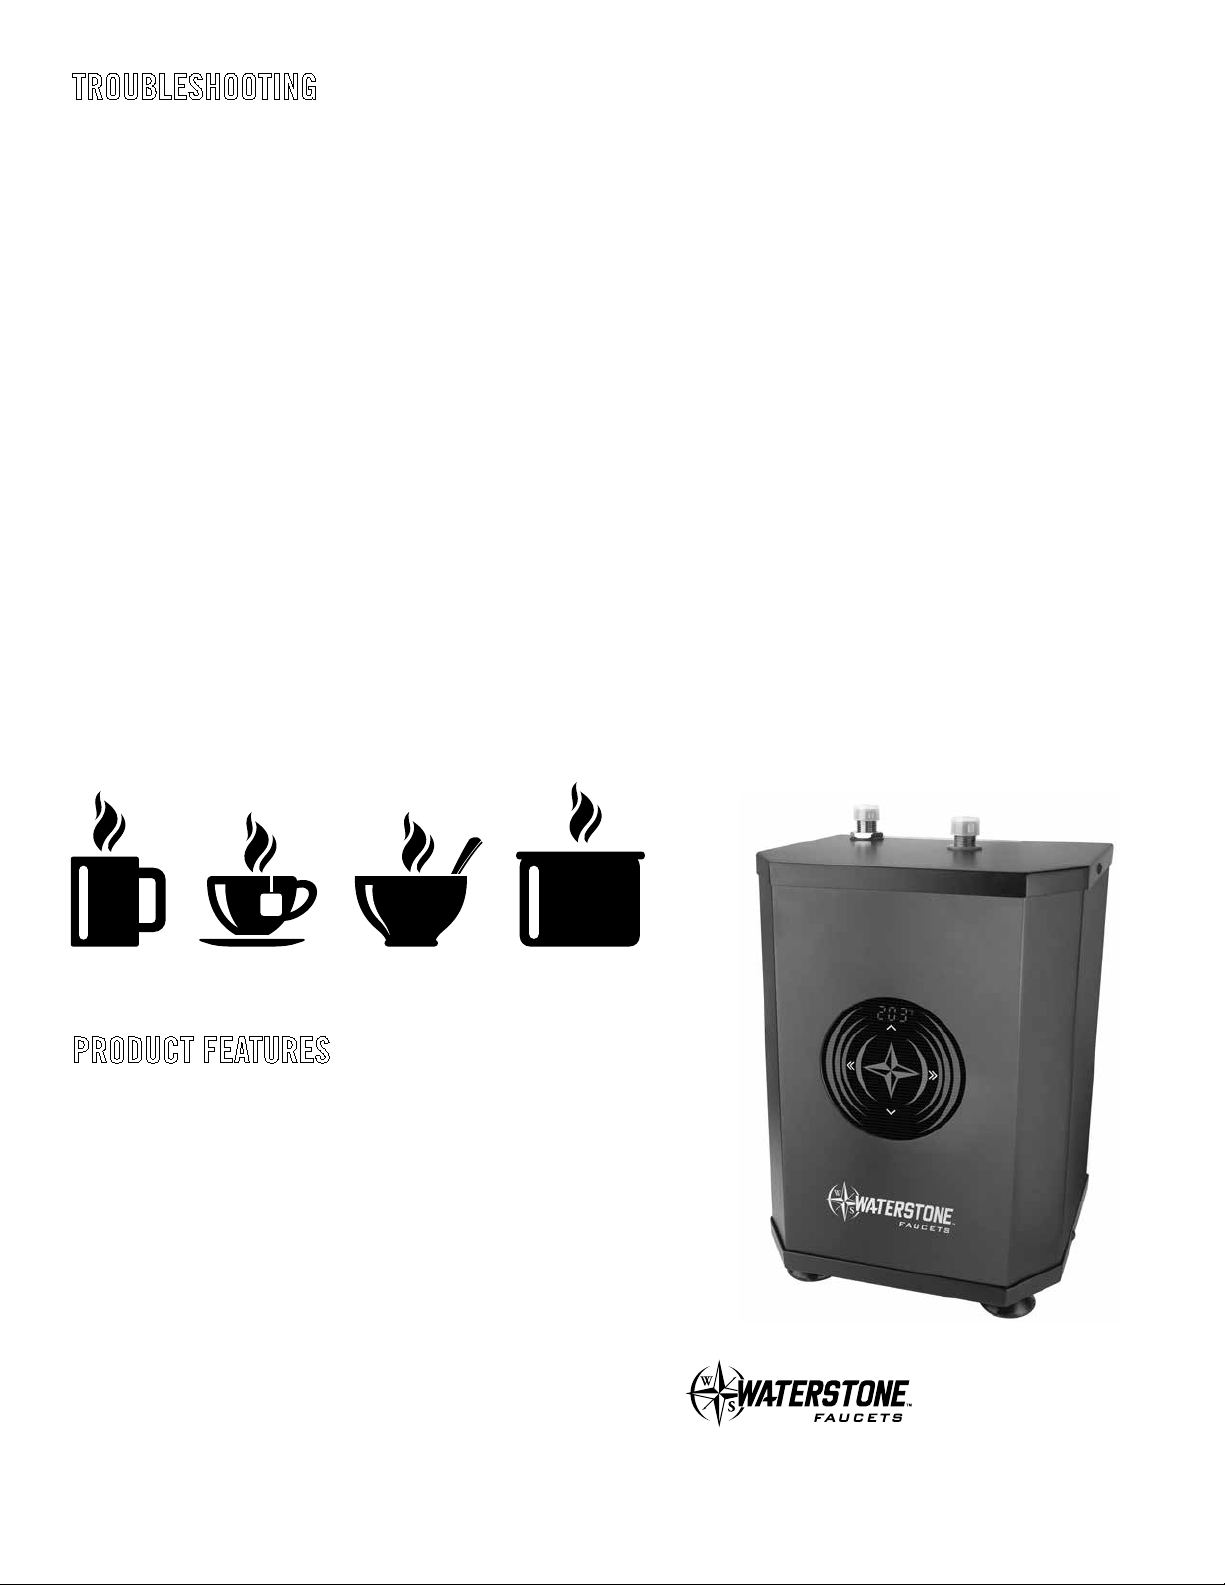
PRODUCT FEATURES
• Compatible with RO ltration systems.
• Digital temperature control 167F to 208F (75C to 98C).
• Six temperature presets: 167F, 176F, 194F, 203F, 206F, and 208F.
• Electronic control display panel.
• Insulated 1 ⁄ 2 gallon stainless steel tank.
• Maximum inlet pressure regulated for protection.
• Dry burn and over heat protection sensors.
• Heating element: 1500 watts, 120 volts.
• Non-pressurized bladder system.
• 1/4” NPTF inlet and outlet connections.
• Protective metal casing.
• Dimensions: 7-7/8”L x 8-7/8”W x 12-1/4”H.
• Works with any Waterstone Hot Only or Hot & Cold Filtration Faucet.
• Manufactured by Aqualogic.
• 3 year Waterstone warranty.
PERFECT FOR INSTANT HOT COFFEE, TEA, SOUP AND COOKING
41180 Raintree Court • Murrieta, CA 92562
1-888-304-0660 • 951-304-0520
www.waterstoneco.com
Table of contents
Other Waterstone Water Heater manuals

Popular Water Heater manuals by other brands

GSW
GSW 73992 Installation and operating instructions

Solcrafte
Solcrafte 100 instructions

Gorenje
Gorenje FTG80SM Instructions for use

Solar Energy
Solar Energy WWKS 300 Installation and operating manual

Lochinvar
Lochinvar EKW45CE User & smart system control guide

State Water Heaters
State Water Heaters GPX Service handbook

Siemens
Siemens DE18401 Installation and operating instructions

Bosch
Bosch Exxcel 1400 Installation, servicing and user instructions

A.O. Smith
A.O. Smith GPVH 40 Service parts list

Steinbach
Steinbach Solar Collector Deluxe owner's manual

Gorenje Tiki
Gorenje Tiki GV Series manual

Honeywell
Honeywell WV4262B installation instructions


