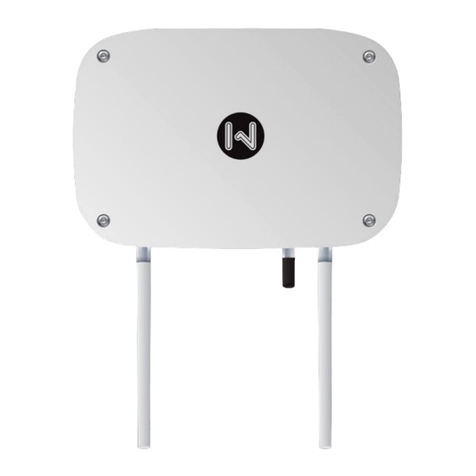
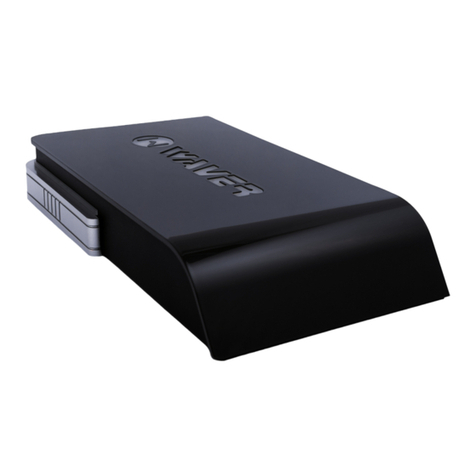
Waver WAC52N+ User manual

1
WAC52N | WAC52N+
QUICK START GUIDE
READ CAREFULLY BEFORE USING THE DEVICE

2
Your satisfaction is our top priority.
Propose a feature that will be useful to be
added on Waver SmartOne in the upcoming
software updates at features@wavertech.eu
Thank you
for choosing our product!
Package Contents
1. Waver®SmartOne Router
2. Ethernet Cable Cat5e
3. AC-DC 24 Volt Power Adapter
4. Quick Start Guide
Requirements
• OS: Microsoft Windows XP, Windows Vista, Windows 7 or
newer, Linux, or Mac OS X or Android
• Web Browser: Chrome (Recommended), Mozilla Firefox
or Apple Safari
• Broadband Internet Connection (Ethernet)

CONTENTS
- Safety Information 4
- Hardware Overview 5
- Hardware Installation 6
- Conguration Interface 7
- Multilingual Instructions 22
- Warranty and Returns 25
- Declaration of Conformity 27
• Read this manual thoroughly before using
Waver SmartOne
• To ensure proper use of the device, make sure
to read “Safety Information” page
• After reading, keep it in a readily accessible
place for future reference

4
AT BE BG CY CZ DK EE FL FR
DE GR HU IE IT LV LT LU MT
NL PL PT RO SK SI ES SE GB
IS LI NO CH TR HR
Safety Information
- Use only the supplied Power Adapter. Connection to a different
power source may result in improper operation, damage or pose to
re hazard.
- Do not cover ventilation holes at the bottom. This product must be
operated on a at surface far from any heater or heating vent.
- Avoid direct irradiation of any strong light (such as sunlight)
- Keep at least 5 cm of clear space around the device
- Operating Temperature: - 20 - 60°C
- Operating Humidity: 10-90 % RH, Non-condensing
- Do not disassemble the product, or make repairs yourself. You run
the risk of electric shock and voiding the warranty.
- Avoid water, moisture and wet locations.
- When using Power over Ethernet 24V Port to power another de-
vice, use properly wired CAT5e or upper category and make sure the
equipment connected at this port does not exceed the 500mA rating
of power consumption (!)
- Product can be used in the following countries:
WARNING! Any users with implantable cardiac pace-
makers should have this product apart the pacemaker
by 30cm or longer. The pacemakers may be inuenced
by radio waves radiated from this product.

5
AT BE BG CY CZ DK EE FL FR
DE GR HU IE IT LV LT LU MT
NL PL PT RO SK SI ES SE GB
IS LI NO CH TR HR
Hardware Overview
1
2
3
4
5
7
6
1. Power Led
2. Internet Port Led
3. 2.4GHz Wireless Interface Led
4. 5GHz Wireless Interface Led
5. Guest Ethernet Port Led
6. RGB Side Led
7. Logo Led
8. DC Power Jack
9. ON/OFF Switch
10. Reset to Factory Button
11. 2.4GHz Interface Button
12. 5GHz Interface Button
13. Internet Ethernet Port
14. LAN Ethernet Ports
15. Guest Ethernet Port with PoE
24V Output
8910 11 12 13 14 15

6
Hardware Installation
To install the Waver SmartOne router, perform the following
steps:
1. Connect Ethernet cable from you DSL/Cable modem to
the INTERNET Port of Waver SmartOne Router.
2. Connect the DC Power Adapter to the router and to a
power outlet.
3. Turn on router by pressing the ON/OFF switch to ON
position.
132
The boot process will start. After a while the power LED
will light up.

7
a. During the boot process (it takes about 1 minute
and 30 seconds to boot up)
b. During Reboot process
c. During Factory Reset process
d. During Firmware update process
NEVER DISCONNECT POWER OR TURN OFF THE DEVICE
IMPORTANT
1. To connect to the Waver SmartOne, use one of the
two methods below:
Wired.By connecting an Ethernet cable from your
computer to a LAN port on the Waver SmartOne.
Wireless.By connecting to Local-2G or Local-5G wireless
network (the default Local networks of the Waver SmartOne).
*Check device bottom for default Wireless Key!
Conguration Interface
- Turning off the device or disconnecting power source during
the above processes, can corrupt ash image and can make
the device unbootable!
- To turn off the device, make sure boot process has nished
(Power, Logo and side RGB Leds are ON).
- Always push the ON/OFF switch to OFF position before
unplugging the DC Adapter.

8
3. Put “admin” as username and “waver” as a password,
select the proper region and time zone (correct time zone
is very important for database synchronization and other
critical router functions). Read carefully the end user license
agreement. If you agree with all the terms you can check the
“I agree the terms and conditions” checkbox and click on the
“Login button”.
4. The MAIN page of conguration interface will appear.
You are logged in and you can congure your Waver
SmartOne router!
2. Launch your Web browser and type http://192.168.10.1
in the address eld.
Press enter (PC) or return (Mac).
Note: Your computer needs to be on the 192.168.10.x
subnet. If you have DHCP Client enabled on your network
adapter, it will receive an IP Address automatically. If not,
you will need to set a static IP address in the 192.168.10.2 -
192.168.10.254 range.

A quick overview on the conguration interface
MAIN: Shows general guest user data statistics,
device information, interface throughput and Inter-
net connectivity status.

10
WAN | LAN
Congures Internet connectivity type, Firewall and
Port forwarding, Website Filtering and Local Net-
work Settings.

11
WIRELESS
Shows wireless interface information and statistics,
Congures interface and wireless networks settings.

GUEST CAPTIVE PORTAL
Congures the guest landing page appearance and
the way guests are authenticated on your guest
network.

13
GUEST NETWORK
Congures network parameters for guest network.
It shows information regarding devices on the guest
network.

GUEST USERS | STATISTICS
Analytic guest user data statistics and management
for guest user credentials. The synchronization of
user data with third-parties can also be edited on
this page.

15
SYSTEM
Gives you access to basic system settings like con-
guration interface security and system time. It also
provides external RGB LED color control, software
update and networking tools

16
On the main page go to Wireless -> Local Wireless tab.
Secure Local Wireless Networks
A. Enter a name for your wireless network in the SSID
eld and click the “Change SSID button”.

17
B. Enable security for wireless network.

18
C. Enter a passphrase in the Network Key eld. You
can click the “Show” option to check the characters
that you are typing.

19
D. Click on the “Change WPA2 Key” button
The same way you can manage SSID and
Security for Local 5GHz and guest wireless
interfaces.

20
On the main page go to System -> Security tab.
Securing the device
A.Enter a strong admin password in the new
password eld.
B. Enter the same password in conrm new password eld
and click the “save” button.
The admin password will be changed!
This manual suits for next models
1
Table of contents
Other Waver Network Router manuals