WAVEZ KYMERA User manual

User’s Manual
Version 1.7.20181211

Wavez Kymera User’s Manual v1.7.20181211
Page 2
IMPORTANT!
Read this User’s Manual thoroughly before first using your Kymera Body Board, to keep yourself and
others safe, and to get the most out of your experience. Keep this manual where it can be read by all
who use the Kymera.
Kymeras are LOW MAINTENANCE but they do require SOME MAINTENANCE. Failure to read this manual
and conduct required maintenance on your board may result in damage which will not be covered under
warranty!
You acknowledge that all water sports carry inherent risk, up to and including injury or death. This User’s
Manual is intended to minimise risk, but is only an outline of best practices. There is no substitute for common
sense and good judgement. Always operate within your limits and ensure you always maintain a safe distance
from other waterway users.
Always use your Kymera in accordance with all applicable local laws, rules and regulations, which may
include registration and licensing.
Symbols and Conventions
To make it easier to find the information you need, the following symbols and conventions are used:
This icon marks cautions which should be read before use to prevent injury to you or others or damage to your Kymera
This icon marks notes that are useful to read before using the Kymera
This icon marks references to other pages in this manual
This icon marks useful hints and tips on how to get the most out of your Kymera
Pay particular attenton to key words highlighted in bold text
For your safety, always ensure that you read the warnings and advice indicated by this icon

Wavez Kymera User’s Manual v1.7.20181211
Page 3
Contents
IMPORTANT!....................................................................................................................................................................................... 2
First Time Setup .................................................................................................................................................................................. 3
Getting to know your Kymera............................................................................................................................................................. 7
Battery handling.................................................................................................................................................................................. 9
Riding your Kymera........................................................................................................................................................................... 14
Maintenance..................................................................................................................................................................................... 20
Troubleshooting................................................................................................................................................................................ 24
Support ............................................................................................................................................................................................. 26
Kymera Manual Updates .................................................................................................................................................................. 27
Technical specifications .................................................................................................................................................................... 27
Recommended accessories............................................................................................................................................................... 27
First Time Setup
Package #1 –Kymera Body Board
Confirm that the package contains the following items. Note that versions change, so all components may differ from those shown, but will
serve the same purpose.
1
Kymera Body Board
Supplied in your chosen colour and power output (3.9kW by default). Your Kymera
will normally be shipped in your carry bag, if you have purchased one.
2
Shoulder carry strap, cooling line flush adapter and hose connector
These are shipped inside the Kymera’s waterproof glove box (inside the front hatch
lid).
3
Battery charger
The battery charger is shipped inside its own box inside the Kymera battery tray. The
charger is supplied with local voltage and a local power plug.

Wavez Kymera User’s Manual v1.7.20181211
Page 4
4
Wavez Kymera Maintenance Kit
The Wavez Kymera maintenance kit is shipped inside its own box inside the Kymera
battery tray, with the charger. It provides eveyrthing you need to perform regular
lubrication of the Kymera’s drive shaft. Replacement marine grease cartridges can be
bought at major vehicle or marine supply stores, for example SuperCheap Auto or
Whitworths.
5
Australian Boat Code HIN (hull identification number) certificate –pink (Customer)
copy (for boards delivered to states which require registration only, or iupon
request)
If registration is required in your location, the HIN certificate is in an envelope inside
the Kymera’s waterproof glove box. If you live where a Kymera with your power
output requires registration, you should use this certificate to register your Kymera.
Package #2 –Kymera Battery
Confirm that the package contains the following item:
1
Battery in hard carry case
The battery is shipped inside the hard carry case in a second carton.
Check carefully for any signs of damage to the carton or battery before charging
or using the battery.
Please check all boxes and contents carefully for damage before opening and/or using the products. Please take photos and send to Wavez at
Additional packages
The charger or maintenance kit may be sent inside the board’s battery tray, as additional package in the same shipment, or as a separate
shipment. You should always receive all of the above components plus any extra accessories you have purchased.
Unpacking and checking your Kymera
1
Read this User’s Manual from start to finish, paying special attention to the section
titled ”Battery handling” p9
2
Remove the Kymera from its packaging and carefully inspect the exterior for any
damage

Wavez Kymera User’s Manual v1.7.20181211
Page 5
3
Lie the board on a kayak stand, table or workhorses so that it is not lying directly on
the ground or sand
This will ensure that no debris is sucked into the impeller when you test the operation
of the board.
4
Open the front hatch and remove the bubblewrapped battery charger box and
maintenance kit from the battery tray (if not sent separately) and all packaging
materials (foam, tape) from inside the board
You can open the front hatch by pushing down on the top end of the rectangular
black tab, hold the tab and turn it 90 degrees in either direction.
5
Open the glove box and remove all the contents, including the carry strap, flush
adapter and hose connector, and put aside somewhere safe
The glove box is the cavity inside the front hatch - turn the round glove box cover
anti-clockwise to open it.
6
Inspect all board components, nuts and bolts to ensure they are all firmly secured
(but not overtight). Ensure that the jet pump is free from packing materials, debris
and safely away from your hands and feet and those of any observers.
Ensure that all the nuts, bolts and screws which hold the Kymera together are
secured firmly, especially the following:
•the bright-coloured thumb bolts holding the clear cover on the electronics
housing –do not overtighten –use your thumb and forefinger to tighten firmly
•the screws holding the four d-rings to the outer edges of the board
•the screws securing the grill and ride plate underneath the board
•the rivets underneath the board securing the chassis to the board
•the bolts and nylon nuts securing the rear round hatch to the board
7
Open the lower hatch by pulling the black tab upwards and turn the large round
plastic two-piece coupler by hand to ensure the drive shaft moves freely, then close
the hatch by simply pushing it down firmly
The coupler in this photo is bright green. It looks a bit like a big plastic clam. Yours
will be black.
8
Remove the charger from its box
9
Do not proceed without having reviewed the whole section ”Battery handling”
p9
Open Kymera package #2 and remove the battery from the hard carry case
Use the carry handle on the battery to remove it from the hard carry case.
Check for any signs of damage to the hard carry case or battery before charging
or using the battery. Be CAREFUL! The battery must NEVER be dropped!

Wavez Kymera User’s Manual v1.7.20181211
Page 6
5
Change the battery following the procedure ”Battery charging” p11
12
When the battery is fully charged, move the power cable inside the front hatch out
of the way and insert the battery so it is fully seated back into the battery tray and
ensure the battery tray handle is forward
If not, pull the metal knob at one end to release the battery tray handle to move it
forward.
13
Lock the battery in place with the battery tray handle, plug in the power cable and
activate the battery
Listen for a few beep(s) and verify that the battery meter display turns on.
Always wait for ten seconds after activating the battery to allow the computer
to fully boot up. Failure to do so may result in non-activation or incorrect trigger
setting.
14
Double-check that nothing is obstructing the impeller and gently pull the throttle
trigger to verify that the motor engages
When the board is first turned on there can be a small lag before the motor activates.
Retry if the motor doesn’t engage the first time but don’t pull the trigger hard – the
motor should never be run hard when the board is out of the water.
If it still won’t activate, did you wait 10 seconds before pulling the trigger? If not,
turn off the battery for at least 10 seconds and then repeat the process.
15
Deactivate the battery, remove the power cable, unlock the battery tray handle,
remove the battery, wipe it down and return it to the hard carry case
You unlock the battery tray handle by pulling the silver knob on the end of the handle
outwards and pulling the handle down.
Carefully close and secure both tabs on the hard carry case.
16
Close and lock the front hatch of the board.
Your board is ready for action!

Wavez Kymera User’s Manual v1.7.20181211
Page 7
Getting to know your Kymera
Board topside
The front hatch provides access to the forward half of the board’s interior. This hatch is used to install the battery, access the glove box and
check the battery meter, and clean the board after use. The front hatch lock is opened by pushing down on the top end of the rectangular
black tab, hold the tab and turn it 90 degrees in either direction.
The trigger throttle is how you make the board move! Just pull the trigger to make it go, part way in for slow and all the way in for fast. When
you want to stop, release the trigger throttle.

Wavez Kymera User’s Manual v1.7.20181211
Page 8
The D-rings on both sides of the board are used to attach the shoulder carry strap, secure the board onto a roof rack or attach a body board
wrist strap –or anything else, for that matter!
If using a carry bag to transport the board long distances, ensure you remove all four D-rings with an Allen key first, so they don’t put
holes in the carry bag!
The electronics box (ebox) cooling line outlet expels water which enters the board via the jet nozzle and runs through the board to cool the
ebox.
Make sure that this outlet is expelling water (to the left) within a few metres of running the board. If it is not, the cooling line may be
blocked or disconnected and the power will cut out to protect the electronics from overheating, potentially leaving you stranded. An
excessive build-up of pressure in the cooling system caused by blocked cooling lines can also burst the cooling lines and result in
damage to the electronics.
The motor cooling line outlet expels water which enters the board via the jet nozzle and runs through the board to cool the motor.
Make sure that this outlet is expelling water (to the right) within a few metres of running the board. If it is not, the motor is not being
cooled, which may result in the power cutting out to protect the motor from overheating, potentially leaving you stranded.
The rear hatch provides access to the drive system for cleaning and maintenance. Here you can clean the rear interior of the board after use,
grease the drive shaft board exit every few runs and adjust or replace the coupler. This also provides access to periodically maintain the exit
bearings.
Board underside and tail
The water intake grill protects the impeller from damage from large items of debris, and prevents any body parts
from going anywhere near the impeller.
The jet assembly is located under the ride plate.
The hull has a self-draining ball-type plug, shown here draining water (bottom right of photo). This plug should be
checked for water flow regularly, or if ever an excessive amount of water pools inside the board.
Make sure that this plug stays clear of debris –remove, clear and reinstall if required. Otherwise, it may drain
slowly or allow excessive amounts of water to enter the hull. The board should never be run with an
excessive amount of water inside.
You can safely stand the Kymera on its tail as shown to drain excess water from the hull and to store the board.
Make sure that you don’t sit the board on any obstruction which could damage the jet nozzle or the water
cooling lines.
Jet nozzle
The rear drive shaft grease nipple is accessed through the centre of the jet nozzle. Always use the grease
gun with a long shaft quick release coupler, provided in the maintenance kit.

Wavez Kymera User’s Manual v1.7.20181211
Page 9
Front hatch interior
The front hatch provides access to the brains of the operation, the electronics housing, as well as access to
the battery tray and the glove box (located inside the front hatch lid).
Ensure that the thumb screws holding down the cover of the electronics housing always remain
screwed tight. Loose thumbscrews may reduce the waterproofness of the housing.
Do not open the ebox. This will void your warranty and may negatively affect the waterproofing of the
housing, resulting in potential failure of one or more components in the ebox.
The read-and-black power lead to the battery is seen here on the left. The electronics housing contains the
battery meter. The ebox layout and battery meter may vary from the one shown.
Rear hatch interior
The rear hatch provides access to the coupler, drive shaft and the motor. The rear hatch is attached to the
board with a coil lead to prevent loss.
Remember to close the rear hatch before transporting your board on your roof racks! It’s easy to
forget!
You can access the forward drive shaft grease nipple through the rear hatch. It is located inside the board to
the left of the image shown below. Use a grease gun with a flexible hose and long shaft quick release
coupler provided in the maintenance kit to grease that part.
Battery handling
Failure to follow these instructions may result in permanent battery damage, electrocution, fire and/or explosion.
Battery overview
The Kymera battery is a 51.8V normal charge 30Ah lithium battery.
The battery contains an advanced battery management system (BMS) which protects the
battery cells, the board and the rider from danger.
Battery inspection
Your battery will arrive partially charged, usually showing between 53V and 55V. Charge your battery before use, using only a Kymera-
supplied battery charger.
Before every use, inspect the battery for any signs of damage or defect. If any are found please take photos and send to Wavez at
Battery warnings
Always inspect the battery case, switch and connectors for any signs of damage and do not use if any damage is found

Wavez Kymera User’s Manual v1.7.20181211
Page 10
Always install the battery just before operation and remove immediately after
Always remove the battery prior to opening the rear hatch
Never transport your board with the battery installed
Never attempt to use a battery which shows signs of cracking or other damage
Never attempt to use a battery which is emitting a smell of lithium gas or smoke
Never open the rear hatch when the battery is installed
Never allow your battery to become submerged
Never open the battery
Never leave your battery discharged. Failure to maintain at least 40% charge will result in permanent damage and will void your warranty
Always check the battery charge levels at least every 60 days and recharge to a storage level of 55V to maximise battery life
Never store your battery fully charged for more than (1) week.
Never clean your battery with high pressure water. Use the provided chamois to wipe it down and the squeeze bulb to expel any water or
debris from the connectors.
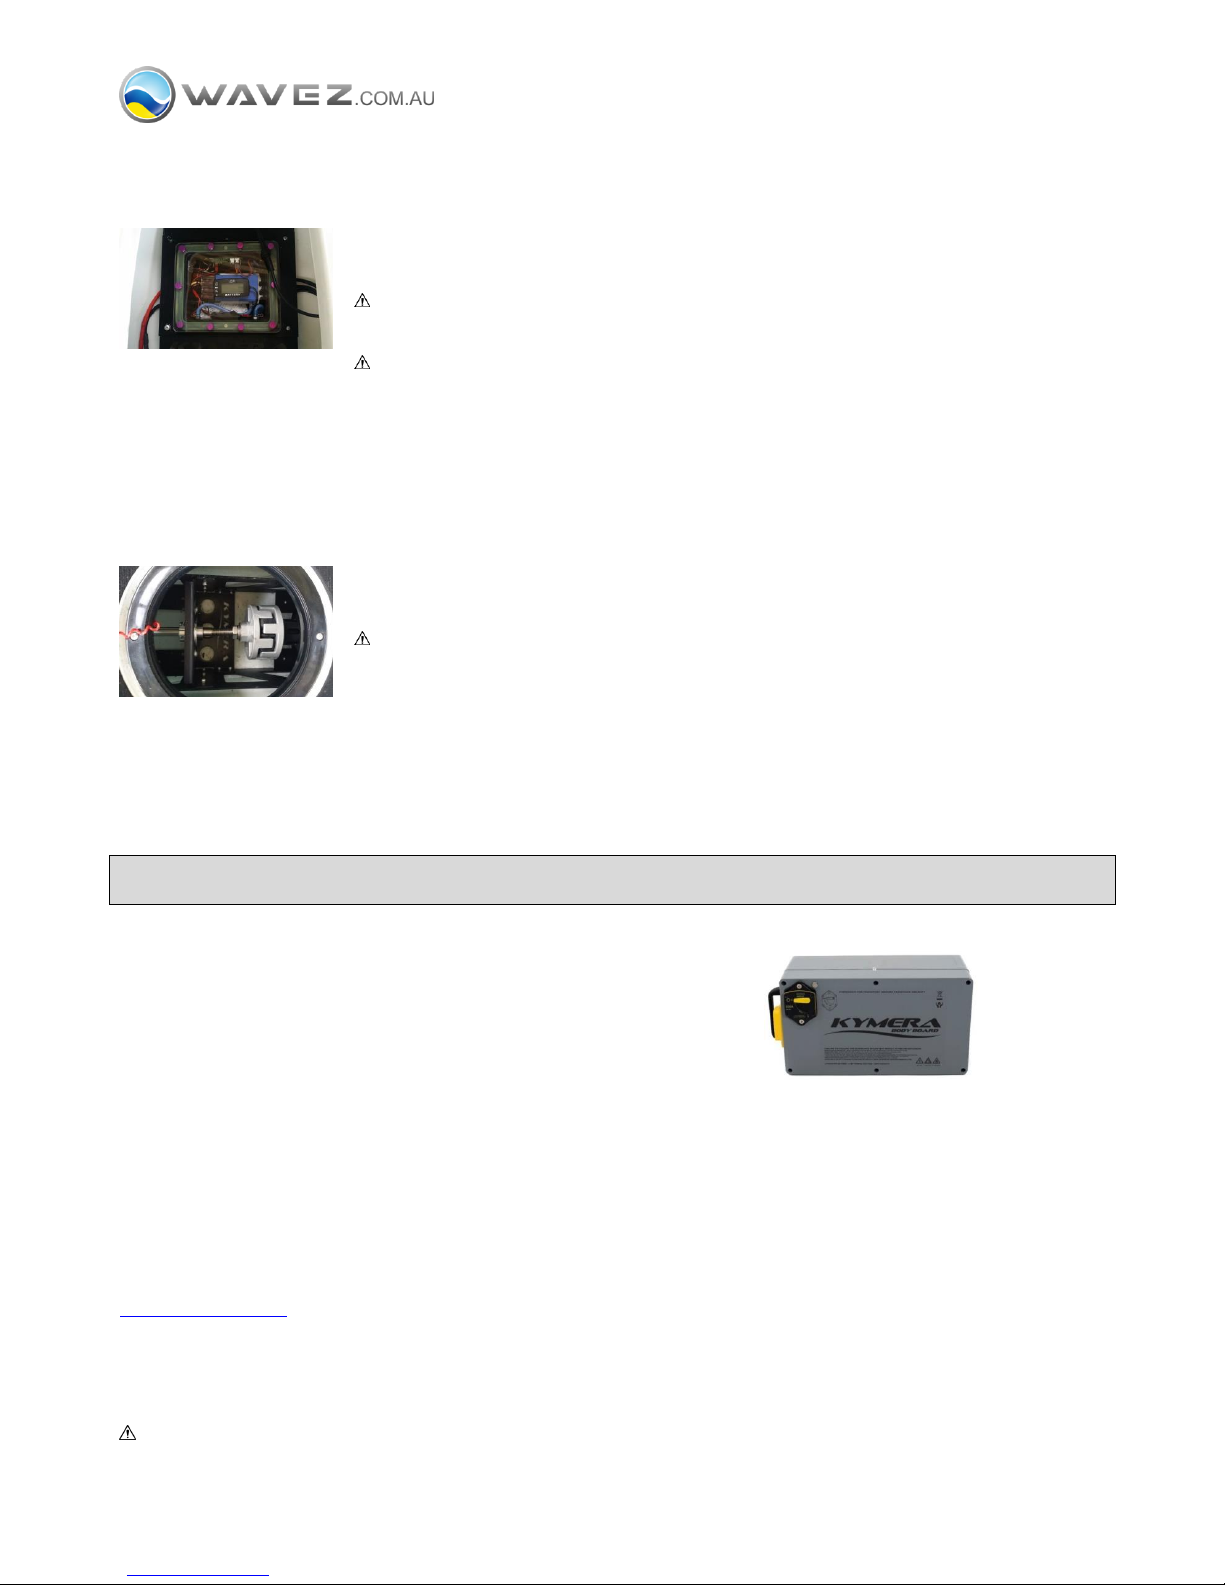
Battery charger
Your battery charger is a 220V input, 58.8V @ 20A output lithium battery charger. It comes with an Australian mains input plug and Kymera
output plug.
Like all electronic equipment, the battery charger supplied with the Kymera requires a good quality power supply to avoid any damage. If you
are unsure, it will be worthwhile buying a power line filter to ensure that any power issues don’t damage the battery charger or battery.
The mains power lead is located at the rear of the charger.
The front panel includes the battery output cable (with a yellow end), fan and red/green indicator light
The charger will recharge a battery from empty to full in around 90 minutes.
Battery charger warnings
Always charge your Kymera batteries using only the included charger or another provided by Wavez specifically for this purpose.
Never charge non-Kymera batteries with this charger
Always choose a safe battery charging location with good air flow, ventilation and away from pets and people

Wavez Kymera User’s Manual v1.7.20181211
Page 11
Never leave your charging battery unattended
Always recharge your battery after each use to the appropriate charge level
Never leave your fully charged battery connected to the battery charger for an extended period of time
Never leave your battery fully charged for longer than (1) week
To maintain optimal battery health, let the battery rest for 10 minutes after charging before using it
Connect your charger directly to the mains outlet wherever possible.
Each charger is 1000W+. A standard 10A Australian household power circuit can support only (1) charger. If you are unsure of your
household power capacity, consult a qualified electrician.
If an extension cord is needed to locate the battery / charger in a safe charging location, use a heavy duty power extension cord no longer
than 15m long.
Do not use power strips or other methods to connect more than (1) charger
to a power circuit, even if the power circuit supports more than 10A –
the power strip may not!
Battery charging
1
Identify a secure location away from all flammable materials with an appropriate power
outlet. Ensure the power outlet is switched off.
2
Verify the charger input voltage shows the correct voltage, which is 200V~240VAC in
Australia.
It will be indicated by a red box next to either 100V~130VAC or 200V~240VAC.
3
Ensure you have good quality power supply which is not likely to spike or brown out. If
in doubt, install a power line filter.
4
Turn the wall outlet switch off and connect the charger to the wall outlet or power line
filter (for situations where the wall outlet does not provide good quality power).
5
With the battery power switch in the off position, connect the charger to the battery
with the cable with the yellow plug (shown on the left in this photo)
Make sure the plug is correctly oriented –there’s only one way it can be connected.
6
With everything fully connected, switch on the wall power point. The charger light
should turn GREEN, showing that the battery is not yet connected (as it is turned off).
7
Switch on the battery. The charger light should now turn RED, indicating that it is
charging the battery. The light will remain RED until the battery is fully charged, then it
will turn GREEN.

Wavez Kymera User’s Manual v1.7.20181211
Page 12
8
THE FIRST TIME YOU CHARGE YOUR BATTERY
Leave the battery connected for a further hour to give the battery cells the opportunity
to ’balance’, maximising the life of your battery and minimise the chance of any battery
problems.
9
You can now switch off the battery and the wall outlet, disconnect the battery from the
charger, and then the charger from the wall. Your battery is now ready for use. Return
it to its hard carry case and transport with care.
Battery installation
1
Open the front hatch and gently insert battery tail first into the tray.
2
Slide the battery back until the battery sits flat in the tray.
3
Rotate the battery locking bar to its full upright and locked position.
4
With the power switch off, locate the power plug and insert into the battery receptacle, making
sure the plug is fully seated.
5
With the bar locked and plug fully installed, switch the battery power switch to the ON position.

Wavez Kymera User’s Manual v1.7.20181211
Page 13
6
You will hear a series of tones during the start up sequence. Do not pull the trigger until the tones
have stopped and the computer has finished booting up. We recommend you wait 10 seconds.
If the throttle doesn’t respond after a few seconds (maybe not enough time elapsed between
turning the power on and testing the throttle), turn OFF the battery, wait 10 seconds and retry.
Battery storage
The battery level should then be checked at least every 60 days to ensure it remains above 40% (52V).
Always store your battery in a cool dry secure area, and out of the reach of children.
When storing your battery, the life can also be dramatically affected by the storage temperature.

Wavez Kymera User’s Manual v1.7.20181211
Page 14
Riding your Kymera
Know before you go
It is the operator’s sole responsibility to know and follow any and all rules and regulations related to operation in any given
waterway.
Each state, council or specific waterway can have their own regulations, so it’s critical to contact the proper authorities prior
to operation.
If you should need help with classification or clarification about the Kymera to gain approval for your local waterway, please contact Wavez on
New board break in –IMPORTANT!
DO NOT OPERATE YOUR BOARD OUT OF THE WATER. This is particularly important prior to break in.
Ensure you have checked your board thoroughly and read this whole User’s Manual before proceeding.
During the first hours of operation it is critical to allow all components to properly wear in.
This is accomplished by simply taking care to run the board through its full RPM range repeatedly to full power, avoiding prolonged full power
operation more than a few minutes at a time for the first 2-3 charge cycles. Peak efficiency is typically achieved after 5-6 cycles.
Transport
Never transport your board with the battery installed
Transporting by vehicle
If you will be transporting your board to your destination using a vehicle, there are many easy ways to do it:
Inside your vehicle
The Kymera is a fairly small watercraft, which means that it will fit easily into most cars with the back seats down.
Here are three in the back of a Range Rover Sport, two in the back of an Audi sedan and one in the back of a Mazda 2!

Wavez Kymera User’s Manual v1.7.20181211
Page 15
Held vertically on kayak J-bars or horizontally on kayak cradles ... or both
In your boat, in the back of your ute, trailer or there are plenty of other ways to carry your Kymera depending on your vehicle and other
equipment available to you!
Transporting on foot
There are multiple ways to transport your Kymera from your vehicle to the water once you get to your destination:
Using the included shoulder carry strap –every Kymera comes with a carry strap. Secure one end
of the carry strap to the front D-ring and the other end to the rear D-ring on the same side of the board.
Using a RailBlaza C-TUG trolley - these are great for transporting your board the long distance from
your car to the water.
Find them on the Wavez Store:
http://www.wavez.com.au/railblaza-c-tug-trolley
http://www.wavez.com.au/railblaza-c-tug-sandtrakz

Wavez Kymera User’s Manual v1.7.20181211
Page 16
Or using your imagination ...
Prepare
Adult supervision is required! Never allow under-age riders to operate your Kymera!
Ensure you have checked your board thoroughly, especially the electronics housing thumb screws and verified there is no water in the
electronics housing, and read this whole User’s Manual before proceeding.
Always comply with all local rules and regulations relating to vessel registration, operator licensing, speed limits, exclusion zones and
anything else which may apply
1. Carry/wheel the board and battery to the water’s edge and place on stands (if available)
Never carry the board using the right handle, as you may bend and damage the trigger inadvertantly.
Whenever possible use stands or other means to prevent the board from resting directly on the ground. This will reduce the chance of
debris entering the pump and/or hull.
2. Put anything you’d like to keep dry into the glove box. We recommend that you put the carry strap in there now.
3. Ensure the battery is CLEAN and install it.Once the battery is fully seated and locked into place, verify the battery is turned OFF (the lever
is pointing forwards) and plug it in.
The battery should always be kept CLEAN. DO NOT put the battery on the ground or on the sand. Debris transferred into the interior of
the board, especially sand, can foul the motor or drive shaft bearing requiring professional servicing.
4. Verify that the throttle trigger is in the OFF position (fully forward). Sometimes when you lean over the board you may inadvertently pull
the trigger.
5. Switch the battery to the ON position and the board will beep and the battery meter will light up.
6. Once the beeps stop, the board will take up to 10 more seconds to fully activate. Do not pull the throttle trigger during this time or you
may need to repeat the startup procedure to get the board to operate properly.
Never leave your board in the water unattended
Never leave your board anywhere unattended with the battery in the ON position
Launch
Adult supervision is required! Never allow under-age riders to operate your Kymera!
Always comply with all local rules and regulations relating to vessel registration, operator licensing, speed limits, exclusion zones and
anything else which may apply
Always ensure you always wear an approved life vest appropriate for the conditions and fully secured before entering the water.
Never operate your Kymera under the influence of drugs or alcohol (or allow others to do the same)

Wavez Kymera User’s Manual v1.7.20181211
Page 17
Never operate your Kymera at unsafe distances from swimmers, surfers or other water users
Never operate your Kymera in very bad weather or very rough conditions
Never overload your board by exceeding the weight limit or carrying multiple passengers
1. Verify both the front and rear hatches are secured and place the board in the water.
2. Once in knee to waist deep water, press up and down on the tail of the board repeatedly, which will push water through the jet assembly,
clearing any sand or debris that may have entered.
Dunking is a critical step to prevent scoring the inside of the pump housing, damaging the jet assembly and/or the impeller and reducing
performance.
Never allow any debris to enter the jet assembly!
3. Once dunked, with both hatches secured, verify your lifejacket is secured and you are free to board from either side or the rear.
4. Lie down on the board and position yourself into the centre. The knee pockets at the rear will help with proper placement. The handles
can be used to adjust your position but be mindful of the throttle trigger located on the right handle is not inadvertently activated.
5. Straighten your arms to ensure your body weight is at the back of the board, or the nose will dive as soon as you begin to move away
from shore.
6. Once comfortable, check your surroundings for other water users before gently pull the throttle located on the right handle and the
board will begin to move forward.
Check the water outlets on both the right and left side of the board to verify cooling water flow. A small stream of water on either side
should be visible coming from small silver fittings on the board.
7. Increase speed by squeezing harder on the throttle trigger.
During the first hours of operation it is critical to allow all components to properly wear in. This is accomplished by simply taking care to
run the board through its full RPM range repeatedly to full power, avoiding prolonged full power operation more than a few minutes at a
time for the first 2-3 charge cycles. Peak efficiency is typically achieved after 5-6 cycles.
Ride
Adult supervision is required! Never allow under-age riders to operate your Kymera!
Be mindful of your surroundings including other water users, swimmers, boats, water depth, hazards and distance to shore.
Kymera should never be operated further from shore than your physical ability to paddle or swim unless a support vessel or lifeguard is
present. Always keep the shore visible.
When travelling at 10 knots (18km/h) or more, keep 60 metres from any person in the water (including a surfer or boogie boarder), sailing
vessel or passive craft
When travelling at 10 knots (18km/h) or more, keep 30 metres from another power driven vessel, the shore, any moored/anchored
vessel, or any structure or object
Never surf big waves with your Kymera (32kg of Kymera tumbling through the waves is a bad idea for you, other water users and your
expensive watercraft!)
1. Start riding with your arms straight, then shift your body weight forward when you begin to plane.
2. Steering the board is achieved with a combination of shifting the lower half of your body weight left and right, foot placement (acting as
rudders) and hand placement (acting as water brakes).

Wavez Kymera User’s Manual v1.7.20181211
Page 18
3. At low speed, your weight should be shifted further towards the tail and will require more steering with feet or hands.
4. Having your weight further back will also lift the nose in choppy water, prevent submersion and improve steering.
5. As the board picks up speed, you should shift your weight forward proportionate to speed. At full power, your best position is typically
with your chest all the way to or near the front hatch. This will assist with helping the board to plane, minimise the amount of hull below
the water and maximise speed.
6. Slow down or stop by releasing the throttle trigger. The board will stop planing, dropping into the water. The water resistance will make
the board stop quickly.
7. When slowing down, do so progressively and shift your weight backwards, by straightening your arms, to avoid the nose diving and water
coming over the bow. The less water in the board, the easier the cleaning afterwards.
8. Keep in mind the board will react differently depending on how the riders weight is shifted both from side to side and front to back. Also
shifting more weight on a knee will cause a different effect than just moving your body weight.
9. Kymeras respond best when weight is shifted left and right towards the rear of the board. Moving your upper body weight can
destabilise the board and cause the nose to dive, but pushing your shoulders up and pushing your weight back when you turn can be
highly effective.
Riding quickly becomes intuitive, and soon it will feel as though simply thinking to head in a specific direction will cause the desired reaction.
This symbiotic system provides a much more engaging experience as you hone your skills and develop your own style of riding.
Want to turn right using your hand as a water brake? Reach across the board with your left hand to take hold of the throttle and then
your right hand is free to use. This also shifts your body weight to the right side, further improving your turn.
When riding always use the 2/3rd’s rule: never using more than 1/3rd battery on the way out, leaving 2/3rd’s for the ride back. Changing
wind and current conditions can require more battery on the way back. Pay particular attention to changing conditions and turn back
immediately if conditions begin to deteriorate.
Your Kymera’s battery meter (located inside the ebox under the front hatch) displays the battery % remaining. The Kymera will typically switch
to reserve at around 20% remaining.
Take care when accessing the front hatch to prevent water entry
When the battery is depleted, emergency reserve power will activate dropping the Kymera to a speed of 8-10kph for 5-10 minutes.
Reserve mode should be used only in emergency situations and not counted in your 2/3rd’s riding plan. You should aim to be back to
shore just as your battery enters reserve mode.
Carry a reliable means of communication to shore with you at all times for use in case of emergency
Pay attention to the amount of water in the board. Particularly when ridden by a beginner, or in choppy water, the board may take on a bit of
water. Check from time to time and ensure that you do not ride the board for extended periods of time with a lot of water in the board.
Although everything in the board interior is water resistant, the components are not intended to be operated when submerged, and it can
increase the likelihood that components like the motor or drive shaft bearing require professional servicing earlier than they otherwise would.
If it builds up, return to shore, remove the battery and drain water from the board.
Emergency Turning and Stopping
Sometimes, you need to turn or stop FAST! This could be due to you seeing some debris in the water you’d rather not hit, or a swimmer
emerging from the water in the middle of a watercraft area!

Wavez Kymera User’s Manual v1.7.20181211
Page 19
Sharp Turn
You can execute a sharp turn by throwing your weight to the left side of the board and dropping your left arm in the water at 90 degrees to the
direction of travel, and even dropping your left foot into the water too. The more weight you shift to the left, the sharper the turn. This move
will turn the board aggressively to help you keep away from any obstacles, and cut your speed dramatically.
Turn and Stop
If you want to turn and stop, execute the same move but take your finger off the throttle. The turn won’t be as aggressive, the board nose will
dive and you may even fall off, but you’ll stop! For more effect, hold onto the left handle, push back on the right handle and push yourself off
the board. Neither you nor your board are going anywhere!
Two-handed Stop
If you want to stay on your board but stop quickly, another great move is to use BOTH hands as water brakes, dropping them both into the
water at the same time, to the left and right, at 90 degrees to the direction of travel. Dropping one or both feet or legs into the water can
further exaggerate the braking effect. You shouldn’t travel more than 2 or 3 metres forward after using this move.
Return to shore and remove the battery
1. At the end of your ride proceed slowly back to shore watching out for obstructions.
2. Once at the shore, manoeuver the board back onto land.
3. Once sitting securely on land (ideally ‘off’ land on stands) open the front hatch and power off the battery.
4. Allow a few seconds after switching off the battery for the ebox’s LEDs to turn off.
5. Remove the power plug and lower the locking bar.
6. Once free, lift the front of the battery while sliding forward, reversing the installation process. Return the battery to the hard carry case.
7. Once the battery is removed from the board, any water in the hull can be drained by standing the board up on its tail. This can also be
achieved by placing the stands on a slight incline, but standing the board on its tail is most effective.
It’s normal to have a bit of water in the board after a run, especially in choppy water or if the nose of the board has become submerged.
Flex in the board, combined with a large rectangular hatch, can allow some water to enter. This is normal, don’t worry! It shouldn’t
affect the handling of the board and will drain away quickly. However, if the water doesn’t drain away, do not continue to operate the
board with internal components submerged under water.
8. The board is now ready to be transported.
You can double your runtime (and double your fun!) by taking a spare battery to the water with you.
For long trips, for example a camping holiday, you should also consider buying a high quality electric generator to allow you to recharge
your Kymera batteries multiple times. Ensure that the generator provides high quality elecricity suitable for serving electrical equipment
like laptops or, of course, lithium battery chargers. The generator must provide a continuous output of a minimum of 2kVA.
Never leave your board in the water unattended
Never leave your board in the water when not in use

Wavez Kymera User’s Manual v1.7.20181211
Page 20
Maintenance
Cleaning up the board after use, at least once at the end of that day, is absolutely CRITICAL to ensuring that the board remains in
good working order. Failure to clean the board, resulting in component damage or degradation, is not covered by warranty.
1. Wipe down and recharge your battery
If you haven’t done so already, remove the battery and wipe it down with a towel or chamois.
Do not hose the battery down! Although the battery is water resistant, water under high pressure hosed onto the battery could enter
the battery case.
Check the terminals for any sand or water and blow or use a squeeze bulb to blow anything out of the terminals.
It is recommended to occasionally take the additional measure of spraying a contact cleaner like WD40 Contact Cleaner in the terminals to
keep them in top condition.
Fully recharge the battery before storing.
2. VERY IMPORTANT! Flush your cooling lines
Your cooling lines MUST be flushed after use in dirty or salty water, to ensure that any debris or salt water remaining in the cooling block
does not dry out, harden and block the cooling lines or the cooling block inside the electronics housing.
Lie the board LEVEL on the ground, kayak stands or workhorses for flushing to ensure that water can flow easily through the cooling lines.
Standing the board on its tail to flush the cooling lines has been found to be INEFFECTIVE, as the water won’t flow freely against gravity
through the cooling lines, so please DO NOT do it
Attach the provided flush adapter to the standard hose fitting, turn the hose on with low water pressure and hold it up to the water outlets
on the left and right-hand sides of the board (just behind where your elbows would have been positioned) to clear out any salt water which
remains in the cooling lines.
As a rule of thumb, low pressure is measured by holding the hose with flush adapter pointing upwards, and observing a stream of water
extending roughly 20-30cm into the air.
Make sure you use the flush adapter to ensure that sufficient water is flowing through the system.
You should be able to see bubbles moving through the cooling lines via the rear hatch, indicating that water is flowing. If in doubt, take the
flush adapter off the side to allow air bubbles into the line, and then repeat. Water will exit the board via the jet nozzle at the rear.
Allow the water to flow through the lines for at least 30 seconds each side to ensure that any residual salt is cleared.
If you have any doubts about whether you are cleaning your cooling lines properly, please call Wavez on 13000 WAVEZ or +61 2 8006 8261.
High pressure in the cooling lines due to blockage can result in the cooling lines bursting and water flooding the electronics housing or the
board. Running a board with a flooded electronics housing will cause permanent damage which is not covered under warranty.
This is REALLY IMPORTANT! I know I’m repeating myself, but if your cooling lines are not cleared after use, especially in salt water, a
blockage will likely occur. If that blockage is inside the ebox’s cooling block, continuing to run the board may cause permanent
damage!
If your cooling lines are blocked, and no water is coming out of the outlets on both sides behind your elbows, you must NOT operate
the board! The pressure build-up caused by the jet pushing water through the cooling system can cause failure of the cooling system
inside the electronics housing, flooding it with water and damaging your board.
Table of contents
Popular Accessories manuals by other brands

Gram Precision
Gram Precision INDICATOR SC2 user manual

Mountain Buggy
Mountain Buggy carrycot plus instructions

PCB Piezotronics
PCB Piezotronics IMI SENSORS HT642A02 Installation and operating manual

Axon
Axon Body 2 quick start guide

Cuisinart
Cuisinart CEK-50 Instruction booklet

PCB Piezotronics
PCB Piezotronics R480E09 Installation and operating manual