manuals.online logo
Brands
  1. Home
  2. •
  3. Brands
  4. •
  5. WBS
  6. •
  7. Indoor Furnishing
  8. •
  9. WBS Intivo User manual

WBS Intivo User manual

600 Intivo Space Larder Unit Assembly
Components
Ref. No. Item Quantity Ref. No. Item Quantity
Tools Required Assembly Instructions
1 3
5151999
152401 4
152418 4
152402 2
150101 20
3.5x12mm
150202 8
4x12mm
4x15mm
150201 16
154085 14
154004 14
154082 12
150199 4
4.5x45mm
4154027
A
B
C
D
EB
B
150308 4
150309 4
154047 2
154068 4
152162 6
Intivo Space Unit
Caution: Some pieces of hardware could be hazardous to small children. Keep all these items out of reach and do not leave children unattended in the assembly area.
Please read these instructions carefully before proceeding. Refer to the Guide to Receiving and Installing your Kitchen for further information.
Note: Due to variation in wall conditions no screws are supplied for fixing the units to the wall. If in doubt consult an expert. Assemble the unit on a clean solid work surface.
Important: Installation should be carried out exactly according to the manufacturer’s instructions otherwise a safety risk can occur if incorrectly installed.
Warning: Assess the suitability of the wall/ceiling to ensure that the fastening devices will withstand the forces generated. In order to prevent falling down this
product must be used with the wall attachment devices provided.
In the interest of continuing improvements we reserve the right to amend or adjust the specifications without prior notice. Errors and omissions excepted.
Every effort has been made to ensure that this product leaves the factory in perfect condition. In the unlikely event that an item is damaged or incorrect, please contact the customer services department.
FM 665131
5mm
Drill
G-Clamp
(pair)
Medium Crosshead
Screwdriver Hammer
Spirit Level Bradawl
Tape Measure
Large Flathead
Screwdriver
8mm
Tall Intivo Space Unit
F
1
2
3
Holes to be drilled 5mm in diameter and 12mm deep.
Holes to be drilled 8mm in diameter and 12mm deep.
Holes to be drilled 5mm in diameter and 12mm deep.
NOTE: Only required on side panel that will have the door hinged to it.
NOTE: Before assembly can be being, a number of additional holes must be drilled
into each side panel. See diagrams for drilling positions, and key for hole dimensions.
1
37mm
115mm
339mm
37mm
101mm
389mm
421mm
57mm
397mm
738mm
1037mm
1280mm
1372mm
1404mm
266mm
298mm
605mm
948mm
980mm
11 2 2
3
3
1470mm
1
1
1
1
1
3
3
3
3
3
1
1
1
1
1
37mm
115mm
339mm
57mm
397mm
738mm
1037mm
1280mm
266mm
298mm
605mm
1
1
1
1
1
3
3
3
1
1
1
1
1
Top of Panel
Standard
Height Units,
right side
shown only.
Mirror for left
hand side
panel.
Top of Panel
Tall Height
Units, right
side shown
only. Mirror
for left hand
side panel.
A A
35mm
152183 6
151500 2
154084 2
G
A
Important Information - True Handleless Kitchens Installers: See Note Above TH
Note: If fitting a “True
Handleless” kitchen,
some components will
differ to those shown in
this instruction and will
also be packaged
separately. Please refer to
your True Handleless
guide to Receiving for
further details on the
different components and
difference in installation.
TH
TH Modification required at this stage, see True
Handleless guide for further details.
4 7
115mm
339mm
57mm
397mm
738mm
1037mm
1280mm
115mm
339mm
57mm
397mm
738mm
1037mm
1280mm
Top of Panel
Standard
Height Units,
right side
shown only.
Mirror for left
hand side
panel.
Top of Panel
Tall Height
Units, right
side shown
only. Mirror
for left hand
side panel.
6 4 6 4
6 4 6 4
6 4 6 4
6 4 6 4
6 4 6 4
6 4 6 4
7
Drawer runner
7
Drawer runner
7
Drawer runner
7
Drawer runner
7
Drawer runner
7
Drawer runner
7
Drawer runner
7
Drawer runner
7
Drawer runner
7
Drawer runner
6
6
12
154004
4
4
154082 12
3.5 x 16mm x2
x4
Fit as third screw
Front 1 x 'L'; 1 x 'R'
Drawer Runner
7
NOTE: Fixings are supplied in with the drawers.
89
8
8
154085 14
8
8
8
8
B
8
8
8
8
B
8
8
8
8
B
9
A
AB
B
B
9
Start Locked
Do Not Over Tighten
9
9
9
9
9
9
9
9
9
9
9
154084 2
5
5
6
6
5
5
8
8
G
10
9
G
10
9
TH Modification required at this stage, see True
Handleless guide for further details.
TH Modification required at this stage, see True
Handleless guide for further details.
15 16
11 14
17 18 20
21 23
Installation Instructions
4
150199
12
66mm
4
14
150202
154047
2
F
D
E
13
66mm
4
150202
154068
4
4
13
150101
Note: Countersunk
screw goes into
back panels D and F.
13
4
152418
16
4
152401 150201
16
15
140mm
15
15 15
1515
16
16
16
16
15
14
12
12
12
11
11
11
13
13
12
12
13
14
14
280mm
23.5mm
619mm
Top of Larger Fascia
35mm
NOTE: Before attaching hinges, two hinge
holes must be created on the larger of rthe
two fascias at the positions indicated. Hinge
holes are 35mm in diameter and 13mm in
depth. Once the hinge hole is drilled, a hinge
can be held in place and the screw guide
holes created using a bradawl.
17
17
20
20
150101
152402
4
2
18
4
150308 150309
4
5mm
18
19
19
Appropriate to wall type
(Not supplied)
2
==
19
19
18
18
18
18
20
20
150101 12
22
23
23
5
151999
Note: Do not over tighten screws
or use a power screwdriver.
21
22
22
22
22
22
22
22
23
23
23
23
23
TH Modification required at this stage, see True
Handleless guide for further details.
29
24 26 27 28
Ref. 170859 (01)
24
2
151500
24
25
4
154027
25
24
24
C
26
25
25
25
25
A
28
B
28 28
C
27
27
28
C
A
28
B
28
27
27
27
27
27
Attach drawer fascias as per
instructions provided with
drawers then insert into unit.
29
29
29
29
29

This manual suits for next models

2

Other WBS Indoor Furnishing manuals

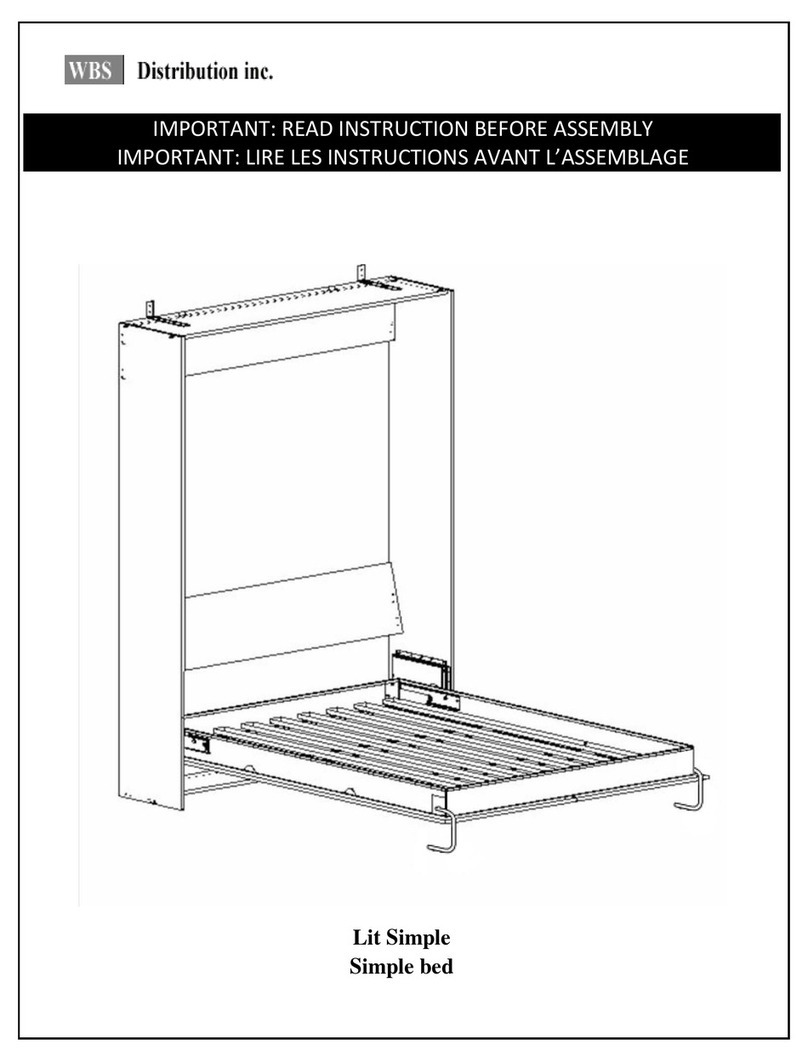
WBS Simple bed User manual

WBS

WBS Simple bed User manual

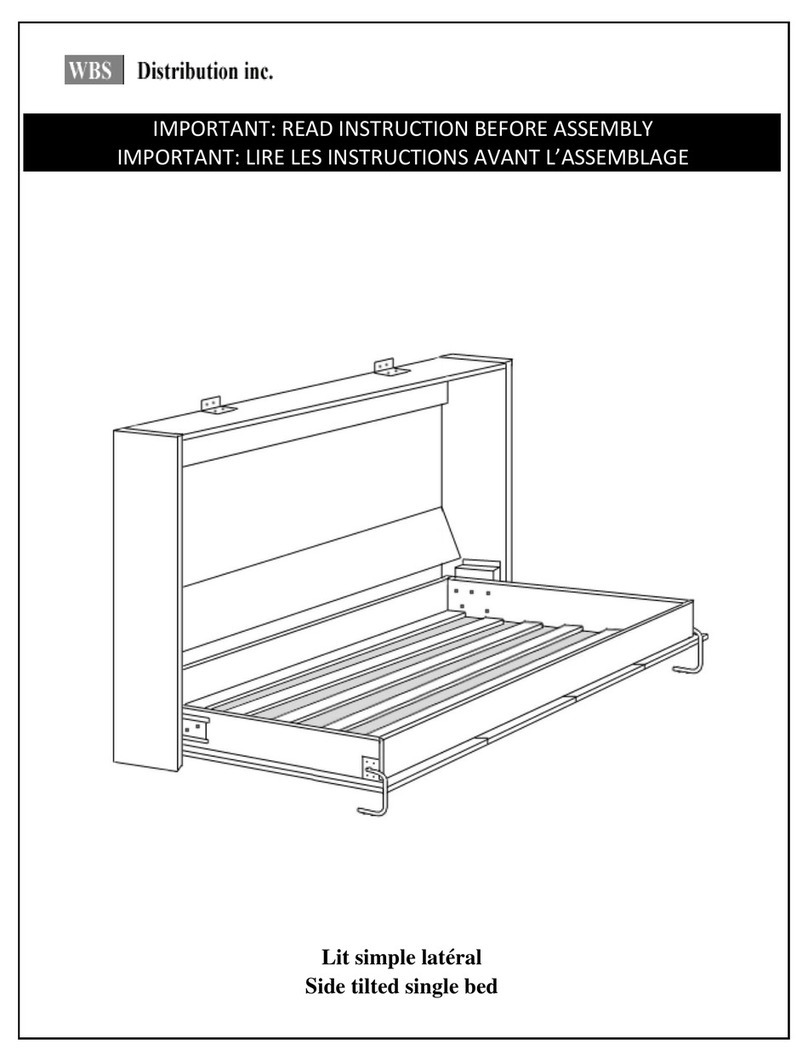
WBS Side tilted single bed User manual

WBS

WBS Side tilted single bed User manual

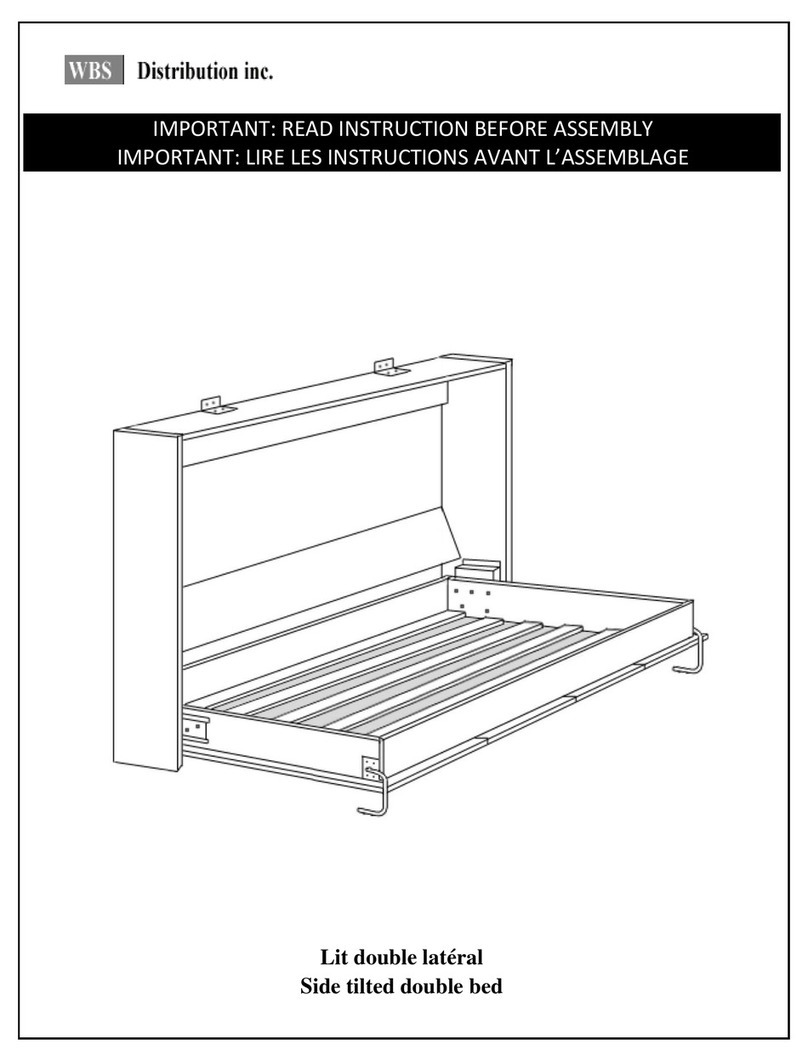
WBS Side tilted double bed User manual

WBS

WBS Side tilted double bed User manual

WBS Queen bed User manual

WBS

WBS Queen bed User manual

Popular Indoor Furnishing manuals by other brands

Kvik H503,060-050-040 manual

Kvik

Kvik H503,060-050-040 manual

Linon 420057CHA01U manual

Linon

Linon 420057CHA01U manual

Union Home LAUREL DIN00217 quick start guide

Union Home

Union Home LAUREL DIN00217 quick start guide

Vivo DESK-V102E instruction manual

Vivo

Vivo DESK-V102E instruction manual

Bestsign OF1601 Assembly instructions

Bestsign

Bestsign OF1601 Assembly instructions

Pine Crafter Furniture 11 Assembly instructions

Pine Crafter Furniture

Pine Crafter Furniture 11 Assembly instructions

Vivo DESK-TOP3 instruction manual

Vivo

Vivo DESK-TOP3 instruction manual

UltraHD ULTRAGUARD 20297 Assembly instructions

UltraHD

UltraHD ULTRAGUARD 20297 Assembly instructions

Coalesse Chord Replacement

Coalesse

Coalesse Chord Replacement

Ty Pennington Style KESEY D71 M25781 owner's manual

Ty Pennington

Ty Pennington Style KESEY D71 M25781 owner's manual

Tecnos Metis 22611801 Assembly instructions

Tecnos

Tecnos Metis 22611801 Assembly instructions

Rocheleau R13 EVO H90 Assembly instructions

Rocheleau

Rocheleau R13 EVO H90 Assembly instructions

Regency Fusion MUDS663042 instructions

Regency

Regency Fusion MUDS663042 instructions

AKANTE MALLORCA DT300 manual

AKANTE

AKANTE MALLORCA DT300 manual

modway EEI-5471 Assembly instructions

modway

modway EEI-5471 Assembly instructions

YOTRIO Target halsted FRS80712GST1 Assembly instructions

YOTRIO

YOTRIO Target halsted FRS80712GST1 Assembly instructions

GoodHome imandra 3663602933434 manual

GoodHome

GoodHome imandra 3663602933434 manual

Walker Edison MORM1F Assembly instructions

Walker Edison

Walker Edison MORM1F Assembly instructions

manuals.online logo
manuals.online logoBrands
  • About & Mission
  • Contact us
  • Privacy Policy
  • Terms and Conditions

Copyright 2025 Manuals.Online. All Rights Reserved.