WePresent WiPG-1500 User manual

1
WiPG-1500
Quick Installation Guide
Version: 9.0
Date: July 11, 2013

Awind Inc.
WiPG-1500
Quick Installation Guide
1
1. Package Contents
WiPG-1500 device
Plug&Show USB token
Power Adapter (DC +5V, 2.5A)
Wi-Fi Antenna x 2
Wall-mount Kit (screw x4, bracket x1, mounting screw x2,
washer x2)
Quick Installation Guide
Warranty Card
2. USB Token Contents
Windows Installer (WiPG-1500 Windows Installer)
Mac Installer (WiPG-1500 Mac Installer)
VAC Driver (For Windows XP Audio Projection)
VDD Driver (For Windows XP/Vista Virtual Extended Screen)
USBoIP Driver (For IWB feature)
Manual
Utility
PtG Converter (For MobiShow PtG function)
SNMP Manager (For SNMP Management)
3. Physical Details
Front Panel
Power Button and LED USB Port

Awind Inc.
WiPG-1500
Quick Installation Guide
2
Rear Panel
Bottom Side
RJ-45Antenna USB Port
VGA Connector
HDMI
Audio Jack
Power Jack Antenna
Screw hole
(optional kit for wall mounting)
Reset Button

Awind Inc.
WiPG-1500
Quick Installation Guide
3
4. What You Might Need
Projector or HDTV with VGA/HDMI interface
Windows or Mac PC/Laptop
Apple iPhone, iPad or iPod-touch device
Android Phone or Tablet device
Speaker (Optional, for audio projection feature)
USB Mouse and Keyboard (Optional, for remote desktop feature)
USB HID IWB/Touch Device (Optional, for UST or IWB over IP
feature)
5. WiPG-1500 Quick Installation
1. Connect wePresent WiPG-1500 device to Projector through VGA
port and turn on projector power.
2. Connect the power adaptor to WiPG-1500 device and press the
power button to turn on WiPG-1500 device. The standby screen
will be shown on projector when the system is ready.

Awind Inc.
WiPG-1500
Quick Installation Guide
4
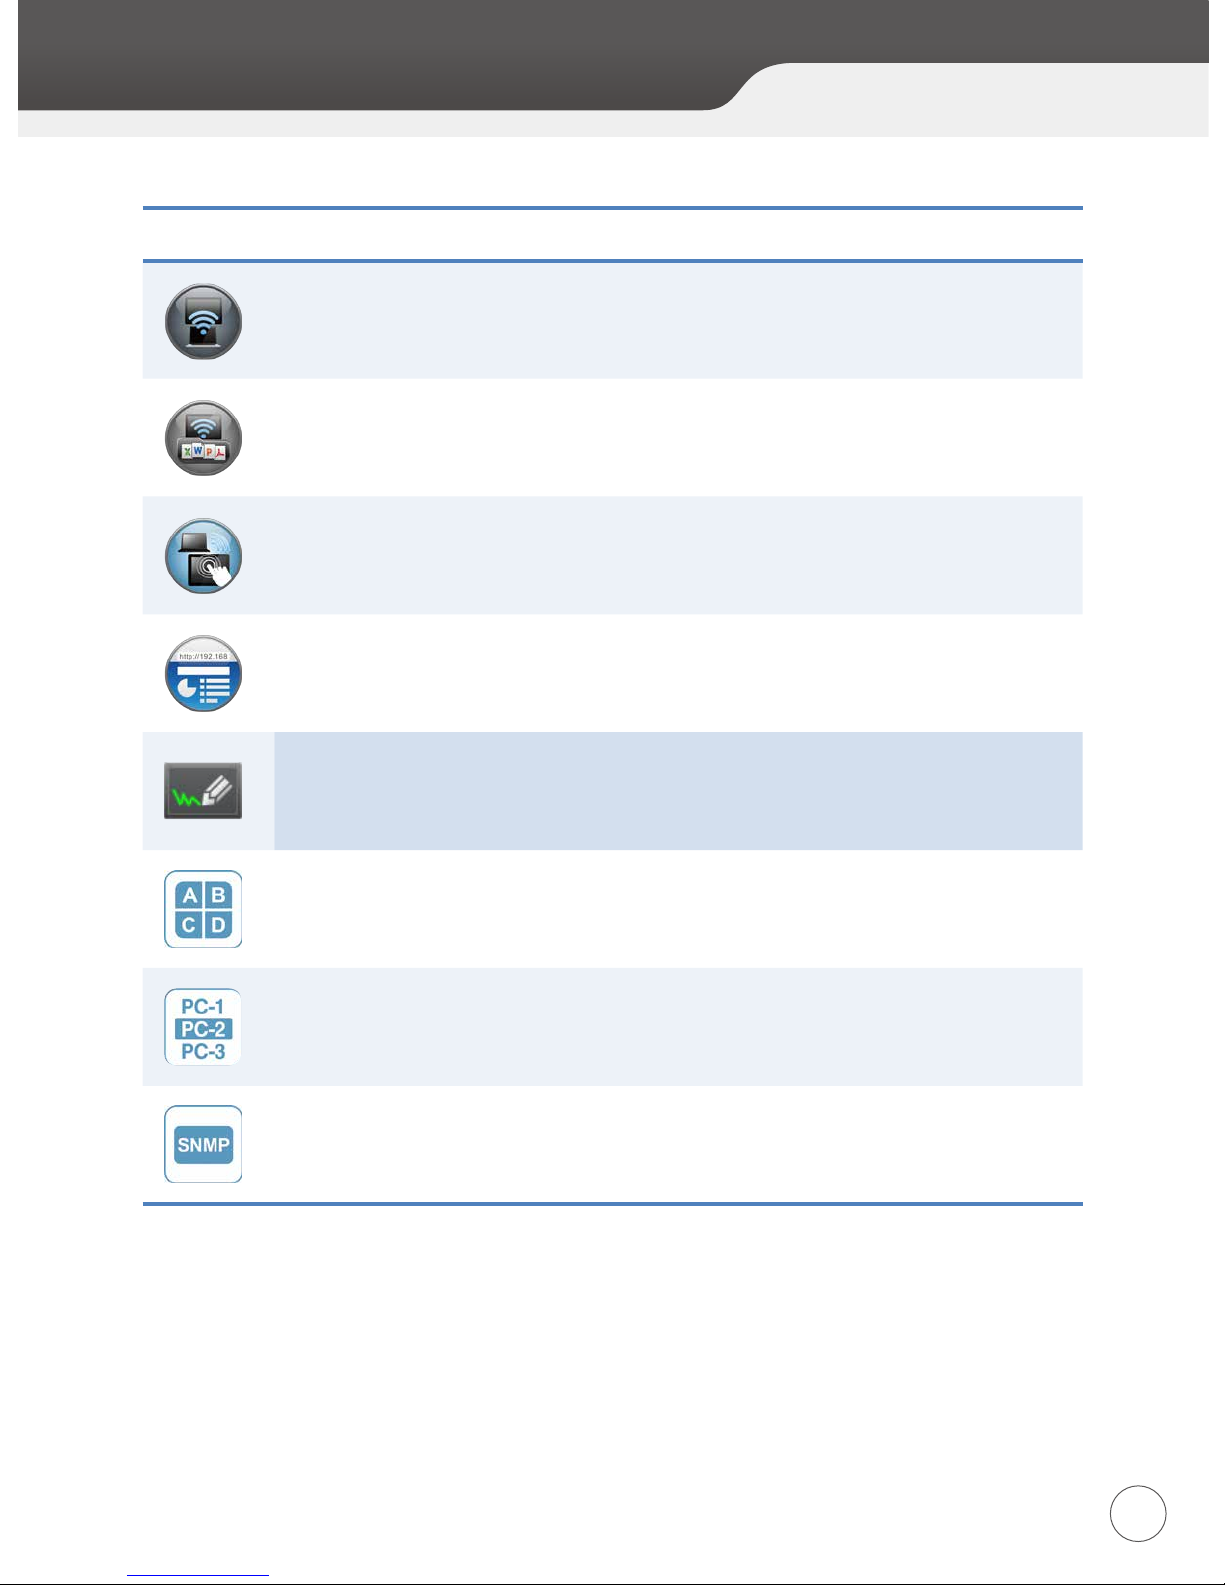
WiPG-1500 Feature Highlights:
Icon Feature Description
DoWiFi Wireless Display-over-WiFi for Windows and
Mac
WiFi-Doc
High quality presentation via iPhone/iPad or
Android devices (Word, Excel, PPT,PDF , Photo ,
Screenshot)
SidePad Control the presentation on PC or Mac via
iPhone/iPad or Android devices
WebSlides Broadcast slides to your devices with WiFi and
web browser
Drawing /
Whiteboard
Free drawing on projecting content or
interactive whiteboard
4-to-1 projection Project four PC/Mac screens to one projector at
once.
Conference Control
/ PC-List
Control projection from WiPG's web page, or
use mouse/keyboard to select a PC from the
standby screen.
SNMP V3 Manage WiPG devices across the corporate
network through enhanced SNMP V3 protocol

Awind Inc.
WiPG-1500
Quick Installation Guide
5
6. DoWiFi for Windows
1. Make sure your PC WiFi is enabled already, and connect your PC to
wePresent WiPG-1500 box through WiFi.
2. Open your browser and enter the Device Host Name (SSID) or
IP address in the browser. You can nd the IP address and Host
Name (SSID) on the projector screen. (Default Host Name (SSID) is
WiPG-1500, Default IP is 192.168.100.10)
3. Download the client software for “Windows 8/ 7/ Vista/ XP” and
install on your PC. (You can also launch the application from PnS
token directly.)

Awind Inc.
WiPG-1500
Quick Installation Guide
6
4. Launch WiPG-1500 client and connect to WiPG-1500 receiver.(Make
sure your personal rewall allows wePresent WiPG-1500 software
to pass through.)
5. Enter the CODE and you can see the Code on the projector
standby screen.
6. Click the button to start full screen projection, or choose one
of the numbers (1 to 4) to project to the split screen.
7. Connect the USB input devices to WiPG to select and control the
PC/Mac remotely.

Awind Inc.
WiPG-1500
Quick Installation Guide
7
7. DoWiFi for Mac
1. Enable your WiFi and connect to wePresent WiPG-1500 WiFi
network.
2. Open your browser and enter the Device Host Name (SSID) or IP
address on browser. You can nd the IP address and Host Name
(SSID) on the projector screen. (Default Host Name (SSID) is
WiPG-1500, Default IP is 192.168.100.10)
3. Download the client software and run the installer.

Awind Inc.
WiPG-1500
Quick Installation Guide
8
4. Launch wePresent WiPG-1500 software, connect the WiPG-1500
device and enter the Code.
5. Click the button to start full screen projection, or choose one
of the numbers (1 to 4) to project to the split screen.
6. Connect the USB input devices to WiPG to select and control the
PC/Mac remotely.

Awind Inc.
WiPG-1500
Quick Installation Guide
9
8. Drawing & Whiteboard
Drawing:
During screen projection, you can use touch screen or mouse to draw or
make annotation on the projecting screen.
Whiteboard:
In the standby screen, WiPG-1500 can be switched to the Whiteboard mode
for drawing and writing without a PC.

Awind Inc.
WiPG-1500
Quick Installation Guide
10
版本: 9.0
日期: 2013/07/11
快速安裝手冊
WiPG-1500

Awind Inc.
WiPG-1500
快速安裝手冊
11
1. 包裝內容
wePresent WiPG-1500 主機
wePresent WiPG-1500 隨身碟
電源變壓器 (DC +5V, 2.5A)
2 組無線天線
壁掛套件 ( 螺絲 x4、托架 x1、固定螺絲 x2、墊片 x2)
快速安裝手冊
保證書
2. 隨身碟內容
Windows Installer (WiPG-1500 Windows 安裝程式 )
Mac Installer (WiPG-1500 Mac 安裝程式 )
VAC Driver (Windows XP 聲音投影驅動程式 )
VDD Driver (Windows OS 虛擬延伸桌面投影驅動程式 )
USBoIP Driver (USB HID 互動式電子白板驅動程式 )
Manual
Utility
PtG Converter (MobiShow PtG 轉檔程式 )
SNMP Manager (SNMP 管理程式 )
3. 主機實體介紹
前蓋設計
電源開關與電源指示燈 USB 埠

Awind Inc.
WiPG-1500
快速安裝手冊
12
後蓋設計
底部設計
網路孔無線天線 USB 埠
VGA 輸出埠
HDMI 輸出埠
音源孔
電源孔
無線天線
螺絲孔
( 供選配壁掛套件使用 )
重置按鈕

Awind Inc.
WiPG-1500
快速安裝手冊
13
4. 您可能需要以下設備
投影機或 HDTV 並且支援 VGA/HDMI 輸出
Windows 或 Mac 電腦 / 筆記型電腦
Apple iPhone, iPad 或 iPod-touch 裝置
Android Phone 或 Tablet 裝置
喇叭 ( 可選擇搭配與否,主要做聲音輸出功能 )
USB 滑鼠和鍵盤 ( 可選擇搭配與否,主要做遠端桌面控制功能 )
USB HID 互動式電子白板 / 觸碰螢幕 ( 可選擇搭配 UST 或 IWB over
IP 功能使用 )
5. WiPG-1500 快速安裝指南
1. 將 wePresent WiPG-1500 透過 VGA 線連接至投影機,並且將投影機
的電源打開
2.
將電源變壓器插入 WiPG-1500 後,請按壓電源開關並開啟 WiPG-
1500
。當系統完成開機後,它將會顯示預設的待機畫面在投影機的畫面
上

Awind Inc.
WiPG-1500
快速安裝手冊
14
WiPG-1500 主要功能說明:
圖示 功能 敘述
DoWiFi Windows 與 Mac 的無線網路投影
WiFi-Doc
高品質的呈現畫面,可透過 iPhone/iPad 或
Android 裝置實現 (Word, Excel, PPT, PDF,
Photo, Screen & Shot)
SidePad 使用 iPhone/iPad 或 Android 裝置操控您的電
腦 /Mac,進行流暢的簡報
WebSlides 將簡報畫面透過 WiFi 廣播到多個手持裝置或電
腦
Drawing /
Whiteboard 在投影畫面上可進行書寫標記或設定為電子白板
4-to-1 projection 支援同時投影四台電腦 /Mac
Conference Control
/ PC-List
從 WiPG 的網頁管理投影者,或在待機畫面上使
用滑鼠 / 鍵盤選擇 PC
SNMP v3 透過 SNMP V3 管理組織化的 WiPG 裝置

Awind Inc.
WiPG-1500
快速安裝手冊
15
6. 在 Windows 系統上使用 DoWiFi
1. 請先確認您電腦的無線網路已經啟用,並且將您的電腦連線至
wePresent WiPG-1500。
2. 開啟網路瀏覽器並輸入裝置主機名稱 (SSID) 或著是 IP 位址在瀏覽器
上,您可以在投影畫面上找到 IP 位址和主機名稱 (SSID)。( 預設主機
名稱 (SSID) 為 WiPG-1500、預設 IP 位址為 192.168.100.10)
3. 下載 Windows 8/ 7/ Vista/ XP 系統使用的軟體,並且安裝在您的電
腦上。( 您也可以直接從 PnS USB 隨身碟中直接執行程式 )

Awind Inc.
WiPG-1500
快速安裝手冊
16
4. 執行 WiPG-1500 軟體並且連線至 WiPG-1500。( 請同時確認您的個
人防火牆可允許 wePresent WiPG-1500 軟體通過。)
5. 您可以在投影機的畫面找到登入碼,並且將此數字輸入 WiPG-1500
程式。
6. 點擊 按鈕去啟動全畫面投影,或者選擇 1 至 4 的號碼做四分割投
影。
7. 可以將 USB 輸入裝置與 WiPG 連結並且遠端控制 PC/Mac 。

Awind Inc.
WiPG-1500
快速安裝手冊
17
7. 在 Mac 系統上使用 DoWiFi
1. 首先啟用您的無線網路功能,並連線至 WiPG-1500。
2. 開啟網路瀏覽器並輸入裝置主機名稱 (SSID) 或著是 IP 位址在瀏覽器
上,您可以在投影畫面上找到 IP 位址和主機名稱 (SSID)。( 預設主機
名稱 (SSID) 為 WiPG-1500、預設 IP 位址為 192.168.100.10)
3. 下載 Mac 系統使用的軟體,並且安裝在您的電腦上。

Awind Inc.
WiPG-1500
快速安裝手冊
18
4. 執行 WiPG-1500 軟體後,並且輸入登入碼。
5. 點擊 按鈕去啟動全畫面投影,或者選擇 1 至 4 的號碼做四分割投
影。
6. 可以將 USB 輸入裝置與 WiPG 連結並且遠端控制 PC/Mac 。

Awind Inc.
WiPG-1500
Quick Installation Guide
Awind Inc.
WiPG-1500
快速安裝手冊
19
8. 畫 圖、註 記 及 白 板 功 能
畫圖與註記
投影畫面中,您可以使用觸控螢幕或滑鼠進行書寫或註記在投影畫面上。
虛擬白板
在待機畫面上,WiPG-1500 可以被切換成 Whiteboard mode 並且使用觸控螢幕、
滑鼠進行書寫在螢幕上。
您好,感謝您選購wePresent產品!請先詳閱此產品保固書,以保障您自身的權益。
奇揚網科股份有限公司(以下簡稱「本公司」)所生產之產品皆經嚴格品質管理,其所提供之保固服務說明如下:
1. 此產品於正常使用狀況下,可享有本公司一年保固服務。(產品所附之配件享一年保固服務)
2. 請於購買時加蓋經銷商店章及購買日期,保固卡出示時(連同故障產品)需為完整且填有購買日期,並蓋有經銷商店章
方為有效。若未填寫產品購買日期,則以製造出廠日期為保固啟始日。
3. 若為不當使用或人為破壞因素及不可抗力的天然災害所造成之損害,則不在此保固範圍內,得視產品損壞狀況酌收
基本檢測費及換修零件等維修費用。
4. 於保固日期生效之一個月內發生故障,經本公司驗證屬實者,均可享「新品更換」服務,惟需符合新品、附屬配件
及保固書均齊全之條件,方享有此權益。
5. 維修品送修時,請連同附屬配件及保固卡加以妥善包裝,若因包裝因素導致運送途中發生產品損毀,恕無法提供保
固維修服務。
6. 請妥善保存此保固書,影本無效,若不慎遺失、缺損或難以辨識恕不補發,本公司將保留提供保固及更換服務的權
利。
7. 所有保固資訊有可能隨時更改,恕不另行通知,請以本公司網站公告為準,本公司保留上述辦法修改之權利。
保固服務說明
產品保固書
Other manuals for WiPG-1500
4
Table of contents
Other WePresent Wireless Router manuals
Popular Wireless Router manuals by other brands

Omega
Omega RS-232 user guide

Verizon Wireless
Verizon Wireless MIFI MiFi 2200 Product user guide

Siemens
Siemens MC35T Installation & maintenance

NetComm
NetComm N300 GATEWAY SERIES user guide

TRENDnet
TRENDnet TEW-432BRP - Wireless Router Quick installation guide

Panasonic
Panasonic KX-TGA575C operating instructions