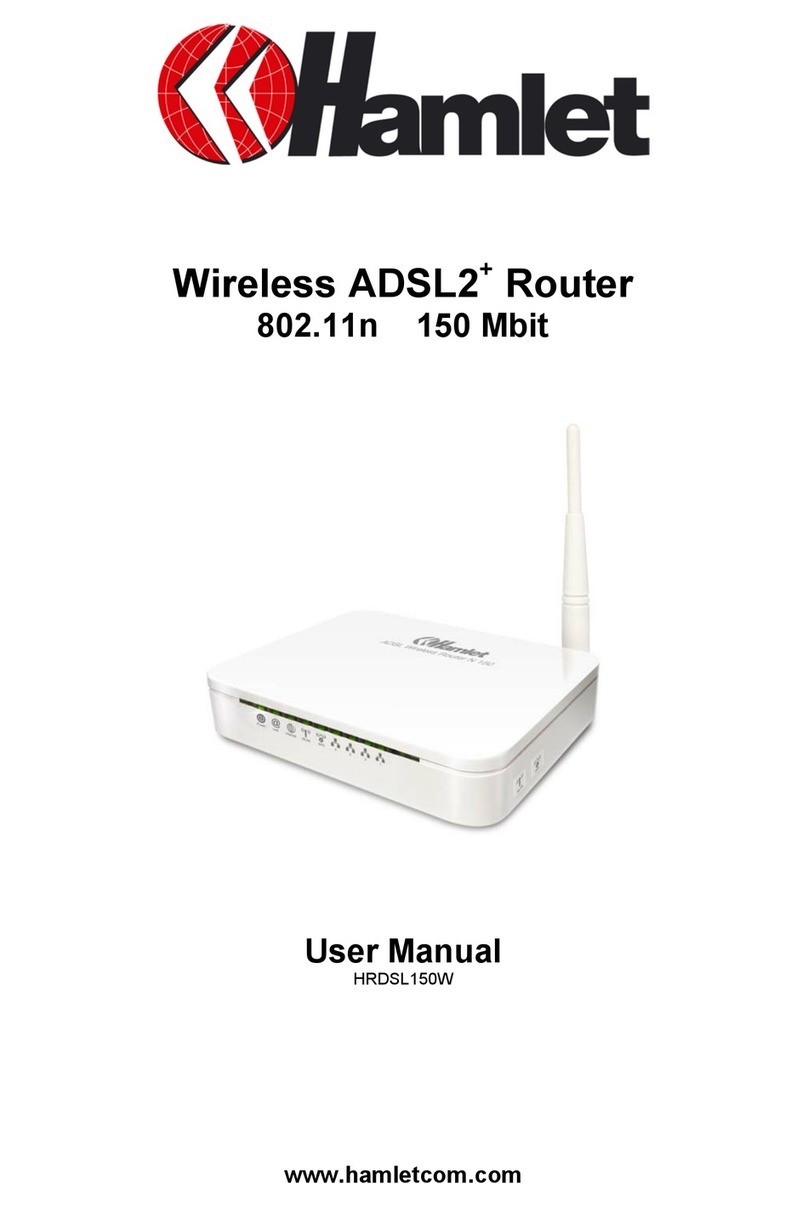
Hamlet HRDSL300N User manual

Wireless ADSL2+Router 300
802.11n Wireless Router with 4 Port 10/100 Switch
User Manual
HRDSL300N
www.hamletcom.com

Wireless ADSL2+Router HRDSL300N
User Manual 2
INDEX
1. Introduction..........................................................................................4
1.1 System Requirements....................................................................................................................... 4
1.2 Package Contents ............................................................................................................................. 4
2. Specification ........................................................................................5
2.1 LED Meaning ..................................................................................................................................... 6
2.2 Connectors......................................................................................................................................... 7
2.3 Factory Default Settings.................................................................................................................... 8
3. Installation & Setup ............................................................................. 9
3.1 Connection of Wireless ADSL2+ Router ......................................................................................... 9
4. Configuration Procedures ................................................................ 10
4.1 Windows 98SE/ME/2000/XP .......................................................................................................... 10
4.2 Windows Vista 32/64....................................................................................................................... 12
4.3 Windows 7 32/64 ............................................................................................................................. 15
5. Router Configuration......................................................................... 17
6. Connect Wirelessly............................................................................ 20
7. Web Configuration............................................................................. 22
7.1 Accessing the Web Interface.......................................................................................................... 22
7.2 Quick Start ....................................................................................................................................... 23
7.3 Interface Setup ................................................................................................................................ 26
7.4 Advanced Setup .............................................................................................................................. 35
7.5 Access Management....................................................................................................................... 43
7.6 Maintenance .................................................................................................................................... 50
7.7 Status ............................................................................................................................................... 53
7.8 Help .................................................................................................................................................. 57
8. Universal Plug-and-Play (UPnP) ...................................................... 58
8.1 Universal Plug and Play Overview .................................................................................................58
8.2 How do I know if I'm using UPnP? .................................................................................................58
8.3 NAT Traversal.................................................................................................................................. 58
8.4 Cautions with UPnP ........................................................................................................................ 58
8.5 Configuring UPnP............................................................................................................................ 59
8.6 Installing UPnP in Windows XP...................................................................................................... 60
8.7 Using UPnP in Windows XP........................................................................................................... 62
9. Web Configuration Easy Access ..................................................... 64
10. Troubleshooting.............................................................................. 65
11. Technology Glossary ...................................................................... 69

Wireless ADSL2+Router HRDSL300N
User Manual 3
Dear Customer,
thanks for choosing an Hamlet product. Please carefully follow the instructions for its use and
maintenance and, once this item has run its life span, we kindly ask You to dispose of it in an
environmentally friendly way, by putting it in the separate bins for electrical/electronic waste, or to bring
it back to your retailer who will collect it for free.
Responsibility Statement
The European importer declares that this product is compliant with CE standards. Importer references
and contact details available on www.hamletcom.com in the “About Us” section.
The importer for Italy is:
Careca Italia S.p.A.
VAT number 02078660350
www.careca.com
In order to reduce paper consumption we only printed a concise version of CE declaration of conformity
and Quick installation guide.
Full compliance declaration and product documentation will be available contacting us at
info@hamletcom.com specifying product code and documentation required.
We inform You this product is manufactured with materials and components in compliance with RoHS
directives: 2002/95/CE; with RAEE Directives: 2003/96/CE, Italian Legislative Decree 2005/151 and
below EEC Directives: IEC 60950-1: 2005 (2nd Edition), EN 60950-1: 2006+A11: 2009, ETSI EN 300
328 V1.7.1 (2006-10), ETSI EN 300 386 V1.4.1 (2008-04), EN 61000-3-2: 2006, EN 61000-3-3:
1995+A1: 2001+A2: 2005, IEC 61000-4-2 Edition 1.2: 2001-04, IEC 61000-4-3 Edition 3.0: 2006, IEC
61000-4-4: 2004, IEC 61000-4-5 Edition 2.0: 2005, IEC 61000-4-6 Edition 2.2: 2006, IEC 61000-4-8
Edition 1.1: 2001-03, IEC 61000-4-11 2nd Edition: 2004-03, ETSI EN 301-489-17: V1.3.2 (2008-04),
ETSI EN 301-489-1: V1.8.1 (2008-04).
CE Mark Warning
This is a Class B product. In a domestic environment, this product may cause radio interference, in
which case the user may be required to take adequate measures.
Trademarks
All trademarks and company names mentioned in this manual are used for description purpose only
and remain property of their respective owners.
Changes
The material in this document is for information only and subject to change without notice. While
reasonable efforts have been made in the preparation of this document to assure its accuracy, Hamlet
assumes no liability resulting from errors or omissions in this document, or from the use of the
information contained herein. Hamlet reserves the right to make changes or revisions in the product
design or the product manual without reservation and without obligation to notify any person of such
revisions and changes.

Wireless ADSL2+Router HRDSL300N
User Manual 4
1. Introduction
The Hamlet Wireless ADSL2+ Router is a low cost, high performance and high-speed device based on
802.11n wireless technology that provides a full rate ADSL2+ Router with the superb reliability and a
complete solution for home and office router. Hamlet HRDSL150W can have a maximum downstream
data rate of up to 24Mbps and an upstream of up to 1Mbps. When configured as a DHCP server, it will
assign IP address to every connected PC and acts as the only externally recognized Internet device on
your local area network. With build-in NAT, the Hamlet Wireless ADSL2+ Router serves as an Internet
firewall, protecting your network from being accessed by outside users.
1.1 System Requirements
•A computer with pre-installed ethernet adapter
•Pentium 200MHz processor or above
•Windows 98SE / Windows Me / Windows 2000 / Windows XP / Windows Vista and Windows 7
•64MB of RAM or above
•25MB free disk space
1.2 Package Contents
•802.11n Wireless ADSL2+ Router
•CD-ROM (Software & Manual)
•Quick Installation Guide
•1 x Telephone Cable (RJ-11)
•Ethernet Cable (RJ-45)
•Power Adaptor

Wireless ADSL2+Router HRDSL300N
User Manual 5
2. Specification
ADSL Standards supported
•Compliant to ITU-T G.992.1 (G.dmt), G.992.2 (G.lite), G.992.3 (ADSL2), G.992.4 (splitterless
ADSL2), G.992.5 (ADSL2+) for Annex A, B
•G.lite (G.992.2) with line rate support of up to 1.5Mbps downstream and 512Kbps upstream
•Supports Multi-Mode standard (ANSI T1.413, Issue 2; G.dmt (G.992.1); G.994.1 and G.996.1(for
ISDN only); G.991.1;G.lite (G992.2))
•Supports OAM F4/F5 loop-back, AIS and RDI OAM cells
•ATM Forum UNI 3.1/4.0 PVC
•Supports up to 8 PVCs (UBR, CBR, VBR)
•Multiple Protocols over AAL5 (RFC 1483)
•PPP over AAL5 (RFC 2364)
•PPP over Ethernet (RFC 2516)
Wireless Ethernet 802.11n
With built-in 802.11n access point for extending the communication media to WLAN
while providing the WEP, WPA and WPS for securing your wireless networks.
Network Address Translation (NAT)
Network Address Translation (NAT) allows the translation of an Internet protocol address used within
one network (for example a private IP address used in a local network) to a different IP address known
within another network (for example a public IP address used on the Internet).
Universal Plug and Play (UPnP)
Using the standard TCP/IP protocol, the Hamlet Wireless ADSL2+ Router and other UPnP enabled
devices can dynamically join a network, obtain an IP address and convey its capabilities to other
devices on the network.
10/100M Auto-negotiation Ethernet / Fast Ethernet Interface
This auto-negotiation feature allows the Router to detect the speed of incoming transmissions and
adjust appropriately without manual intervention. It allows data transfer of either 10 Mbps or 100 Mbps
in either half-duplex or full-duplex mode depending on your Ethernet network.
Dynamic DNS Support
With Dynamic DNS support, you can have a static hostname alias for a dynamic IP address.
Multiple PVC (Permanent Virtual Circuits) Support
Your Wireless ADSL2+ Router supports up to 8 PVC’s.
DHCP Support
DHCP (Dynamic Host Configuration Protocol) allows individual clients (computers) to obtain TCP/IP
configuration at start-up from a centralized DHCP server. The 802.11n Wireless ADSL2+ Router has
built-in DHCP server capability enabled by default. It can assign IP addresses, an IP default gateway
and DNS servers to DHCP clients. The 802.11n Wireless ADSL2+ Router can now also act as a
surrogate DHCP server (DHCP Relay) where it relays IP address assignment from the actual real
DHCP server to the clients.

Wireless ADSL2+Router HRDSL300N
User Manual 6
2.1 LED Meaning
The Wireless ADSL2+ Router has indicator lights on the front side. Please see below for an explanation
of the function of each indicator light.
Power indicator
Wireless Active indicator
ADSL Link indicator
WPS Active indicator
Internet Active indicator
Ethernet Active indicator
Table 1. LED function
Label Color On Flash Off
Green Ready Waiting for device
ready Power Off
Green Connect to
DSLAM Disconnect to DSLAM N/A
Green
The device has a
WAN IP address
from ISP
Transmit / Receive
Data N/A
Green WLAN Ready Transmit / Receive
Data WLAN Off
Green N/A Start WPS peer within 2
minutes WPS Idle
Green Ethernet
Connected
Transmit / Receive
Data
Ethernet
Disconnected

Wireless ADSL2+Router HRDSL300N
User Manual 7
2.2 Connectors
The below table shows the function of each connector and switch of the device.
CONNECTOR DESCRIPTION
POWER Input connector for the 12V power adaptor
SWITCH ON/OFF Power Switch
LAN1~4 Four Ethernet ports (RJ-45)
LINE Connects to your ADSL2+ line –for ADSL2+ Line input
RESET Reset button.Reset the router to its default settings.
Press this button for at least 6 seconds to reset it to its default settings.
WPS Press this button for at least one second and the WPS LED will flash to start
WPS.
WLAN Press this button for at least one full second to turn off/on wireless signals
Figure1. Rear View of the Wireless ADSL2+ Router
Figure2. WPS and WLAN button
Figure3. RESET button

Wireless ADSL2+Router HRDSL300N
User Manual 8
2.3 Factory Default Settings
Before configuration, please refer to following default settings.
Web interface
Username: admin
Password: hamlet
LAN IP Settings
IP Address: 192.168.1.254
Subnet Mask: 255.255.255.0
DHCP
DHCP Server: Enable

Wireless ADSL2+Router HRDSL300N
User Manual 9
3. Installation & Setup
Follow each step carefully and only go to the next step once you have complete the previous one.
Note! Be sure that you are well insulated from any power source to avoid electricity shock.
Note! Use only the manufacturer-approved power supply that shipped with the Router.
1. Connect the power to the Wireless ADSL2+ Router by plugging the power supply into an
appropriate electrical outlet.
2. If the Power LED is off, refer to “Troubleshooting” for information.
3.1 Connection of Wireless ADSL2+ Router
1. Connect the supplied RJ45 Ethernet cable from your PC's Ethernet port to any of the 4 Wireless
ADSL2+ Router's LAN Ports.
2. Connect the supplied RJ11 telephone cable from your home's telephone jack to the “LINE” port of
the supplied splitter. Connect the other supplied RJ11 telephone cable to the “DSL” port of the
splitter and connect the other end of this cable to the “LINE” port of your Wireless ADSL2+ Router.
(If there is no option Splitter, please connect the supplied RJ11 telephone cable from your home's
telephone jack to the “LINE” port of your Wireless ADSL2+ Router).
3. Connect a RJ11 telephone cable to the “PHONE” port of the splitter and connect the other end to
your telephone.
4. Connect the power adapter to the power inlet “POWER” of the Wireless ADSL2+ Router and turn
the “ON/OFF SWITCH” switch of your Wireless ADSL2+ Router on.

Wireless ADSL2+Router HRDSL300N
User Manual 10
4. Configuration Procedures
Before starting the Wireless ADSL2+ Router configuration, please kindly configure the PC computer as
below, to have automatic IP address / DNS Server.
4.1 Windows 98SE/ME/2000/XP
1. Click on “Start”> “Control Panel”(in Classic View). In the Control Panel; double click on
“Network Connections”to continue.
2. Single right click on “Local Area connection”, then click “Properties”.

Wireless ADSL2+Router HRDSL300N
User Manual 11
3. Double click on “Internet Protocol (TCP/IP)”.
4. Check “Obtain an IP address automatically”and “Obtain DNS server address automatically”
then click on “OK”to continue.
5. Click “Show icon in notification area when connected”(see screen image in 3. above) then
click on “OK”to complete the setup procedures.

Wireless ADSL2+Router HRDSL300N
User Manual 12
4.2 Windows Vista 32/64
1. Click on “Start” > “Control Panel” > “Network and Sharing Center”.
2. In the Manage network connections, click on “Manage network connections” to continue.

Wireless ADSL2+Router HRDSL300N
User Manual 13
3. Single right click on “Local Area connection”, then click “Properties”.
4. The screen will display the information “User Account Control”and click “Continue”to continue.
5. Double click on “Internet Protocol Version 4 (TCP/IPv4)”.

Wireless ADSL2+Router HRDSL300N
User Manual 14
6. Check “Obtain an IP address automatically”and “Obtain DNS server address automatically”
then click on “OK” to continue.

Wireless ADSL2+Router HRDSL300N
User Manual 15
4.3 Windows 7 32/64
1. Click on “Start” > “Control Panel” (in Category View) > “View network status and tasks”.
2. In the Control Panel Home, click on “Change adapter settings” to continue.
3. Single right click on “Local Area Connection”, then click “Properties”.

Wireless ADSL2+Router HRDSL300N
User Manual 16
4. Double click on “Internet Protocol Version 4 (TCP/IPv4)”.
5. Check “Obtain an IP address automatically”and “Obtain DNS server address automatically”
then click on “OK” to continue.

Wireless ADSL2+Router HRDSL300N
User Manual 17
5. Router Configuration
1. Please insert the supplied CD into your CD-ROM drive.
2. The CD should auto-start, displaying the window shown in 3 below. If your CD does not start
automatically, go to Windows Explorer, Select your CD drive and double click “autorun.exe”.
3. The screen below will appear. To configure the device, please click “Easy Configuration” button
and follow the steps illustrated in the following pages.
4. Enter the VPI, VCI, Username and Password your ISP (Internet Services Provider) provided, and
Protocol mode. Then press “Next”.

Wireless ADSL2+Router HRDSL300N
User Manual 18
5. Please enter the “ESSID” and Wireless “Default Channel” if you want to change (the default
settings Network= Enable, ESSID = Hamlet, Default Channel=6).
6. Choose the Encryption type if necessary, as Off –No Encryption (Default) / 64 Bit Encryption /
128 Bit Encryption / Wi-Fi Protected Access (TKIP) / Wi-Fi Protected Access2 (AES-CCMP) and
WPA Mixed Mode. For example, you choose the WPA Mixed Mode type and configure
Passphrase.
7. Please click “Setup” button, when the procedure is completed, it will start to configure the device
for a while.
8. Now, checking WLAN ADSL 2+ Router hardware connection, ADSL2+ settings, WLAN settings,
and ADSL2+ Line connection status.

Wireless ADSL2+Router HRDSL300N
User Manual 19
9. Easy setup configuration completed. Click on "Exit" to exit this program.
10. Click on "Exit" to exit this program.
Now, the Wireless ADSL2+ Router has been configured completely, and suitable for Wireless and
Internet Connections.

Wireless ADSL2+Router HRDSL300N
User Manual 20
6. Connect Wirelessly
Now that the Easy configuration setup is completed, you can connect wirelessly to your Wireless
ADSL2+ Router. Follow the steps below to create a new wireless connection to the Router.
1. Double click on the wireless icon on your computer and search for the wireless network that you
enter ESSID name.
2. Click on the wireless network that you enter ESSID name to connect.
3. If the wireless network isn’t encrypted, click on “Connect Anyway" to connect.
Table of contents
Other Hamlet Wireless Router manuals

Hamlet
Hamlet HHTSPT3GM42 User manual

Hamlet
Hamlet HHTSPT3GM21 User manual

Hamlet
Hamlet HNW150APBR User manual

Hamlet
Hamlet HNWS108 User manual

Hamlet
Hamlet HRDSL512W Series User manual

Hamlet
Hamlet HNWS108 User manual

Hamlet
Hamlet HNW300APN2 User manual

Hamlet
Hamlet HRDSL150W User manual

Hamlet
Hamlet HNW150APBR User manual

Hamlet
Hamlet HRDSL521W User manual