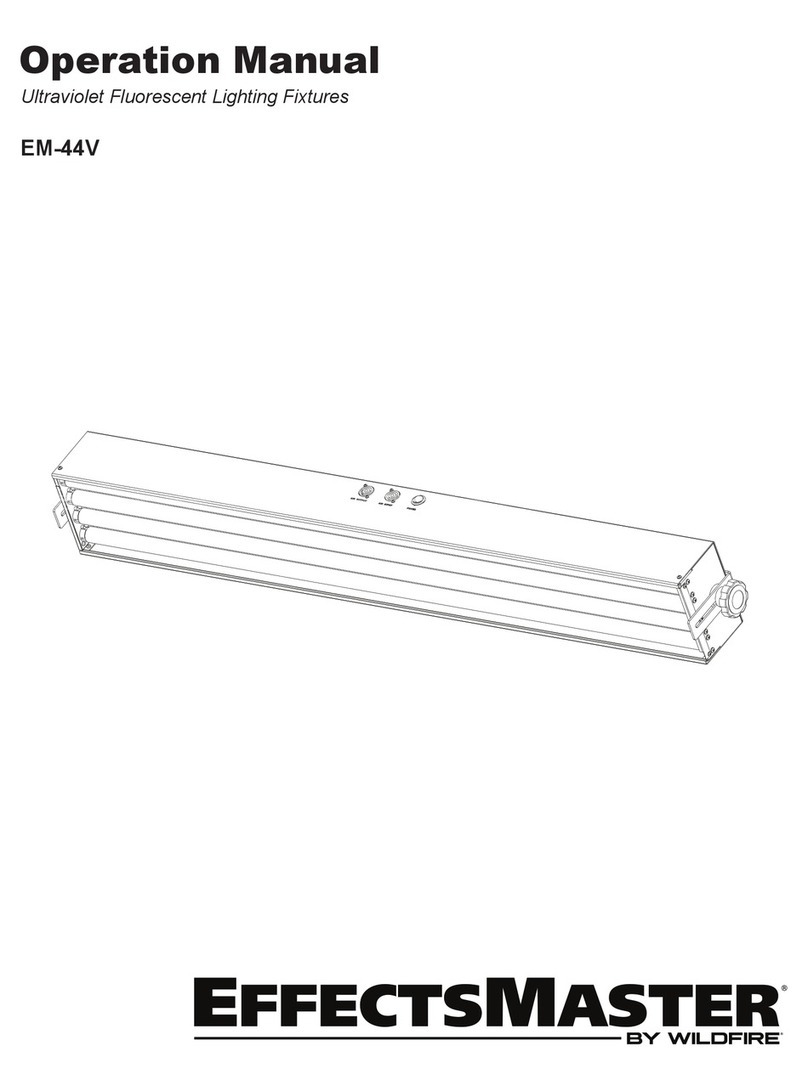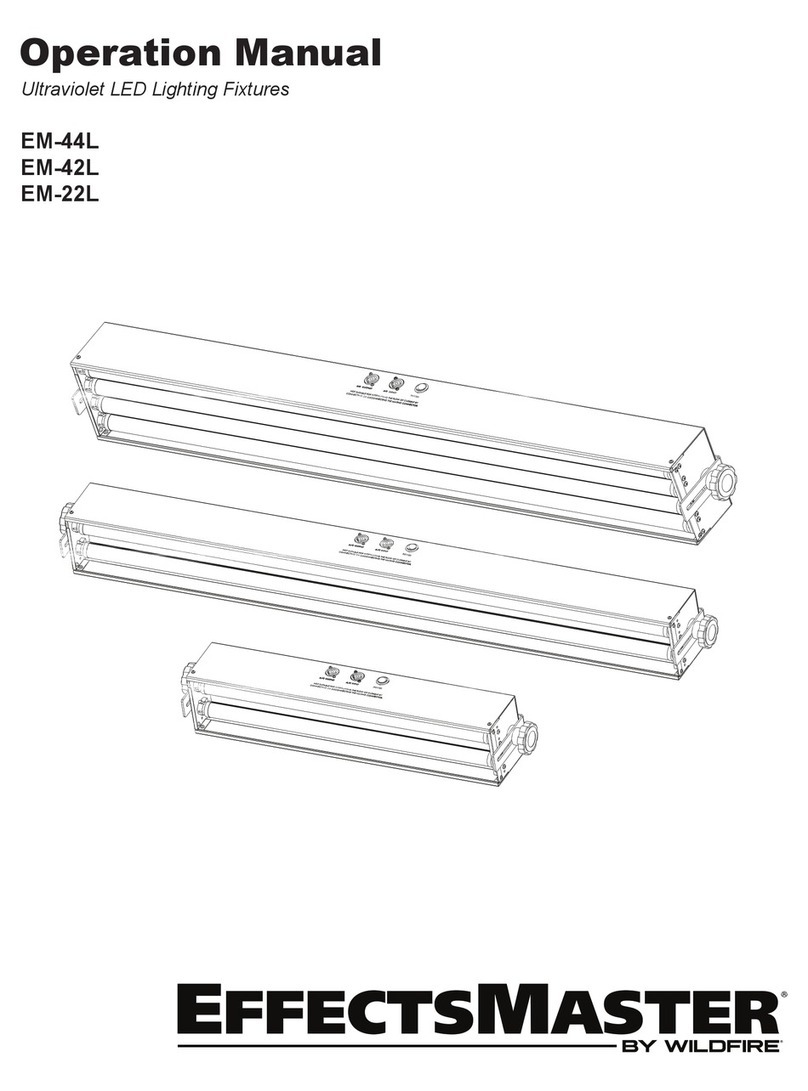
Maintenance & Troubleshooting
Lamp Replacement
Refer to Fixtures Specifications on page 4 for information on selecting the proper replacement lamp for your
fixture. Unplug the fixture. If this is not possible then steps should be taken that would allow the fixture to remain
in an off state while re-lamping. If your Effects Master is equipped with The UVT protective lens or Transverse
Louver option, this will need to be removed first before replacing the lamps. To remove the protective lens, first
determine which end is easiest to slide the lens from the unit. Looking at that end, locate the two Phillips screws
that hold the lens-retaining bracket to the side of the fixture. Using a Phillips screwdriver, loosen the two screws
that hold the bracket in place. (Do Not Remove the Screws). Once the two screws are loose, the bracket will
slide out from under the screw heads. Now that the bracket is removed, slide the protective lens out of the
housing. Holding the lamp firmly with two hands, one hand near each end of the lamp, rotate the lamp about its
long center-line axis, one quarter (1/4) turn either clockwise or counter-clockwise. The sockets will click and the
lamp will become loose. Gently lift the lamp free of the sockets. Install the new lamp by lining up the two pins
on the ends of the lamp so that they will slide into the open slot in the lamp holder. Gently set the lamp into the
sockets until the lamp pins rest on the lamp socket. Gently turn the lamp one-quarter (1/4) turn either clockwise
or counter-clockwise, until the lamp socket makes a small click or you feel a detent position. Gently lift up on
the lamp to make sure that both ends of the lamp are installed correctly, neither end of the lamp should move in
the socket.
Cleaning
For best performance, the reflector, lamps and protective lens should be kept free of dirt and dust. At no time
should any cleaning chemicals or abrasives be used to clean any part of the unit. For normal cleaning, a dry soft
cloth should be used to wipe any surface free from dust and light dirt. Cleaning the reflector will require that the
lamps be removed. Remove lamps by following the instructions listed under Lamp Replacement above. Always
unplug the unit before cleaning. Once the lamps have been removed, gently wipe off the reflector using a soft
dry cloth. In the event the reflector is heavily soiled, lightly dampen the cloth with a mild window cleaning agent
and wipe. Lamps should be cleaned using the same method; first use a dry soft cloth and then proceed with a
window-cleaning agent if lamp is too heavily soiled. Do not spray or apply any liquid directly to any part of the
fixture.
Troubleshooting
Other than the lamps, there are no user serviceable parts in the fixture.
5

