Gradus Group impact FF-SB50 User manual

FF-SB50 / FF-SB70
Fluorescent Fixture
Softbox
INSTRUCTIONS
Light stand, socket,
and umbrella mount
not included unless
purchased as a kit.

2
Introduction
Thank you for choosing Impact.
Congratulations on your purchase of an Impact 50×50 or 50×70 cm softbox.
These softboxes are compatible with the Impact FF-S1 and FF-S4 Fluorescent
Fixtures, as well as the SF-ABRL160 Slave Flash. Their silver interior and front
diffusers are ideal for situations where softening the light is desired. These
softboxes are for use with uorescent, LED, or ash only. They should not be
used with hot lights.
Assembling these softboxes can be simple if you follow these instructions
carefully.
There are four parts to your Impact 50 or 70 cm Softbox kit:
• The softbox skin
• Front diffuser
• Four ex rods
• Carry bag
The instructions in this manual use an FF-S1 Fluorescent Fixture to demonstrate mounting
a 50×50 cm softbox. The 50×70 cm softbox assembles by the same method. All photos in
this manual are for illustrative purposes only. Light stands, light xtures, and bulbs are not
included with Impact softboxes unless purchased as a kit.
Model FF-SB50 shown
3
Operation
Assembly Instructions
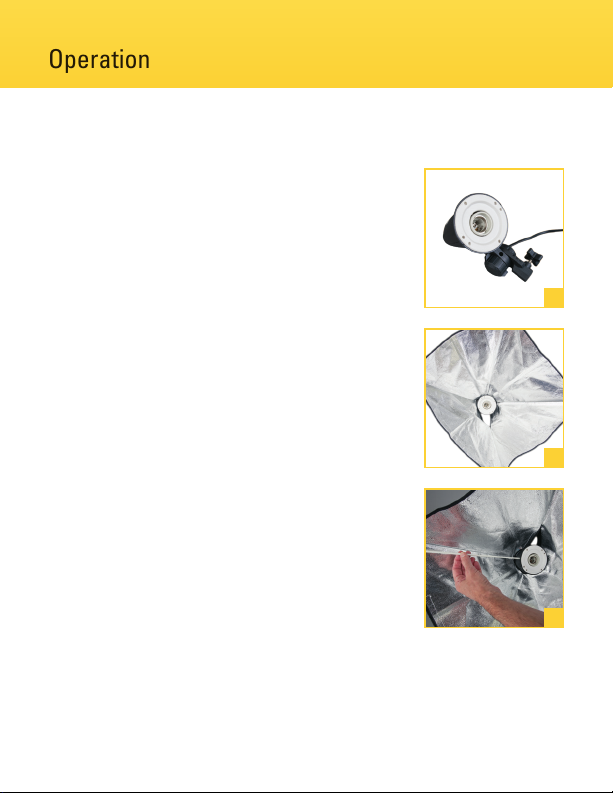
1. Remove any bulbs from your xture and place the
xture on a at surface with the socket facing
up. Make certain that the xture is turned off and
unplugged.
2. Wrap the softbox skin loosely around the xture.
Align the ap seam with a rod locating slot in the
xture head. This slot will hold the last ex rod you
insert.
3. Insert one end of one of the ex rods into a rod
locating slot in the xture head. The 50×50 cm ex
rods have a stud end and a plain end. Insert the
plain end into the xture head.
1
2
3
4
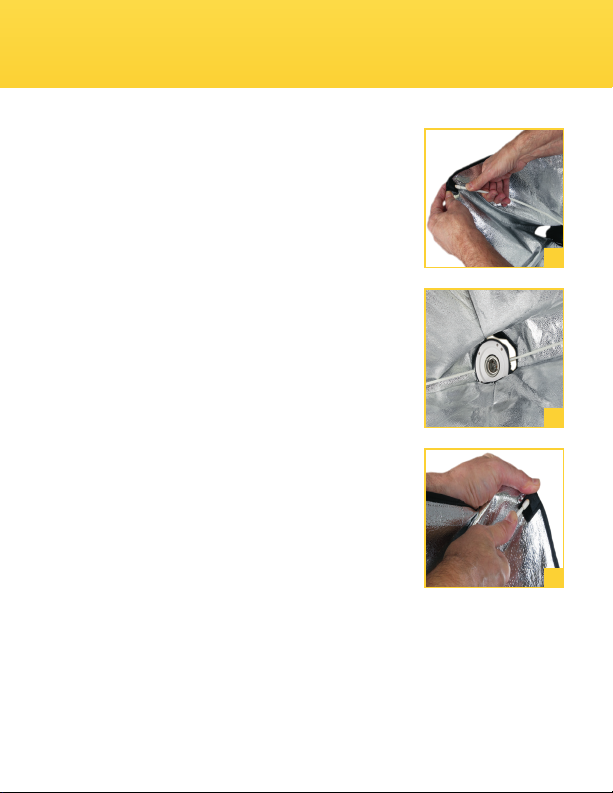
4. Insert the stud end of the ex rod into a pocket in
the corner of the softbox skin.
5. The next ex rod to be inserted should be placed
directly opposite to the rst one. Begin by inserting
a plain end into the rod locating slot on the xture
head.
6. Insert the third and fourth ex rods. The last rod
should be inserted nearest the softbox skin’s ap.
As you work, bend the ex rods rmly into position.
4
5
6
5
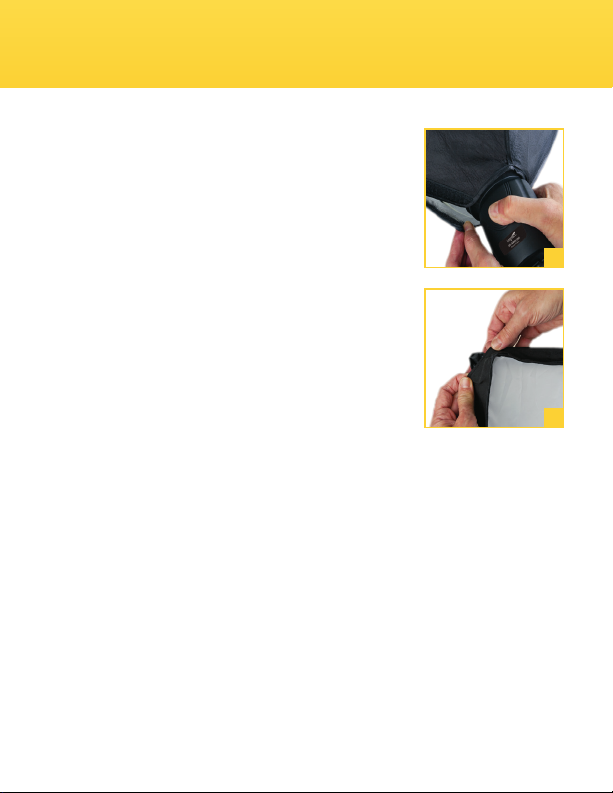
7. Close the ap of the softbox skin and press down on
the touch fasteners to close the back of the softbox.
Reinsert the bulb into the socket of the xture.
8. Stretch the diffuser around the opening of the
softbox. Press down on the touch fasteners to
seal. Your softbox is ready for mounting on your
lightstand. Use a sandbag or other weight to
stabilize.
7
8
6
Disassembly Instructions
1. Turn off the power to your light head and disconnect the power cord from the
power supply.
2. Peel away the diffuser from the softbox skin.
3. Even uorescent lights can get hot. Wait until the bulbs cool before
continuing.
4. Remove the bulb from the xture.
5. Unmount the xture from the light stand.
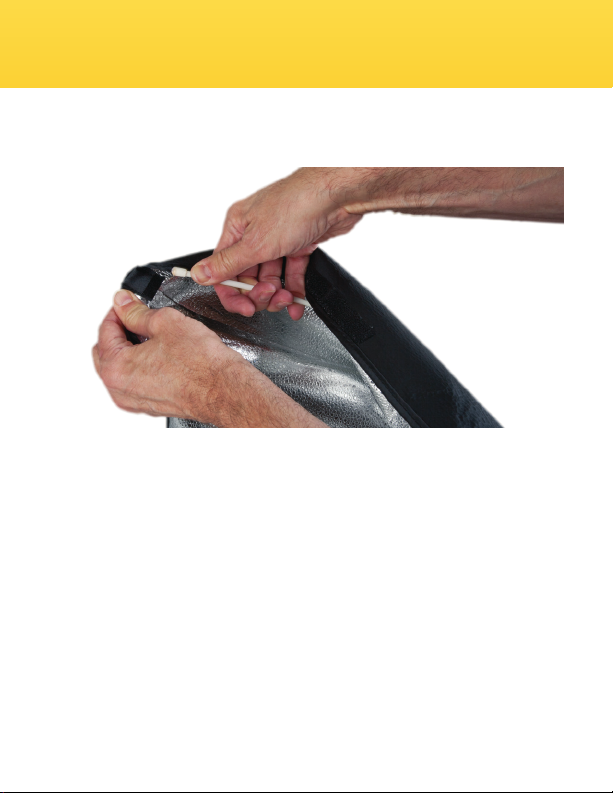
6. Pull back one of the aps on the softbox skin and bend the ex rod to release
it from the pocket. You will have to rmly bend the rod to release it.
7. The next ex rod to extract should be the one directly opposite to the rst
one removed.
8. Remove the last two ex rods.
9. Return all softbox items to their carry bag.
7
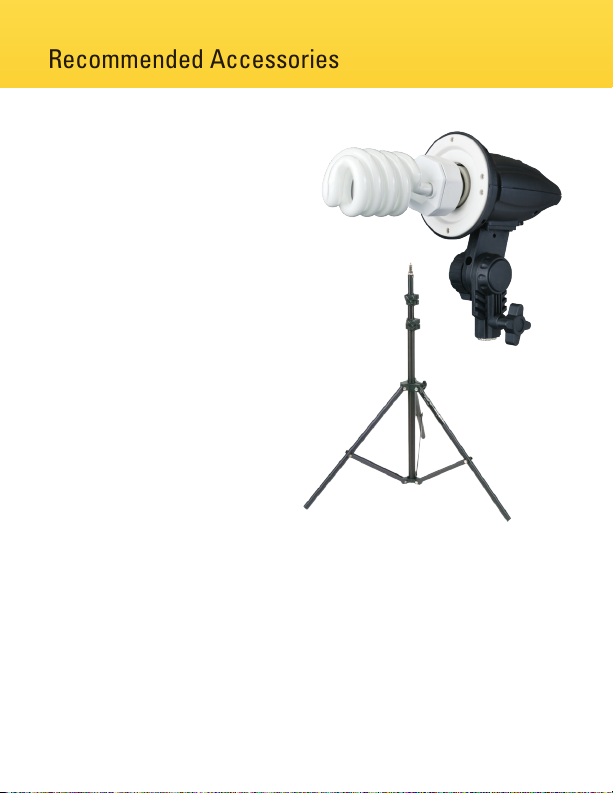
Recommended Accessories
Impact Fluorescent Fixture
The Impact FF-S1 Fluorescent Fixture
is a cost-effective way to utilize the
wide variety of E27 (Edison) based
lamps for photo and video work.
This highly versatile product has an
adjustable metal mount with a 5/8˝
receiver for light stands and an 8 mm
umbrella receptacle. The mounting
bracket tilts and locks in place at the
desired angle. The locking knob has a
nonslip gear-tooth mechanism.
Impact Light Stand
The Impact LS-6B Light Stand is one
of the most economical light stands
available. It extends to a maximum
height of 6 ft. and has a standard 5/8˝
stud on top with a 1/4-20 thread.
Other Accessories
• Deluxe Umbrella Mount with Adjustable Shoe (DUB-2)
• Digital Flash Umbrella Mount Kit (DFUMK)
• Rapid Adapter with 1/4˝-20 male thread (CA-101)
• Two-Section Backlight Stand (LS-3S)
• 5-in-1 Collapsible Circular Reector Disc (R1142)
• Impact Collapsible Reector Holder (ME-109P)
To see these accessories and all of our lighting equipment, please see your lighting dealer
or visit www.impactstudiolighting.com.

One-Year Limited Warranty
This Impact product is warranted to the original purchaser to be free from defects in materials
and workmanship under normal consumer use for a period of one (1) year from the original
purchase date or thirty (30) days after replacement, whichever occurs later. The warranty
provider’s responsibility with respect to this limited warranty shall be limited solely to repair
or replacement, at the provider’s discretion, of any product that fails during normal use of this
product in its intended manner and in its intended environment. Inoperability of the product
or part(s) shall be determined by the warranty provider. If the product has been discontinued,
the warranty provider reserves the right to replace it with a model of equivalent quality and
function.
This warranty does not cover damage or defect caused by misuse, neglect, accident,
alteration, abuse, improper installation or maintenance. EXCEPT AS PROVIDED HEREIN,
THE WARRANTY PROVIDER MAKES NEITHER ANY EXPRESS WARRANTIES NOR ANY
IMPLIED WARRANTIES, INCLUDING BUT NOT LIMITED TO ANY IMPLIED WARRANTY OF
MERCHANTABILITY OR FITNESS FOR A PARTICULAR PURPOSE. This warranty provides you
with specic legal rights, and you may also have additional rights that vary from state to state.
To obtain warranty coverage, contact the Impact Customer Service Department to obtain
a return merchandise authorization (“RMA”) number, and return the defective product to
Impact along with the RMA number and proof of purchase. Shipment of the defective product
is at the purchaser’s own risk and expense.
For more information or to arrange service, visit www.impactstudiolighting.com or call
Customer Service at 212-594-2353.
Product warranty provided by the Gradus Group.
www.gradusgroup.com
Impact is a registered trademark of the Gradus Group.
© 2020 Gradus Group LLC. All Rights Reserved.
GG2
This manual suits for next models
1
Table of contents
Popular Light Fixture manuals by other brands

Emos
Emos CLASSIC ZY1431T manual

Westinghouse
Westinghouse Outdoor Lighting Fixture owner's manual

Hedler
Hedler C 12 silent Operation manual

Blizzard Lighting
Blizzard Lighting Puck: CSI manual

Energetic Lighting
Energetic Lighting ELYSL-5004 Series installation instructions

Lightmaxx
Lightmaxx Shaft 5R user manual


Cooper Lighting
Cooper Lighting Halo L3232E Specification sheet

Stageline
Stageline ODW-2410RGBW instruction manual

Light Sky
Light Sky Tornado Series user manual

Lightolier
Lightolier Paralyte 2424 PLA2G9LS26U specification

Lightolier
Lightolier Lytespan 83ED17S specification

Lightolier
Lightolier Calculite CS8226 specification