06
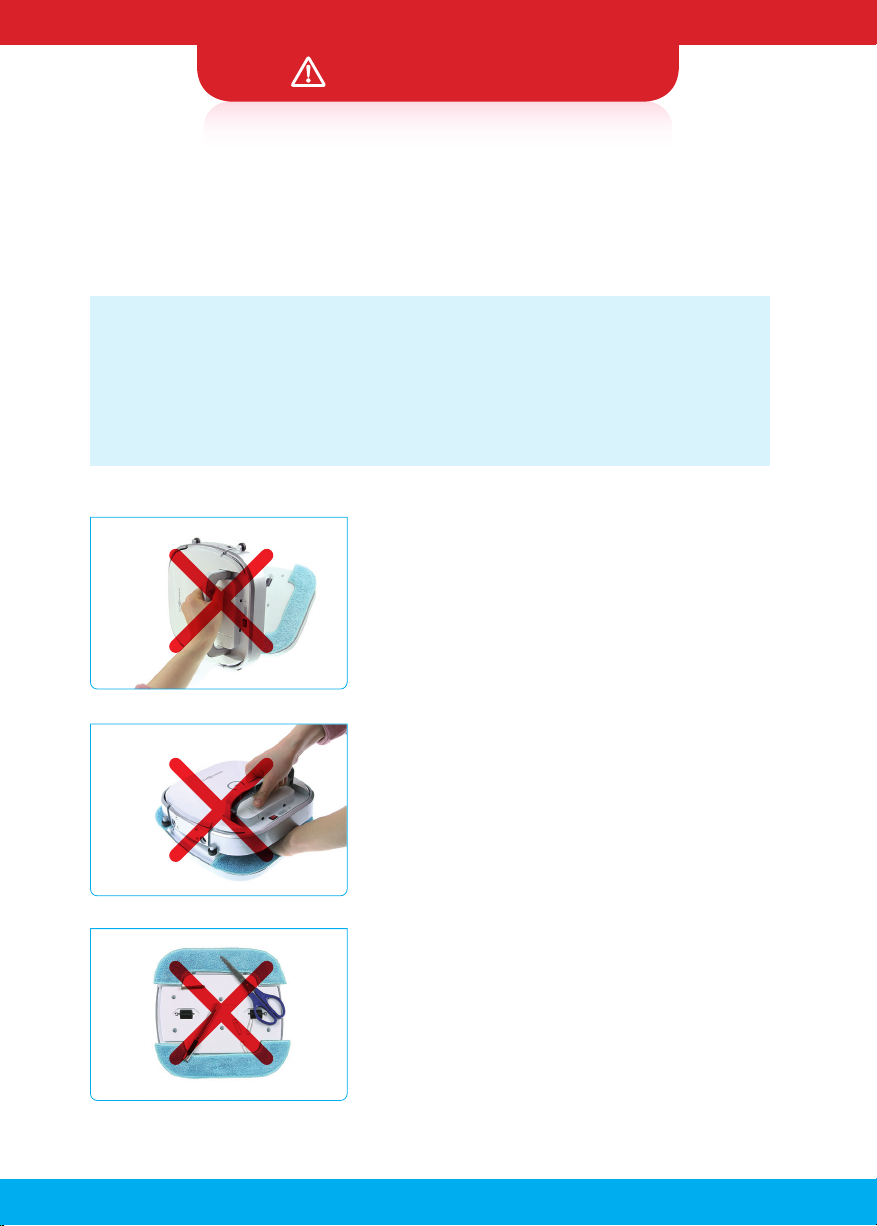
When the robot is in operation
After each use
· Do not attempt to touch or remove the Windowmate
while it is operating.
·
If the robot does not work out of your reach, do not attempt
to remove the Windowmate from Windows by force.
· Your robot is for cleaning the windows only.
· Use only mop provided with Windowmate.
· Do not apply excessive force or pressure to the
bumper since the sensors are sensitive.
· Do not operate the robot in areas with exposed
electrical outlets in the room.
· It is recommended to operate and store the robot
in room temperature environments.
· Do not presoak cleaning pads before attaching them
to the robot. Pads should be dry before spraying the
cleaning solutions on them.
· Do not directly apply water to, or wipe the robot with
volatile agents such as benzene, paint thinner, or alcohol.
· Do not attempt to disassemble the robot.
· Check for foreign substances and remove them using
a clean cloth before and after each use.
· The robot has the built-in strong magnetics.
So, do not place credit cards or cell phones that are
vulnerable to magnet on the units.
· Use only rechargable battery packs or recharger with
the correct specification approved by RF CO., LTD.
-
Call the service center and follow the
instructions.
-
If the bumper sensor is damaged, the
robot may not recognize the obstacles.
-
Critical damage to the product
may occur.
-
Tampering with these functions may
create a hazardous condition, and it will
void your warranty.
-
The robot may be slippery on the
windows.
-
Such objects may be damaged and
may not be used.
Safety Instructions